|
Why Turret or Gazebo
Roof Venting is Needed, yet often not done:
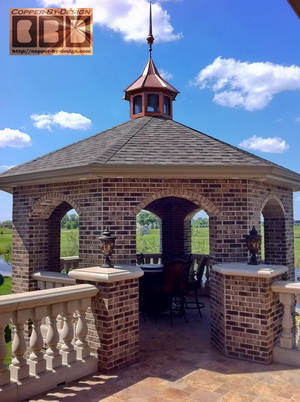
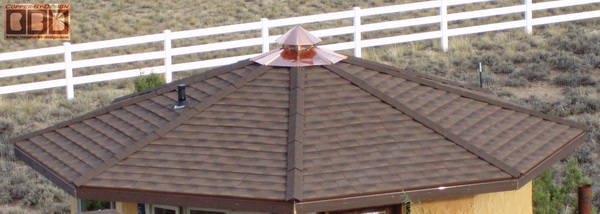
Gazebo and turret
roofs are rarely vented at all. Some Roofers might put a pod vent on the back side
below the peak, which is a lot better than none at all.
It may not be as important to vent an open gazebo roof, but there is a huge
misnomer about this issue concerning turret roofs. They do need proper venting if you want them to last, and be more comfortable
inside.
It's like buying a new
car w/o rear view mirrors for a cleaner look and less wind drag;
as if they're not really necessary. There was a time when headlight
and mirrors were optional, but we wised up to realized these are
essential. In Europe many cars have larger mirrors mounted farther
forward on the
front fenders, so the driver does not have to turn their heads so far to the
right and left to see those blind spots. Those side mirrors can be
viewed through the front windshield. Although, here in the States we would
rather sacrifice safety for looks, so I try to recognize
how important looks are to in the USA over function, while solving
this neglected issue.
Don't get me wrong, this does not matter to me personally. I am just going out of my way
here to help educate people on this issue and provide a fairly simple
solution that can also make construction of these structures easier
and even sturdier, so they can achieve the best possible results. And this is a good opportunity to correct an issue that
had been neglected.
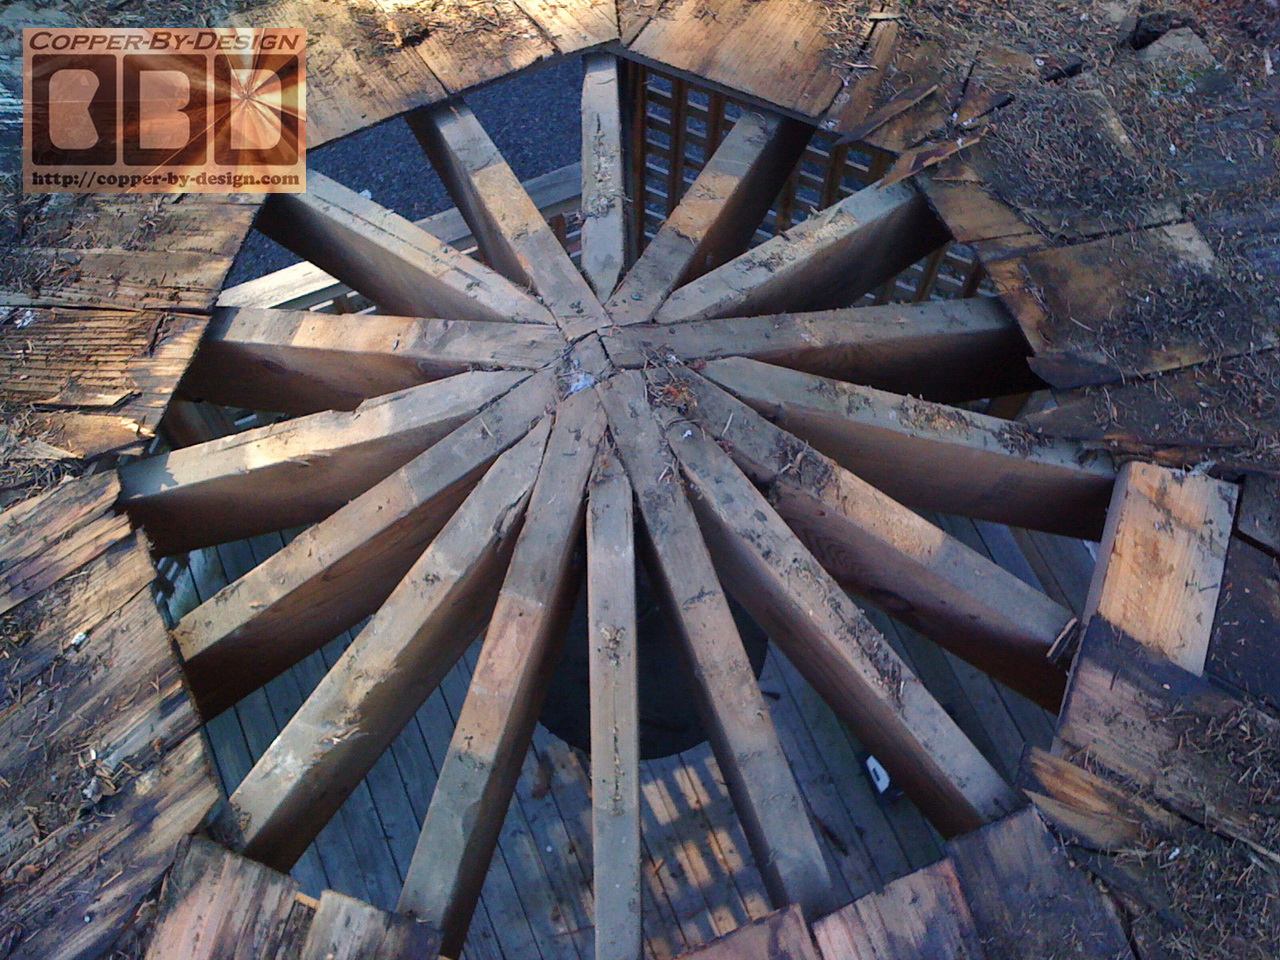
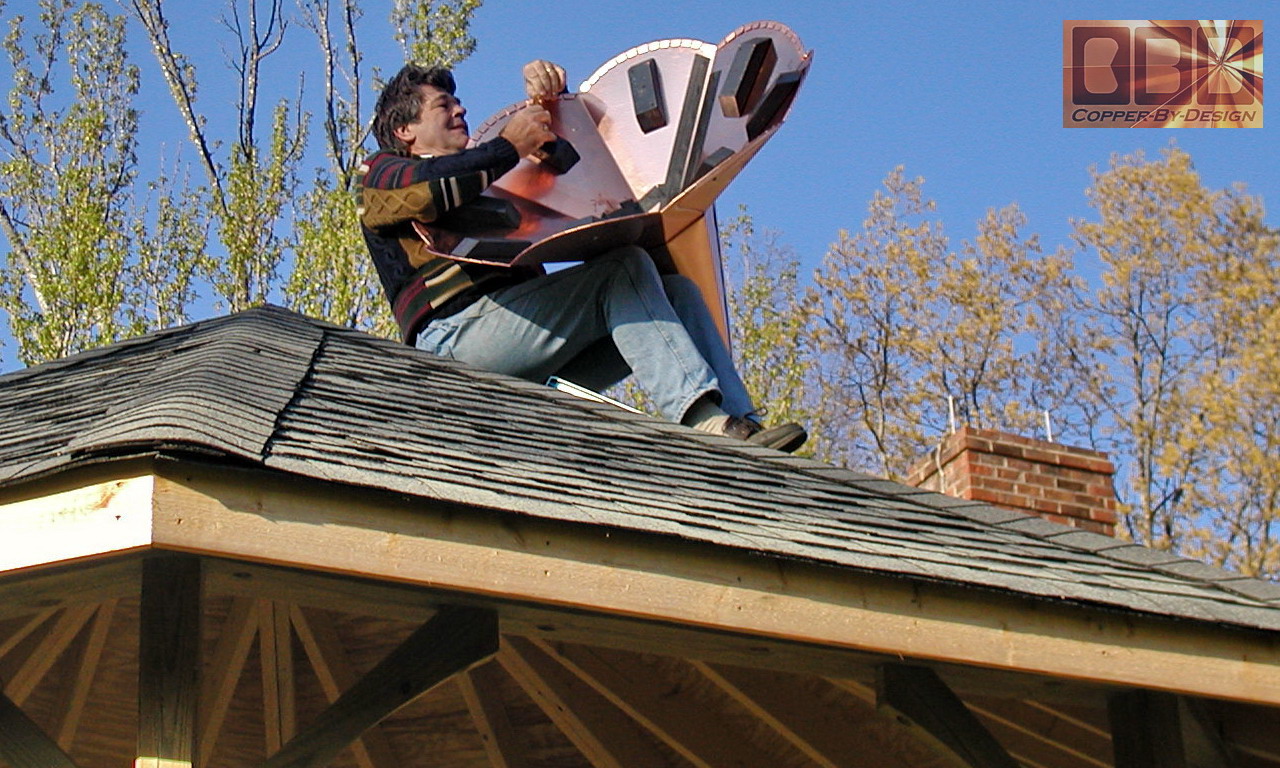
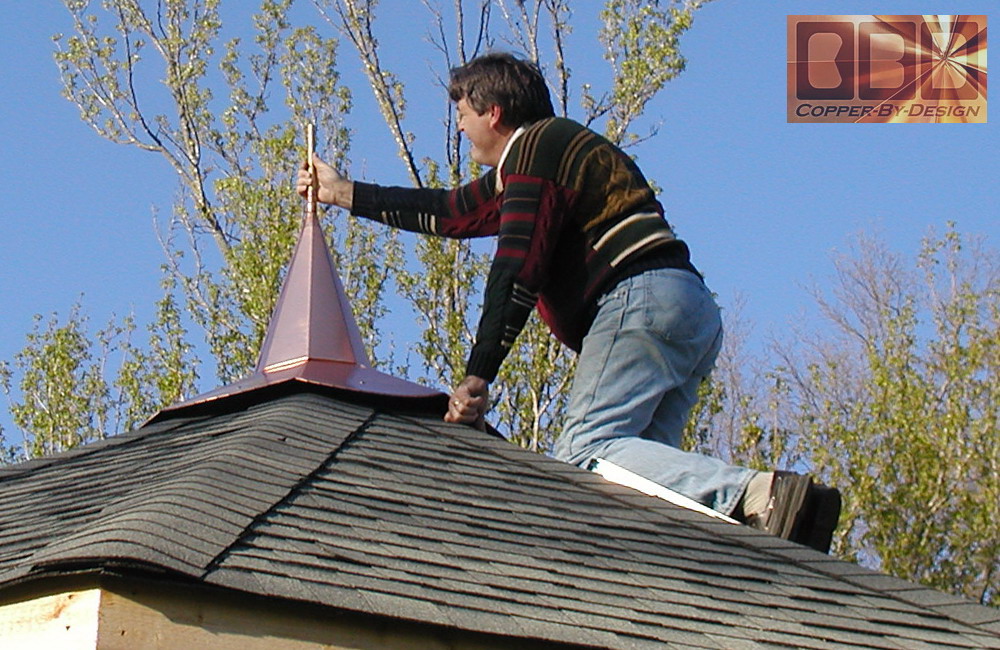
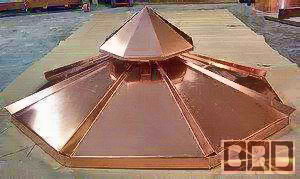
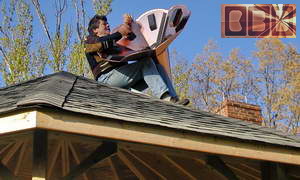
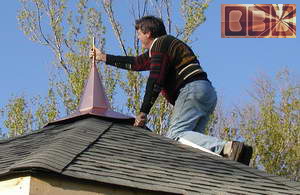
This solution shown on
the right will help make
construction of these roofs easier and faster, as shown here in this
old gazebo roof I covered with copper. I was converting it to add a
cupola.
The real reason these roofs are not vented is only because the Framer may not have known this
alternative design to work this into the construction
with all those rafter beams conjoining in the center. Even if they
were not thinking of this venting issue this logical solution is a far
better design and construction with less board feet used, without
compromising structual stability.
A roof vent requires a solution that will not leak even in stormy weather. Carpenters
know nail-guns and saws. Most Roofers
also come from a mindset of hammers and nails, and are not sheet-metal workers, so this sort of
metal roof cap solution
escapes their logic, so it's a lot easier to just pretend venting is not needed, knowing that
a decade later
the homeowner cannot legally come back on them for that
negligence to not have vented this part of their roof.
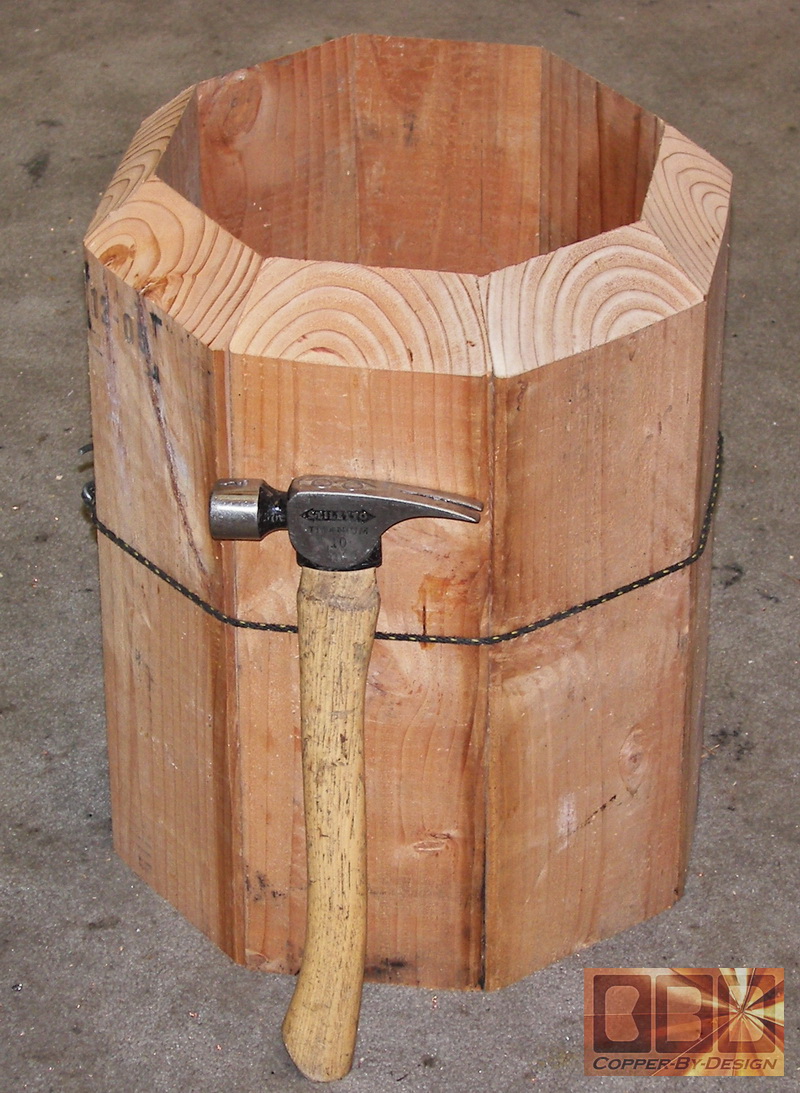
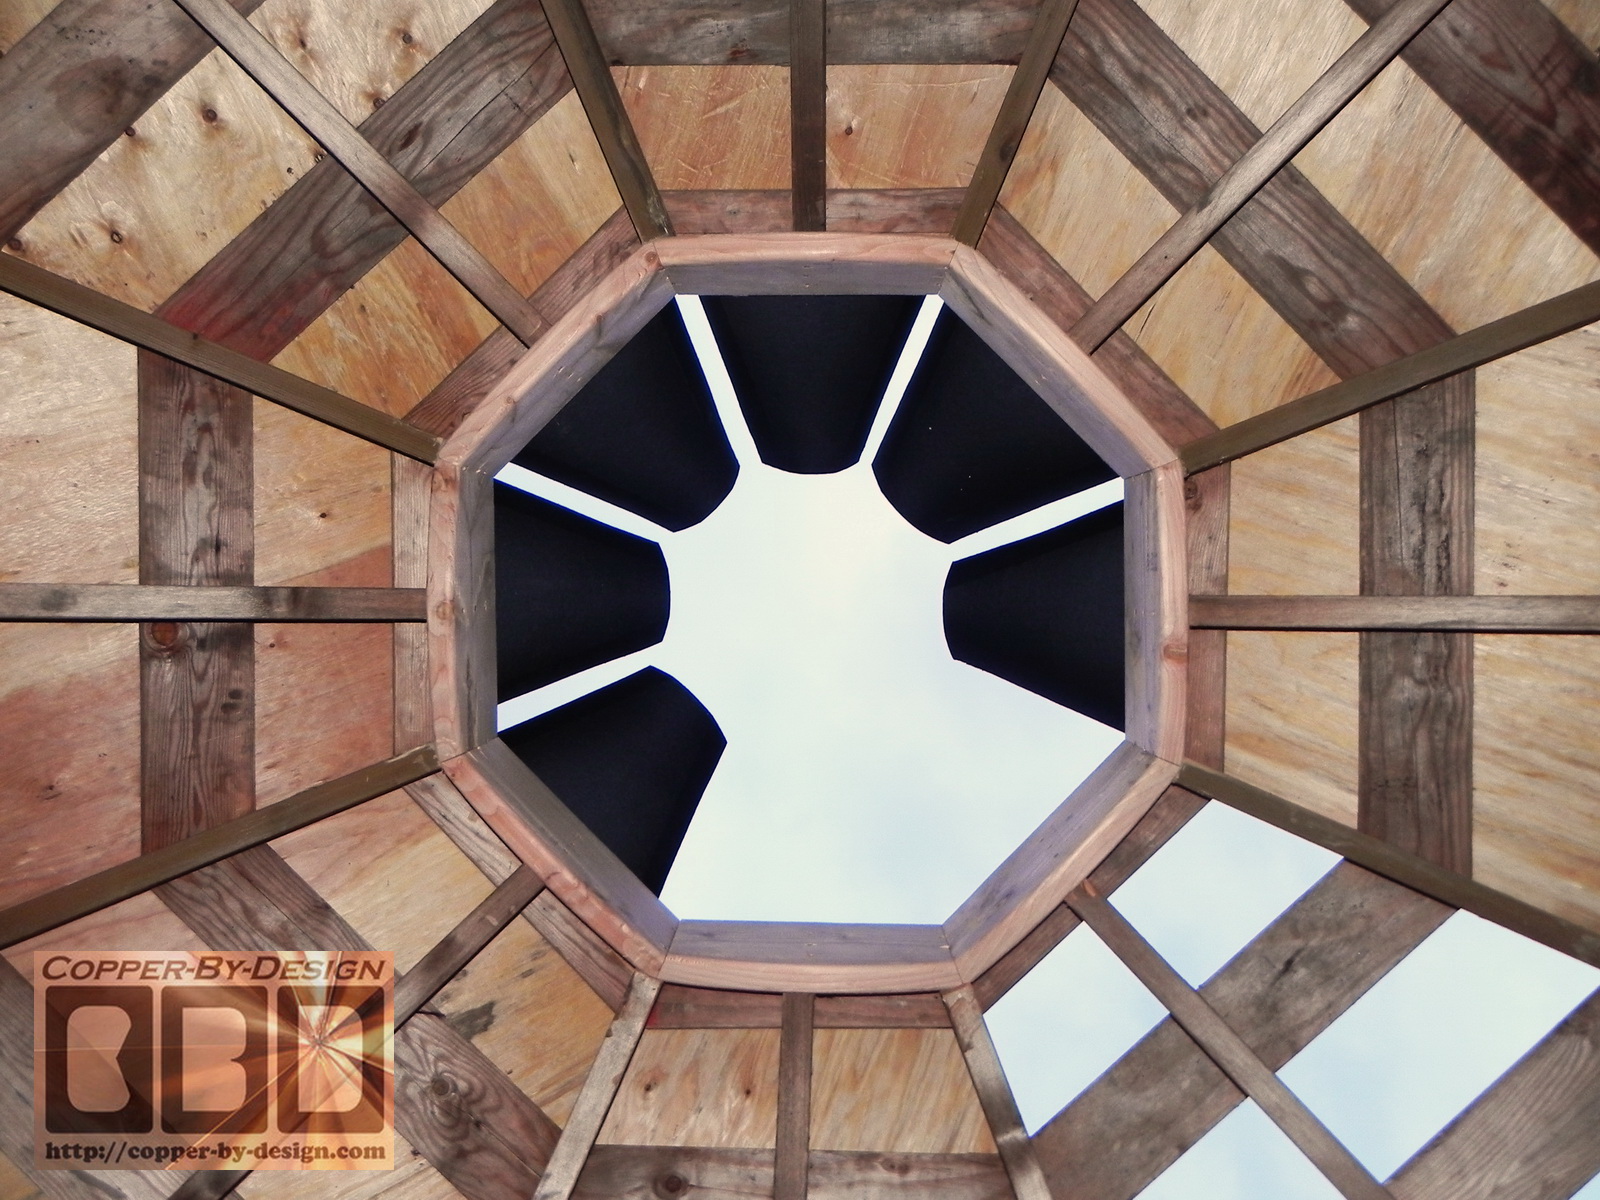
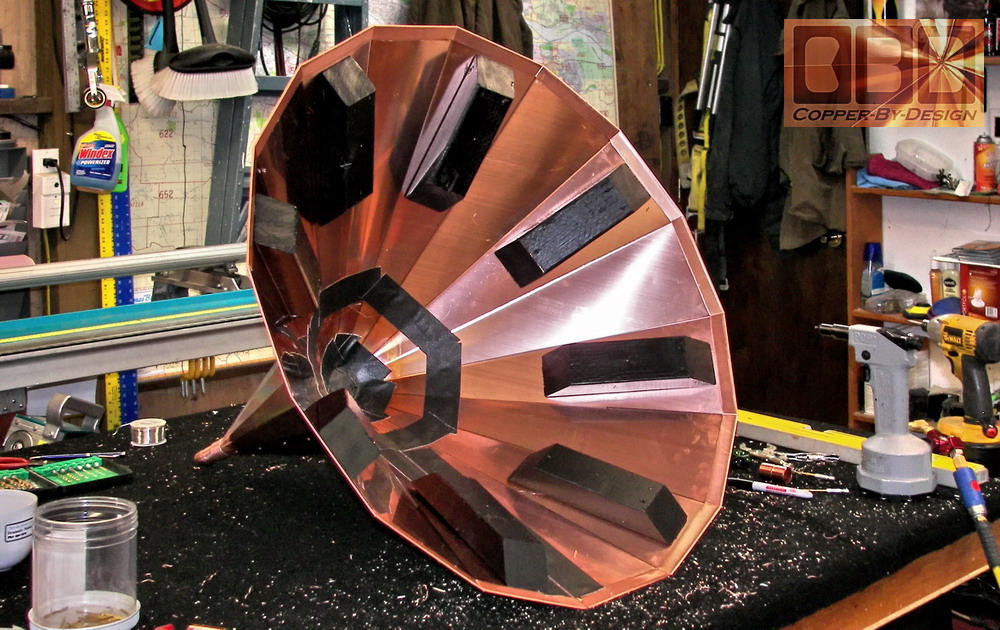
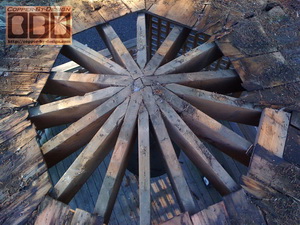
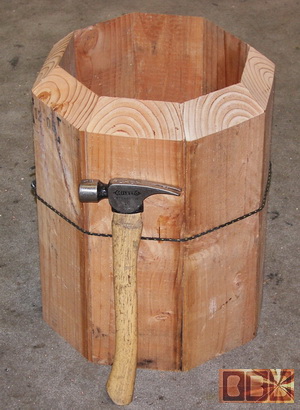
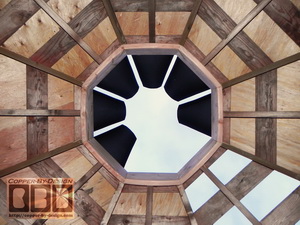
A Solution, even if it is already built:
Few Carpenters realize how much
easier it would be to construct these roof; join the stringers over this strong octagonal
channel made with common 2x6 boards they probably have left over in
there rubbish burn pile. They can simply angle cut the long sides at 22.5 degrees.
Then assemble this hollow core with glue to allow for around 100
square inches of vent through the center. If they use 2x8 or 2x10
lumber they can run the grain horizontally for even more strength,
but it is best to predrill the screw holes, so there is a lot less
chance those boards crack.
If
they don't care about venting the plywood can be still run up to the
center point and not need any other support underneath, since it is
only spanning another 6" to 12" depending on the roof angle.
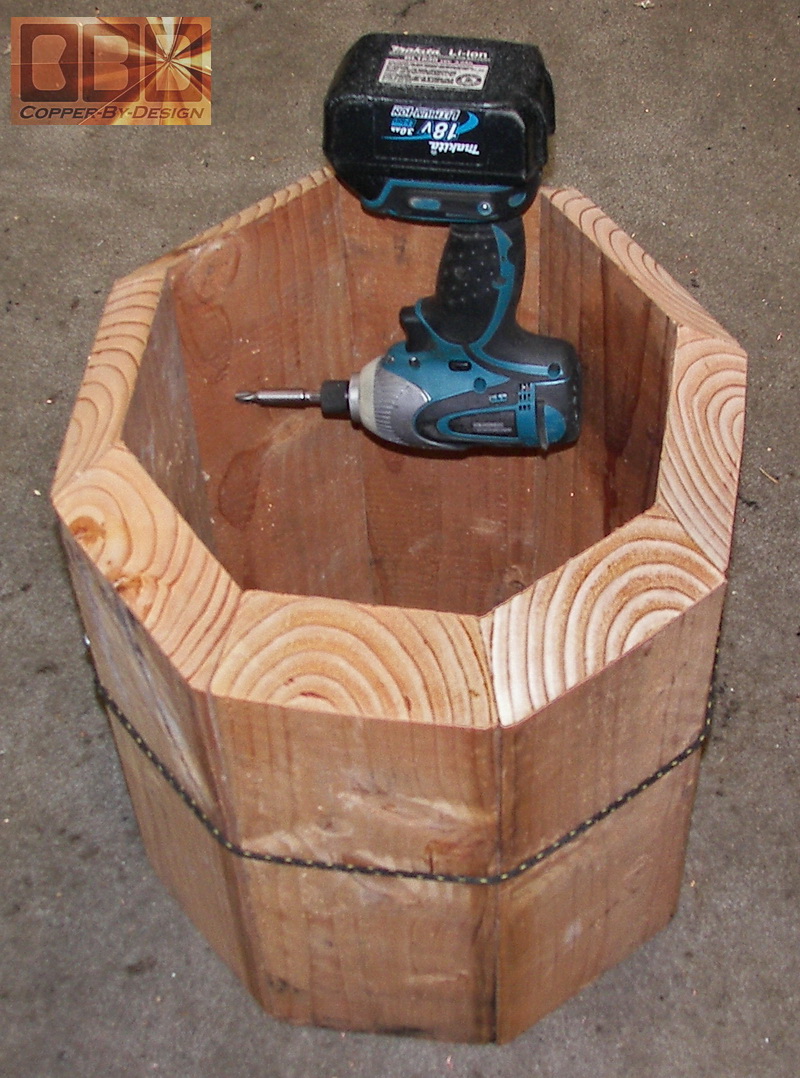
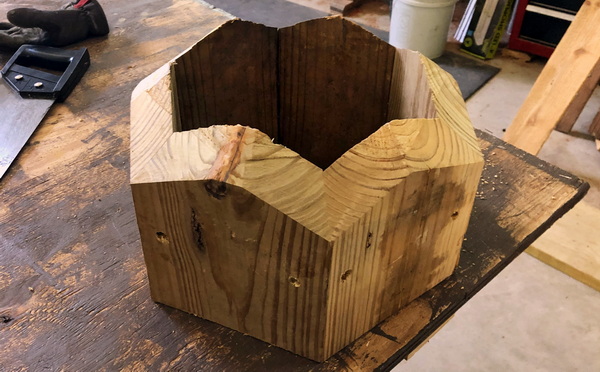
This center hub is made with just 2x6
boards. It's not wide enough inside to swing
a hammer or use a nail gun, which is why most Contractors would veto
this idea, but you can see here how easy it
would be to attach the roof joists from inside this with deck
screws using this 18V impact driver,
as shown in the right photo.
Nails are for Neanderthals!
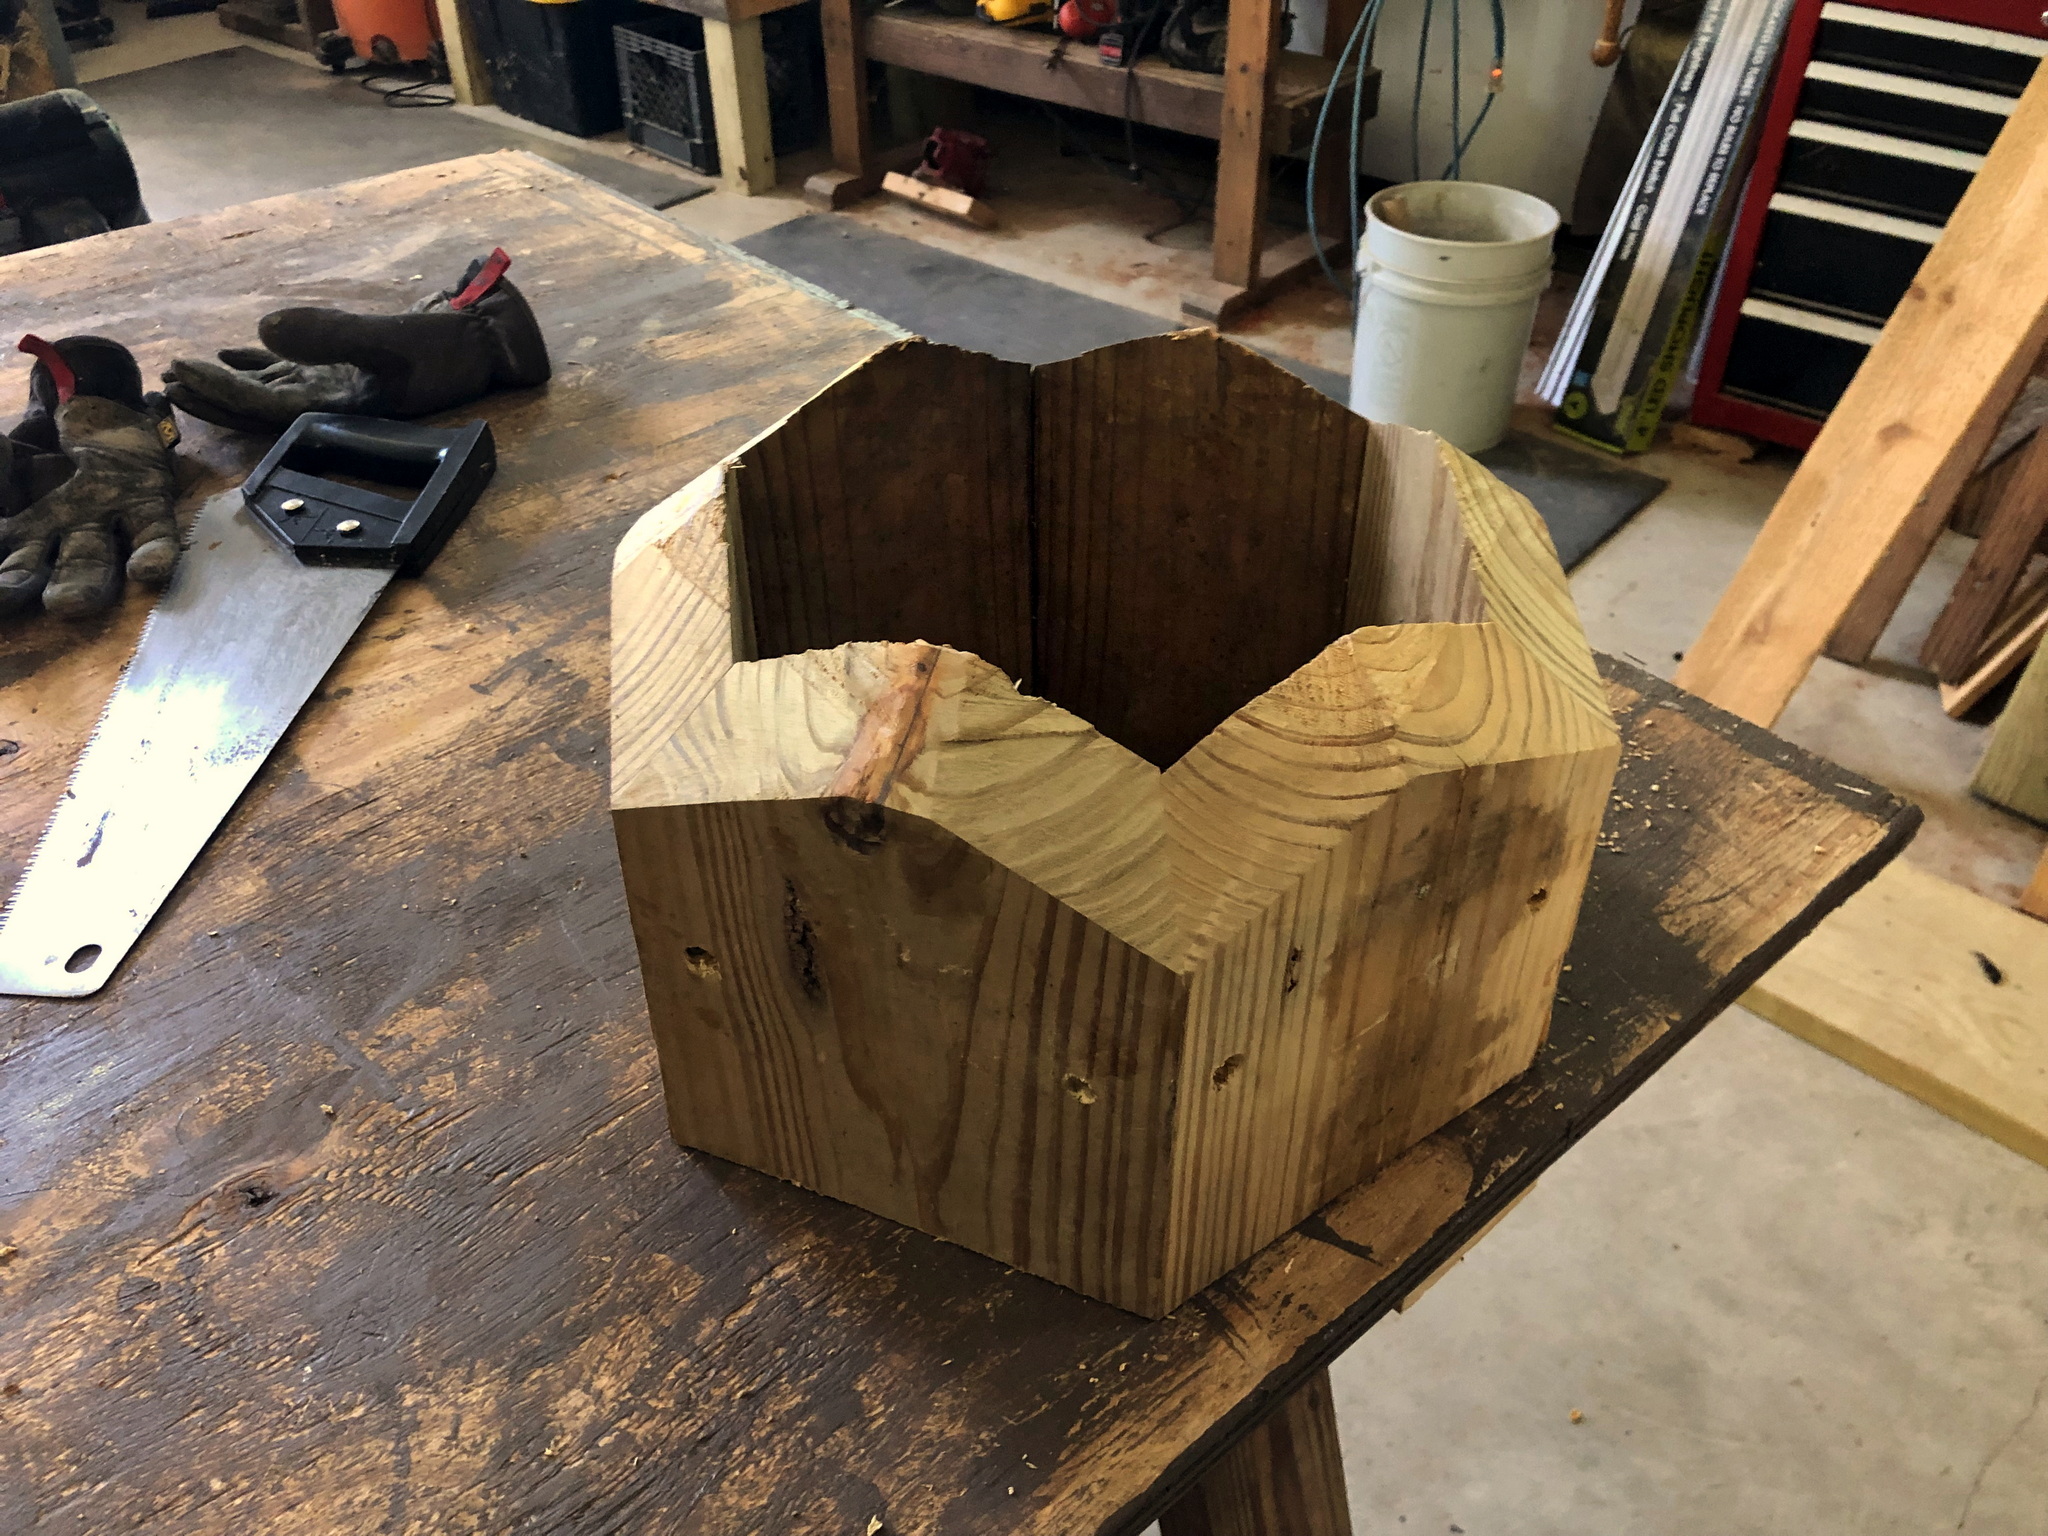
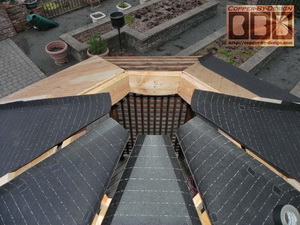
Here is a
hexagon hub sent to me by a client, with the side edges trimmed off
at a 30 degree angle. Note: he had trimmed the top edge to fit the
roof angle and over each seam, so he had flat sides to attach the
rater beams onto, but this may be a little trickier to do:
If at the time you are
reading this it is not already too late, I can make you one of these
in a simple kit or pre-assembled: glued and screwed together, then shipped
to you. They run just $150 for a kit, or $250 assembled delivered.
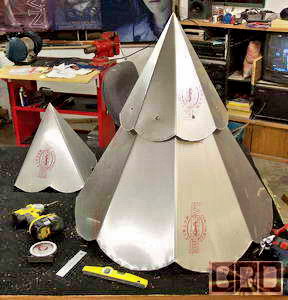
These can be made in different
sizes to suit your needs.
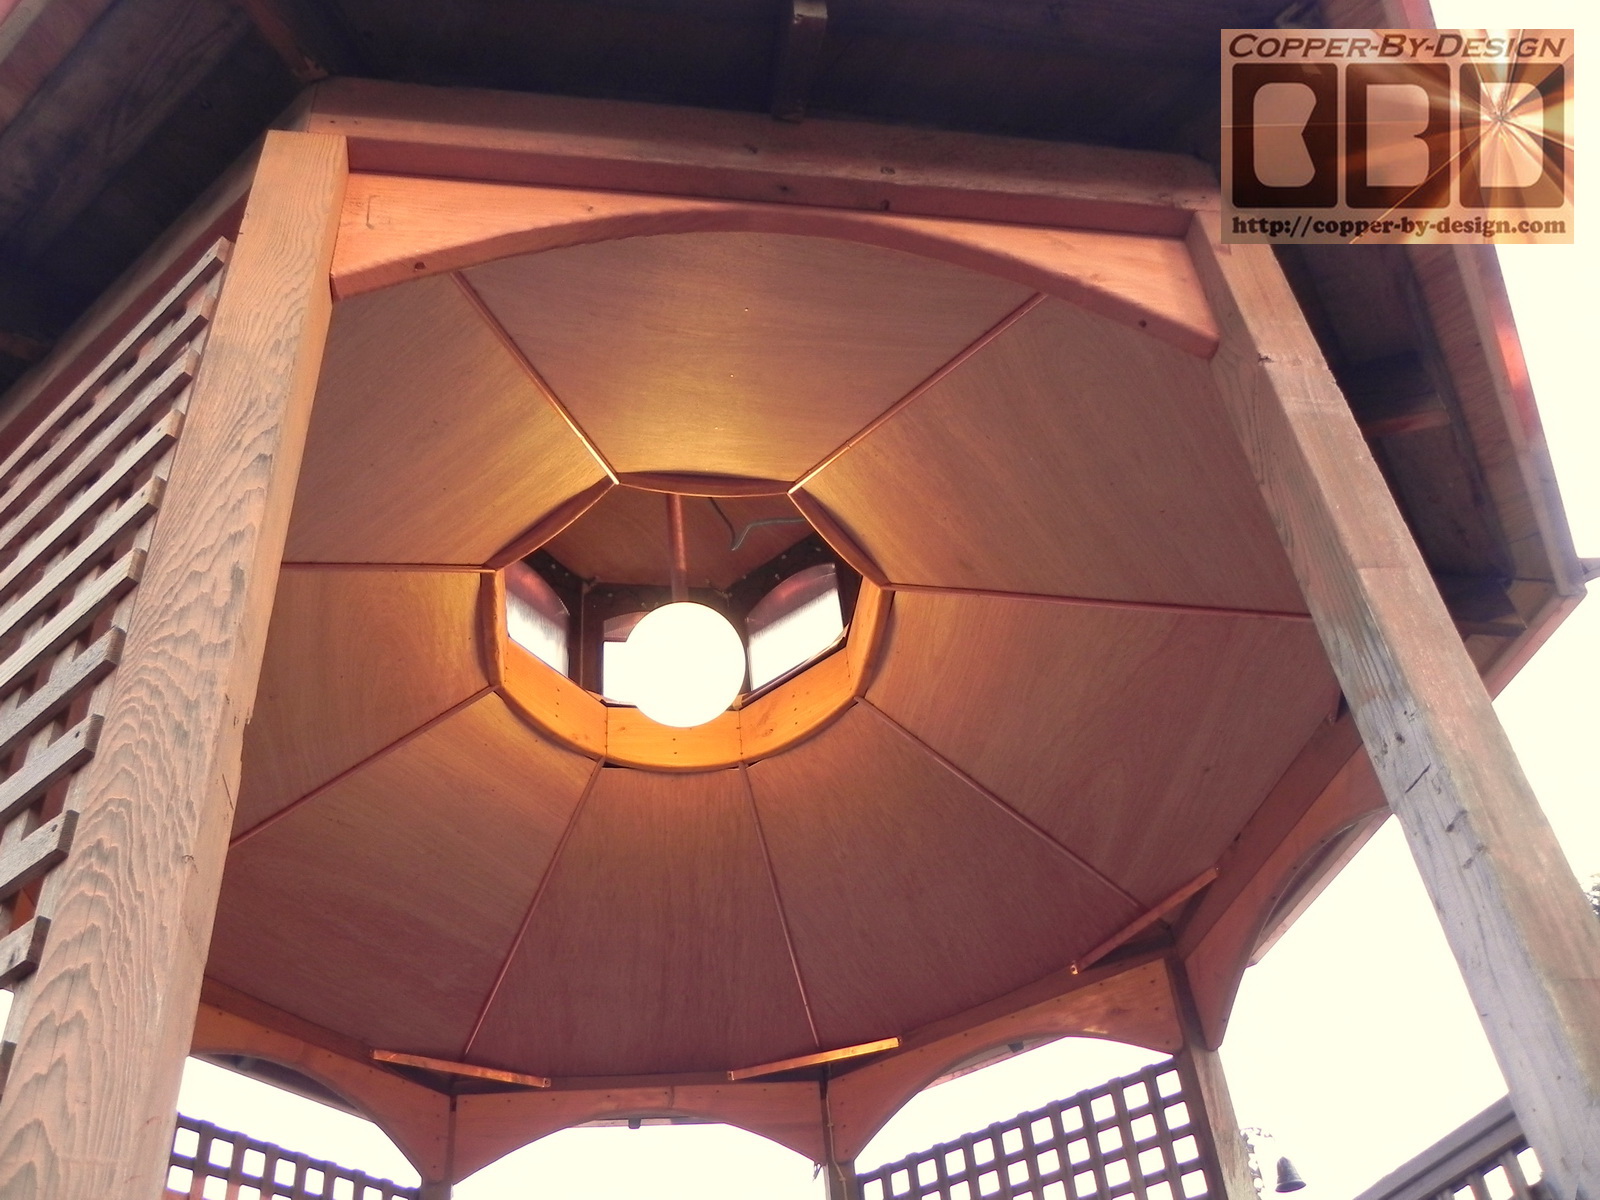
Below is a much wider Key, which is 36"
wide ISD support ring, that I made
from a 10' long 2x10. I made it this larger for under a 4' wide cupola to allow easy access and
shower down the light from tinted windows above. It is plenty
strong to support over a ton if needed.
|
|
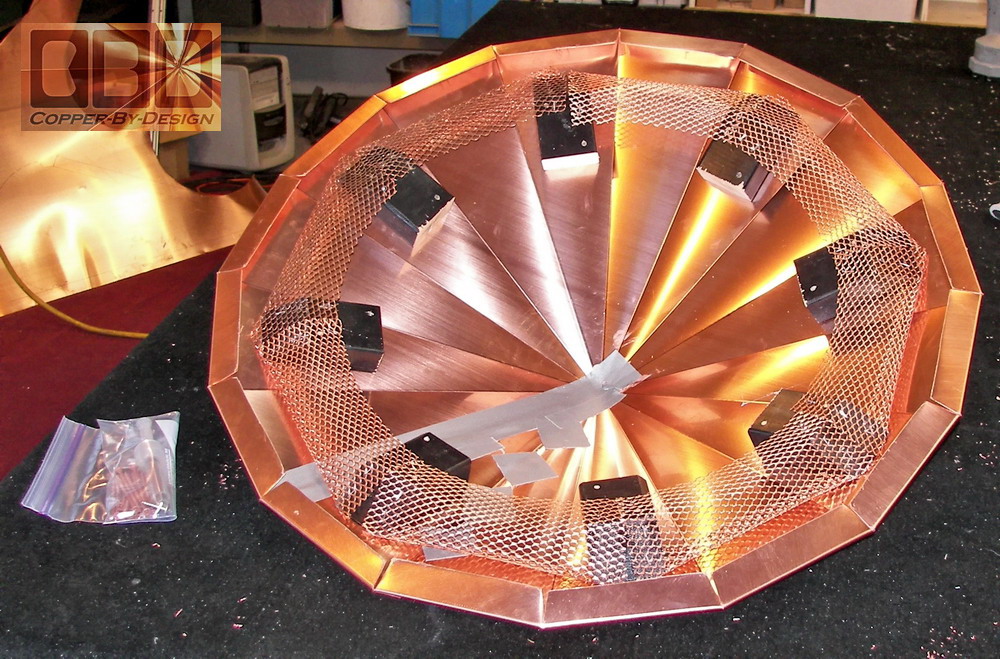
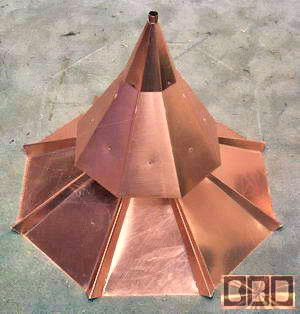
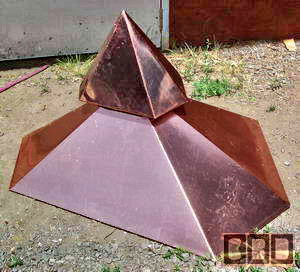
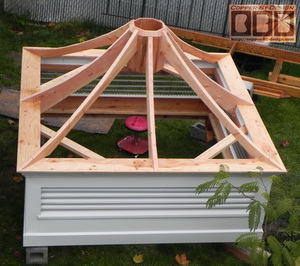
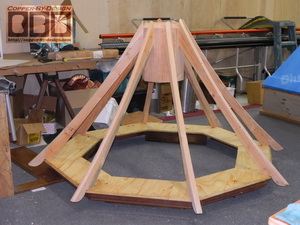
These channels can be simply covered with
a copper roof cap for making a low profile cupola mounted up off the
shingles on some wood blocks to allow for the hot air to escape
under them, yet still cover the center hole from wind driven rain,
as shown below.
Size Does
Matter:
As long as the roof cap is large enough to cover
the vent holes by a good 3" to 6" margin
(depending on the roof angle),
this is a good time to rectify this oversight and add roof venting
at the top. You may also need to see what can be done
about fresh air entering your attic space at the bottom, so that fresh air
will heat up and rise up out the top to draw in more fresh air from
below for continuous flow of air and minimize moisture build-up,
which can cause mold issues. This is a simple non-mechanical roof
vent system, which is better than an electric fan that may cause
noise and fail to operate as needed. It is easy to just mount a set of spacer blocks under any of
my new copper roof cap designs
(I wrote this out in detail on our Installation
Instruction web page).
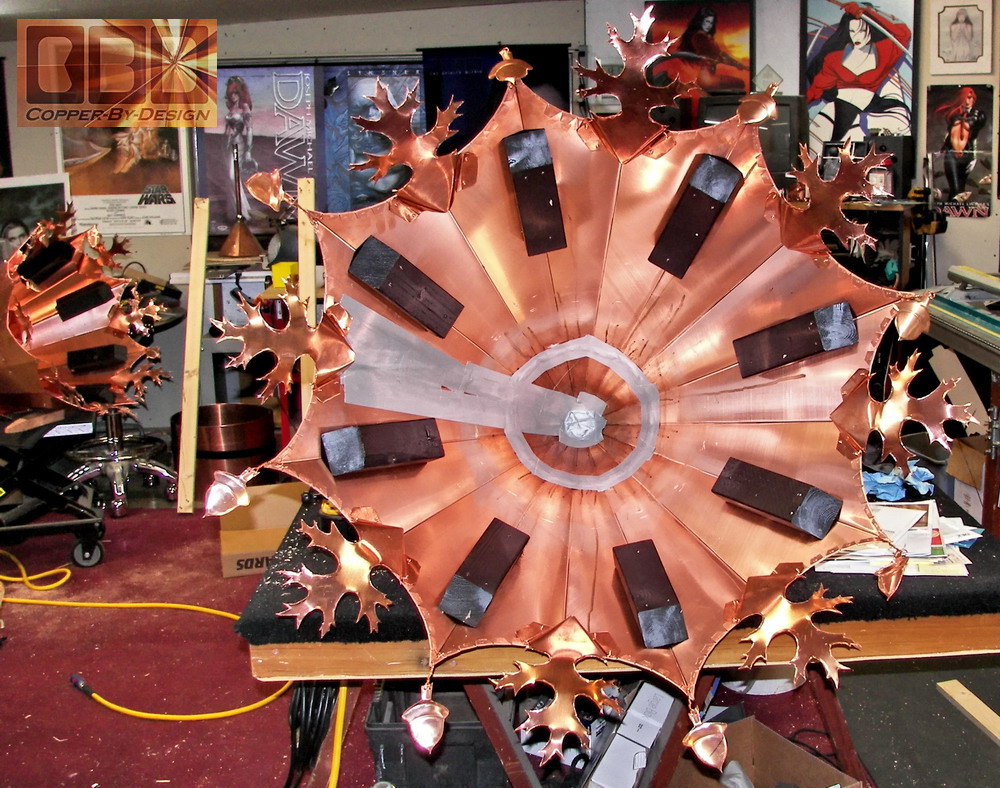
Appearances:
I feel it also makes the roof caps look better
set up off the shingles to give the roof cap a more solid
attachment without dimpling at the screw points.
Especially if the roof cap has a fancy set of tails, but that is
certainly a matter of opinion. When the copper tarnishes to a brown
this graduation up off the roofing shingles gives the bottom edges a
more 3-D distinction that is more easily seen from a distance.
Some people might be concerned that bees will build a hive up under
this gap below where the screen is. That may be true, but bees will always find some place to
build their hive on your property. At least this way it's up high out
of harm from children or guests.
|
|
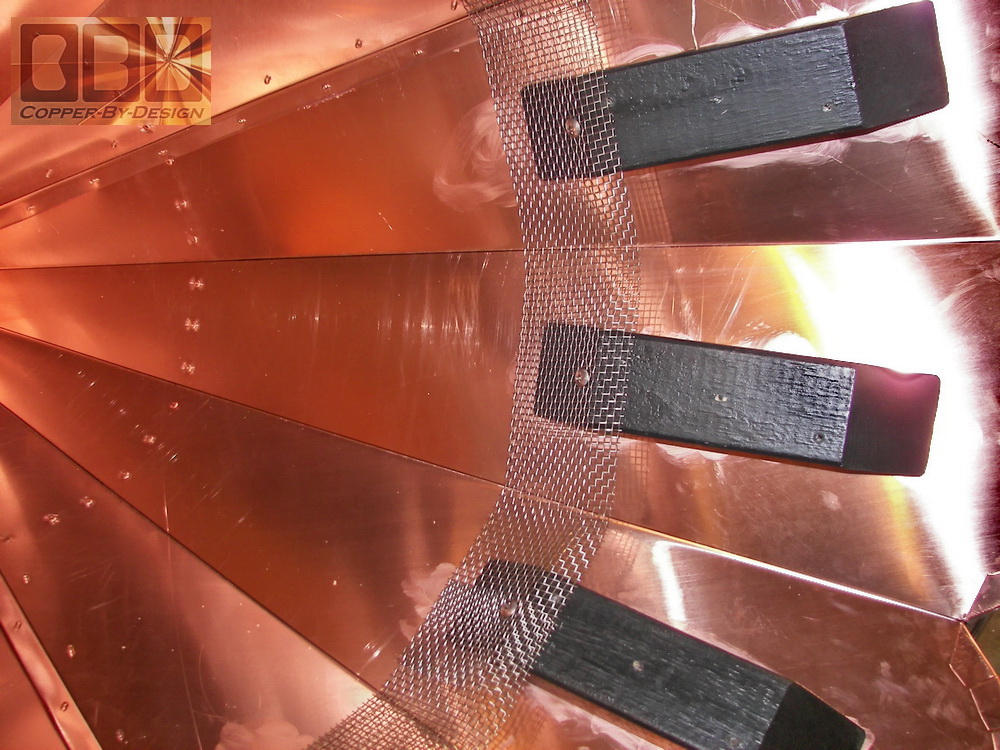
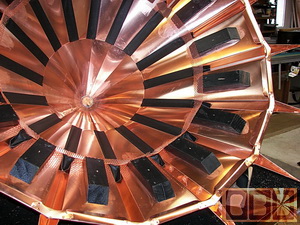
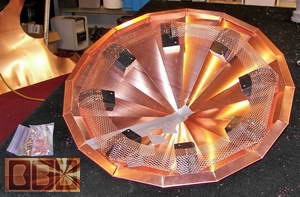
How These Work:
This underside shot shows the
wood blocks with a copper screen I mount
inside the copper roof cap base (optional)
to suspend the cap up 1.5" up over the roofing shingles. The screen is
to seal out pests that may want to nest up inside these caps or inside
the turret roof it's self.
The Steele Turret
Cap
(more photos) |
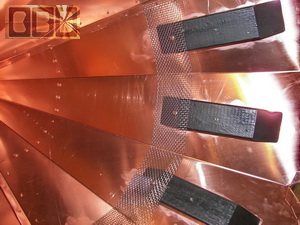
Type of Screen Used:
This shows the stainless
steel screen I now use (5/08) attached
with stainless steel screws instead of staples. I switched to using
the stainless steel screen since it is stronger than the copper gutter
screen I was using, and has a little smaller hole spacing as well of 6
gaps per inch. Any smaller would become plugged with dust over time.
Window screen would be too tight of a weave to last w/o cleaning for
the 2 to 3 decades it will be in service uninterrupted.
The Jessum Turret Caps
(installed photos)
|
|
More Solid Mounting:
Most roofing shingles are pretty soft. These wood blocks also help
to give the roof cap a more solid mounting surface, so when the stainless
steel screws are tightened down it is much less likely to dimple the
copper and make sure these SS screws have a good solid wood to
attach to. With the pair of longer deck screws holding these block in place
it doubles the hold.

The Andreson Turret Cap
(installed photos)
|
Type Blocks Used:
The blocks I use are a knot free wood that is primed and painted with a
high quality black paint, so they would not be visible from ground
level.
Each block has a pair of holes drilled and counter sunk for a set of 3"
stainless-steel deck
screws (included) to lock them to the roof.
The holes for the external stainless steel screws are pre-drilled as well, so
they will not split or crack the blocks.
The Pray Turret Roof Caps
(more photos)
|
|
How To Mount Them:
This client had inspired me to begin
pre-mounting these blocks inside the new roof caps
(3/07). It is very simple; just put a dab
of the expanding glue on the bottom of the blocks just before setting
it on the roof, making sure it is level and the riveted seam is to the
rear. Then after waiting an hour or so for the glue to set, remove the
external SS screws to release the roof cap off the blocks/screen, so
you can screw the blocks to
the roof. Then peal off the shingles just above those blocks and remove the plywood
of that exposed area, or use a 3" to 4" hole saw to cut vent holes
in the roof.
Then just re-attach the roof cap again. Problem solved!
The Bogaards Turret Caps
(some install photos)
|
How Much Venting
is Needed:
I'd recommend at least 1.5 square
inch
of venting hole for each foot width of turret or gazebo roof. If you
use a 4" hole saw this would be about one hole per 4' width, so a 12'
wide turret roof should have at least 4 holes cut that size.

The Ober Turret Caps
(for more photos)
|