|
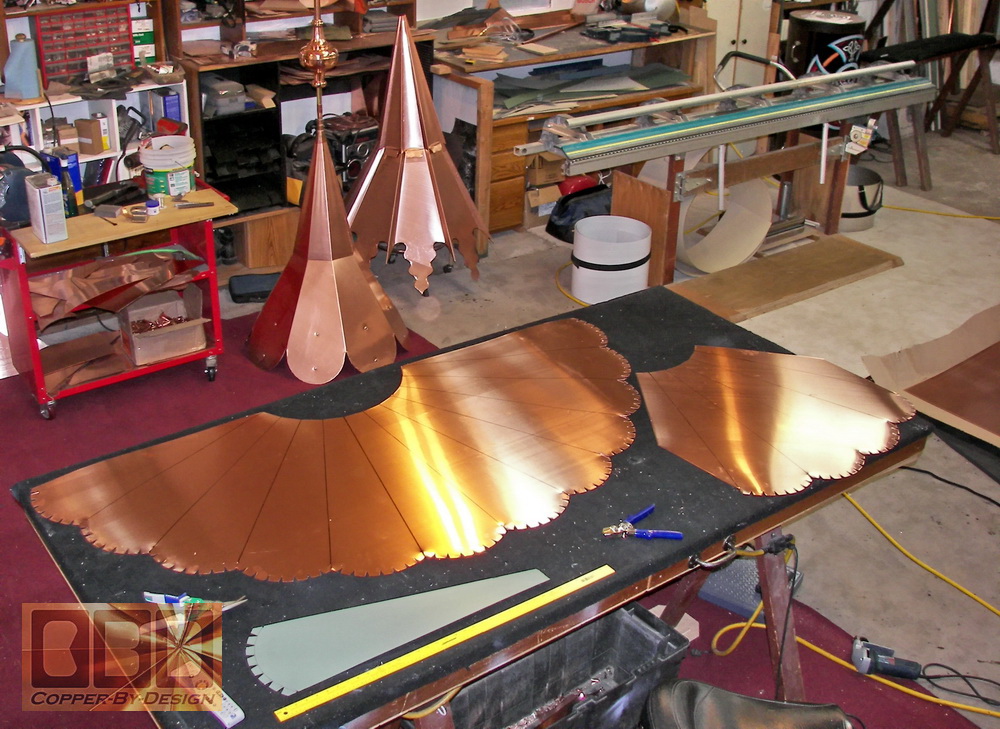
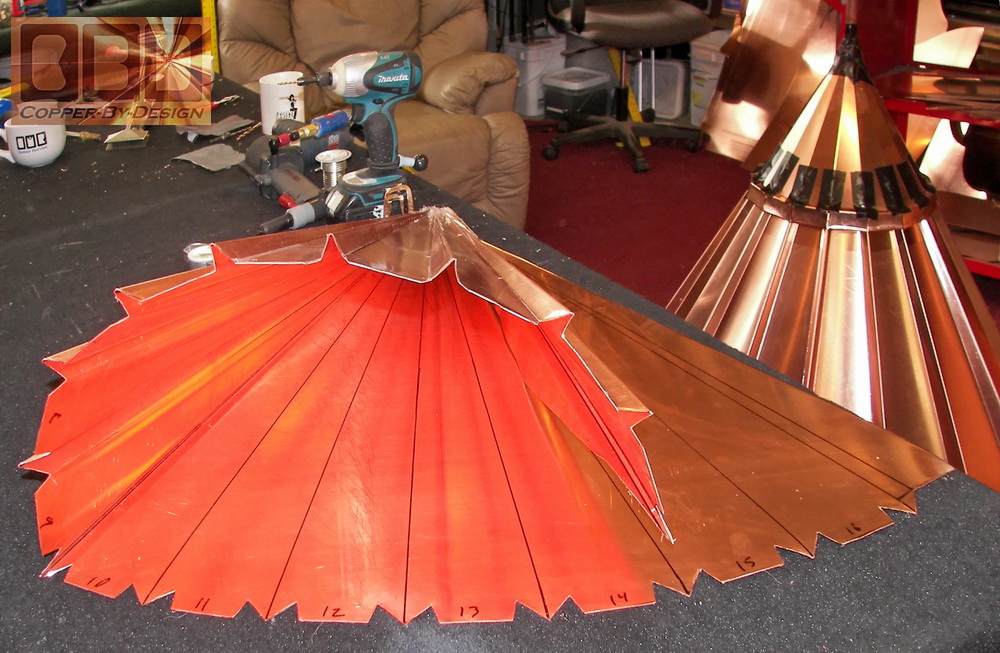
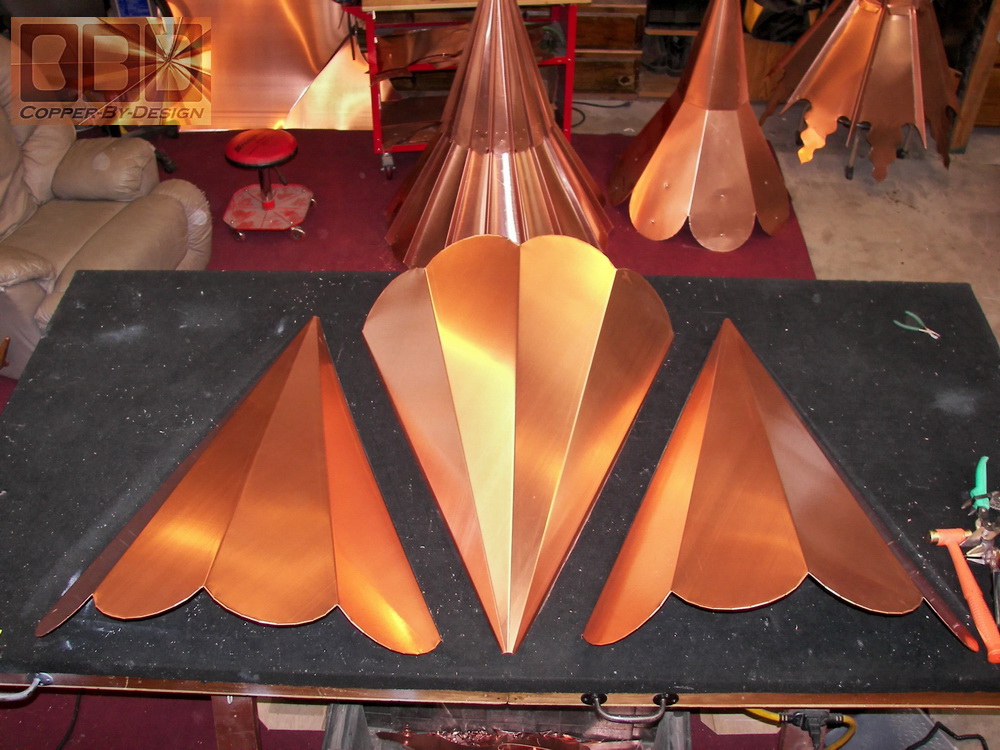
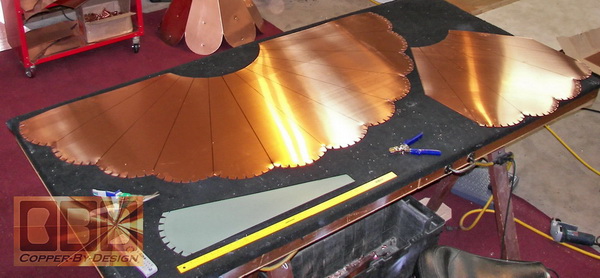
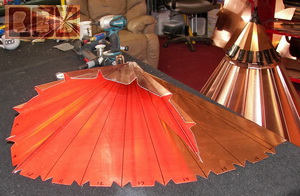
This is a pair of copper
caps for John Jessum in Sammamish, Washington for their front circular
and rear 12 sided turrets on their house. This shows the aluminum template
I made to draw out the base section. I was able to form 12 sides in
one piece and the other overlapping 4 sided back section in the other
piece.
|
|
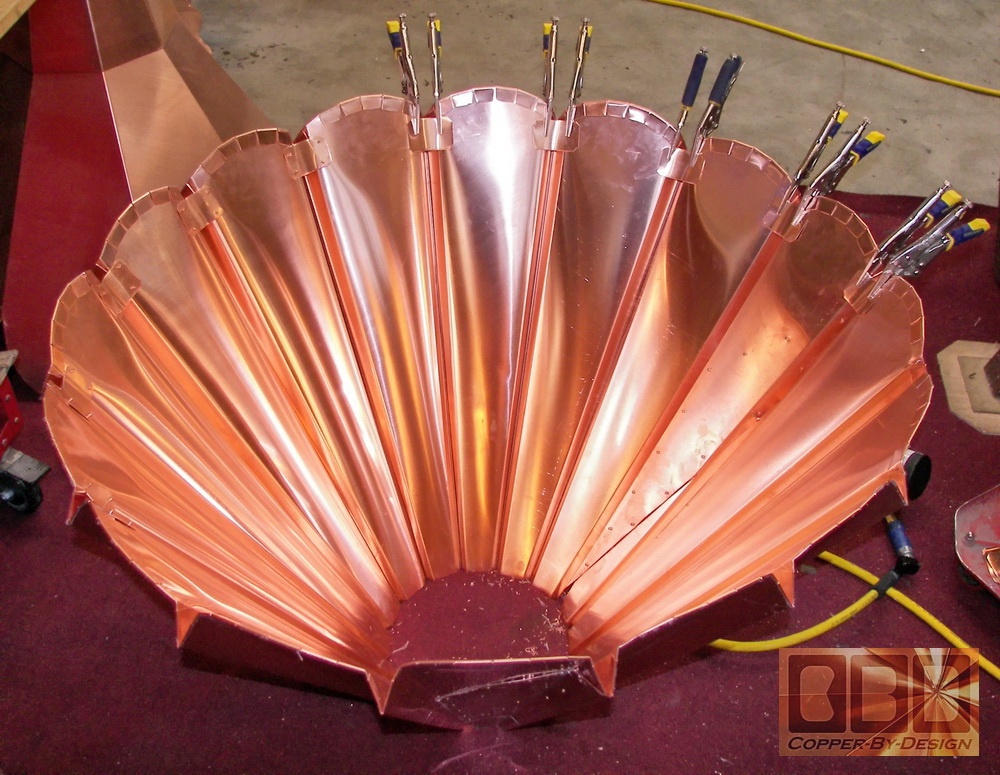
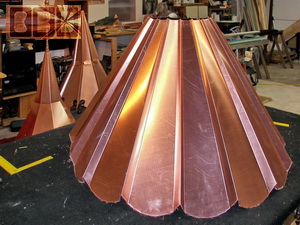
This
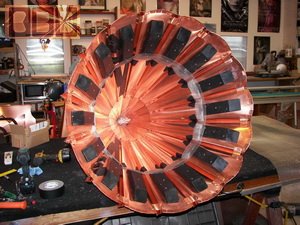
shows the base section bent into shape with raised corners for a dynamic
look and adds strength incase of an impact from falling branches flying
through the air in a wind storm. I had attached it to the back 4 side
piece.
Then I added braces at the bottom of the raised corners to make sure
they will not spread open wider and change the 21/12 pitch angle of
the roof cap. It took 16 small scrap pieces with 4 rivets each = 64
rivets. There are already about 100 rivets in this.
|
|
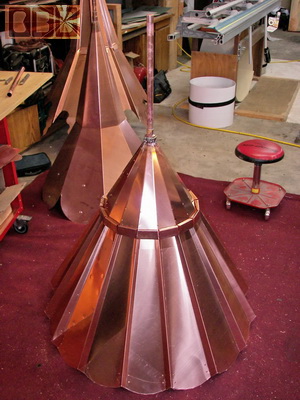
I had left the center section
out of the base since it would be too hard to make all these bends on
such a large piece up to the center. It is better to make a more simple
16 sided center cap that is riveted over the top of the base. It will
not be seen once finished and offers a flange to attach the steeple
cone on to, which maintains the best possible weather seal and also
offers some added roof venting up higher inside the roof cap. This center
cone supports the bottom of the finial support pipe. It took another
80 rivets for this part.
|
|
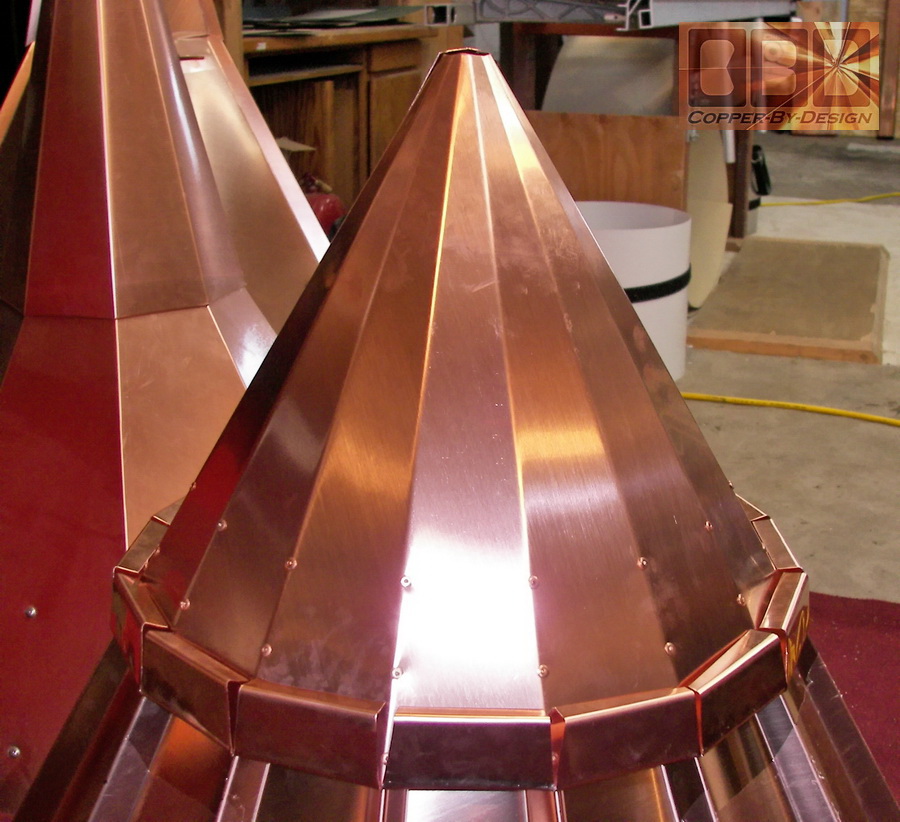
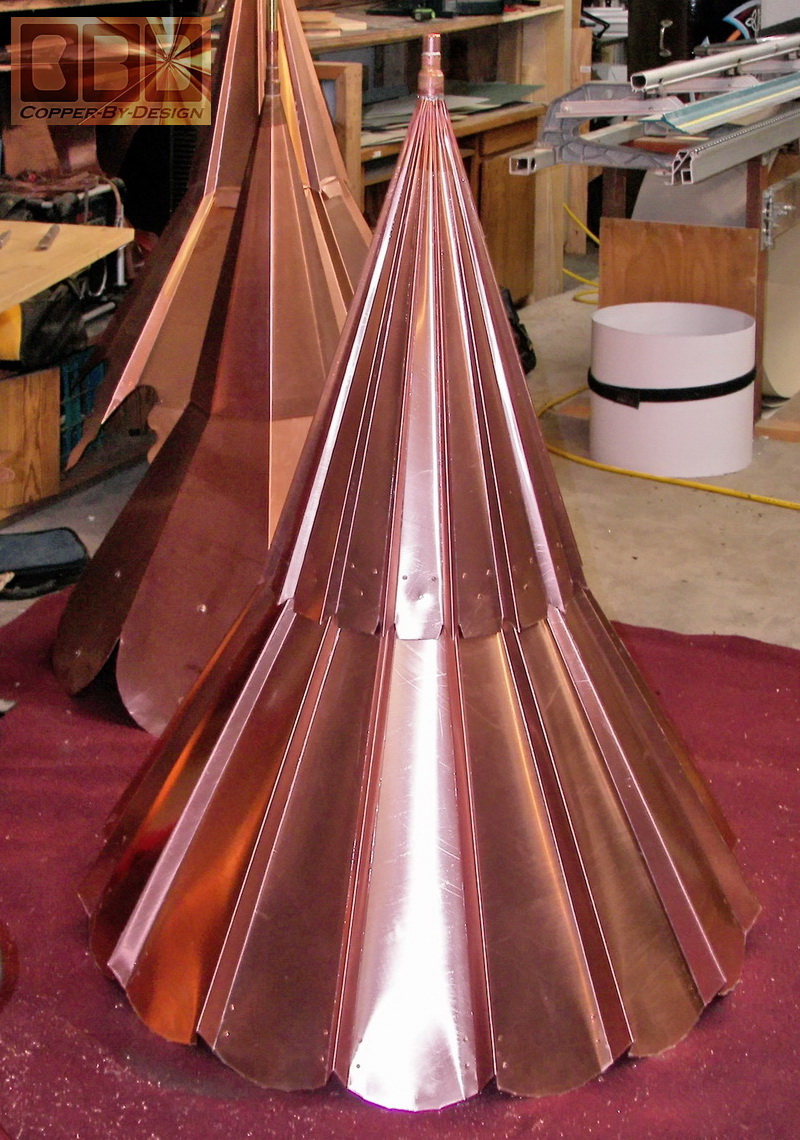
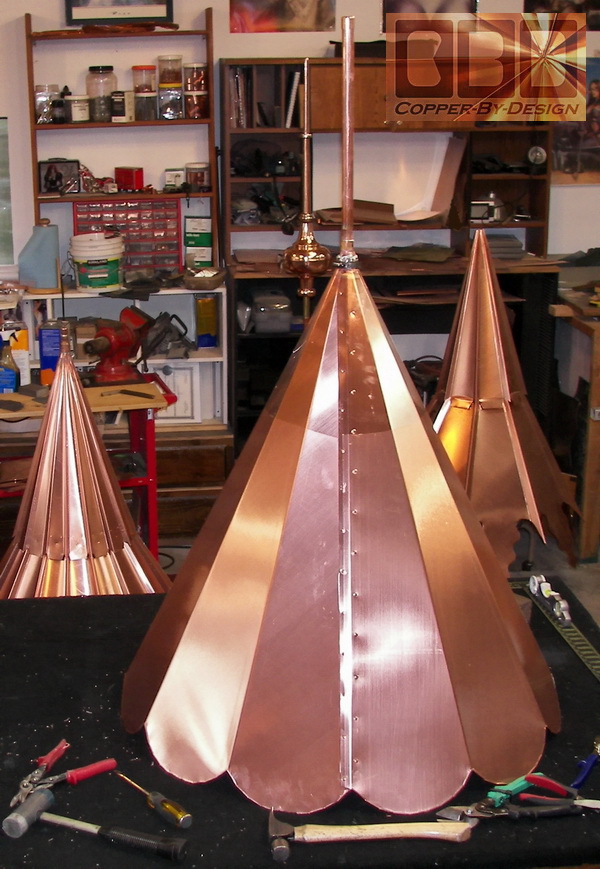
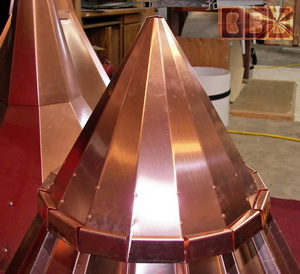
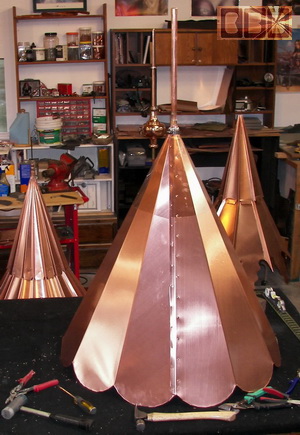
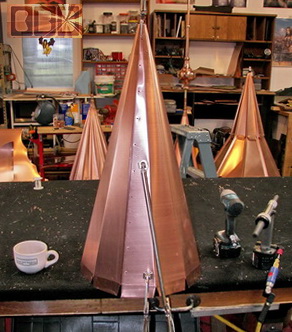
The first photo below shows the steeple cone partially
formed with the base section in the background that has been caulked
over the solder and rivets to make certain they will never leak. I then
covered the caulk with a special tape to shield it from oxygen to increase
it's life span.
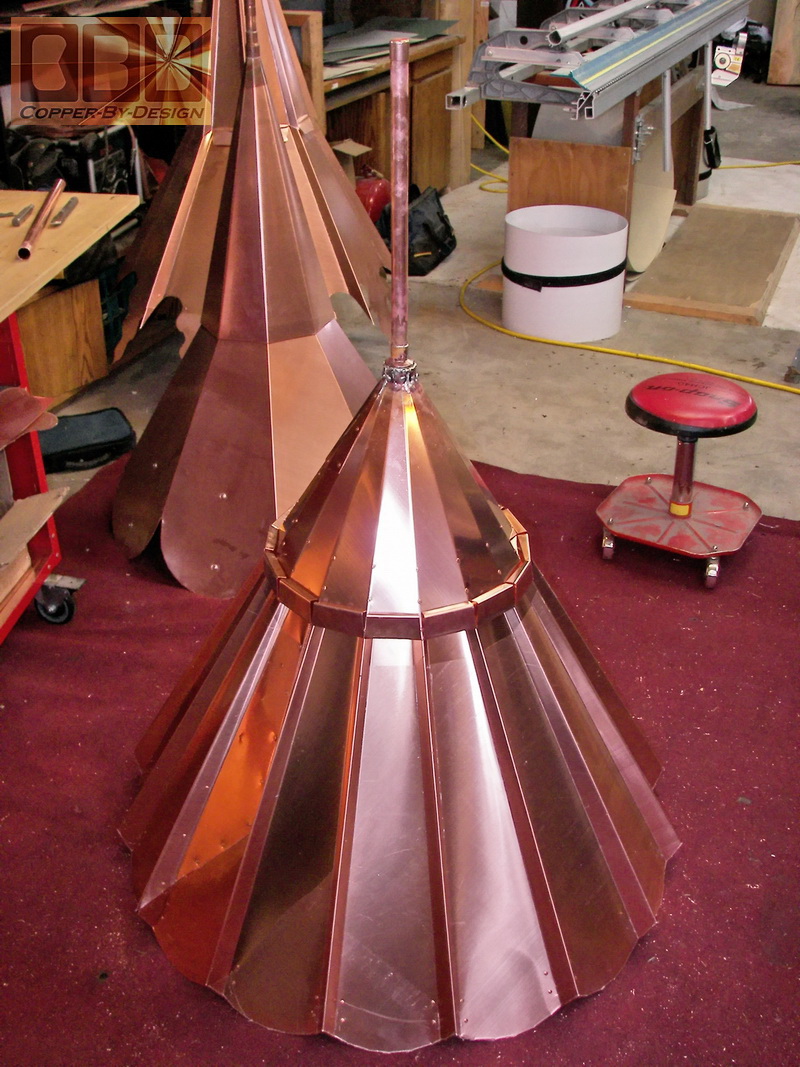
The left photo shows the steeple cone attached
and sealed at the top with a copper plumbing pipe reducer to cover the
top of the steeple cone and soldered in place to hold the top of the
finial support pipe in place to have a strong hold for the next century
of stormy weather. There is another 48 rivets holding this on, so we
are at about 250 rivets so far in this one roof cap.
|
|
 |
|
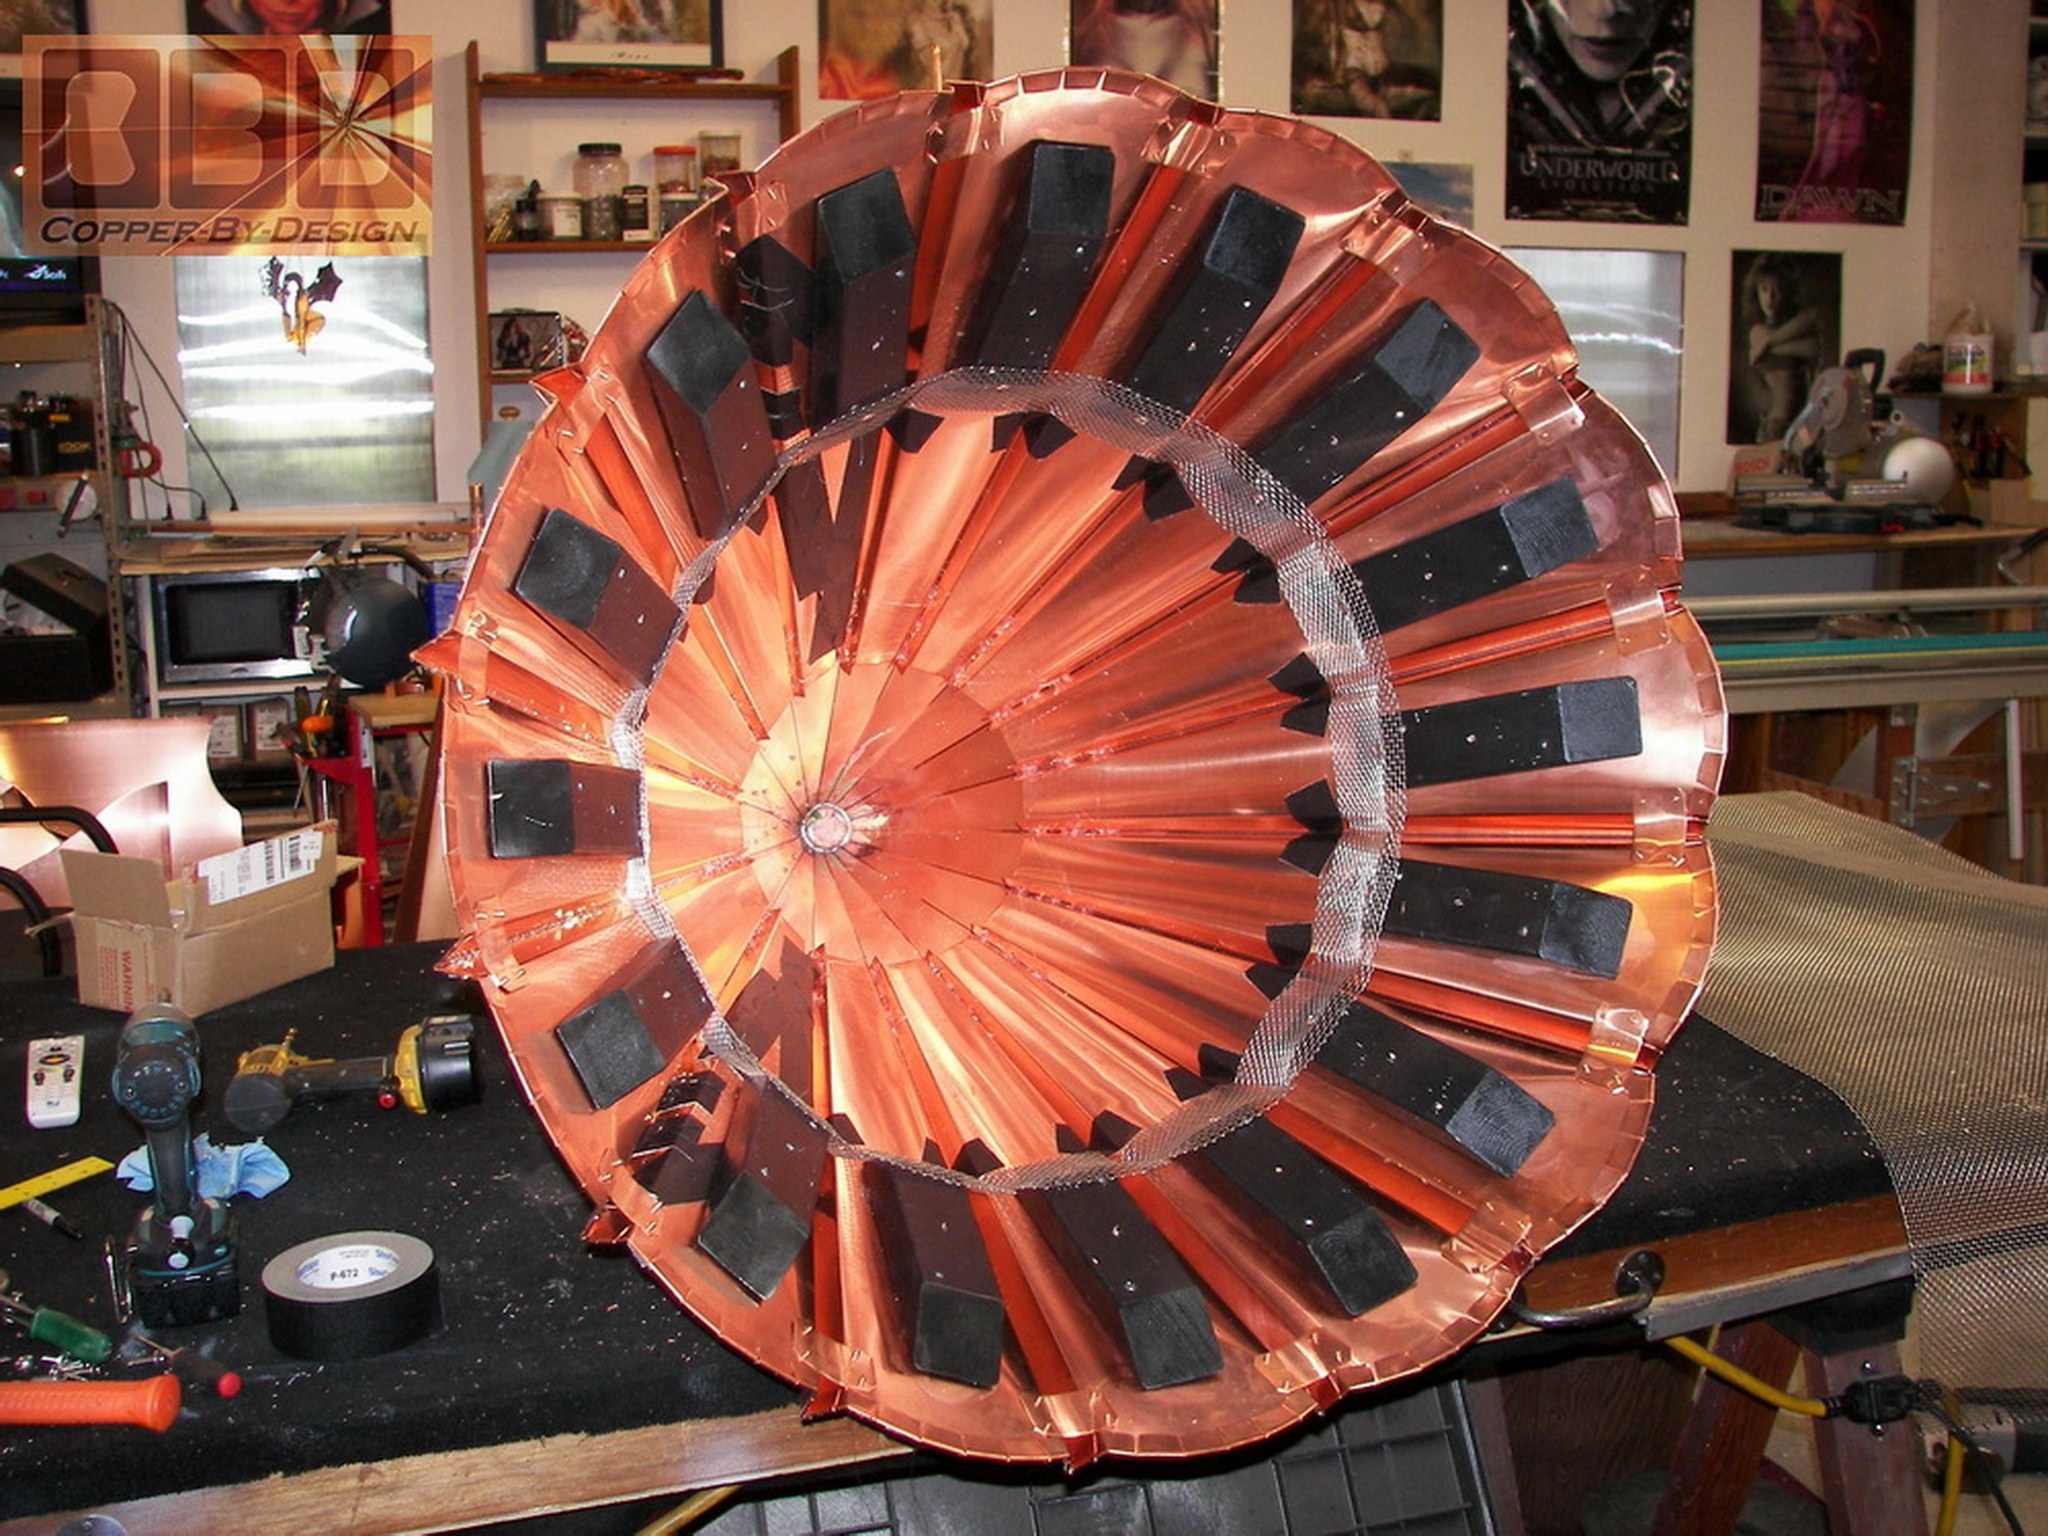
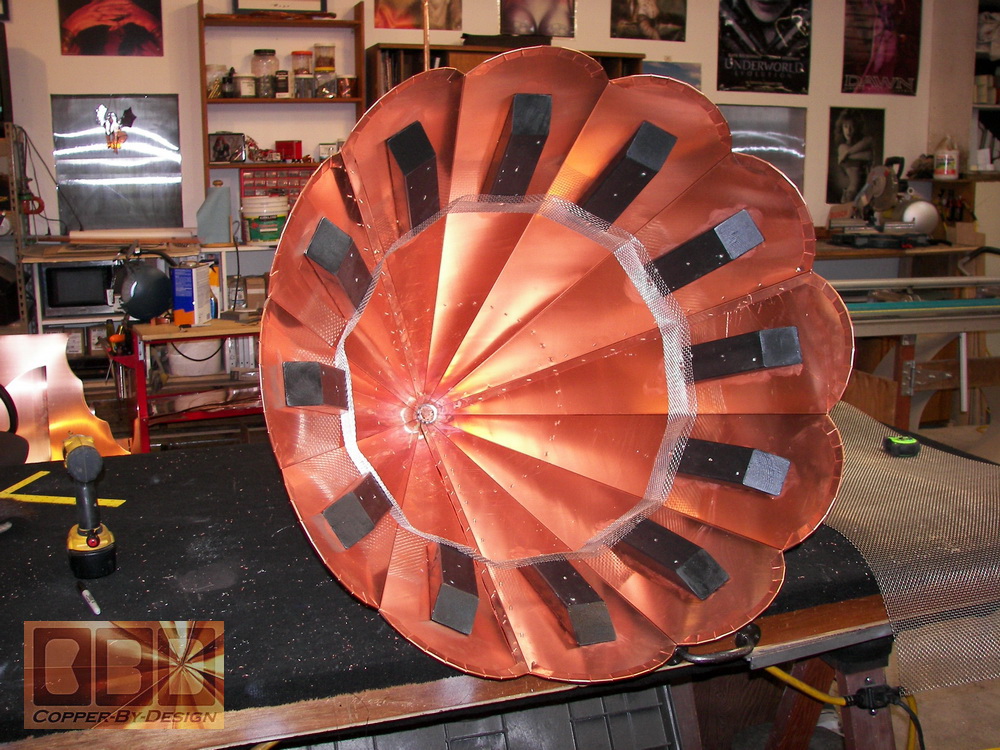
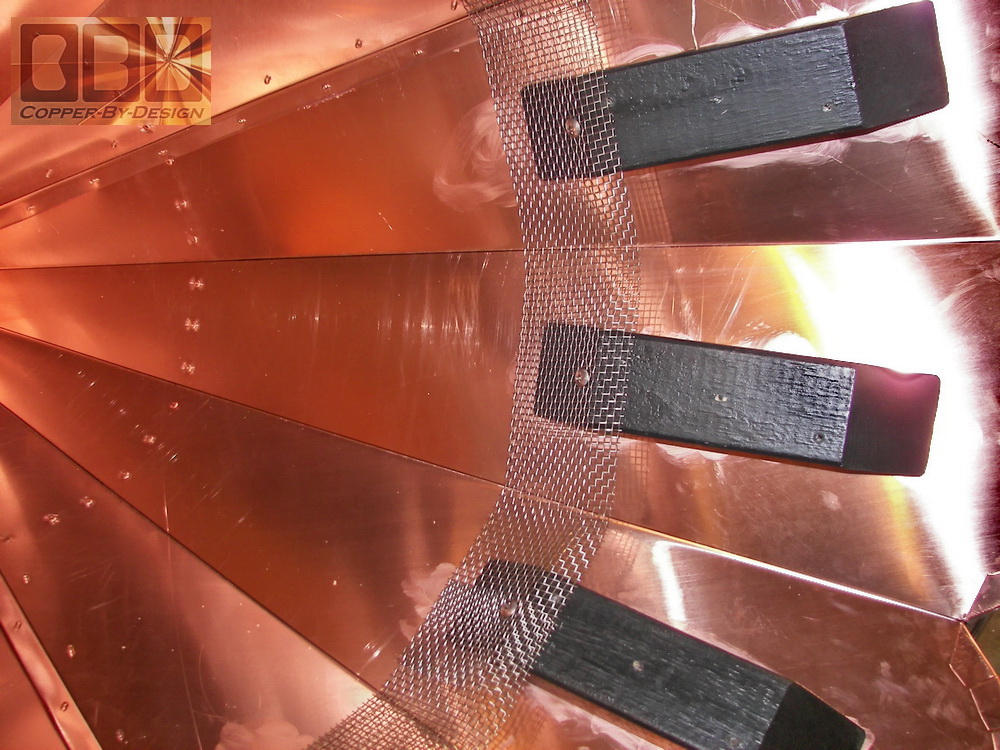
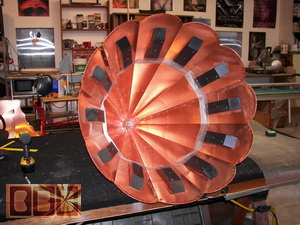
The underside shot shows the wood blocks in place
with the stainless steel screen attached with 16 stainless steel screws.
The underside has been recaulked over the seams and rivets. I switched
to using the stainless steel screen since it is stronger than the copper
gutter screen I was using, and has a smaller hole spacing as well. All
the screw holes in the blocks were pre-drilled, so they will not crack
and split.
|
|
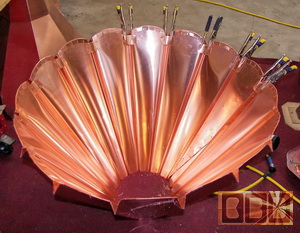
The Rear 12 Sided Turret Roof Cap Fabrication: |
|
This is the very first 12 sided roof cap I have
been asked to make. I had not even received a request for a quote on
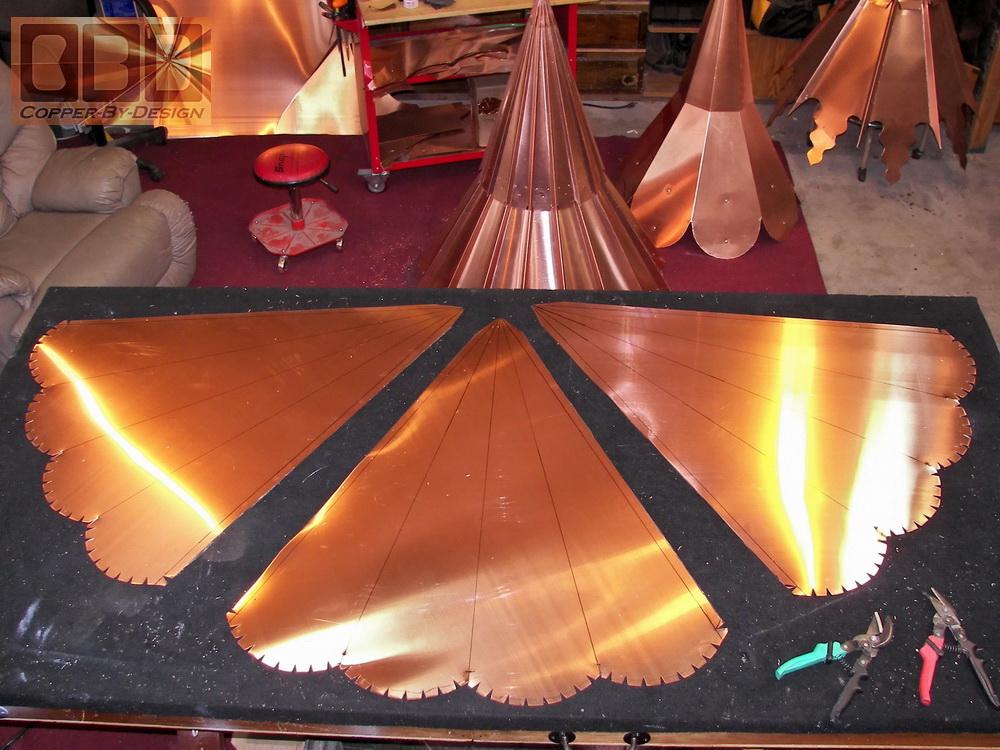
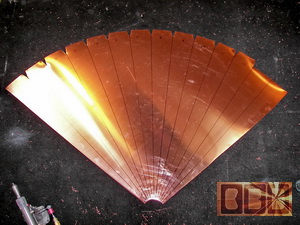
a roof cap like this. Here is
the 3 sections of 4 sides each for the back turret roof cap base. I
was only able to form 4 sides in one piece for this roof cap. I could
not even make this with a 5 sided piece
from the 3' x 10' sheets I use. This one was designed to fit a 24/12
pitch roof peak. The photo on the left shows the 3 sections bent into
shape just before sealing them together.
 
|
|
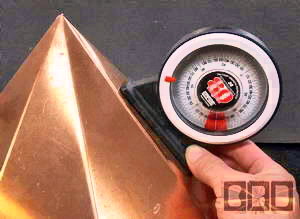
Here is the base attached together and sealed
with the finial support pipe sealed to the tip. I always am careful
to have the cap base on a level surface and make sure the pipe is set
perfectly vertical before soldering and riveting it in place.
Then there is the forming
of the steeple cone to cover this and hold the top of this pipe. This
steeple cone is about as steep as they get. It was 16" wide at the bottom.
I made it to have 2 of the 12 sides overlap, caulked and riveted together
with this bottom flange bent under for the hidden attachment to the
base section.
|
 |
|
|
This shows the set of 12 blocks for the
hidden screened roof vent.
These black painted wood blocks were made to be used as spacers for
venting the roof under the caps, as well as giving the roof cap bottom
design edges a better visual distinction than if they were to just lay
flat on the roofing.
 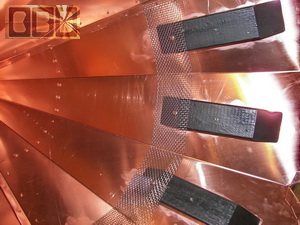
I
mounted the spacer blocks inside the cap base to suspend it 1.5" out
over the roofing shingles and attached the screen to sealed out pests
that may want to nest inside these caps. The blocks were primed
and painted with a high quality black paint, so they would not be visible
from the ground.
Each block has a pair of holes drilled and counter sunk for the 3" deck
screws to lock them to the roof.
|
|
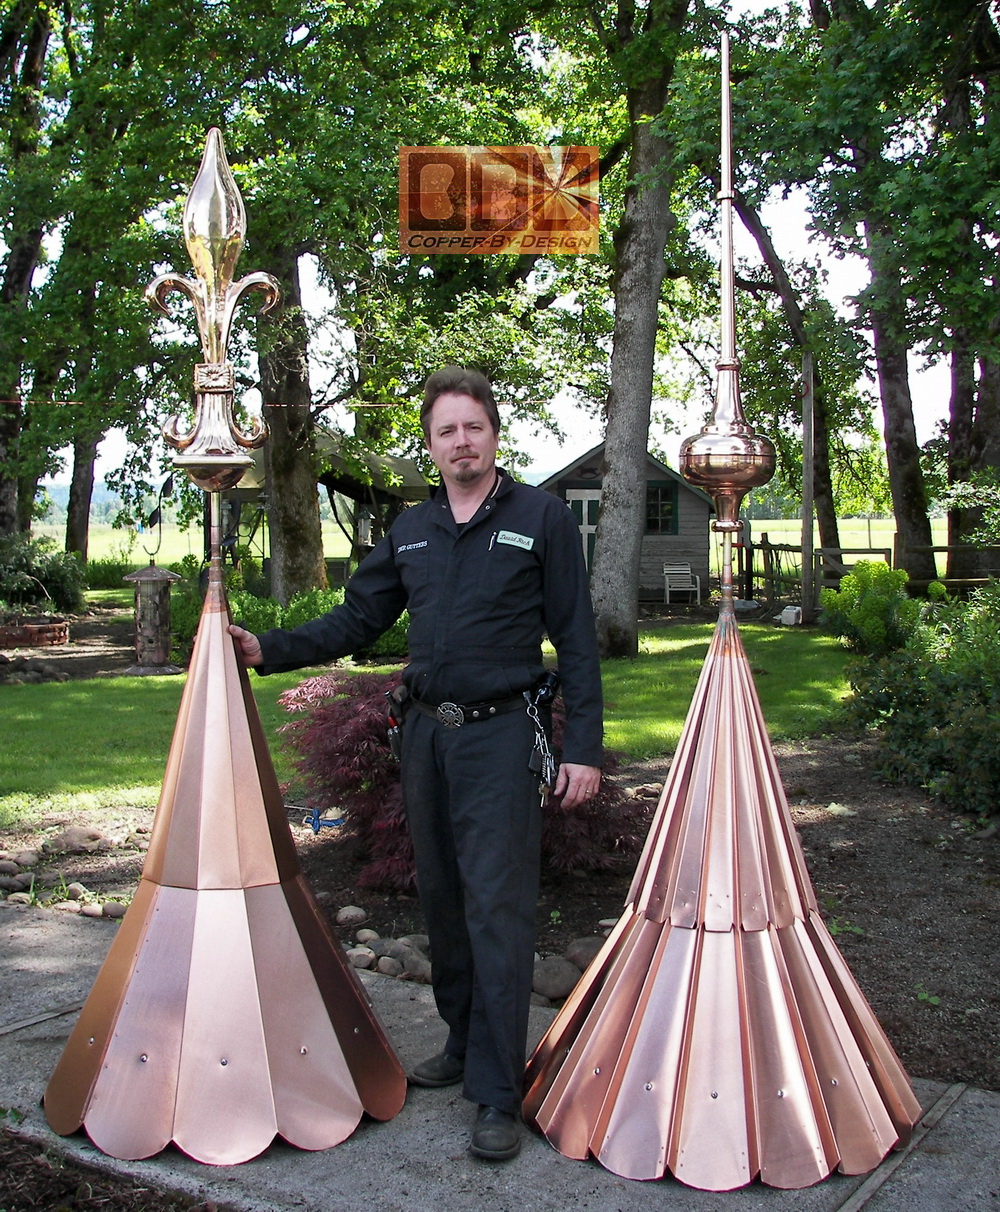
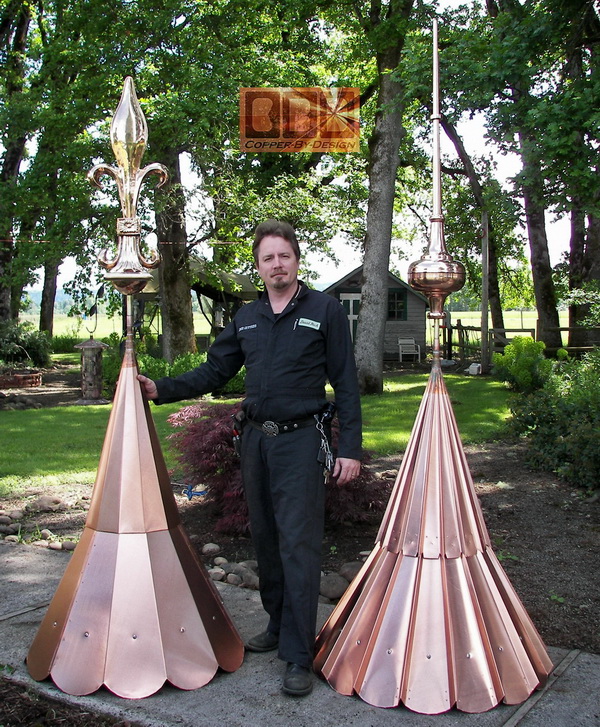
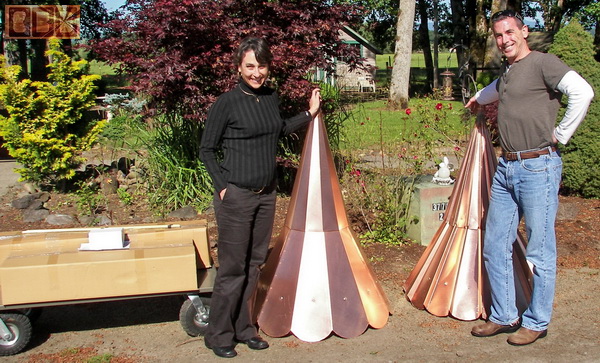
The final cost with the
53" Morgana and the 39" Fluer De Lis finials was $3,157.50 without a
crate and shipping, since the client lives close enough to come here
to get them. He saved $82.50 from this for the added copper I used over
the quoted price.
|
|
Here are the
finished turret roof caps, side by side along with the finials he had
ordered. I brought them out in the day light to get a better photo:
Here are my clients picking
up their roof caps and finials in the boxes to the left
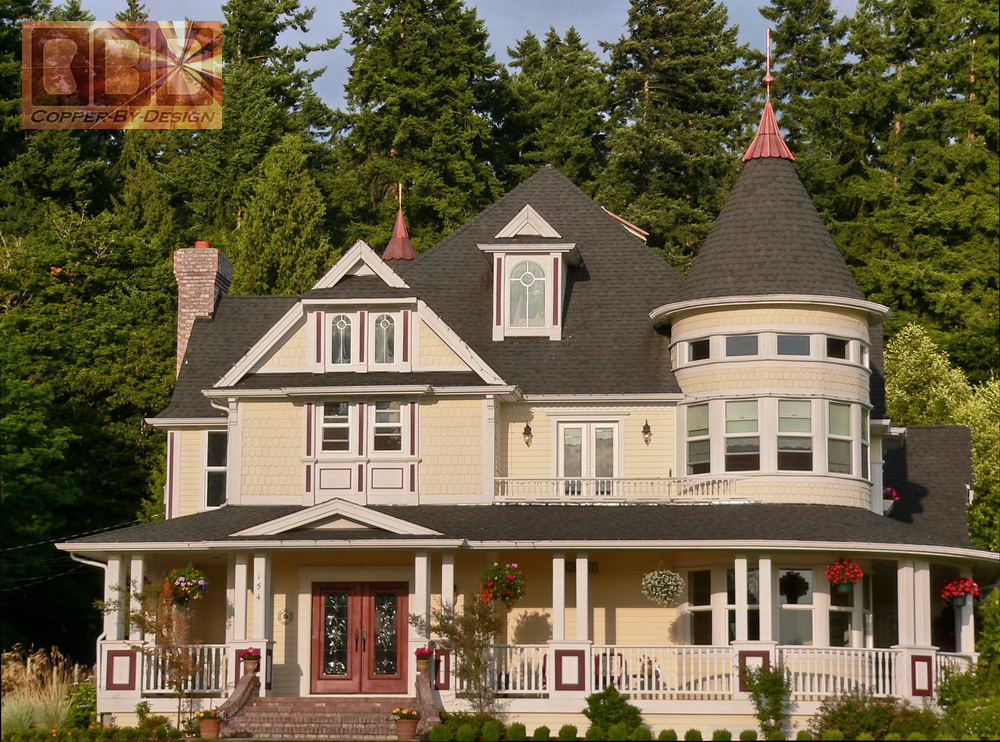
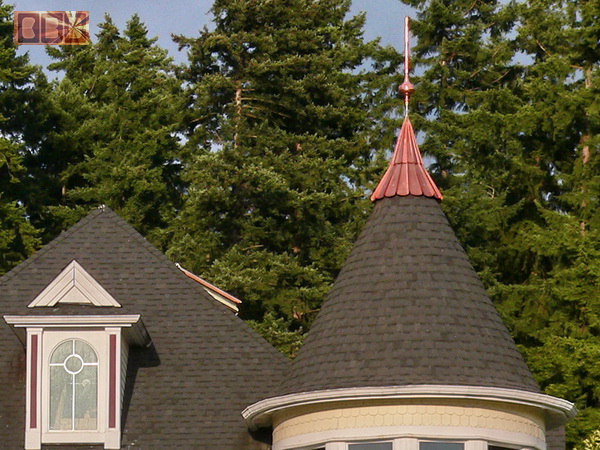
These are the photos they
sent of these turret roof caps mounted
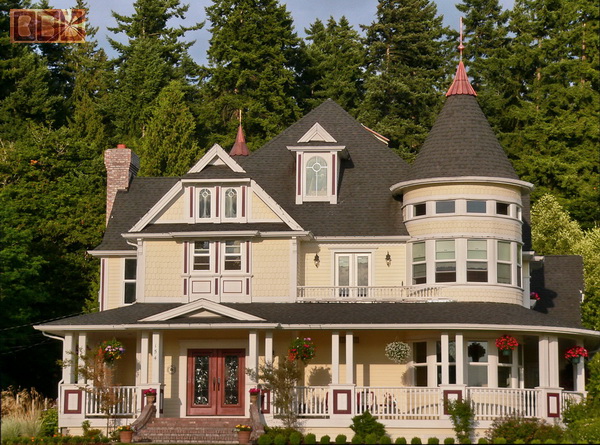
They agree the new 1/6th scale
roof caps do not look too large once mounted 3 stories high
From: "john jessum" <jjessum@gmail.c*m>
Date: Fri, 18 Jul 2008
Subject: Re: pictures for you
Finally got them up! Will let
them set and screw down Sunday.... Didn't put the
Fleur up yet but will Sunday. Enjoy! Thanks again
for everything! The guy who helped me is building
a turret on his own house so me thinks he will be
contacting you shortly about a cap for him.
Date: Sat, 19 Jul 2008
I agree, they don't
look too big now that they are up. I
think the larger draw to the eye is
the shininess of them, but that will
mute with time as they go patina I'm
sure. I hope the glue sticks as I did
not notice any "foaming" after I applied
it to the blocks, and the one syringe
did prove to be a little short, so I
applied silcone caulk to the others,
hoping that when I lift the cap tomorrow,
there is some adhesion there. Alright,
on with the day. As I mentioned the
wife is wanting me to get some extra
time out of that lift by washing the
second story windows!
Date: Mon, 21 Jul 2008
Ok, both are officially up and secured
into place!!!! A couple of notes. There weren't enough of
the brown screws to match all of the blocks and holes so
we had to make due for about 5 blocks with just one as we
were way up there and didn't much want to come down and
go back up. I think at that point my friend and I were thinking,
"this sucker ain't going no where!"
Drilling the roof vents was not too bad
except by the last one the hole saw was pretty dull from
ripping through the composition shingle. My brother-in-law
from the East Coast, who was unwilling to go up on the lift
thought I should be featured in an episode of "extreme homeowner!"
I don't like much heights, but by the end of the day I was
pretty comfortable up there and able to maneuver that machine
within inches. I think every homeowner should have one.
I was able to get a fair amount of windows taken care of
plus a good gutter scrubbing.
I think you should tell others to go
up with a drill bit as well as the blocks can shift somewhat
making hole alignment difficult and with a drill bit one
can pre drill holes as need be, but all in all the process
went smoothly and I was fortunate that we could approach
both sides of the house on flat ground. My front lawn does
have some tire ruts but hopefully in time they will fade
out.
Let me know if you want more pics. Next
year I think we will try for the chimney cap!
Be well.
Jess
|