The Rhoe Gazebo Roof Cap & Flashing Kit Pleasant Hill, California (8/07) Photos & Details Page Updated 8-25-2007 |
![]() |
Company Profile |
![]() |
Roof Caps |
![]() |
Chimney Caps |
![]() |
Scuppers |
![]() |
Gutters |
![]() |
Shipping | Contact Info |
.
This custom solid 20oz copper sheet metal roof cap & flashing kit was made for a contractor in Pleasant Hill, California named Dan Rhoe Construction 925-640-2650, who was re-roofing a gazebo for his client with this unusual alternating hips to the 2 tier roof design. He wanted me to cut a hole in the center of the roof cap for the weathervane mast rod, but I explained how that would void our warranty of the roof cap and would be prone to leak, since that is not the way we incorporate weathervanes into our roof caps. I explained that it was my responsibility to make sure the roof cap could not leak, but what he did to it after he got it was his own business. |
He also asked us to make this side flashing kit you see on the right. Just before making this I asked him to run a string around the side to measure the distance, so we would be sure it would fit. He got 99.5", so his 12.5" per side was correct, but it is best to be sure. I designed it in 3 pieces to set down over the rise in the center before the roof cap goes on. I pre-drilled the nail holes and supplied the copper nails with some of the special caulk we use. He then just needed to finish the shingles on the hips over the flashing after installation. I had included some small pieces to use under the gaps in the splits you see, since I could not attach them knowing the angles will most likely be a little bit different and would change this cap when he installs it to sit flat to the roofing. |
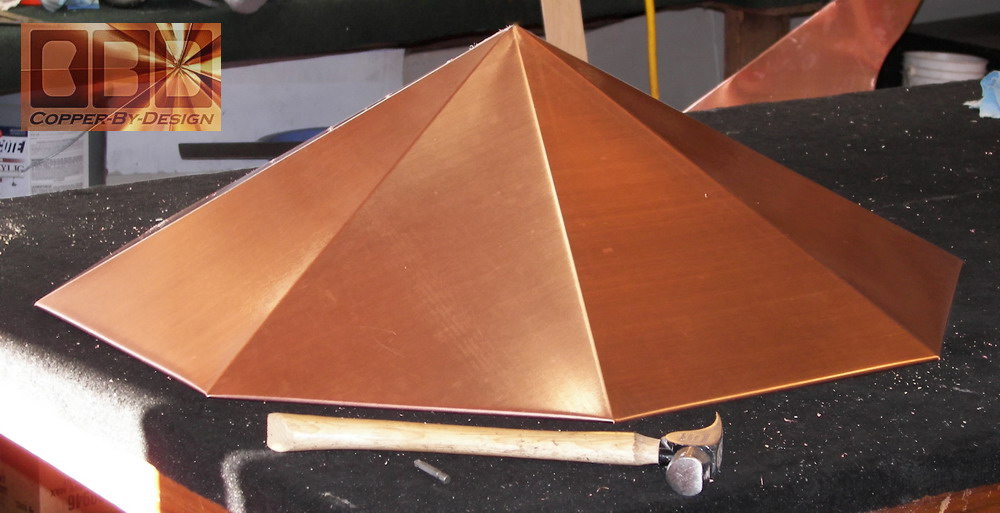
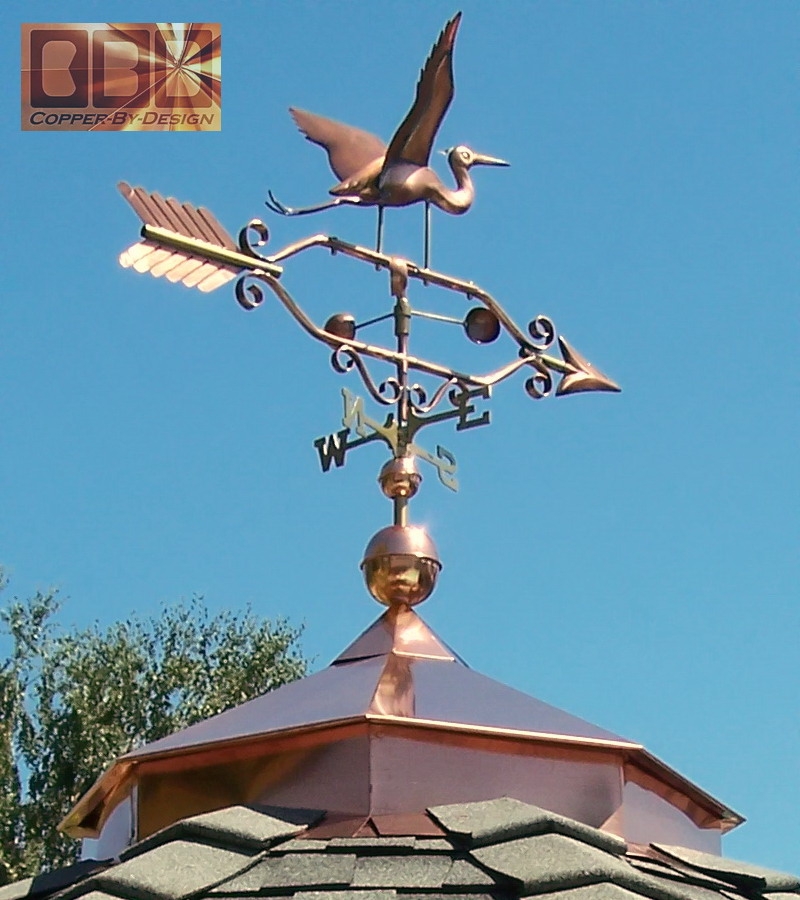
Without regards to charging him extra I wound up reopening the wood crate just before shipping to include this small center cap to cover the caulk he would need around the weathervane mast; to keep the Sun's UV rays off the caulk and to make it look nicer. 
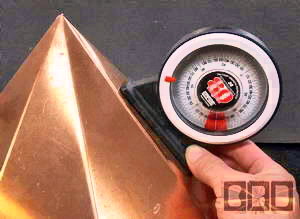
I also added a stainless steel pipe clamp and wrote in the personalized instructions to him; that if he drilled a small hole in the tip of the cap and used tin ships to slit the tip open enough for the mast rod he could use this clamp to anchor these tabs against that rod. Then caulk over this and slide the small cap over this mess. 
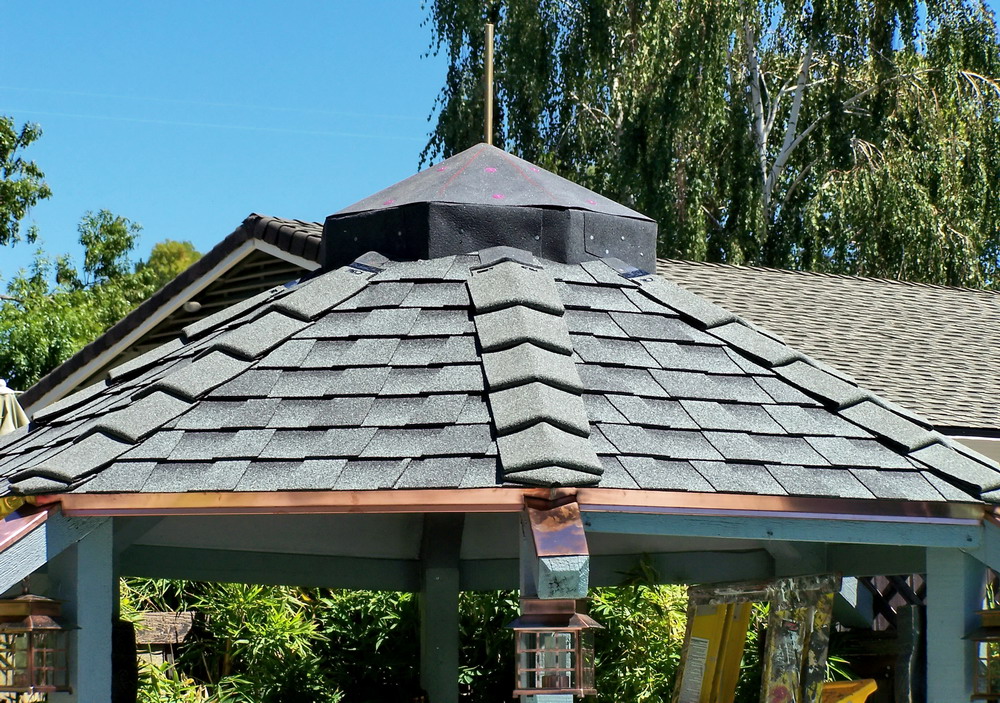
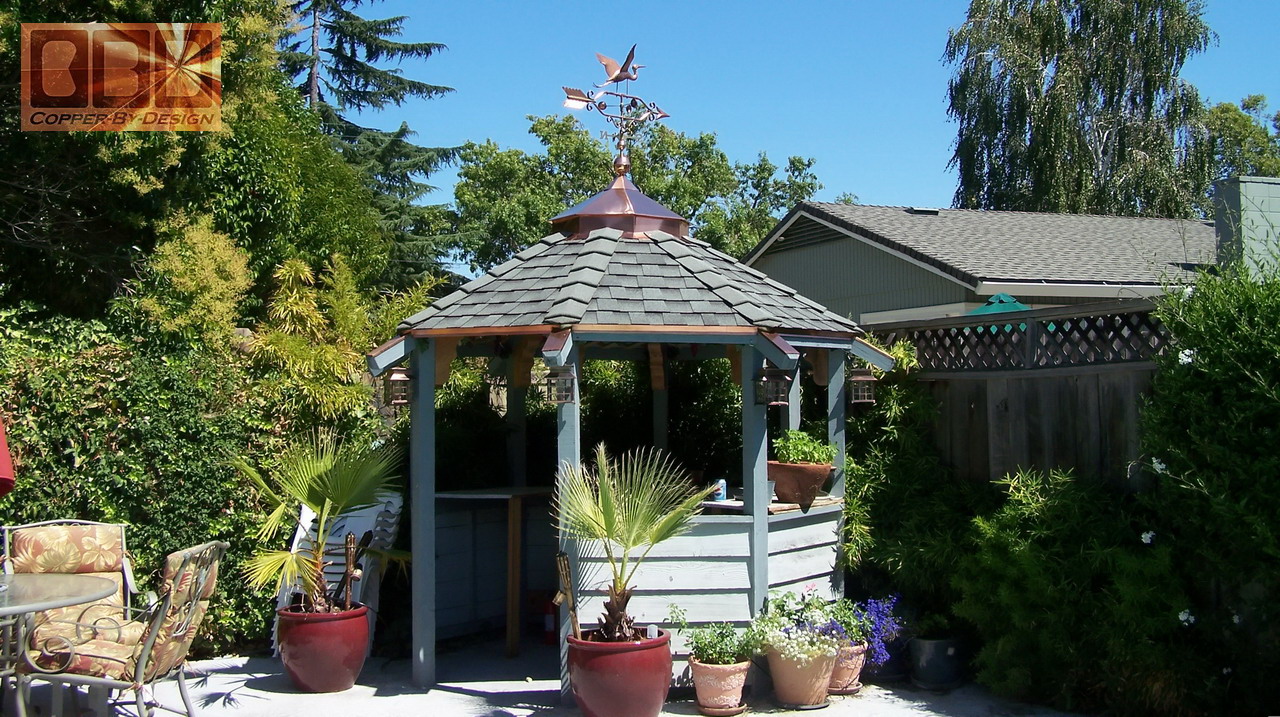
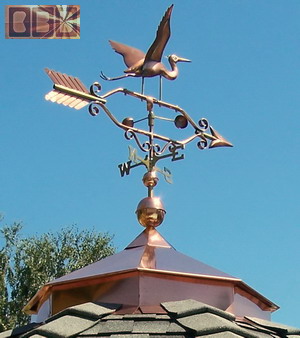
As you see here he did a good job following my instructions and it turned out very nice. I have had really good experiences working directly with most home owners, but I often have difficulty working with contractors, but I it went smoothly with Dan, and I would recommend using him if you are in the Pleasant Hill, California area. Cost: $614.25 php |
From: 4bud9@comcast.n*t Hi David. Dan Rhoe. |
.
Click this
photo to go back to the Custom Copper Roof Cap main page. |
.
.
Below is a
photo of our |
We were also a 1997 finalist for this same award. See our referral web page to see how we managed to be honored with this special award |
![]() Homepage |
![]() |
Company Profile |
![]() |
Roof Caps |
![]() |
Chimney Caps |
![]() |
Scuppers |
![]() |
Gutters |
![]() |
Shipping | Contact Info |
.
.
.
.
.
.
.
.
.
.
.
.
.
.
.
.
.
.
.
.