|
|
The
Morehouse Turret Roof Cap Photos & Details Page Updated 12-13-2005 |

|
|
Company Profile |
|
Roof Caps |
|
Chimney Caps |
|
Scuppers |
|
Gutters |
|
Shipping |
|
Contact Info |
|
|
The
Morehouse Turret Roof Cap Photos & Details Page Updated 12-13-2005 |
|
|
Company Profile |
|
Roof Caps |
|
Chimney Caps |
|
Scuppers |
|
Gutters |
|
Shipping |
|
Contact Info |

.
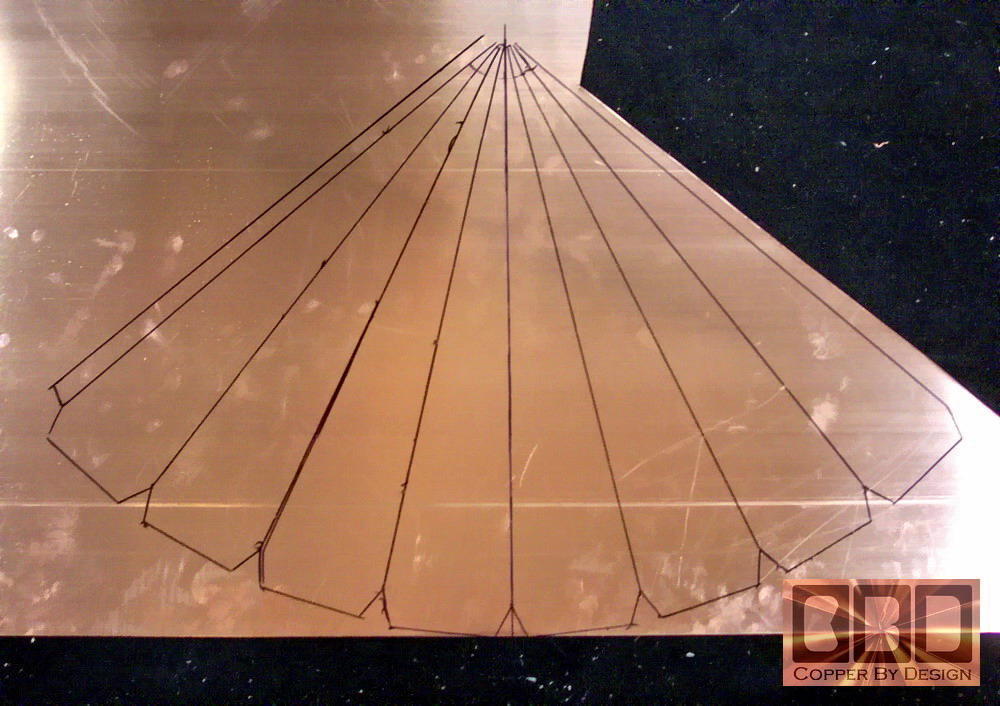
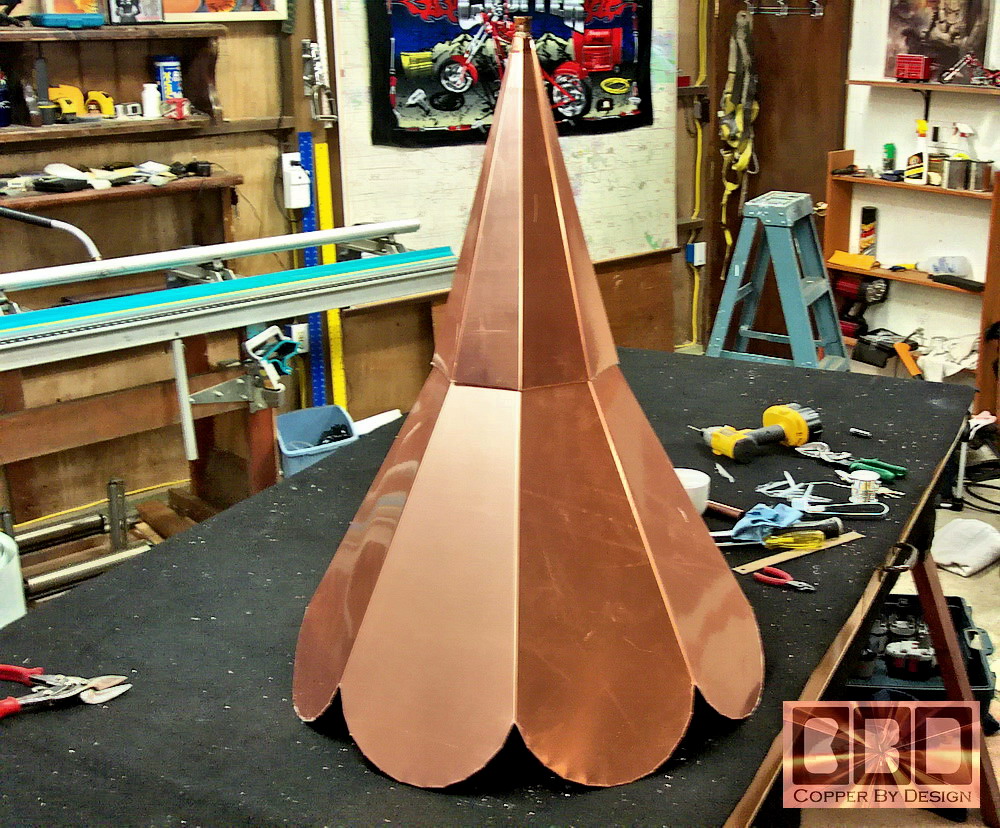
| Fabrication of a 27" wide 24/12 pitch octagonal copper turret cap with finial ornament half round scallop tails (4-05) |
|
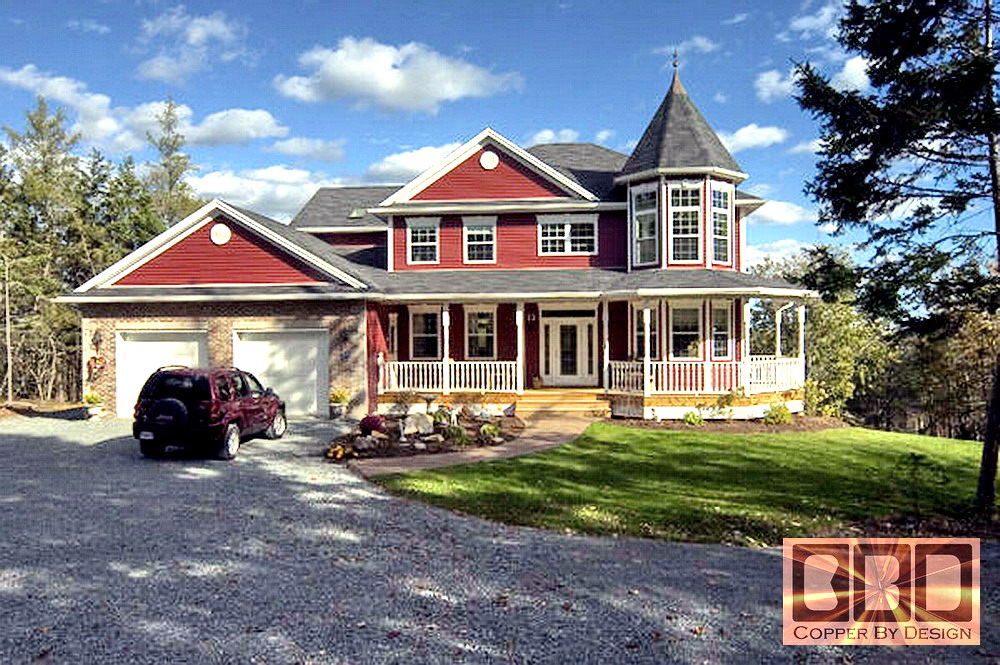
Homeowners, Dan & Bernice Morehouse in Porters Lake, Nova Scotia, Canada contacted us to make this 8 sided copper roof cap like the Cipriani cap with the same Merlin finial for their 24/12 pitch turret on their charming classic house.
They purchased a copper finial called Merlin through us, so we could integrate it into this cap. To see more finials we offer and prices, go to our Finials web page. Here is the whole roof cap and finial in place as it will be after installation. We cut about 6" off the bottom section off the finial and soldered on a straight pipe coupling on the last 1" of that center pipe just under the large sphere. The manufacturer used a much thinner copper pipe to assemble the finial with than we use, but the straight pipe coupling will help to strengthen that thin pipe. The manufacturer sent a heavy solid steel rod to shove up inside the finial, but we installed a 29" long 3/4" brass pipe in through the finial for this support. It also is long enough to extend down into the 11" copper support pipe in the roof cap. The final cost was $530 + $225 php to Canada, without the import taxes. |
|
Dan & Bernice Morehouse's Dream house in Eastern Canada |
|
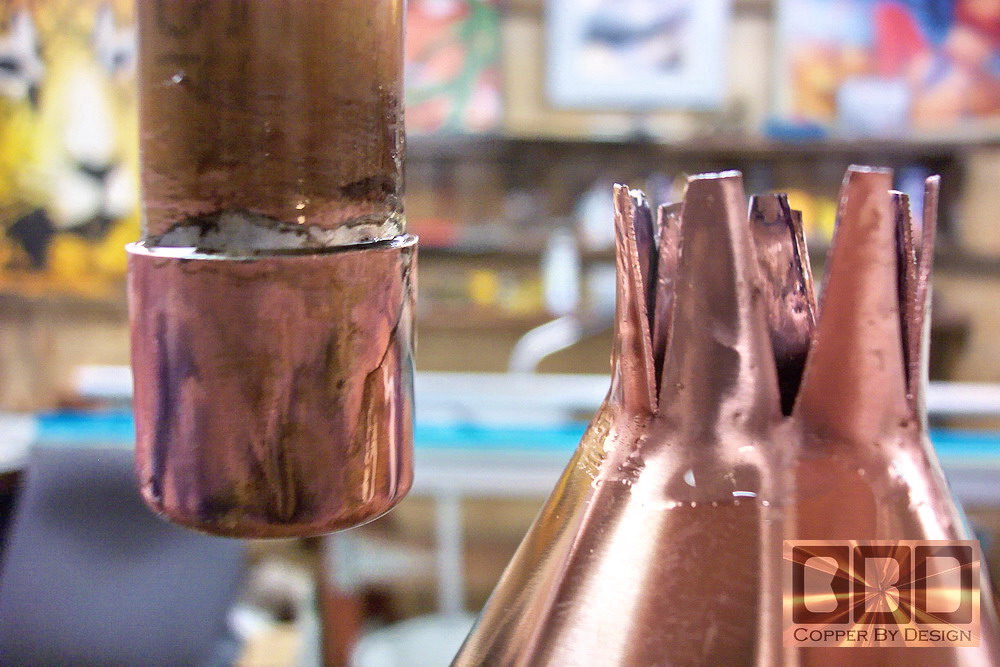
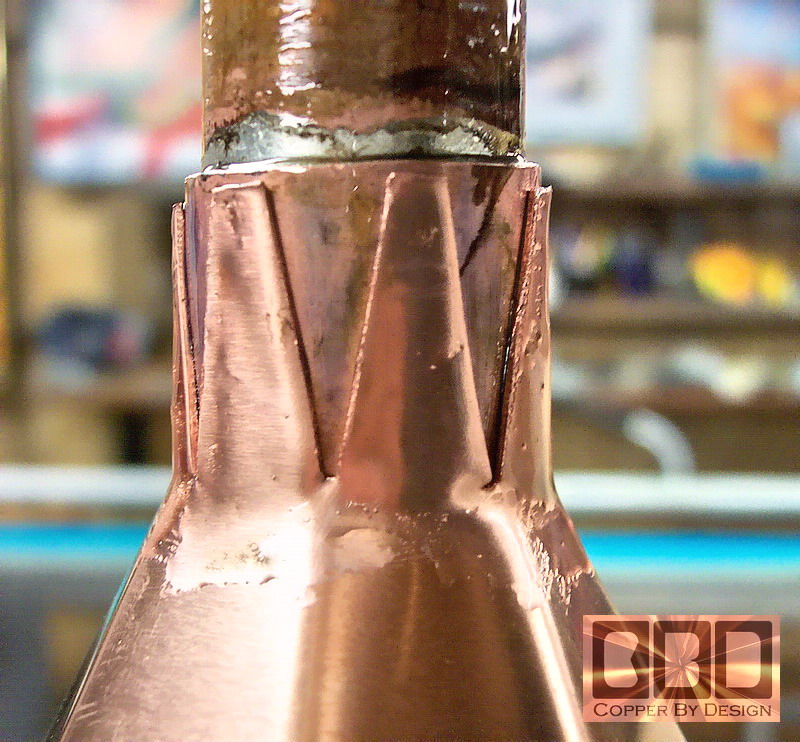
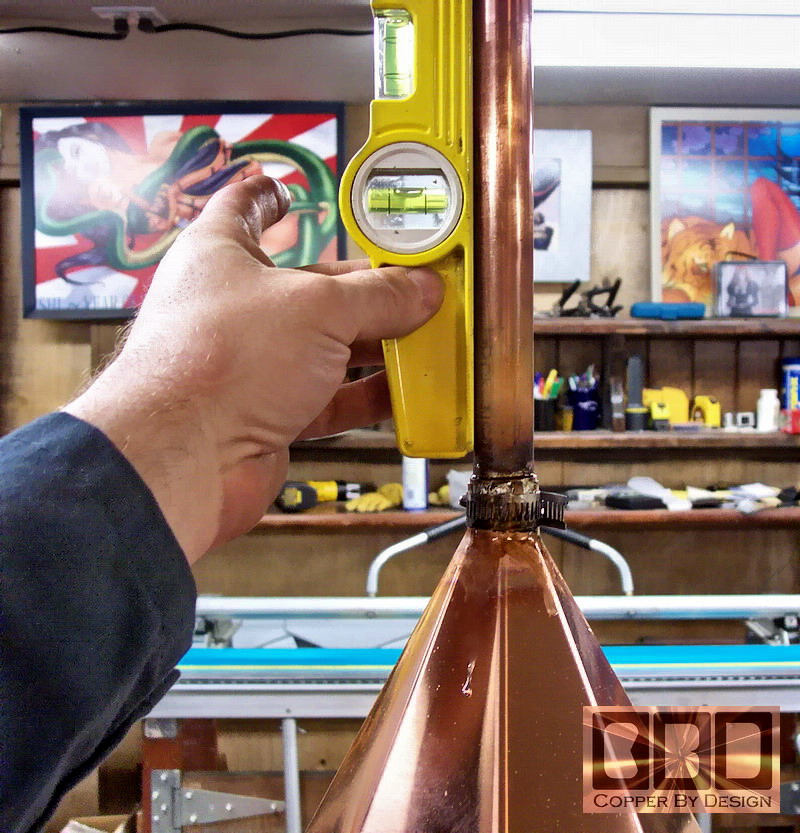
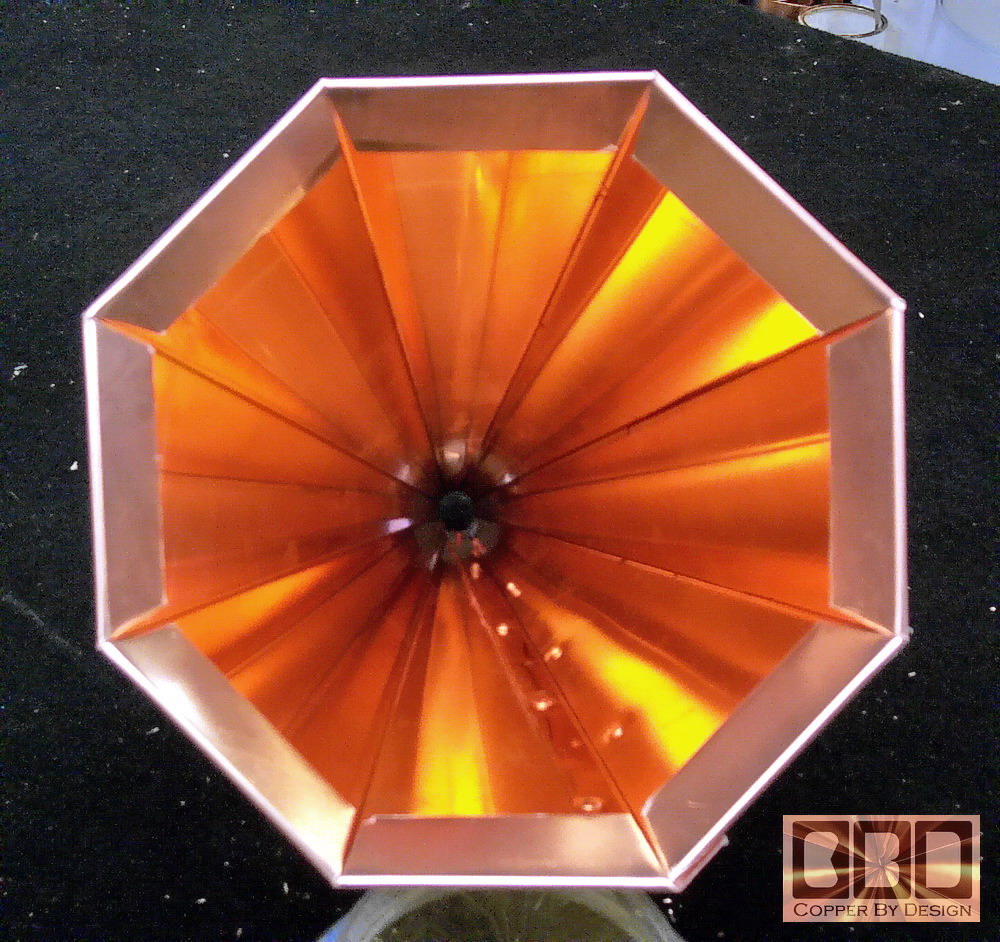
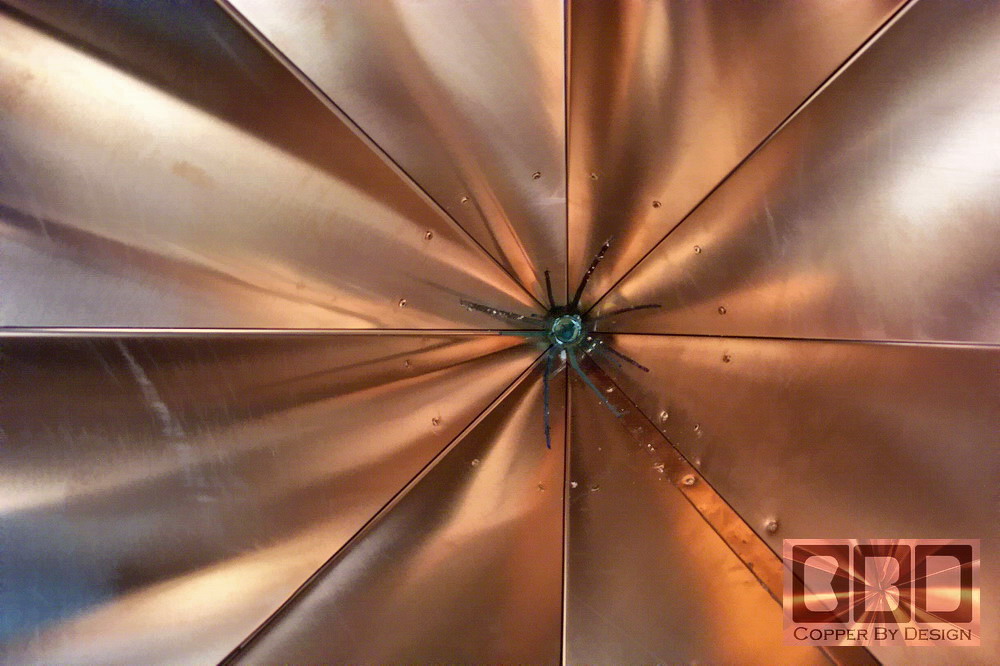
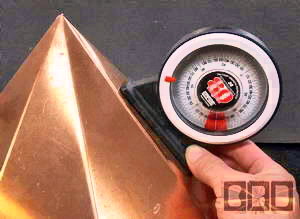
The center of the lower-section has been cut into and bent outward for the bracing of the bottom of the copper support pipe that will hold the finial in place. The first picture to the left has the copper cap in the tip to set the size of the hole. The right picture shows the stainless steel pipe clamp that holds the tabs tight to the cap after setting the vertical level. Then the pipe, pipe cap, and roof cap are soldered together.
|
|
Here is the fabrication of the 50/12 pitch upper small cap used to support the top of the 3/4" copper pipe that will hold the finial steady in high winds. This smaller cap is 9.75" wide across the base, and 18" tall, but it only adds 10" to the height of the main cap
We bend the bottom edge inward and use that flap (as seen above) to rivet through the inside of the larger cap with 16 rivets to secure this smaller cap tightly, yet all the rivets are hidden (as seen below).
|
|
Below are the caps with the upper-section set on the lower section. The tip in the upper section is cut open for the copper pipe used to support the finial mast. As shown above, there are 16 hidden copper rivets holding the base of the upper-section in place. The rivet holes are drilled through the bottom-section cap into the 1" flap that is bent under inside the upper-section cap. Not a simple process, but one that we are very proud of.
The top is also soldered to the pipe to seal the rain water out. But if it were to leak, it is still sealed inside this cap as well, and will run out the bottom of the upper-section cap. Kind of a double redundancy. |
|
We send the client these digital photos of the progress each night to get their feedback of what they think and if they have any ideas or concerns. |
|
We supplied a new #3
Phillips tip for the 8 + 2 spare stainless screws to fasten it to the
roof, and some clear caulk, if she decides to use it under the bottom
edge just before installing it, and or to seal the brass shaft of the
finial, even if it is not needed. Below is a copy of the installation
instructions for this roof cap:
Detailed Installation
Instructions: |
.
| Click this
photo to go back to the Custom Copper Roof Cap main page.
|
.
|
Below is a
photo of our |
|
|
|
We were also a 1997 finalist for this same award. See our referral web page to see how we managed to be honored with this special award |
 Homepage |
|
|
Company Profile |
|
Roof Caps |
|
Chimney Caps |
|
Scuppers |
|
Gutters |
|
Shipping |
|
Contact Info |
.
.
.
.
.
.
.
.
.
.