|
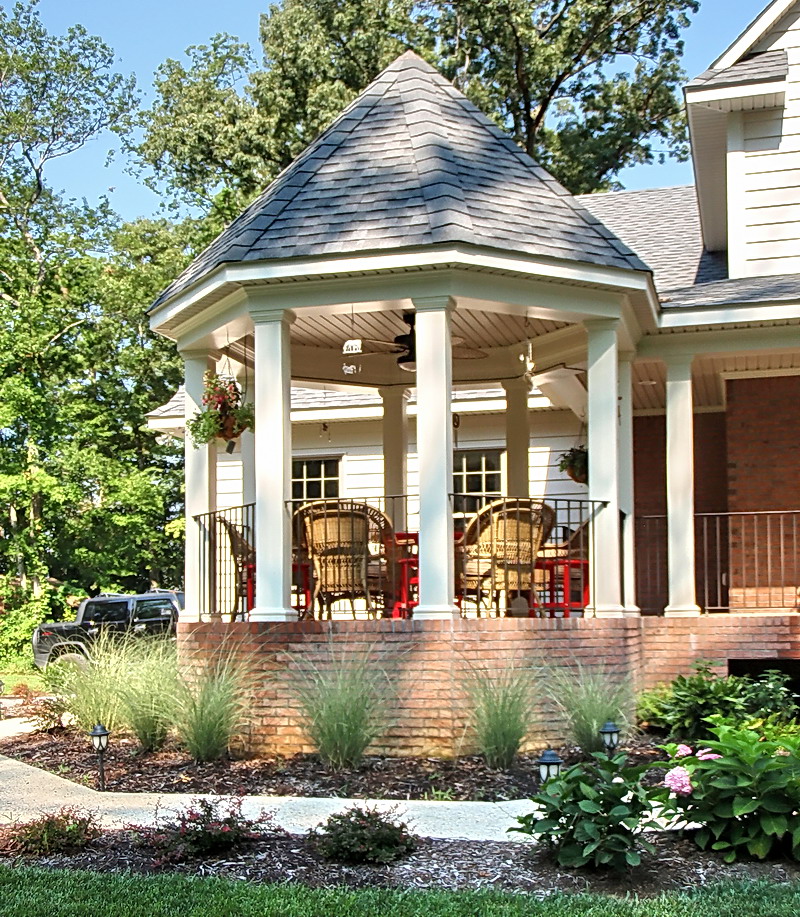
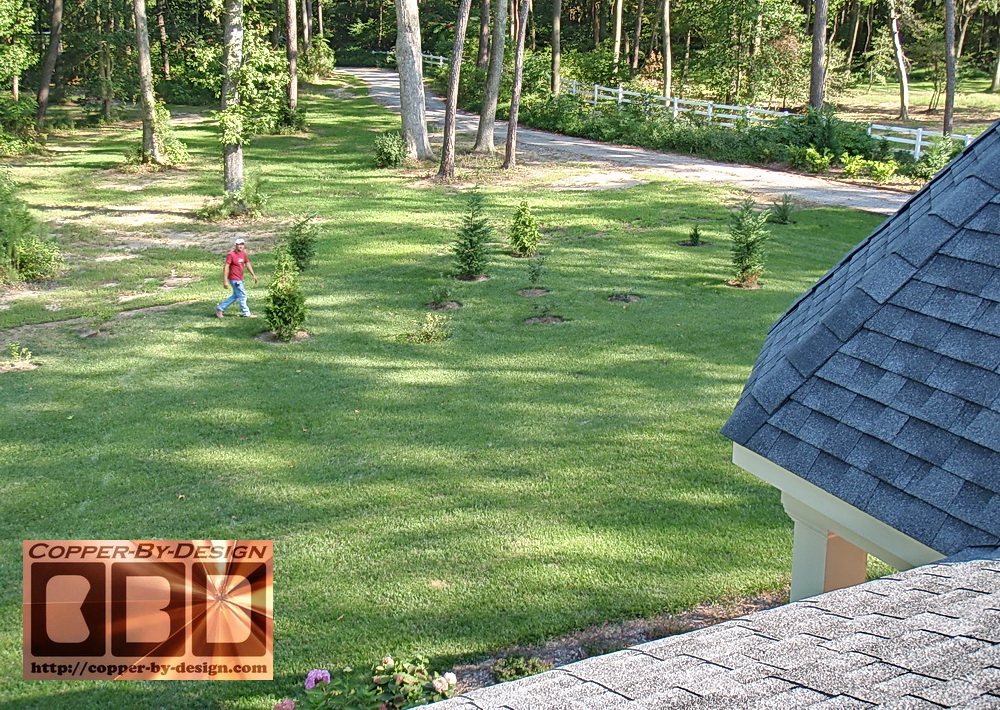
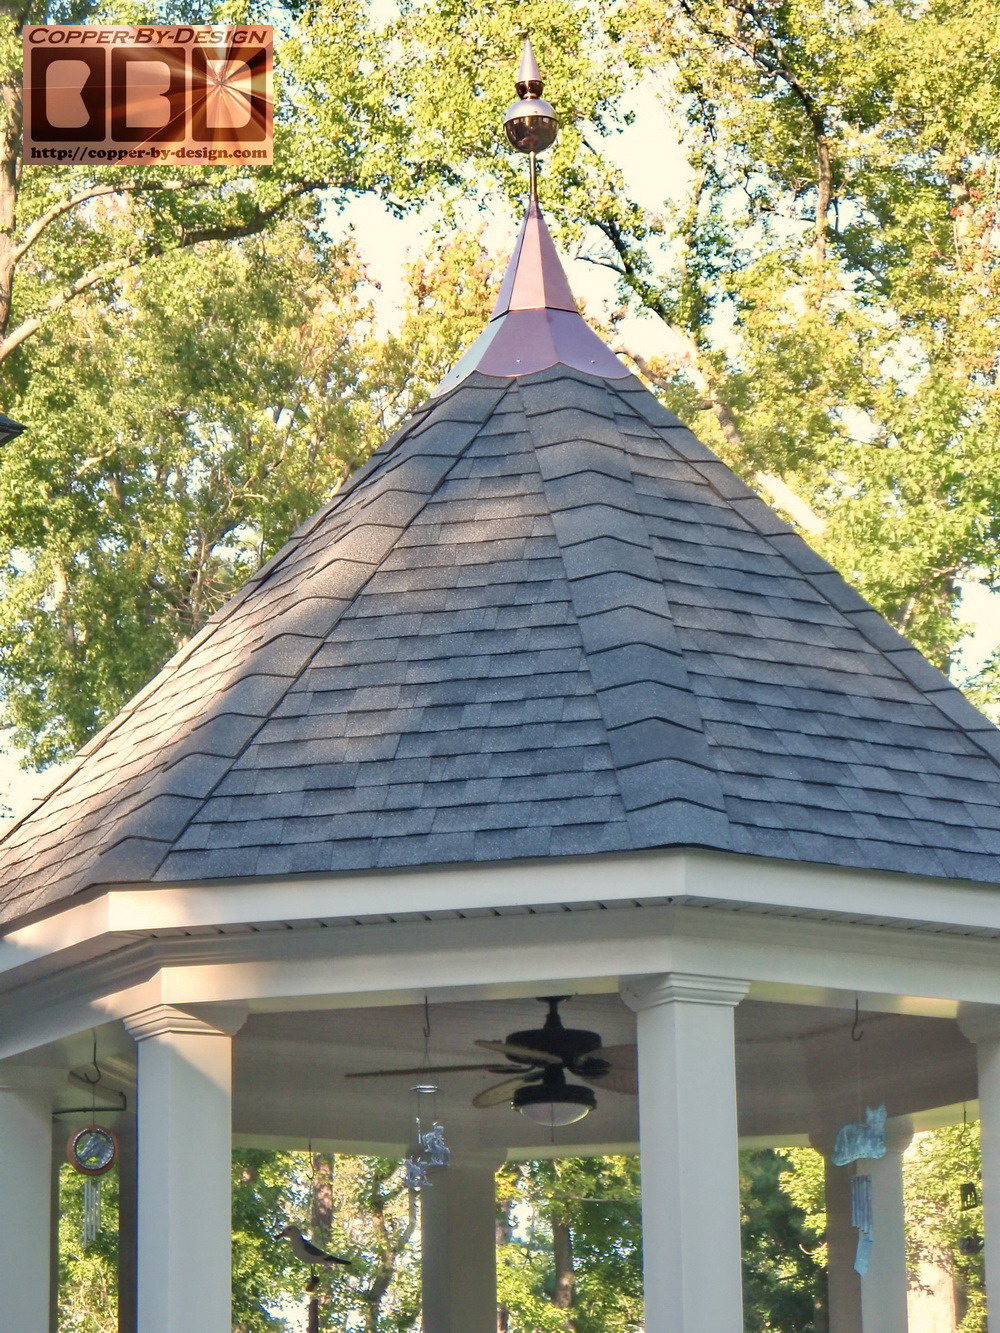
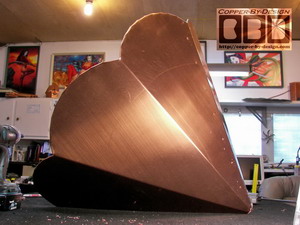
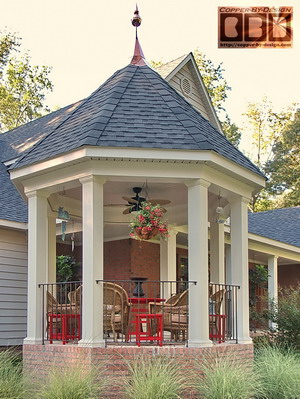
Here is the photo of their gazebo they had
built just off the house porch integrated into the house roof. They
wanted one of my nice copper roof caps and Avalon finial made for
our client James Meyers in Machipongo, Virginia. He reported their
gazebo roof has a 14.5/12 pitch, so I built the roof cap to be 16/12
pitch to make sure the bottom edges would sit flat on the roofing.
This roof is 14' wide, so at 1/6 scale this cap is to be 28" wide
plus the tails below that, and this is what I made them.
 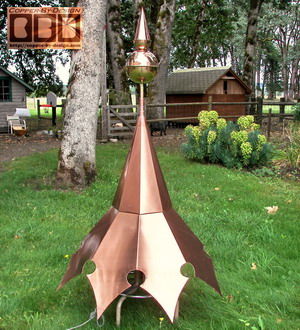
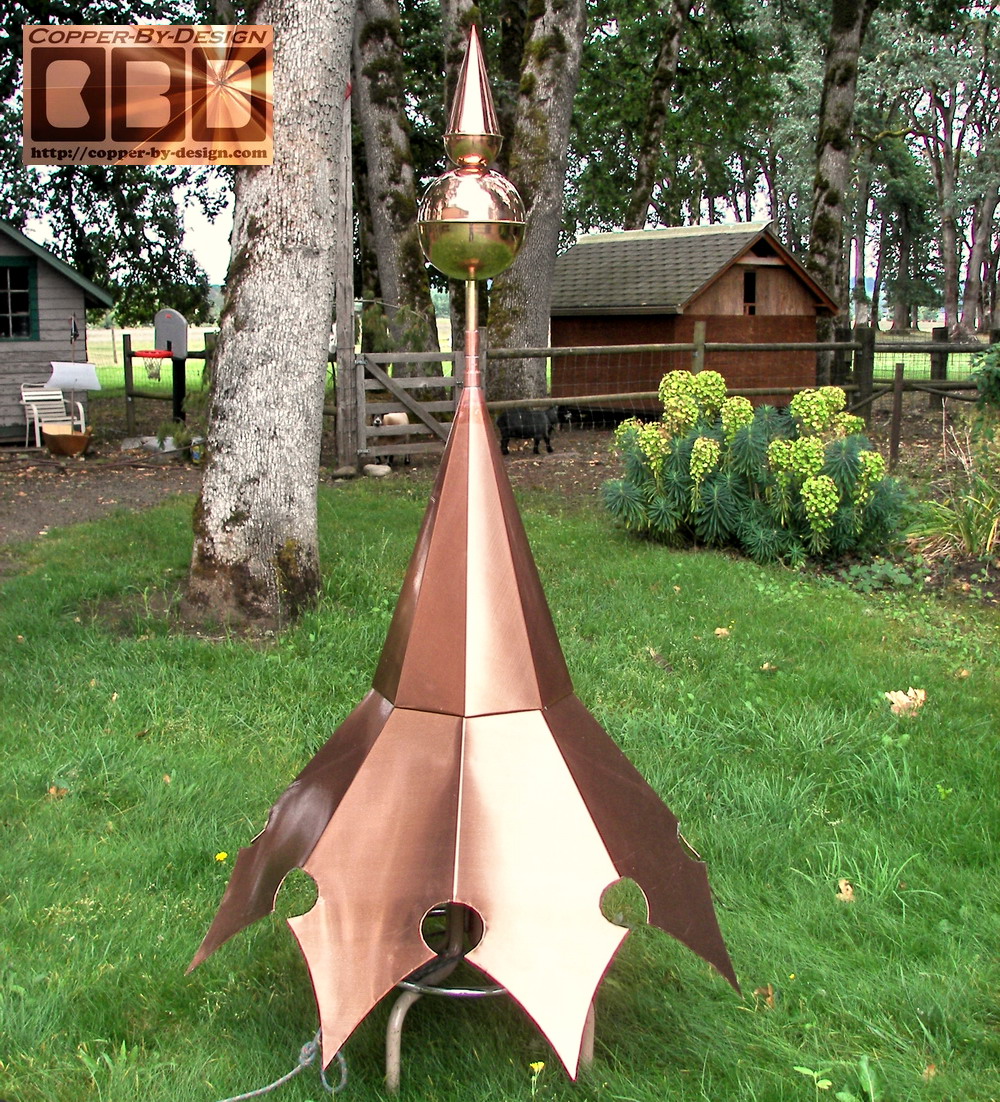
For some reason I had it in my head that he
wanted the Points style tails and had been sending them photos of
the step-by-step progress you see below. He never said a word. When
it was complete and I was writing up the invoice with the price
adjustment; I saw how I was way off from the estimated weight. That
is when I discovered this mistake. I had to ask him what we should
do about this, besides how this would also require a much lager
crate, which means higher shipping charges as well. He was OK with
me sending this cap to them, but was unwilling to split the $400
difference in cost, so I had to start from scratch and make him a
new roof cap like he had ordered.
 
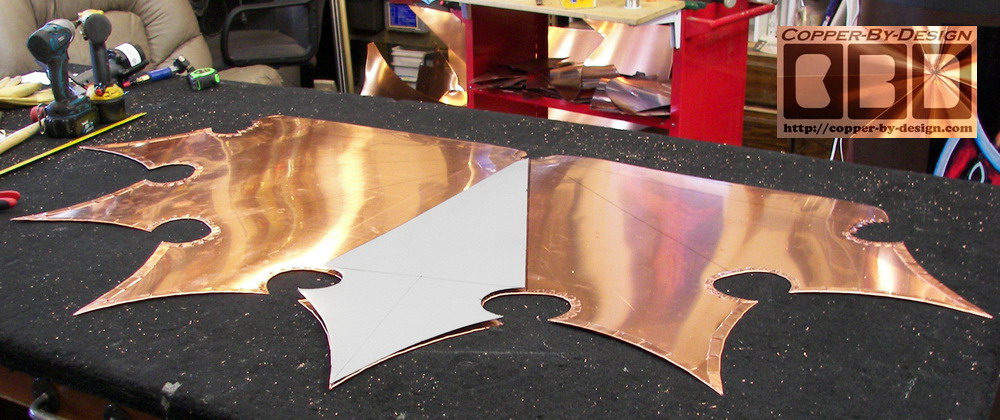
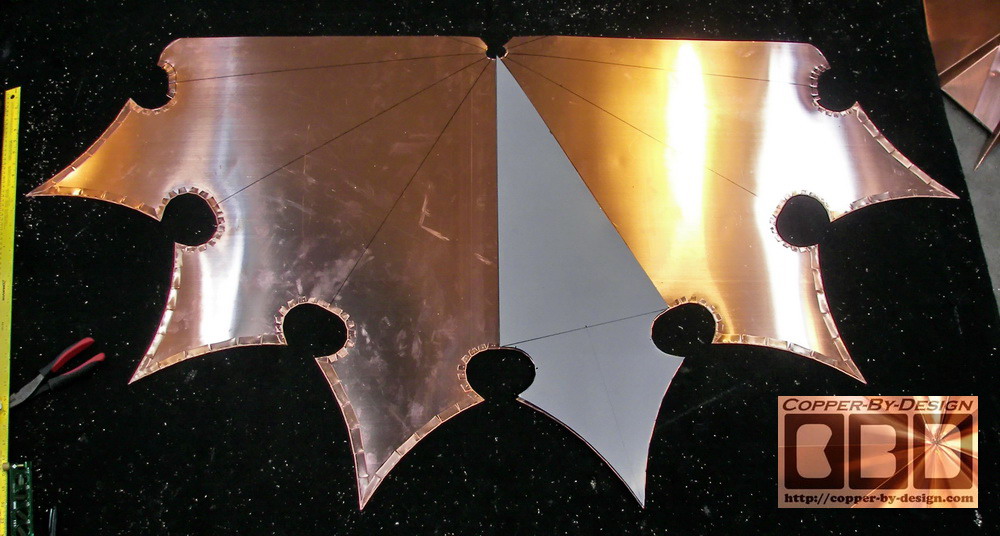
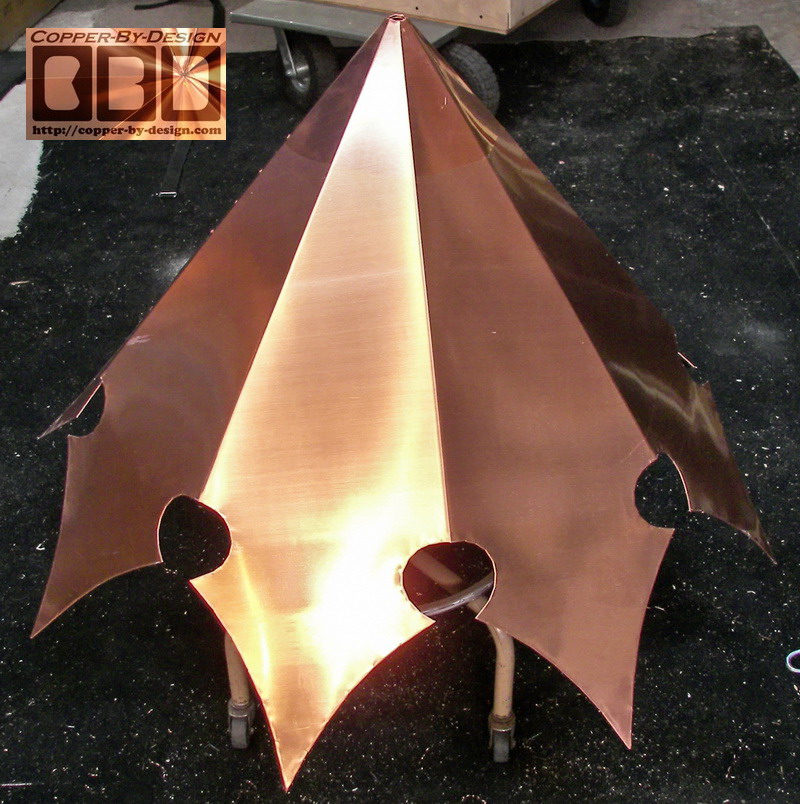
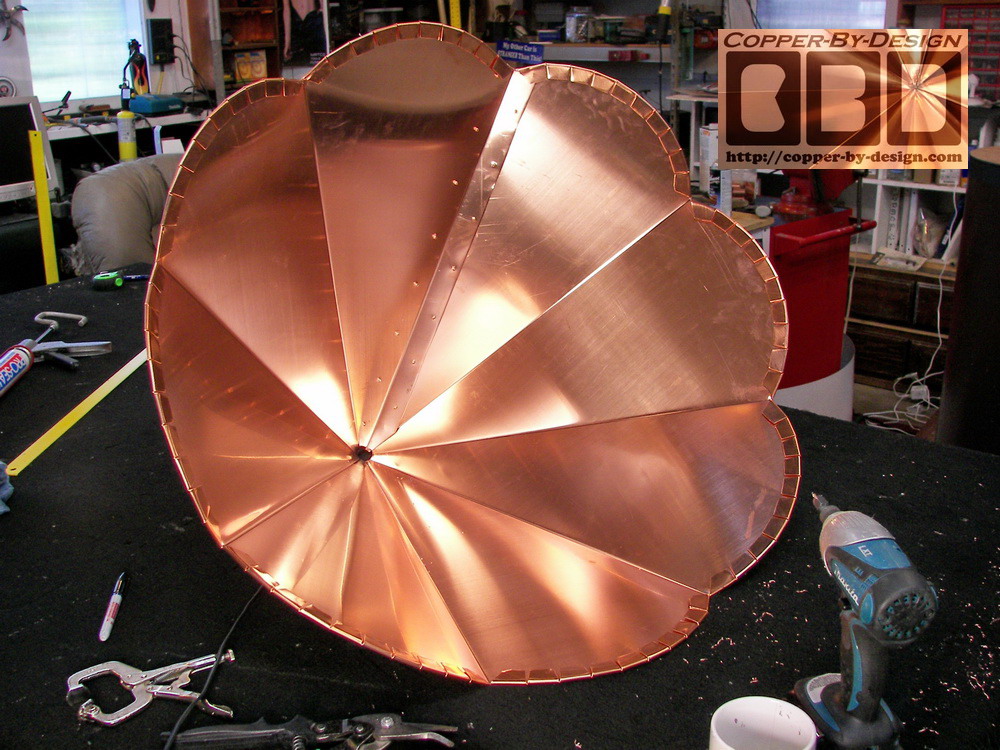
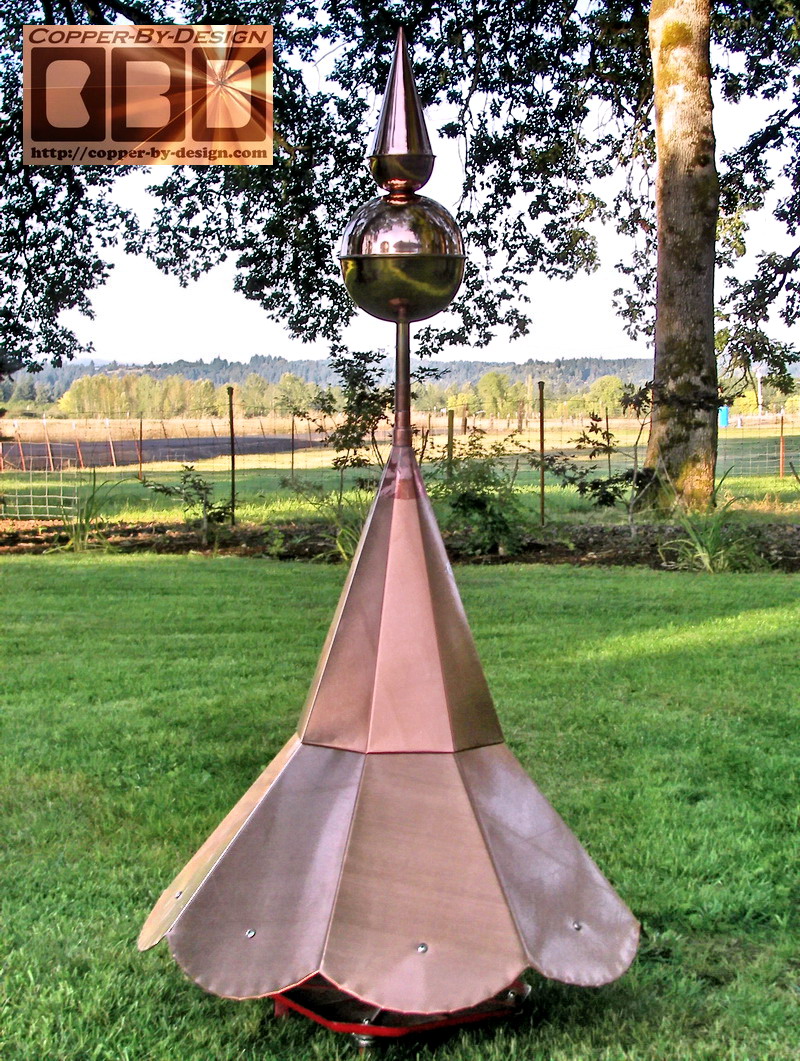
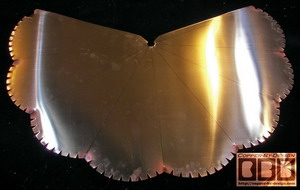
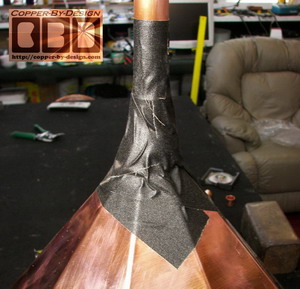
It was a shame, since as you can see in these
photos this was the first set of Points style tails I had done with
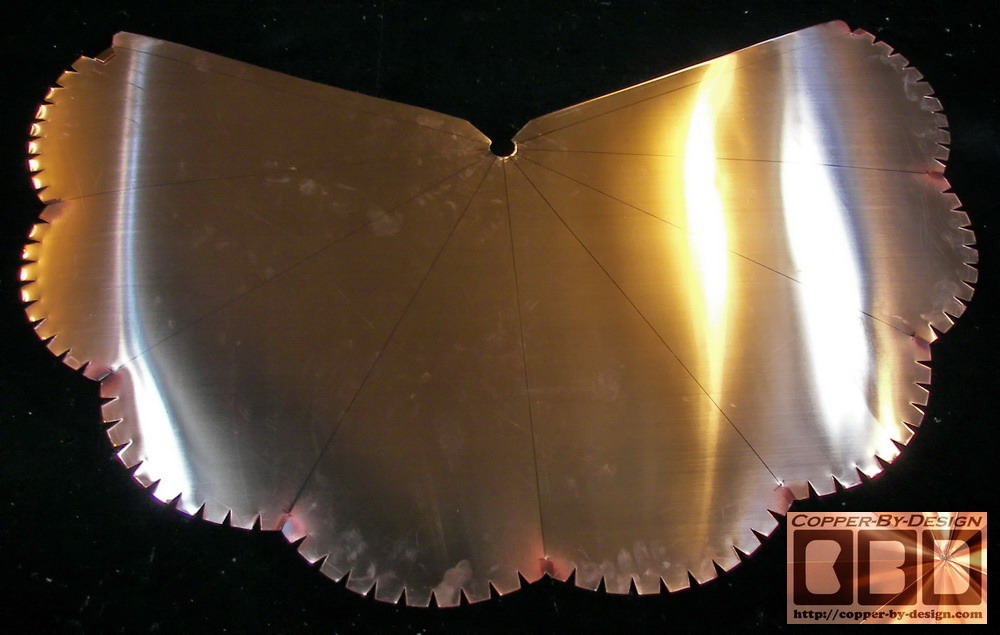
a safety hem all along the bottom edges. Above is the 6 sides of 8
for this large roof cap base section drawn out on the copper sheet
and cut out with the Points style tails.
This roof cap is available for quick sale at 20% off if
it happens to fit your needs (finial sold seperately).

|
|
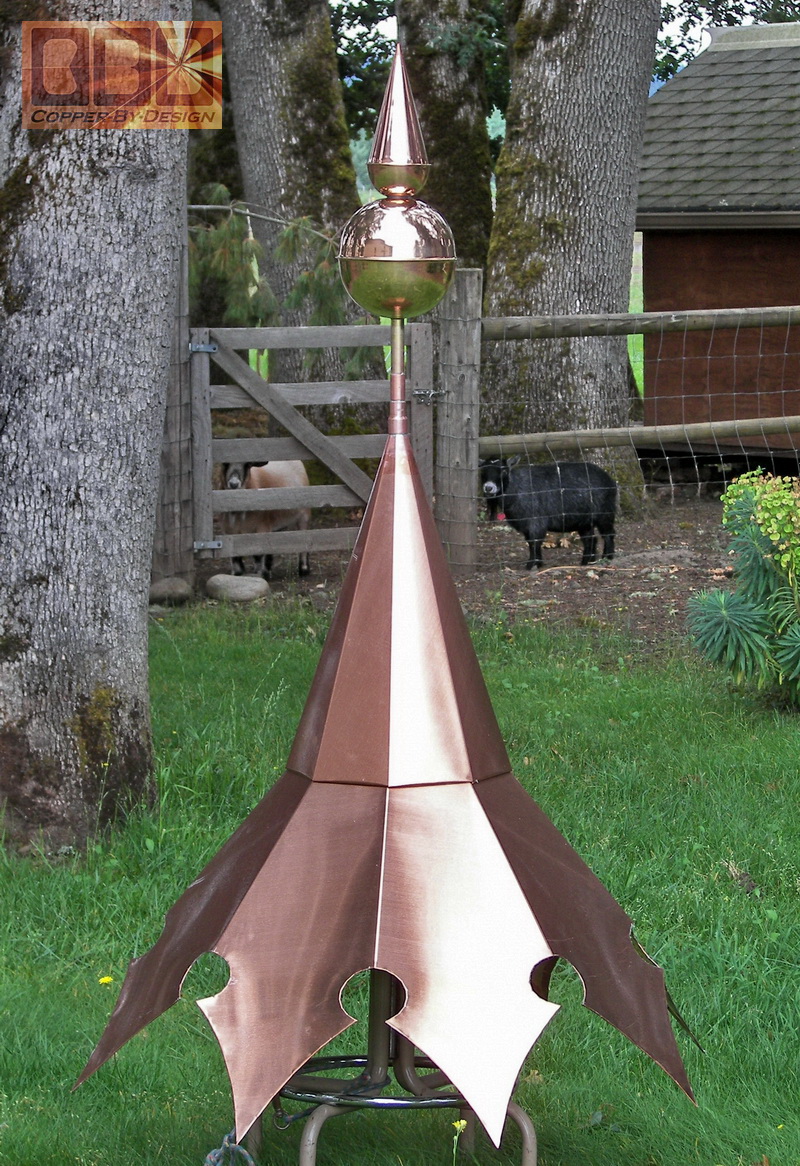
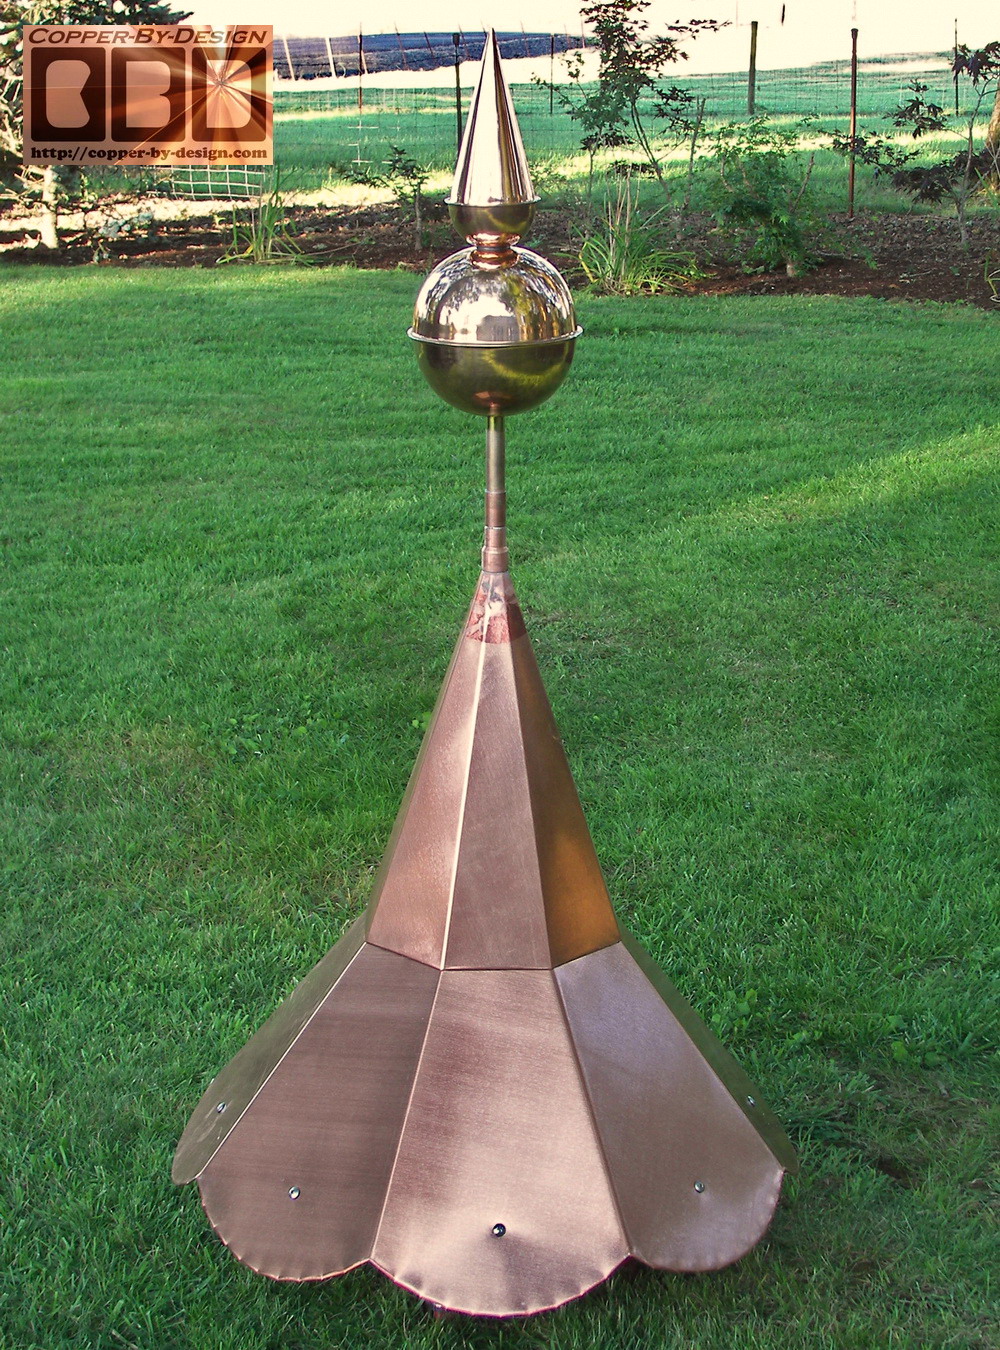
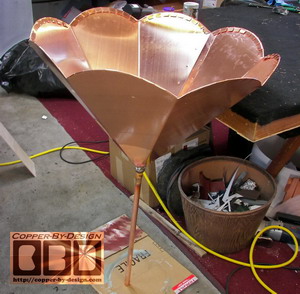
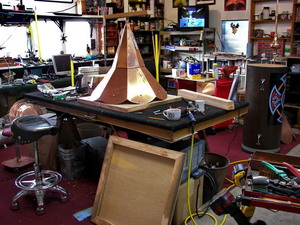
Here is the Soft Scallop style tails copper
roof cap they had ordered being built. Since the tails were a lot
shorter I was able to get all 8 sides in one piece, so there is only
this one single seam to seal and rivet together.
|
|
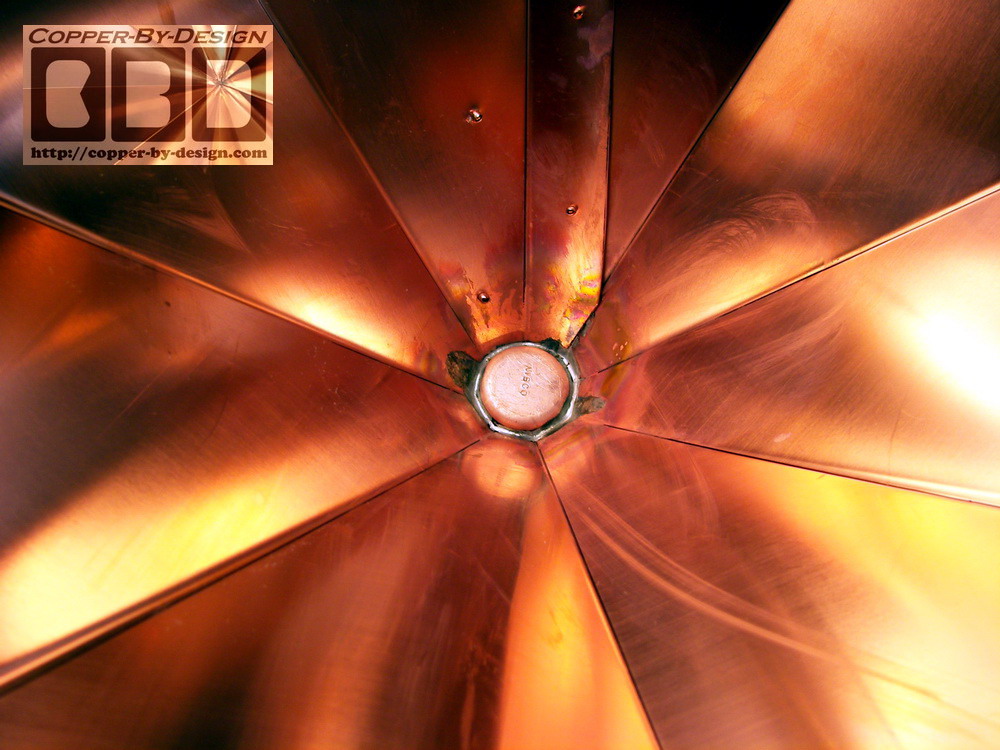
Here is this sections attached to
the bottom of the finial support pipe.
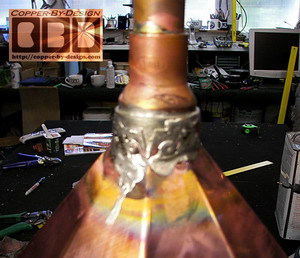 
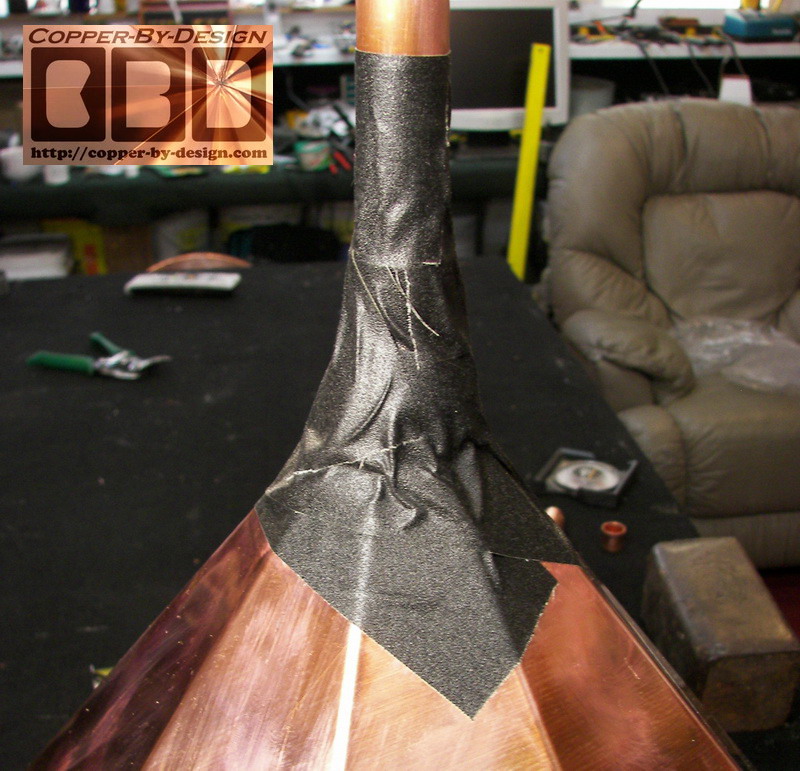
Here is some close up shots of the bonding and
sealing of the tip of these sections to the base of the finial
support pipe. I covered the clear caulk with this tape to help seal
it from the oxygen to prolong it's life span. this area should
actually never get wet, but I figure what is the harm of overkill in
every aspect of what I do.
 
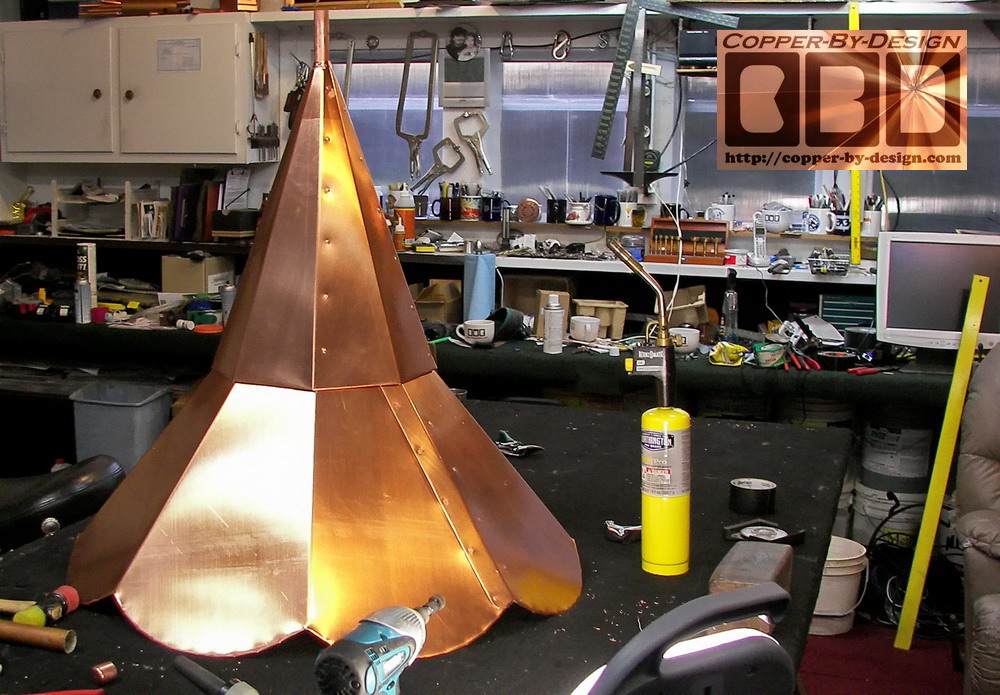
Then I cover this with
the matching steeple cone that is riveted to the base cap through
the tab bent under the bottom edge of the steeple cone. This steeple
cone also is to hold the top of this finial support pipe in place
through the harshest wind storms.
|
|
After finishing this I moved them outside to get some better shots out in the daylight.
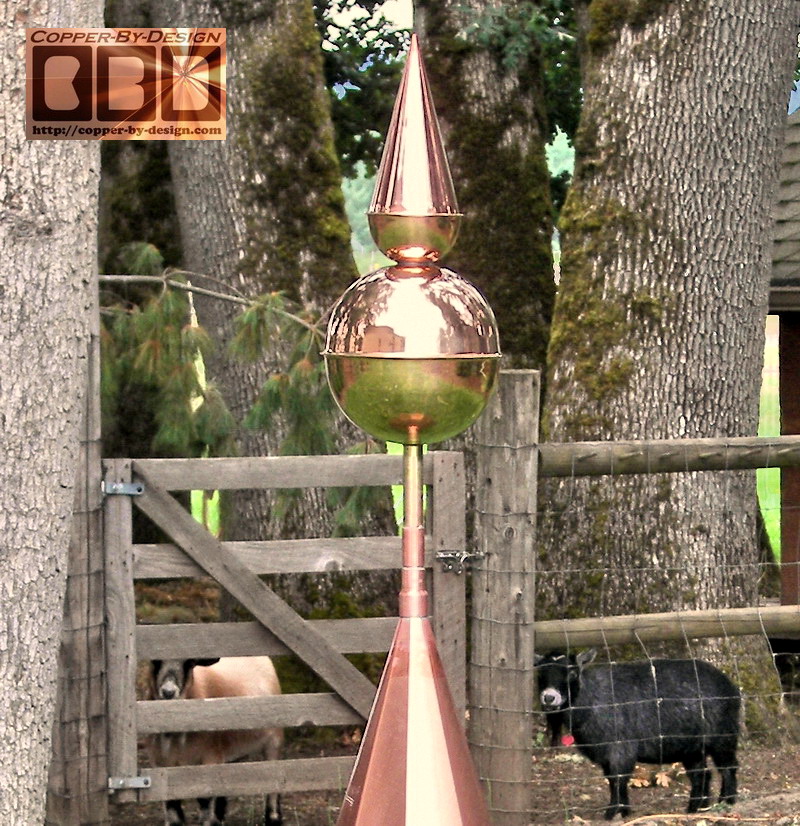
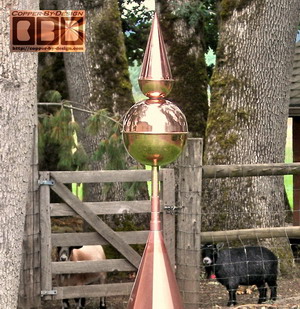
Here is the copper Avalon finial they wanted set in place. They can still
easily change
it out for a different finial or
weathervane they like better.
 
|
Here is the copper roof cap in place
on the base of the custom crate I made for it. The boards are glued and
screwed together and then the 1/4" thick hardwood plywood sheets are
attached to this frame with the same Gorilla Glue and sheetrock
screws.
|
|
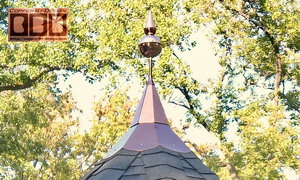
The finished product 1.
|
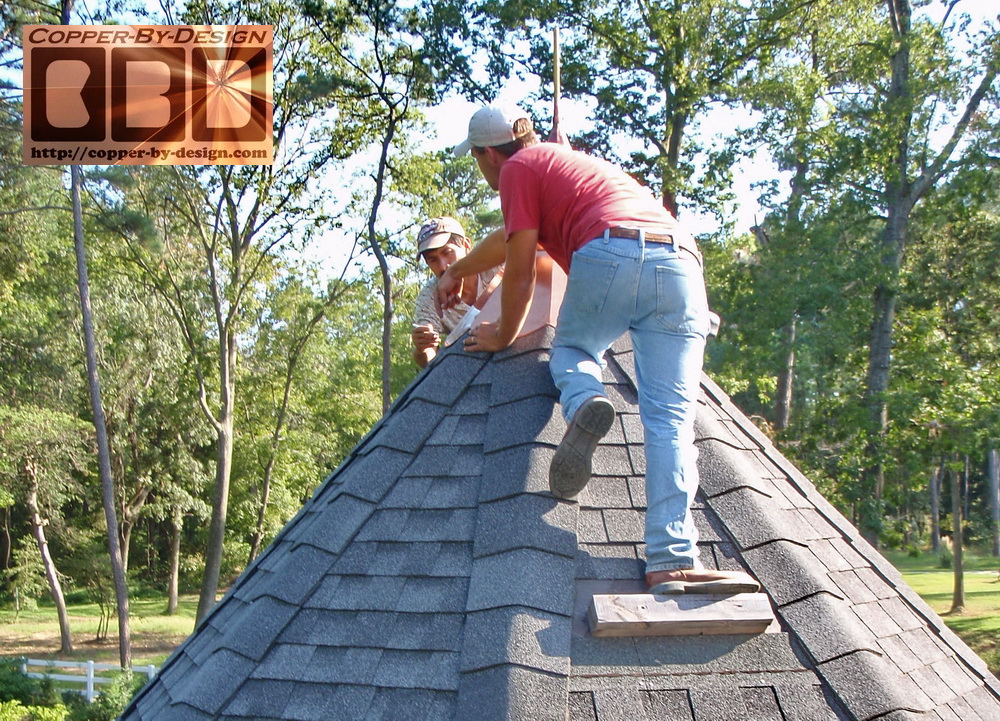
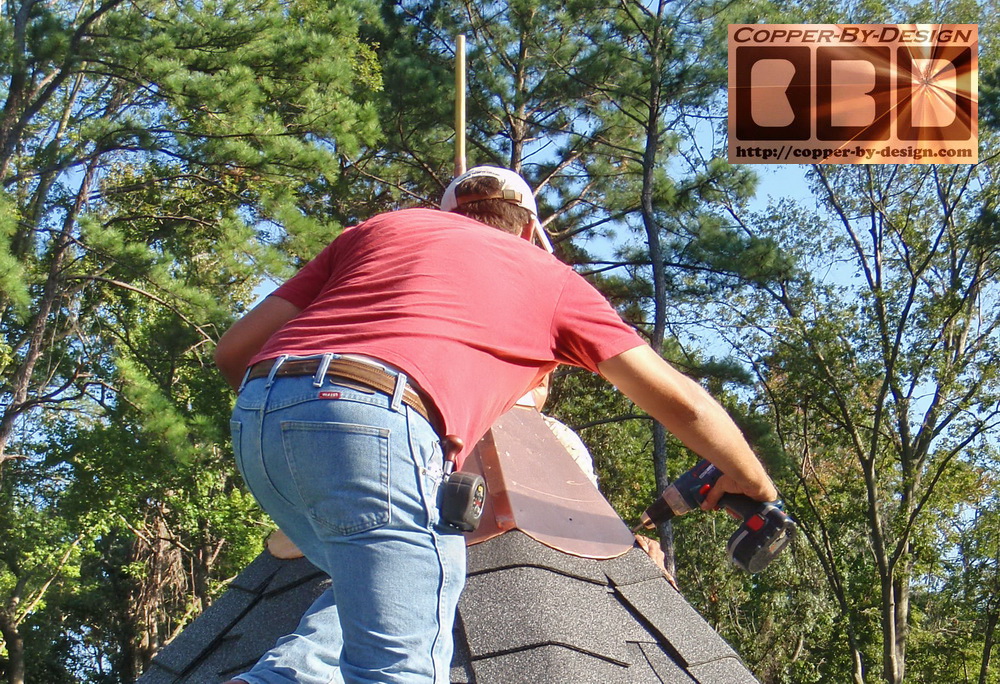
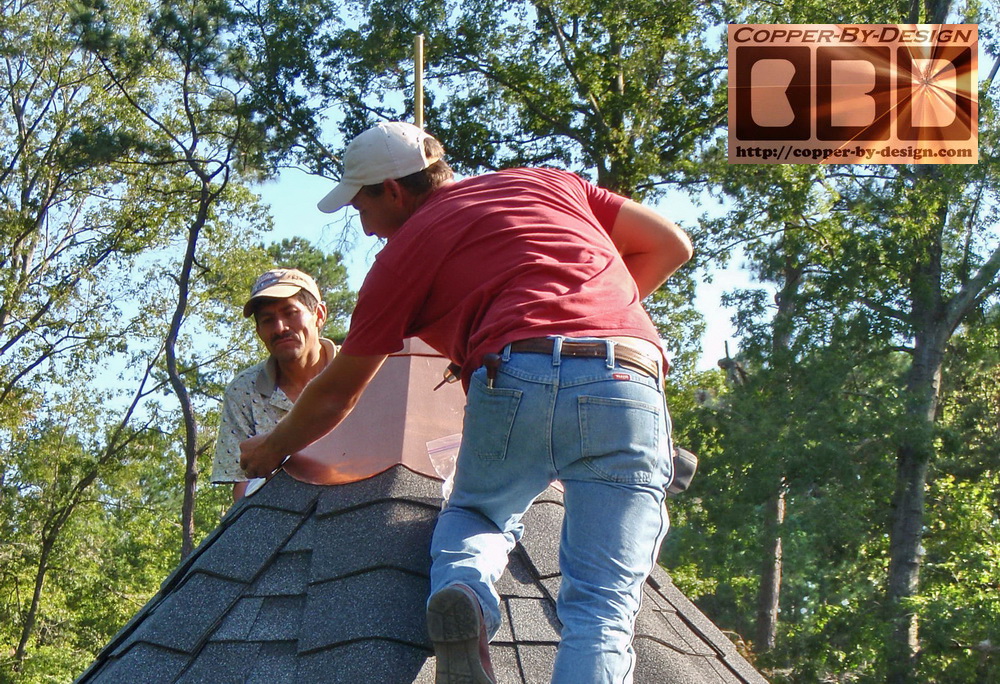
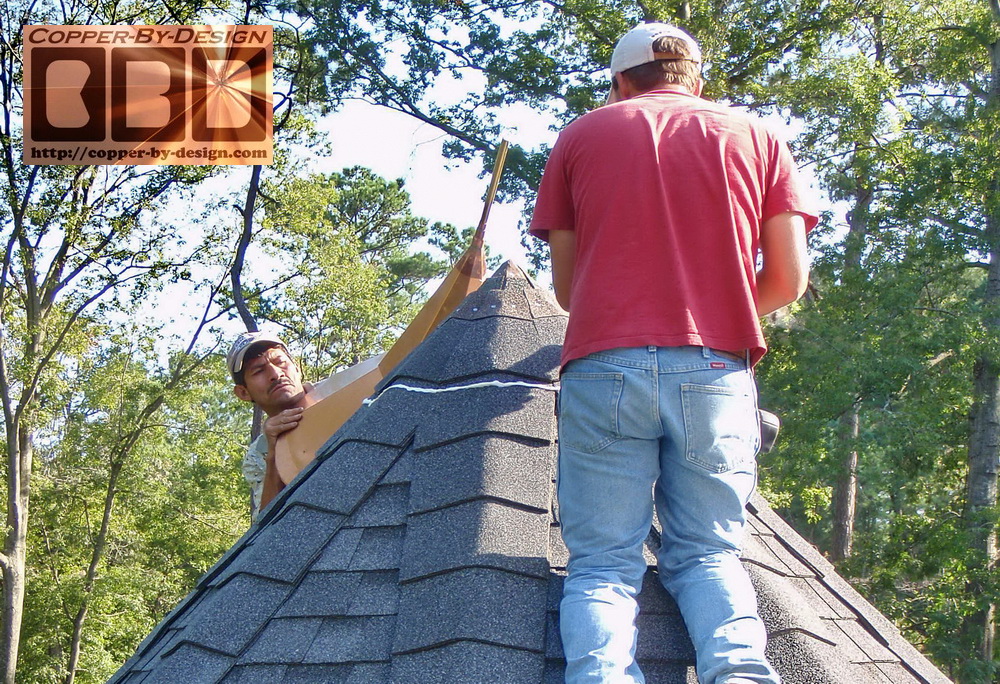
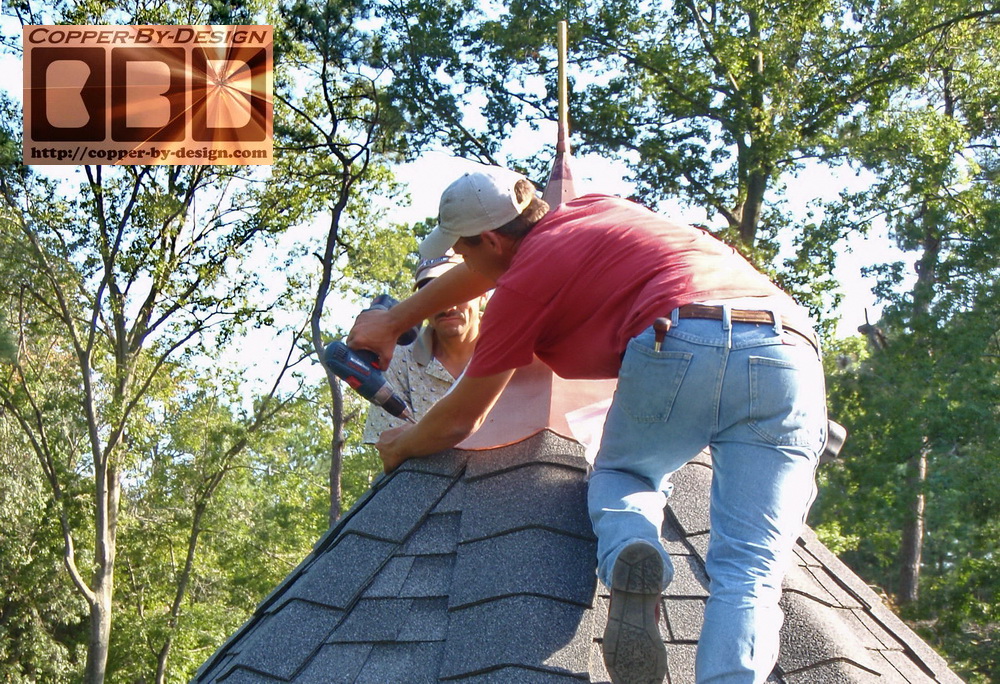
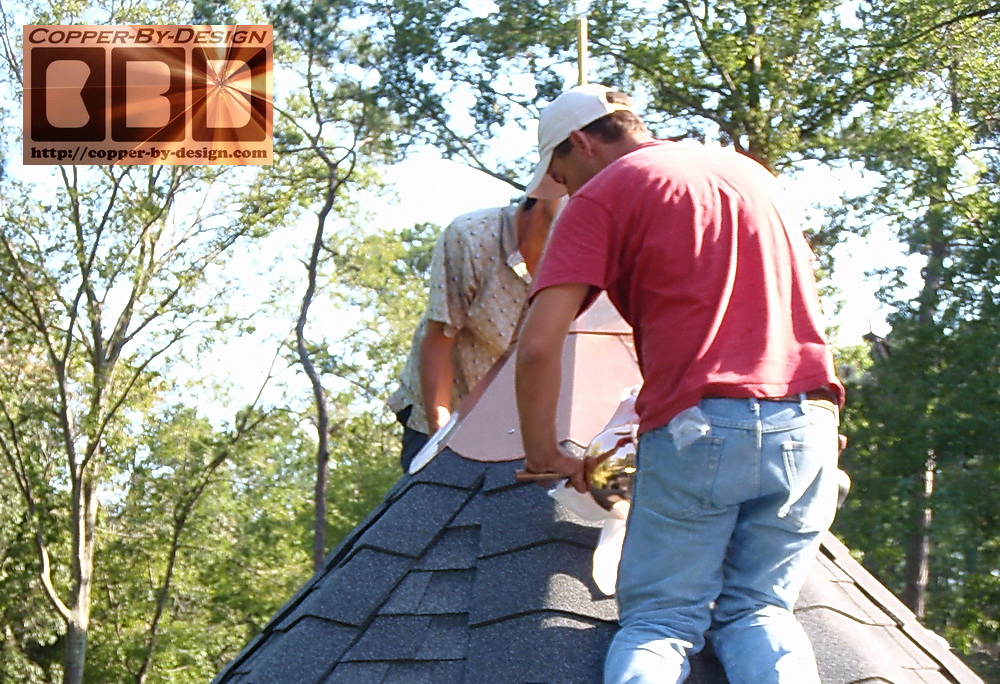
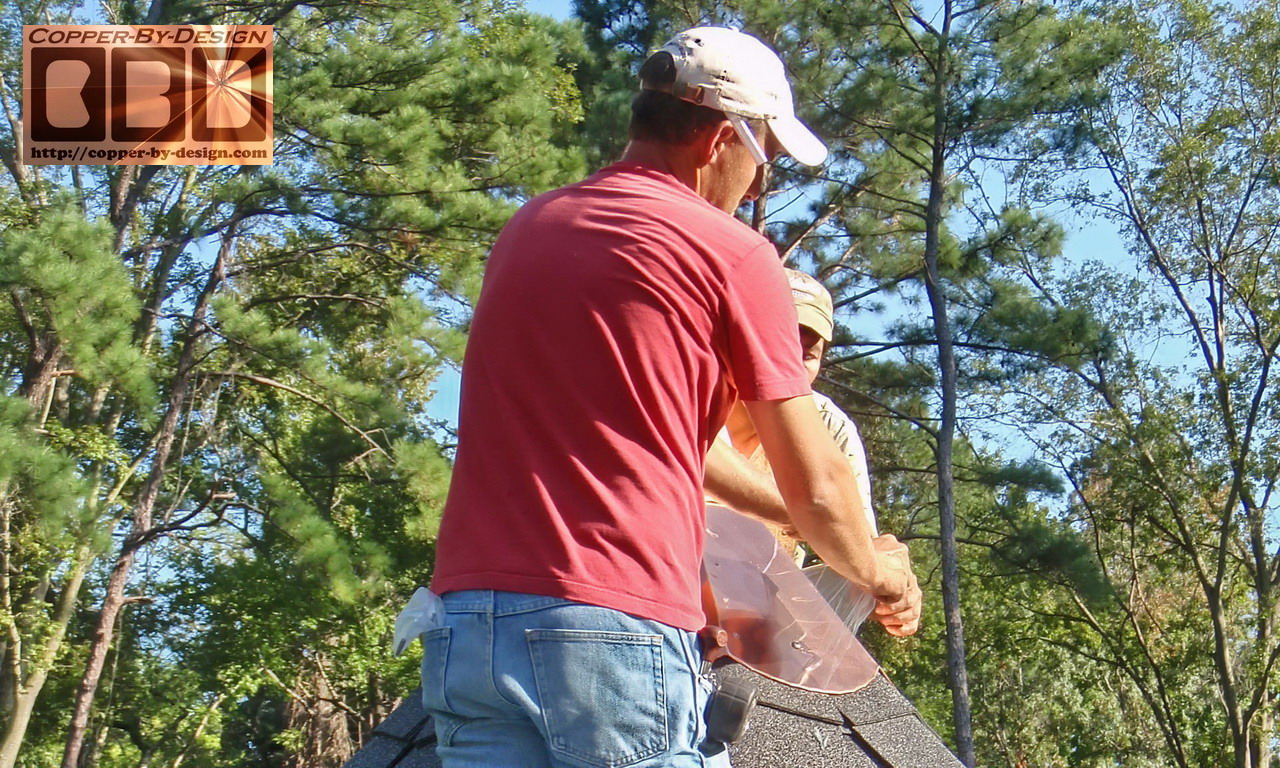
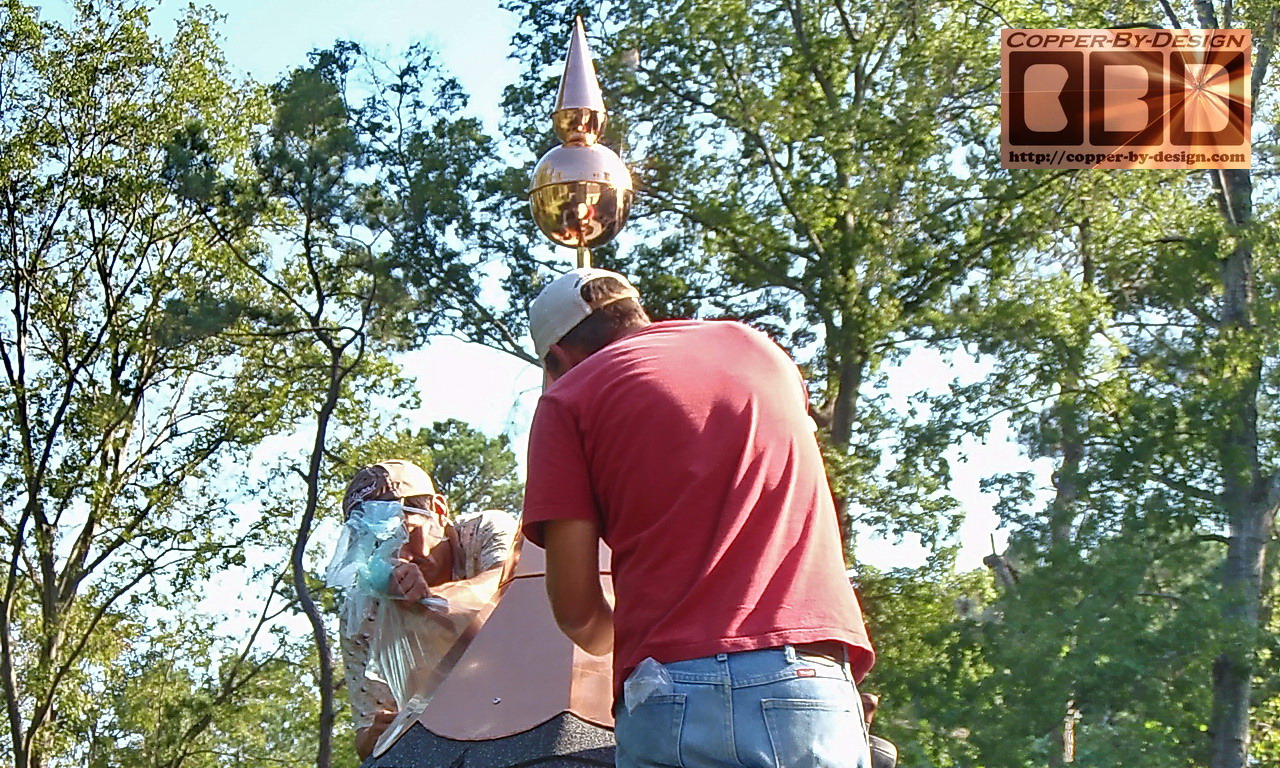
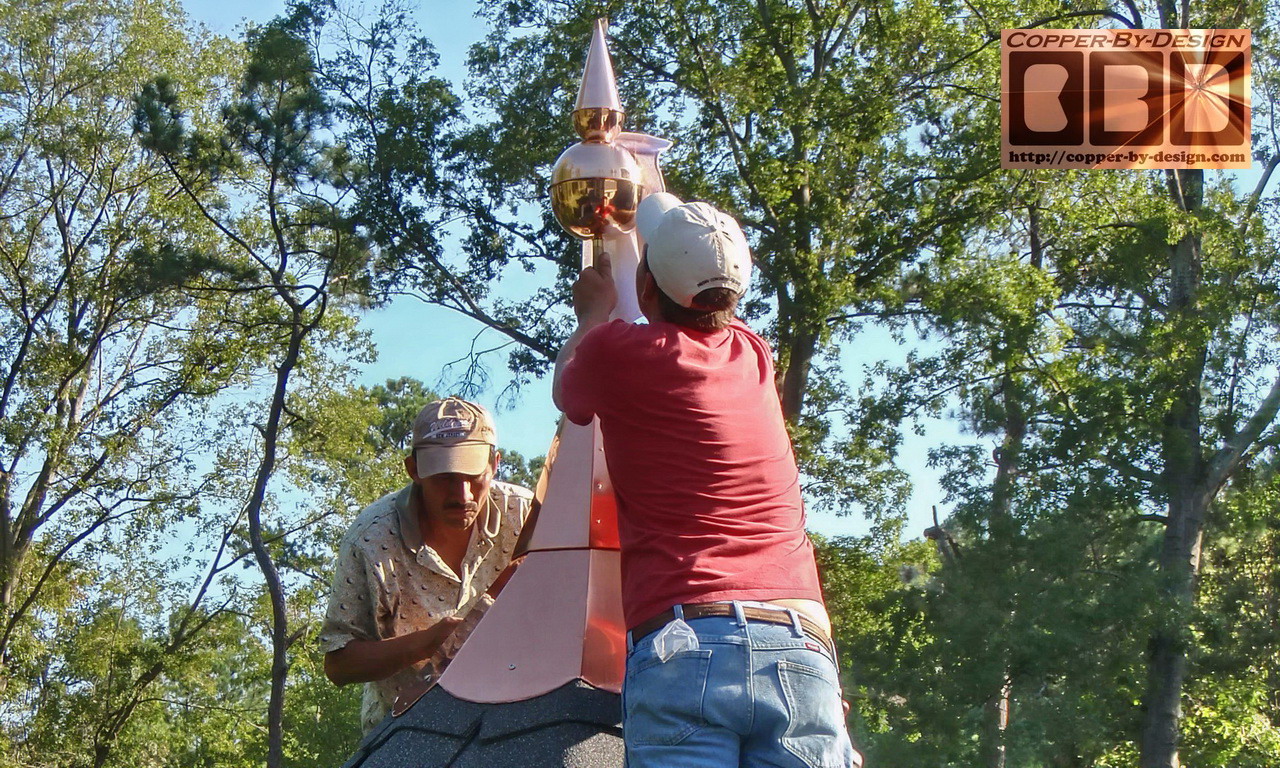
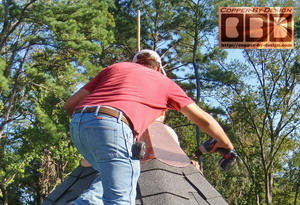
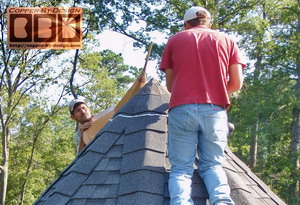
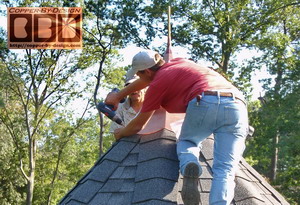
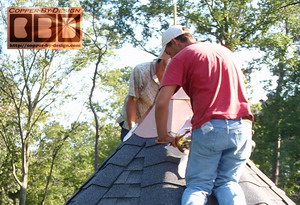
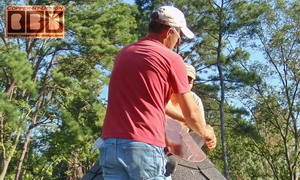
Here are the 14 photos they sent in 9/18/08
of the installation.
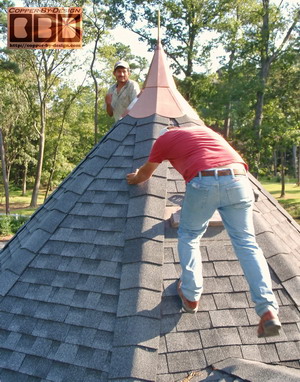
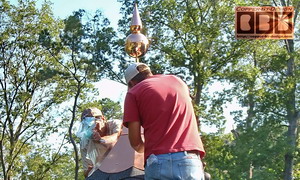
1st fit check - a perfect fit. |
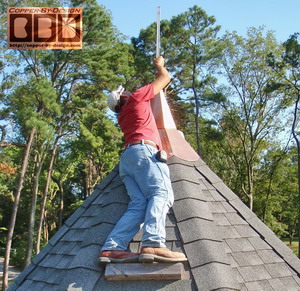
Checking level using finial rod. |
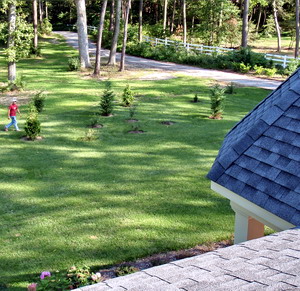
Checking the fit from ground view.
|
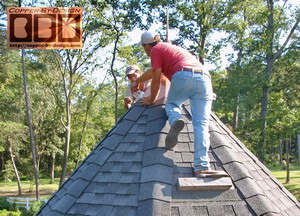
Scribing alignment marks after leveling. |
 Drilling
the pilot holes for the SS screws. Drilling
the pilot holes for the SS screws.
|

Using an awl in drilled holes to maintain alignment. |
Starting caulking process - white caulk turns clear when set. |
Fastening the cap down using SS screws. |
Polishing the finial ball before installation.
|
Removing the clear protective film 1.
|
Removing the clear protective film 2.
|
|

Installing the finial ball.
|
|
 The
final weights for ths cap is 17.2# X .8 = 13.76 sq' X $50 =
$688. This was still more than the original quote, so there was no
discount, but they did get $68 worth of free copper/shipping. The
final weights for ths cap is 17.2# X .8 = 13.76 sq' X $50 =
$688. This was still more than the original quote, so there was no
discount, but they did get $68 worth of free copper/shipping.
$620 for the copper
+ $125 for the finial support pipe built
inside
+ $170 for the 22" Avelon finial w/15% discount
$915 total cost of this set delivered less the $457.50 deposit =
$457.50 balance
|