|
|
The
McLaughlin Roof Cap Photos & Details Page Updated 10-18-2004 |

|
|
Company Profile |
|
Roof Caps |
|
Chimney Caps |
|
Scuppers |
|
Gutters |
|
Shipping |
|
Contact Info |
|
|
The
McLaughlin Roof Cap Photos & Details Page Updated 10-18-2004 |
|
|
Company Profile |
|
Roof Caps |
|
Chimney Caps |
|
Scuppers |
|
Gutters |
|
Shipping |
|
Contact Info |

.
|
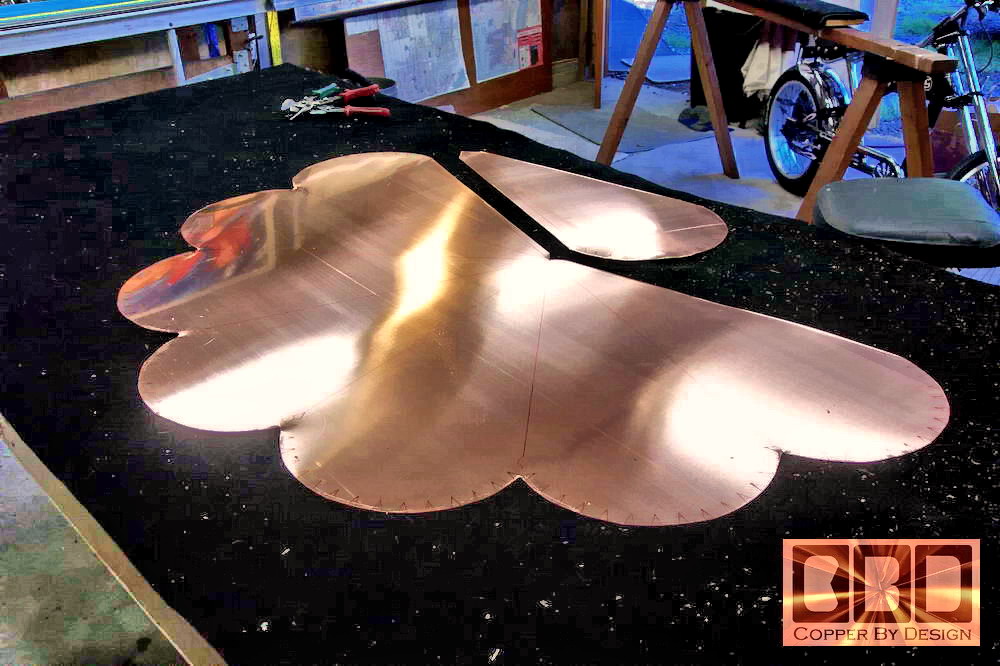
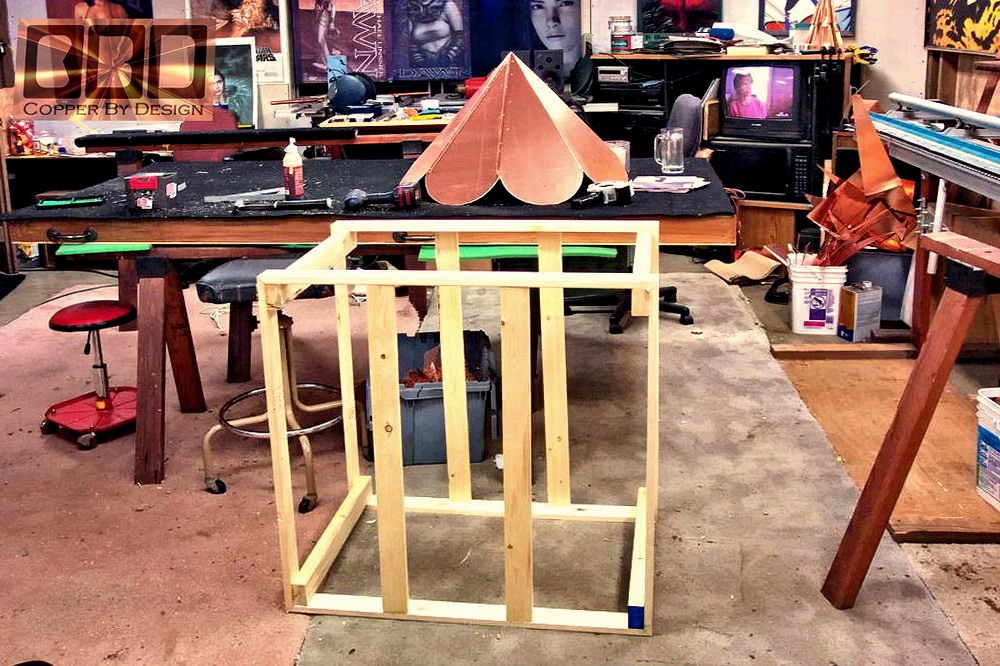
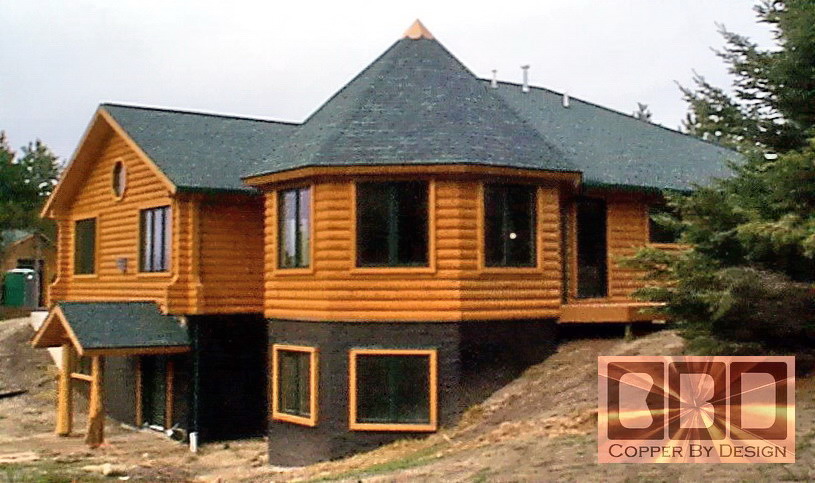
This large solid 20oz copper roof cap was custom made (10-04) for, Chuck and Cynthia McLaughlin in Interlochen, Michigan. We received the needed info from them in their first letter and were able to lock down the details of this cap in a single reply, so they qualified for the 5% discount, down from $386 to $365.75 for this 11sq. feet cap at $35 per square feet of copper needed to build this cap. It has the half round scallop tails with a safety hem bent under along that edge. |
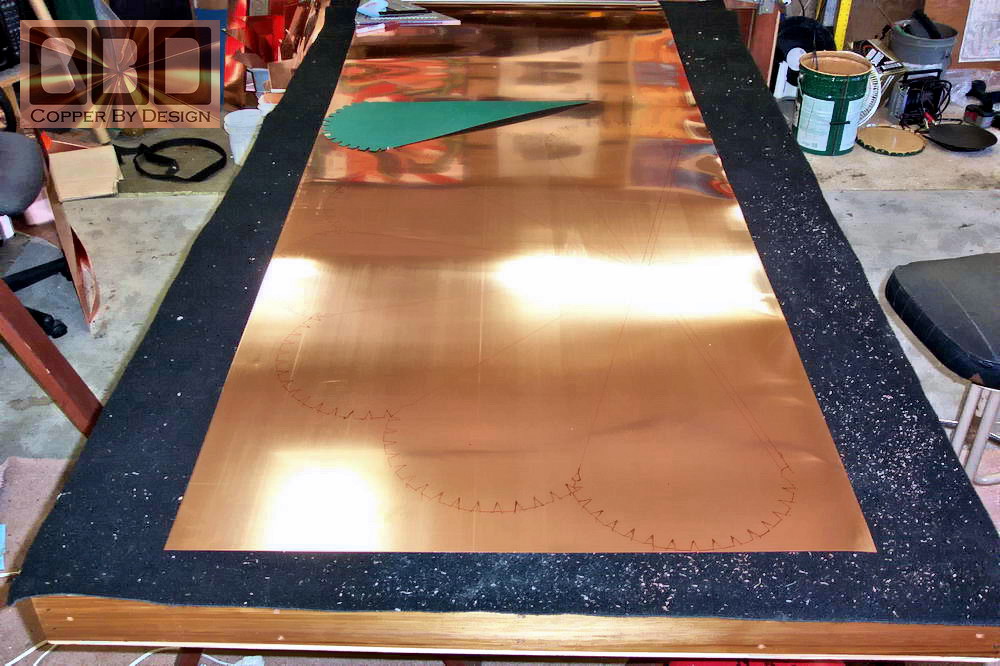 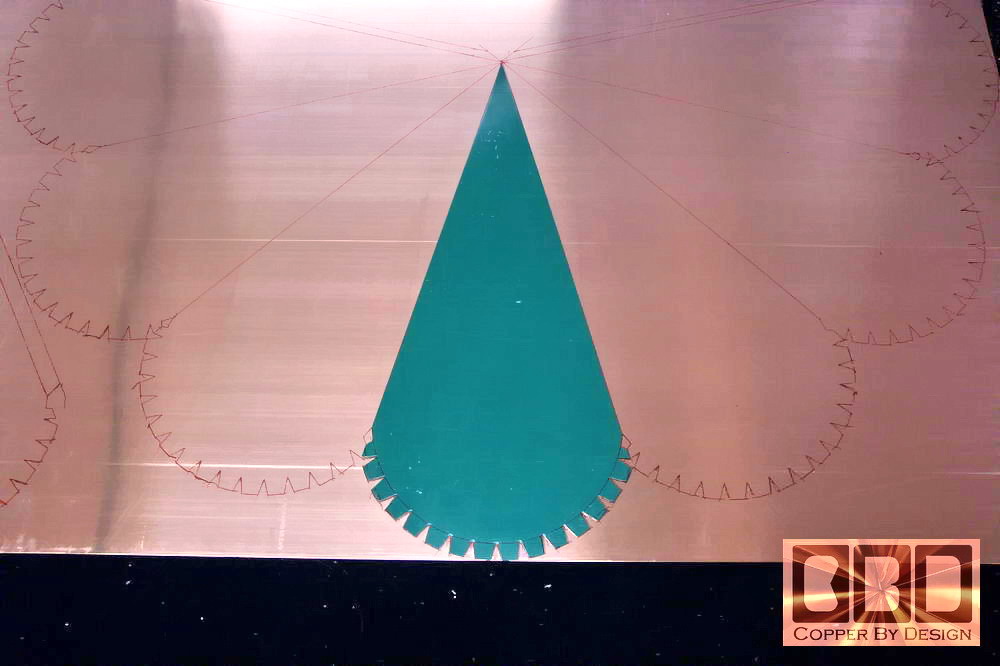 The sheet of copper shown above is 10' long and 3 feet wide, and still has the clear plastic film over one side that will be used for the outside of this copper roof cap to protect it from finger prints that make an uneven tarnished look. Next to that picture shows the template for one of the 8 sides that we made from the dimensions given for this cap. The cuts in the bottom curved edge is for the cuts we need to make for the safety hem. We have the cut and fold lines for this cap drawn out on the copper in red. Because of the size, we could not make it in one piece, as we try to do, so we had to cut the 8th side out in a separate piece. |
|
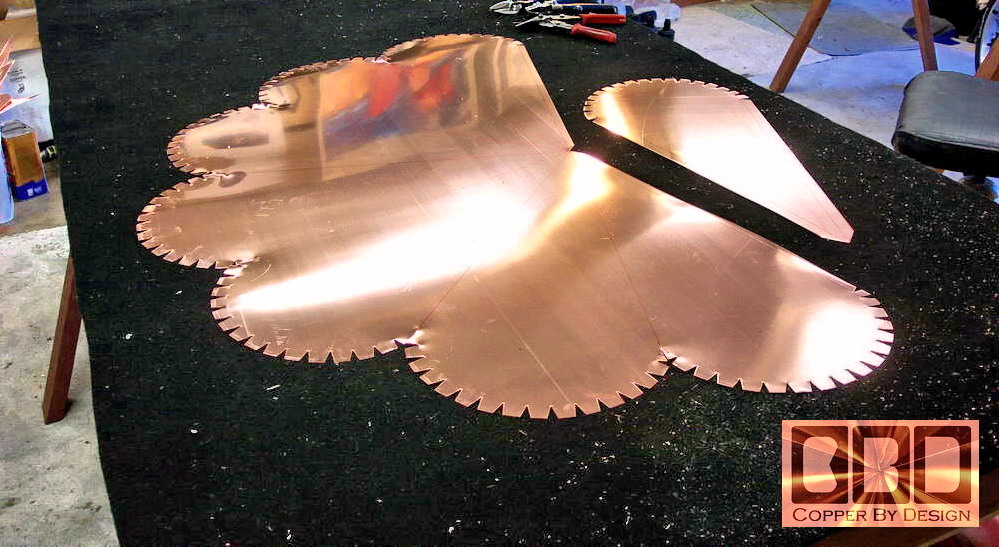
This is the roof the cap sections cut out in the large copper sheet. This may not the most practical use of copper sheet metal, but this way it is much less likely to develop a leak, and it is much stronger this way.
Next to that is the notches cut out for the safety hem fold over. They are to be folded over for a safety hem on the leading edge, as you will see in the next photos. |
|
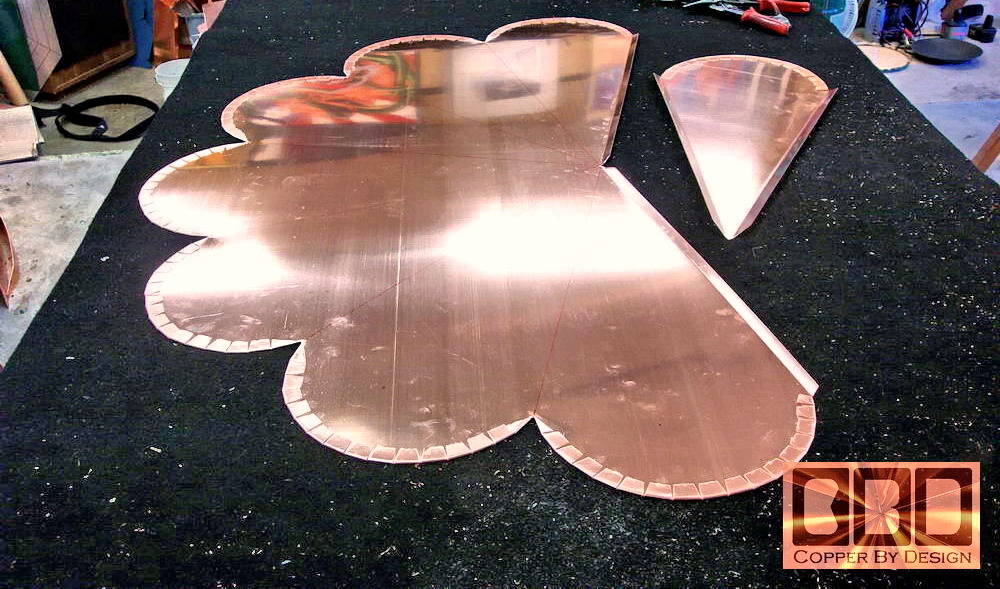
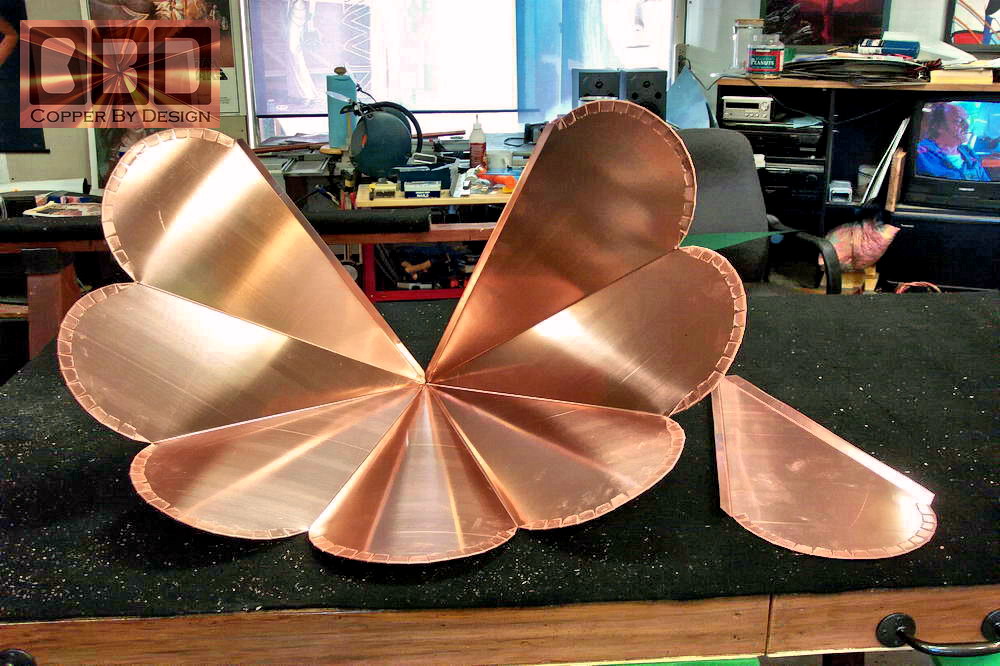
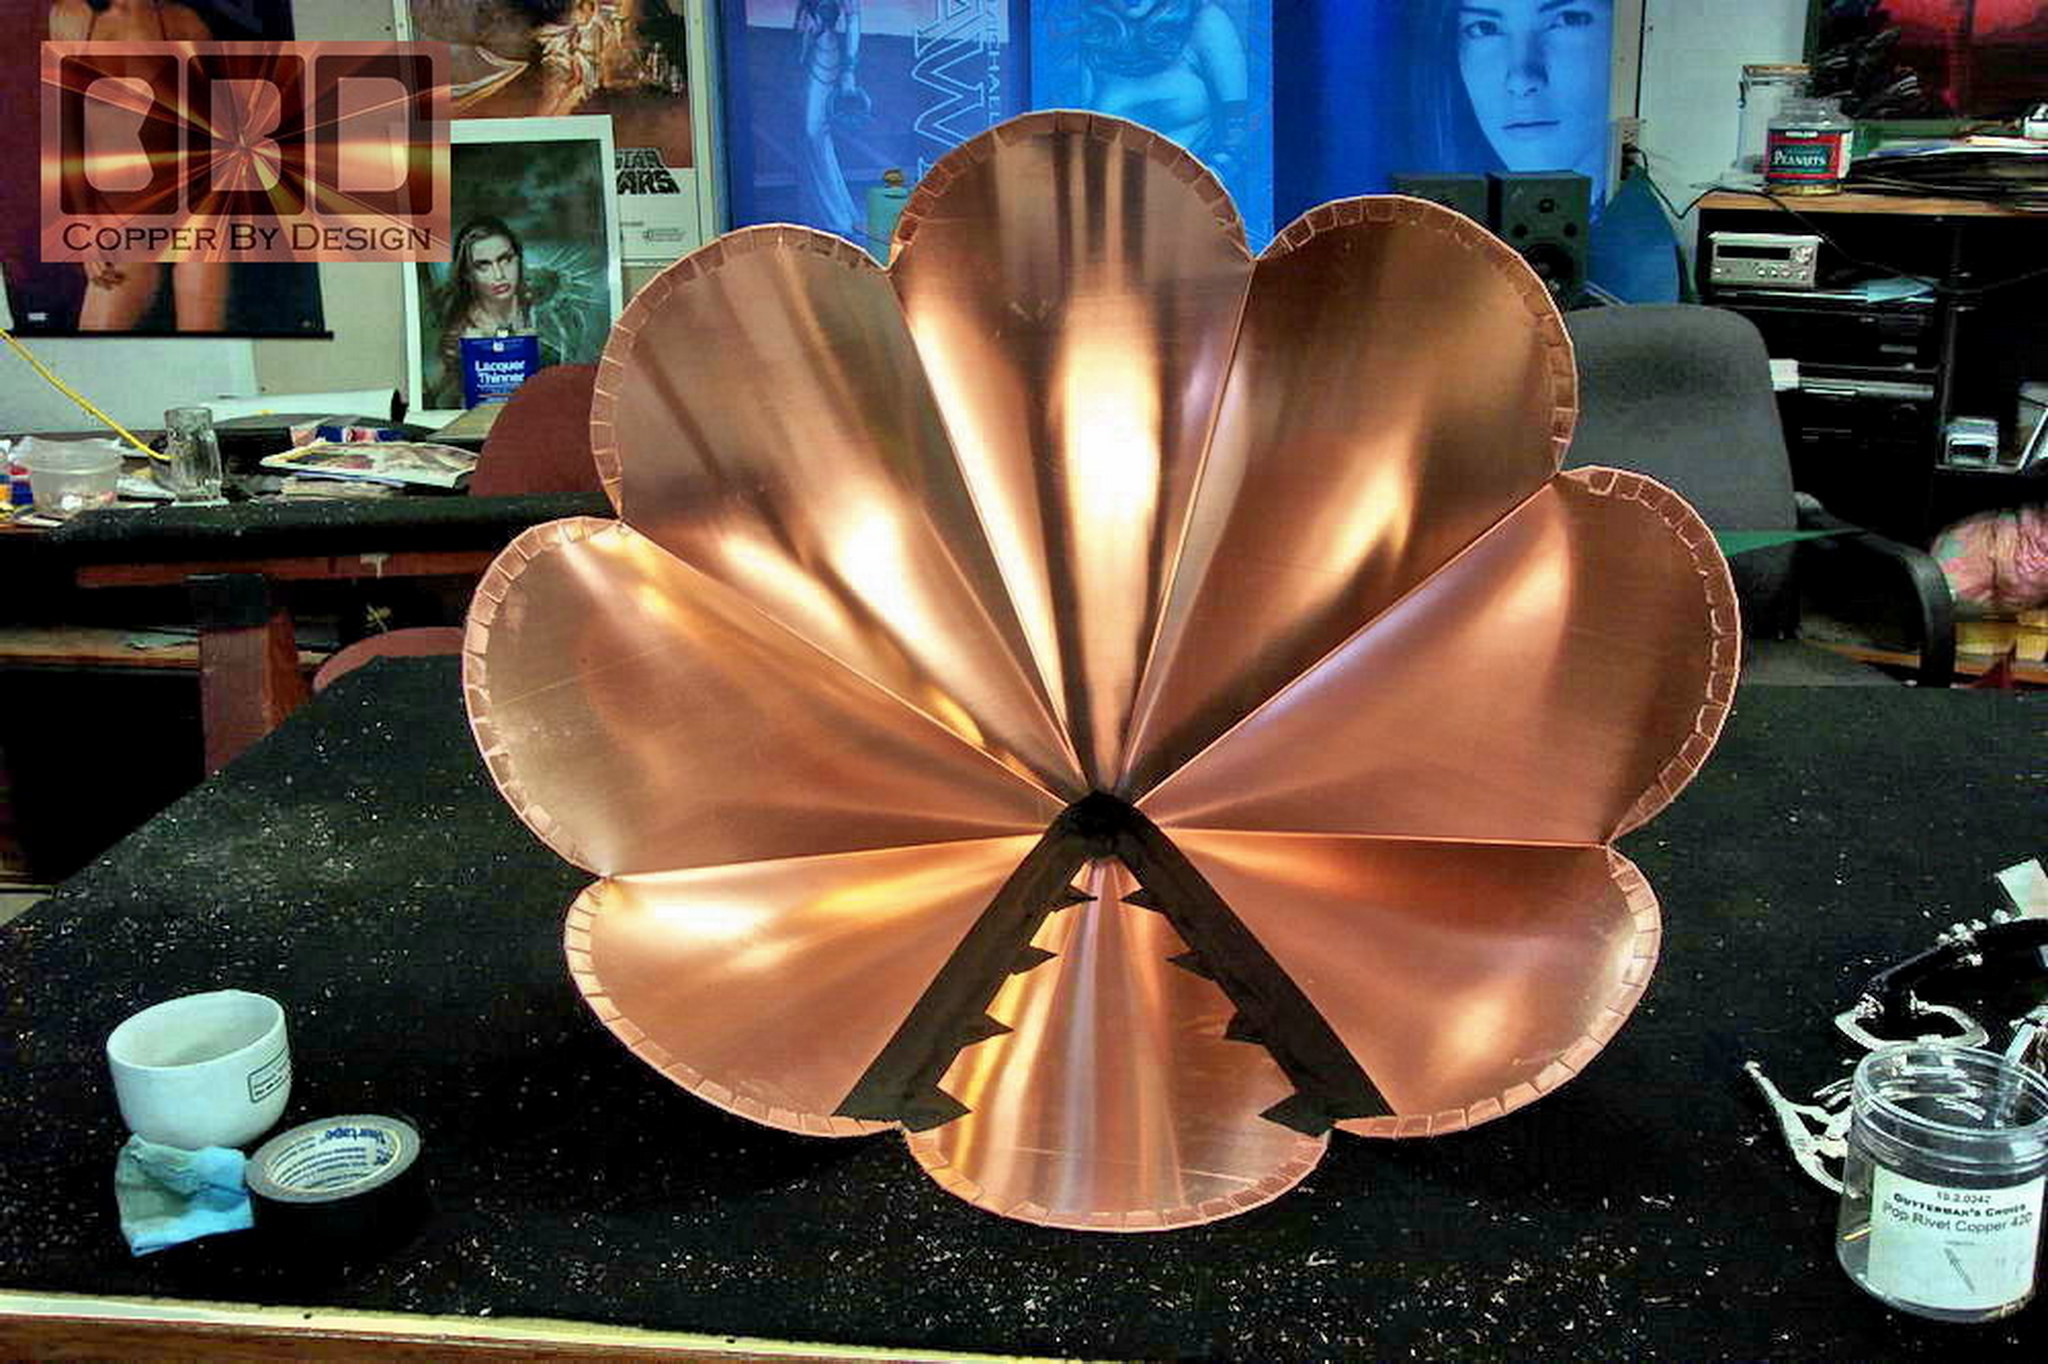
The tabs are cut along the bottom edge of the scallop design they asked for and folded over to help strengthen it and make it easier to handle. It also resist any possibility that a strong wind could rip at the copper and dislocate the cap.
The next photo shows three sides bent to form the cone cap shape. |
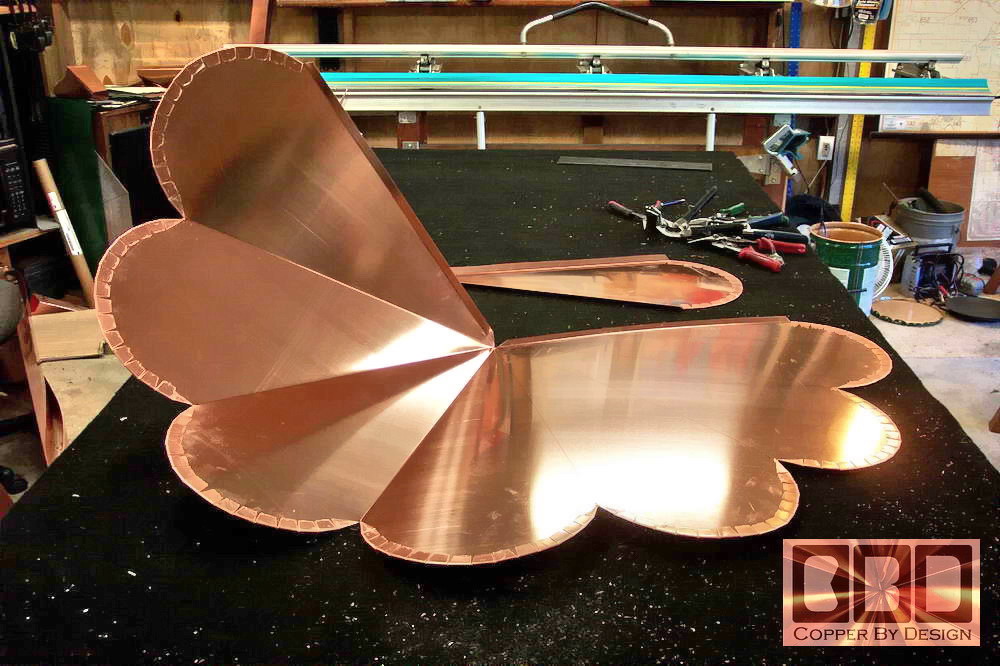
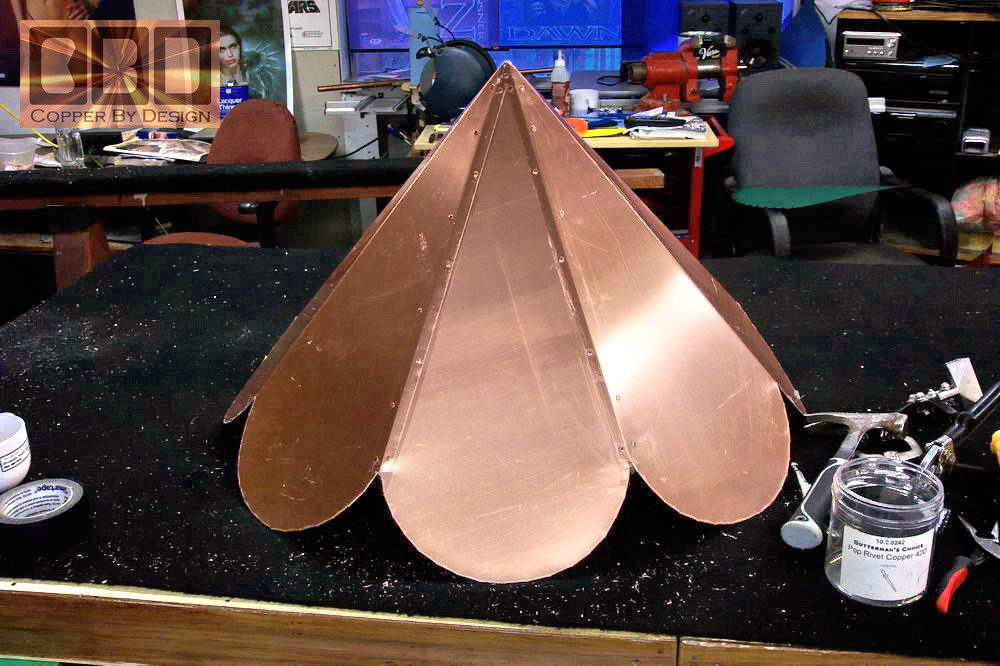
| These pictures show this cap
bent into shape, but the cap is not yet sealed and riveted together
in the cone shape, showing the 2 seams we need to seal.
The second picture shows the cap riveted and sealed with some special black cloth gaffers tape over the extra bead of caulk. |
|
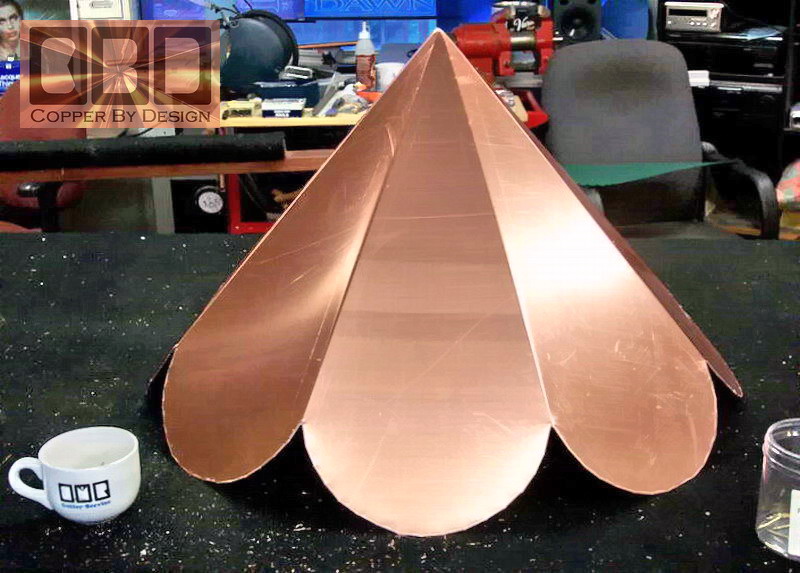
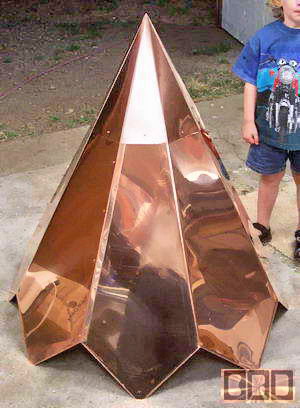
This shows the cap sealed and riveted together. The first picture on the left shows the 2 riveted seams that will be placed on the back side of the turret for the cleanest look. You can click on the pictures to get a better look at the over-lapped riveted seams. The second picture shows the side that will be seen most.
Again, it still has a clear plastic film over the bare copper to help keep finger prints off the copper. The oil from finger prints causes early tarnishing and makes it tarnish in a rather spotty manner. The plastic film will be pealed off after the final installation. |
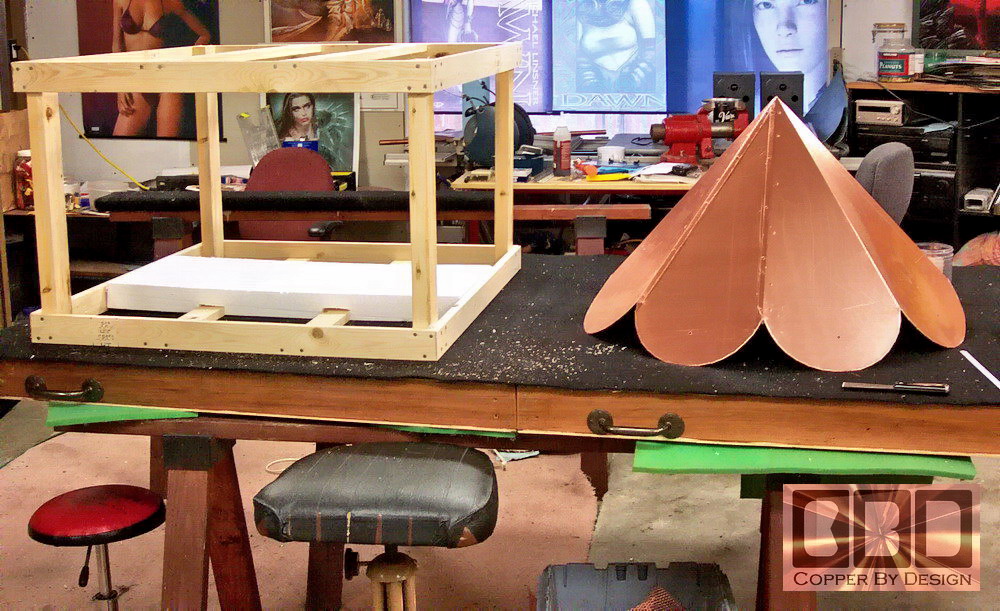
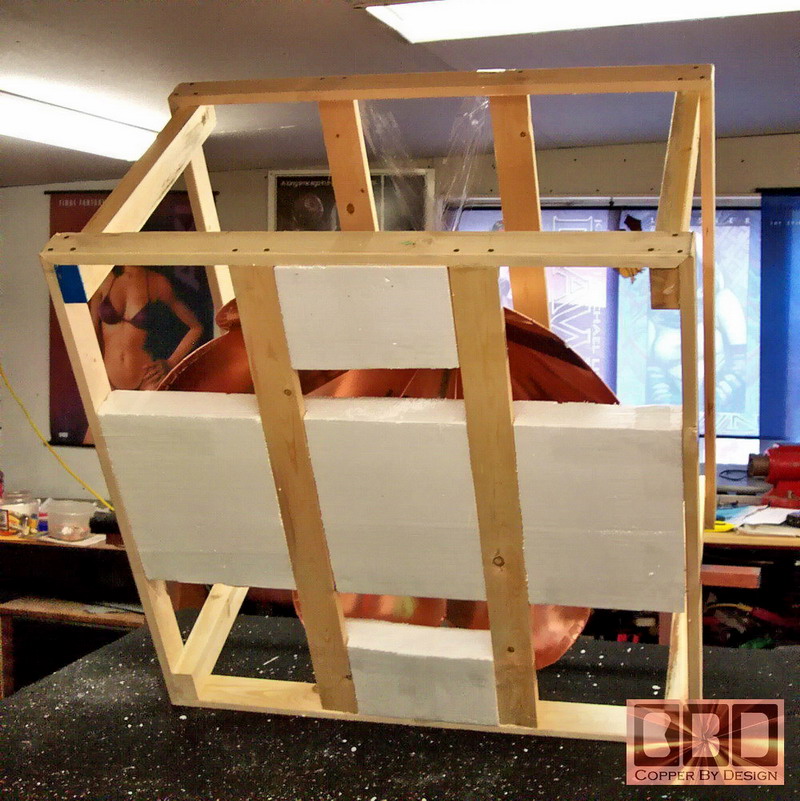
| This is showing the wood frame supports for the
custom crate we make special for each cap. This process takes almost
as much time as making a simple cap like this
The second picture shows a side-by-side relation to the cap and the crate. We have the first Styrofoam sheet cut and set in place. |
|
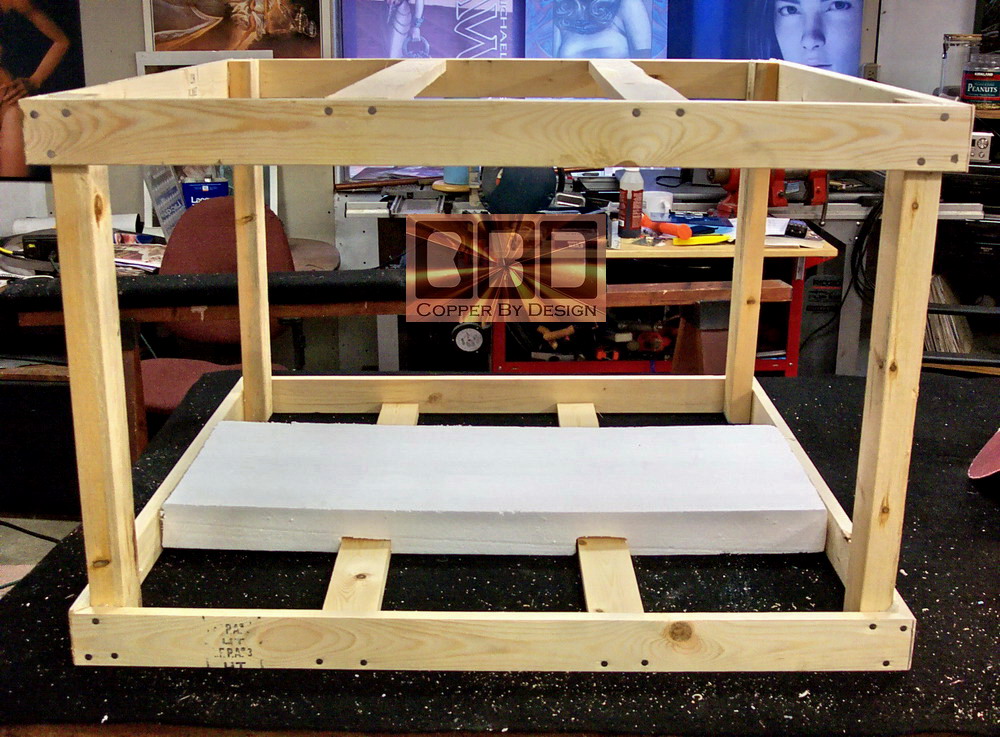
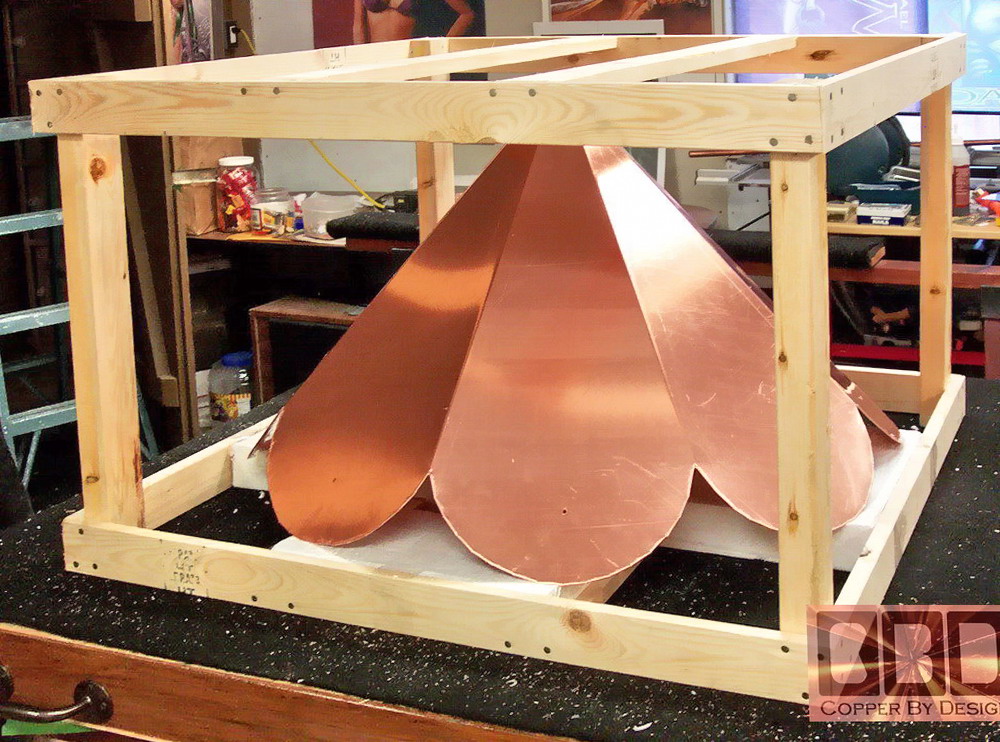
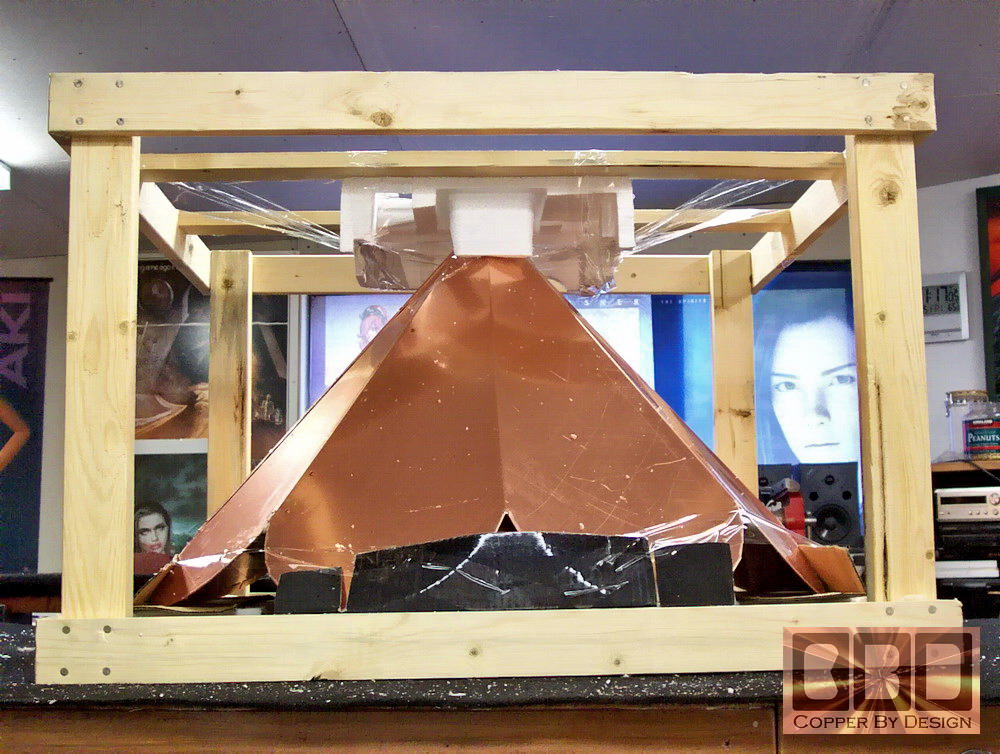
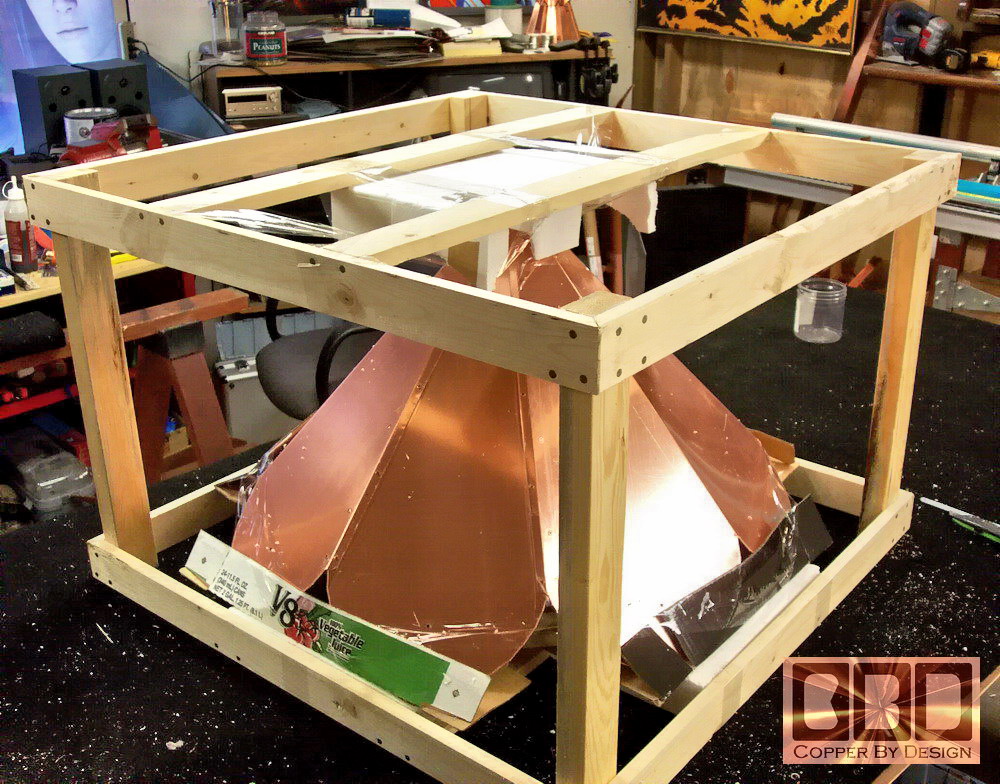
Here is a close-up of the crate. We glued the boards together here, and predrilled the holes before nailing to insure the wood would not crack and split.
The second picture shows the cap set inside the crate over the 4 pieces of 2" Styrofoam. |
|
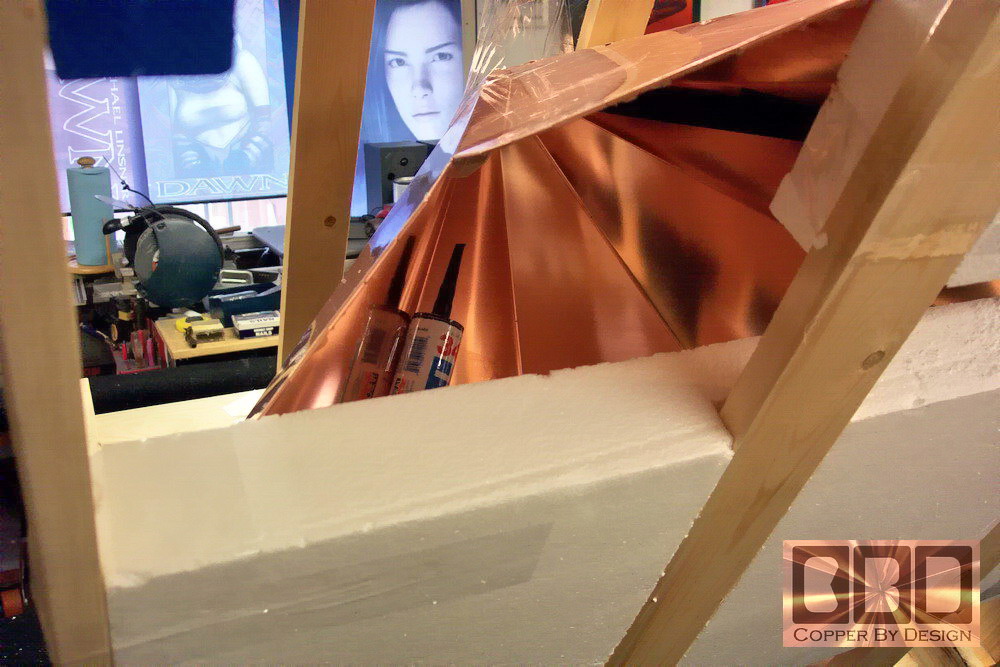
Here is a close-up of the crate underside. There is clear packaging tape suspending the top of the cap in place with a special piece of Styrofoam over the tip to protect it.
|
|
Here is a close-up of the crate under the cap, showing the tube of caulk supplied. There is also a zip-lock bag with the 8 + 2 spare stainless steel screws and a new #3 Phillips tip to fasten the cap to the roof.
|
|
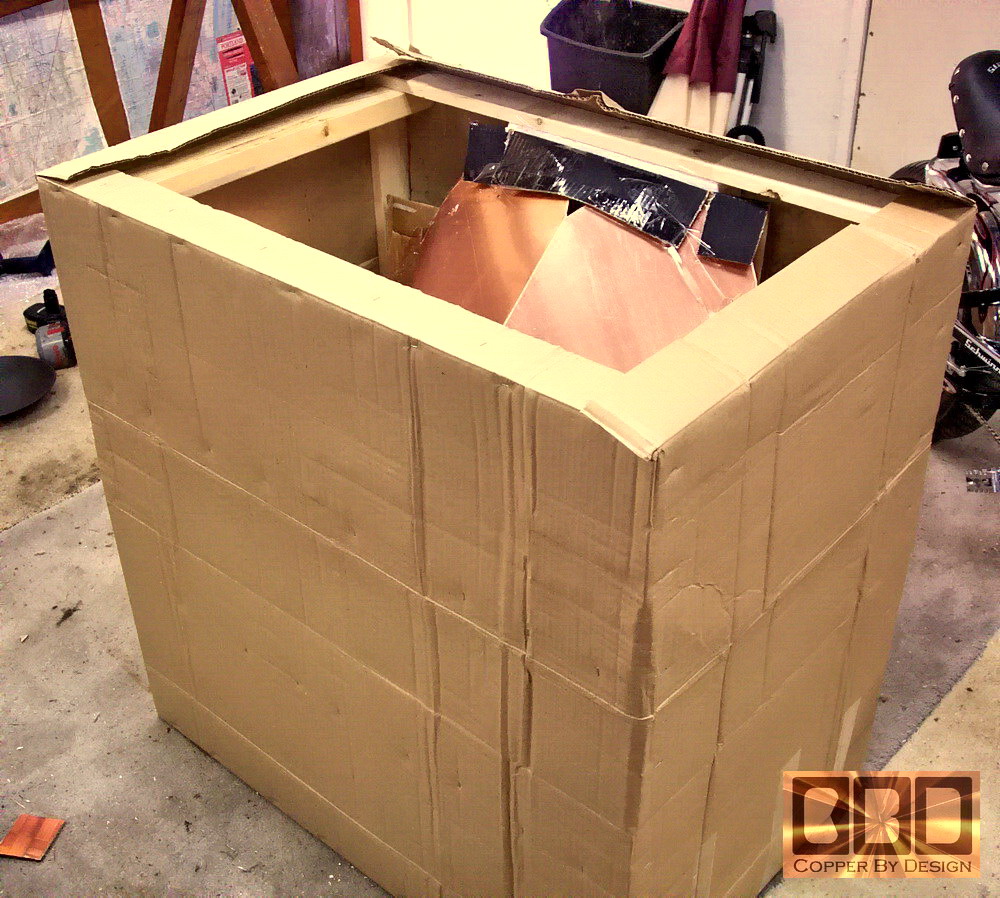
We cover this wood frame with cardboard using a staple gun, leaving an inspection hatch, so the shipper can see we are not smuggling contraband. We then use a hand stapler to seal the crate with the last cardboard side. We marked the cardboard with a 'Top' side, so the shipper knows which side would be best during transit.
We sent the client these digital photos of the progress to get their feedback of what they think of this, and if they have any ideas or concerns. In this case we were able to get it all done by working a full day on it and getting it off to the shipper the next morning, but we had been in contact about these details and knew we were in sync.
|
|
Detailed
Installation Instructions: |
.
| Click this
photo to go back to the Custom Copper Roof Cap main page.
|
.
|
Click here to go back to the Custom Copper Roof Cap main web page to see many of the different caps we have created over the years. |
|
Below is a
photo of our |
|
|
|
We were also a 1997 finalist for this same award. See our referral web page to see how we managed to be honored with this special award |
 Homepage |
|
|
Company Profile |
|
Roof Caps |
|
Chimney Caps |
|
Scuppers |
|
Gutters |
|
Shipping |
|
Contact Info |
.
.
.
.
.
.
.
.
.
.