|
|
The LeGoullon Roof Cap Photos & Details Page Updated 4-1-2007 |

|
|
Company Profile |
|
Roof Caps |
|
Chimney Caps |
|
Scuppers |
|
Gutters |
|
Shipping |
|
Contact Info |
|
|
The LeGoullon Roof Cap Photos & Details Page Updated 4-1-2007 |
|
|
Company Profile |
|
Roof Caps |
|
Chimney Caps |
|
Scuppers |
|
Gutters |
|
Shipping |
|
Contact Info |
.
.
|
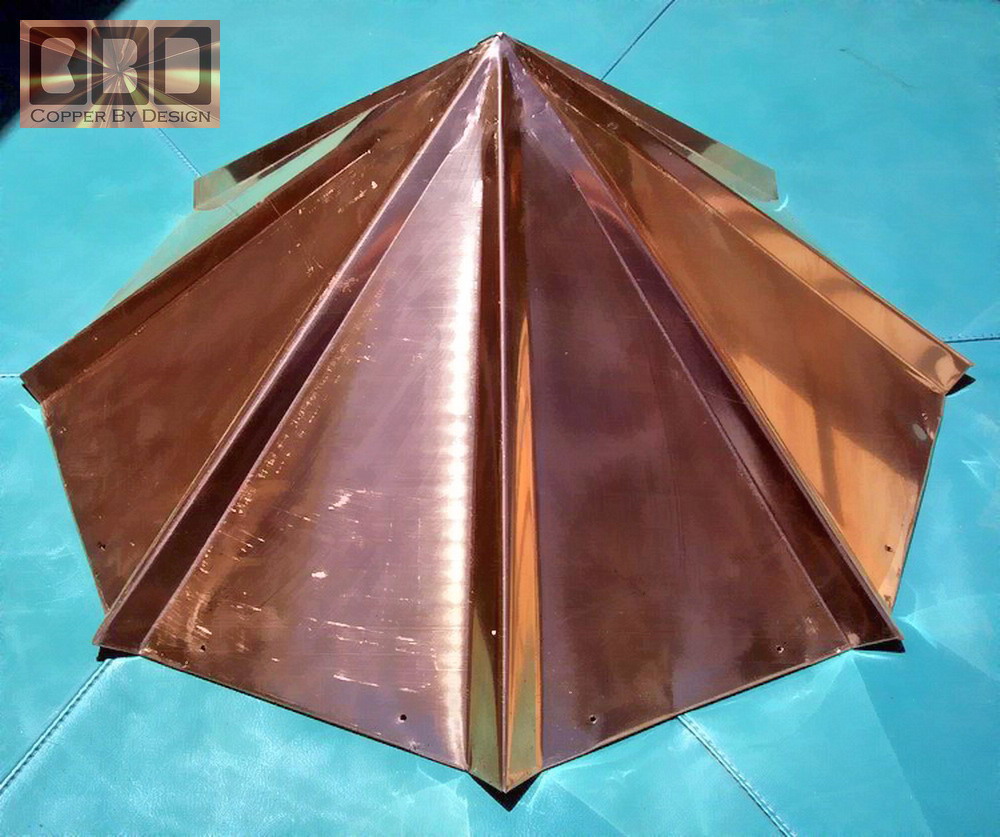
This is the 16oz copper roof cap that we first
made for another client. We bent the corners a little too
sharp of an angle. We had already finished assembling it and even
drilled the 16 holes for nailing the cap to the roof before we decided
it was not good enough to use to fill that order. We later made these additional bends to make it still usable for a gazebo, and to show another feature, a cap can have. It then would fit an 8 sided roof with a 8/12 pitch or less. Below is looking up into the underside of this same copper roof cap. Usually the raised corner look is only for the sake of hiding the fasteners, like with a standing seam metal roof. Other than giving this cap a more dynamic look, when it comes to function our caps do not need these raised corners, as they are a one piece design. It does give the corners a more defined look though.
The opposite would be to make a cap that is a simple cone shape, with no corners at all. We later sold this copper roof cap from this web site to a gentleman named David LeGoullon in Woodland, California. He wanted it to also have these other smaller caps added to it with steeper pitches (shown below). Here is a top view, looking down on this same copper roof cap, shown with a small cap added to the top to make the center point graduate to a steeper point. The small cap is sealed water tight as well.
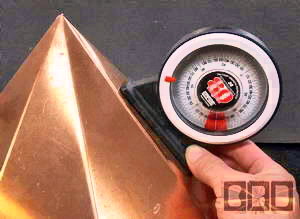
The client wanted another steeple added to this order, so A third steeper steeple was added to it. This doubles the height of this cap and gave it an even more dynamic look (shown below). We did not make the steeple with the raised corners like the lower two caps. Besides being way too complicated and a very high risk of failure, we felt it would look better this way, since that sort of detail would be lost from any sort of distance. Here is more of a side view to better see the secondary cap on top with a simple final steeple added to the top.
The cost break-down is $200 for the main cap with the smaller mid cap, along with the cost of postage and handling (shown above). If you wanted this cap with the third steeple piece (shown right), or in the more rigid 20oz copper it would run an extra $30 for each added feature. We riveted the secondary cap on, but because of the height we felt it best to only pre-drill the holes and have the client rivet on the steeple after delivery. Of course we included the copper rivets and 1.5" copper nails for installation. He only should need 16 nails and 4 rivets, but we included 20 nails and 10 rivets, just incase he decided he wants all 8 sides of the steeple riveted. The extra nails were in case he winds up bending a few nails, or drops a couple in the grass.We can make a cap with a smooth gradual slope upward (as shown at the top of this web page). But that adds greatly to the complexity and cost, as well as the need for 8 separate seams to seal, instead of only one seam. |
.
| Click this
photo to go back to the Custom Copper Roof Cap main page.
|
.
.
|
Below is a
photo of our |
|
|
|
We were also a 1997 finalist for this same award. See our referral web page to see how we managed to be honored with this special award |
 Homepage |
|
|
Company Profile |
|
Roof Caps |
|
Chimney Caps |
|
Scuppers |
|
Gutters |
|
Shipping |
|
Contact Info |
.
.
.
.
.
.
.
.
.
.
.
.
.
.
.
.
.
.
.
.