|
|
The
Knuth/Tate Turret Cap Photos & Details Page Updated 10-14-2005 |

|
|
Company Profile |
|
Roof Caps |
|
Chimney Caps |
|
Scuppers |
|
Gutters |
|
Shipping |
|
Contact Info |
|
|
The
Knuth/Tate Turret Cap Photos & Details Page Updated 10-14-2005 |
|
|
Company Profile |
|
Roof Caps |
|
Chimney Caps |
|
Scuppers |
|
Gutters |
|
Shipping |
|
Contact Info |

.
|
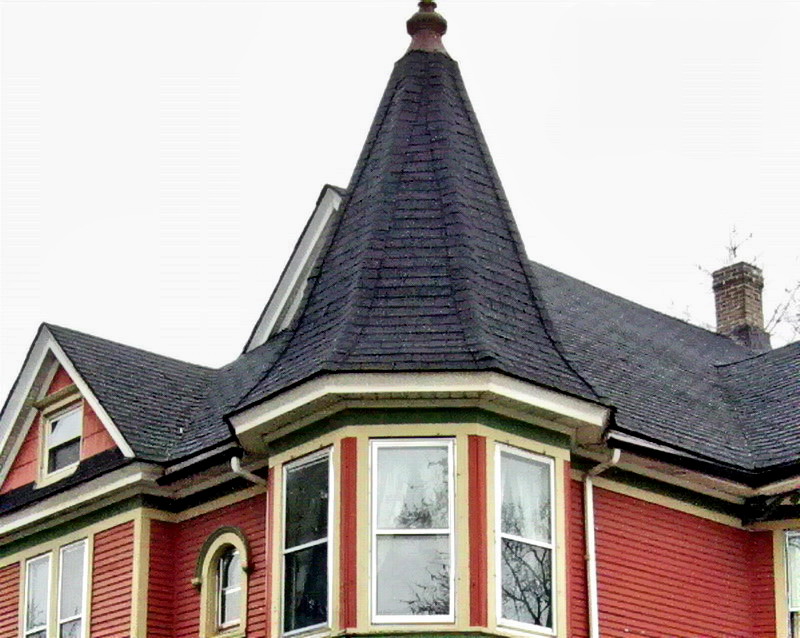
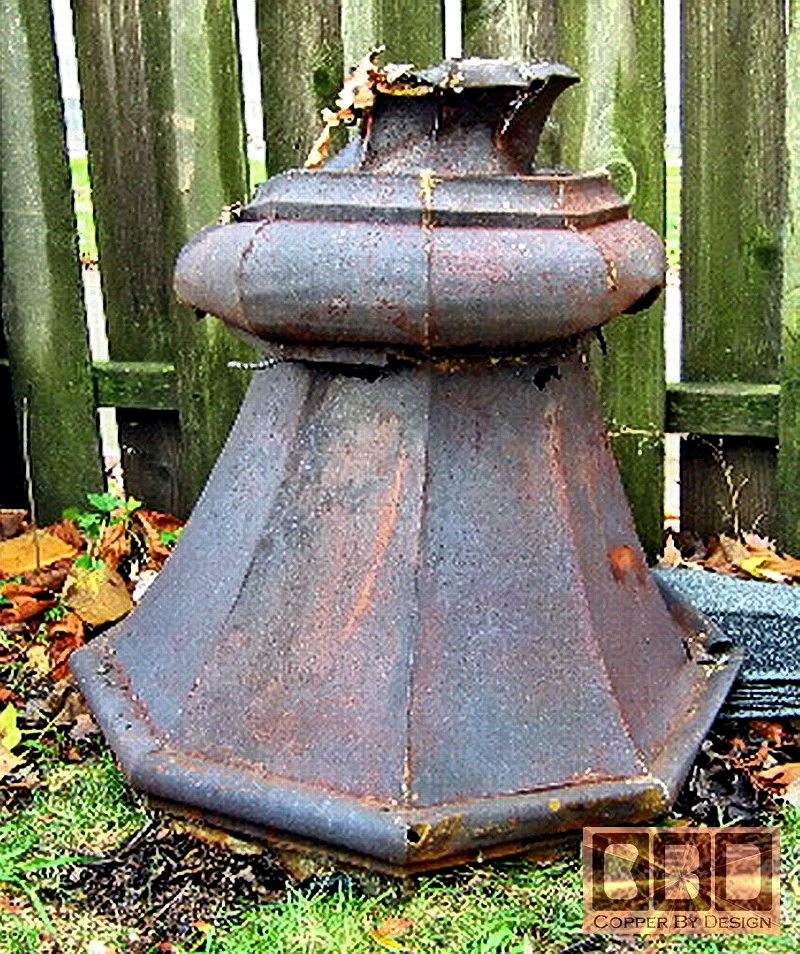
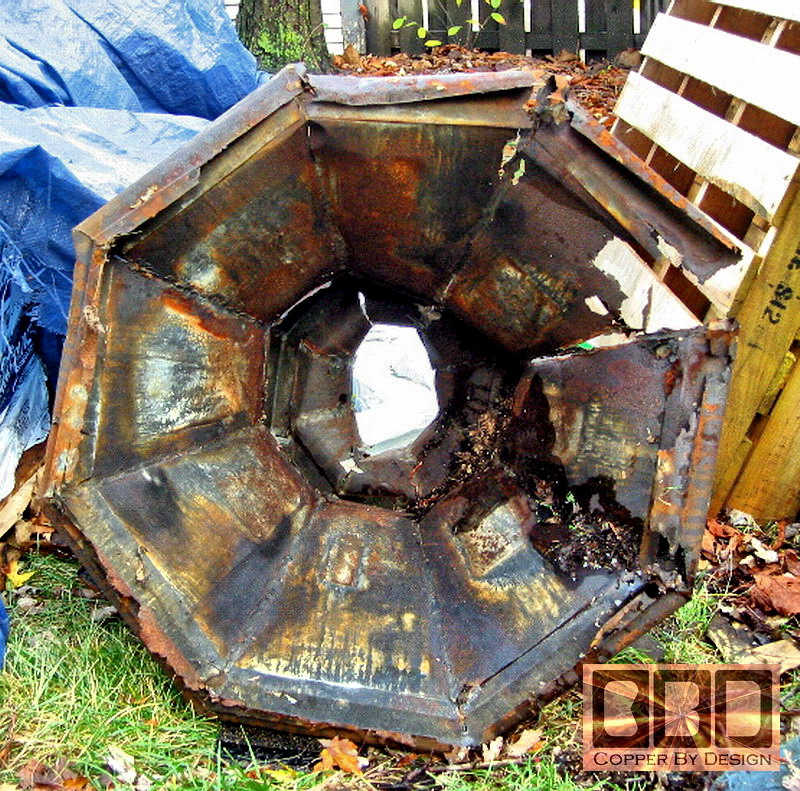
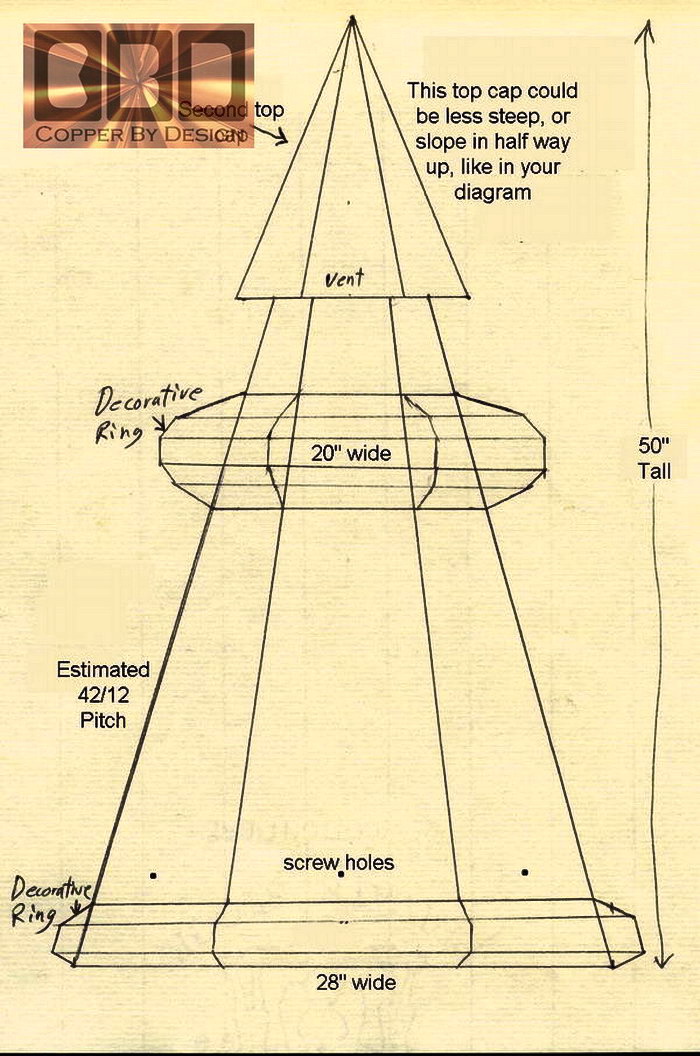
We were contracted to recreate a large roof cap for a, Tim Knuth & Liz Tate in Chicago, Illinois. We received these photos of their old rusty steel cap to try and recreate it for them in copper. We gave them prices on fabricating it just like the old roof cap, and a price for not adding quite this much ornate detail.
They opted for the less expensive version. We were happy to oblige them. Our aim is not to sell clients on the most expensive roof cap. We try to keep our primary focus on offering options for a good balance of cost and looks. We want each client to feel they get a good product for a reasonable price they can afford.
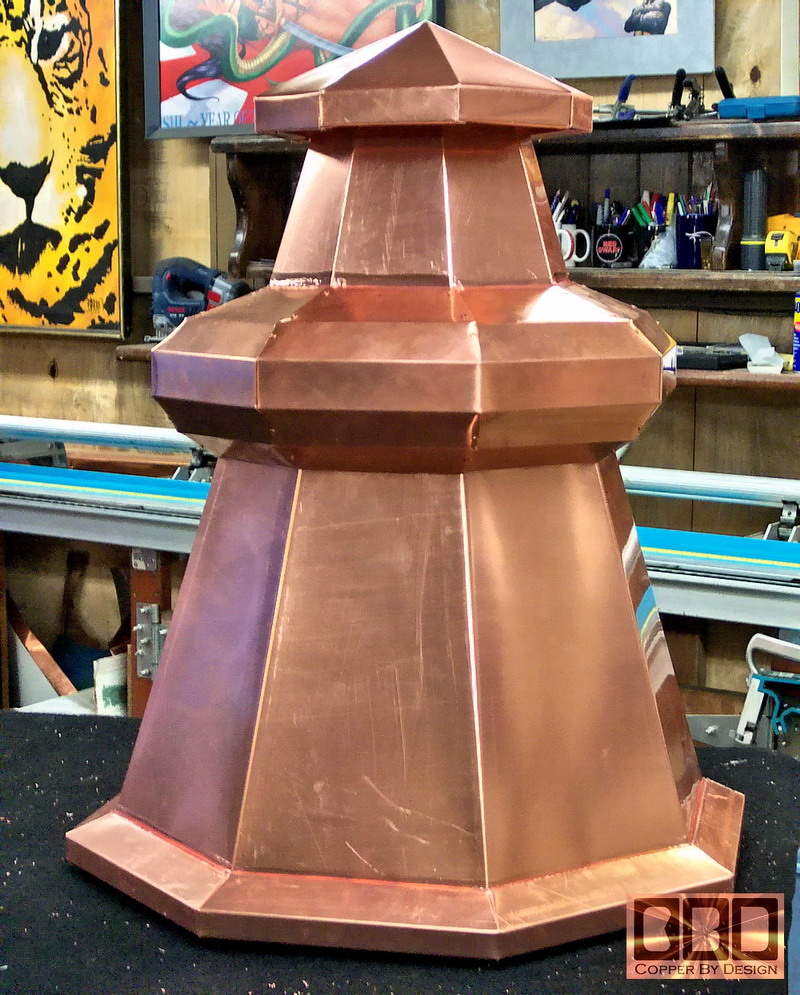
36" tall cost was $700 php |
|
We could have designed and fabricated it just like the original, but we had to bid it for over $1,000 to do this to cover nearly the whole week time it would take to create it. We were asked if we could make the new one at a reduced cost of $700 by making it same size, but less soft curves to it and not as detailed. So the photos below show what we were able to provide, after exchanging several diagrams for approval.
|
|
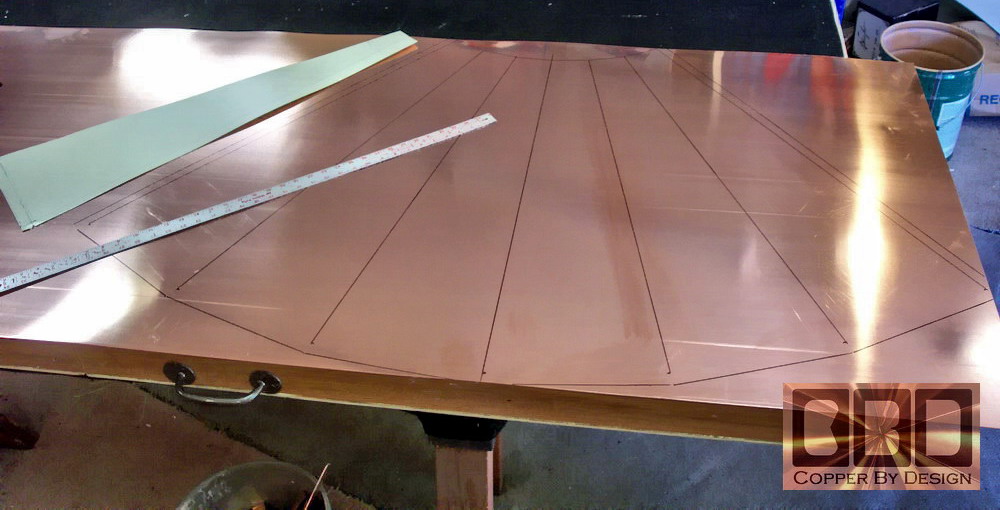
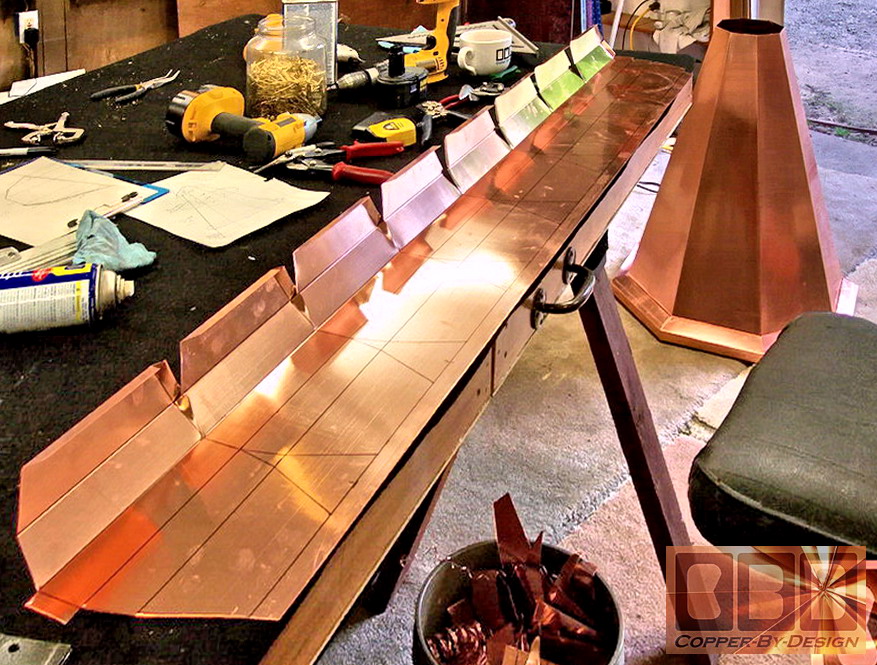
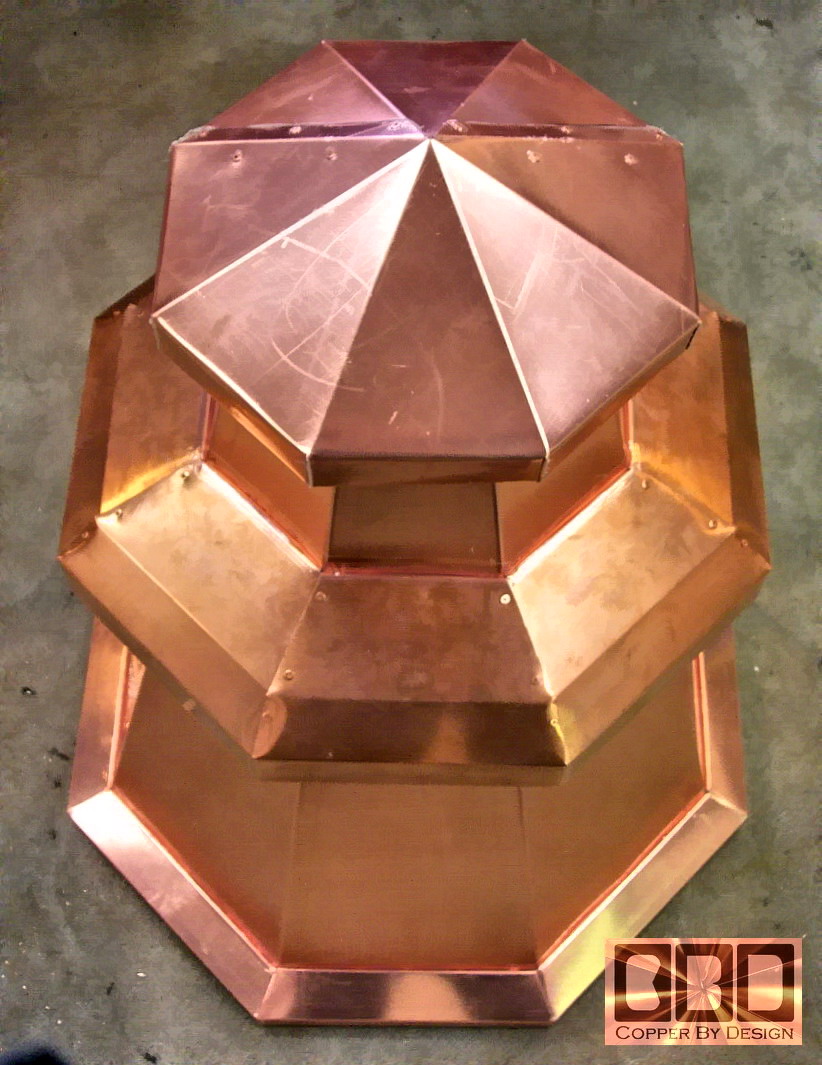
This is the main roof the cap sections drawn out and then cut out of the large copper sheet. This may not be the most practical use of copper sheet metal, but it will be much less likely to develop a leak, and it is much stronger this way.
The sheet of copper shown above is 10' long and 3 feet wide. It still has the clear plastic film over one side that will be used for the outside of this copper roof cap to protect it from finger prints, which would make an uneven tarnished look. It shows the template for one of the 8 sides that we made from the dimensions given for this cap. Because of the large size of this caps main section; we could not make it in one piece like we normally try to do, so we had to cut the other 2 sides out in a separate piece. |
|
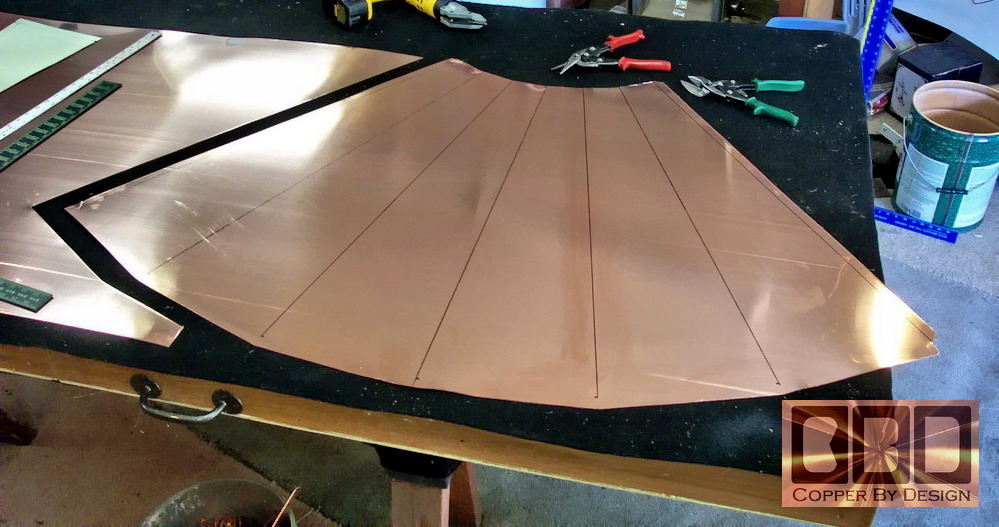
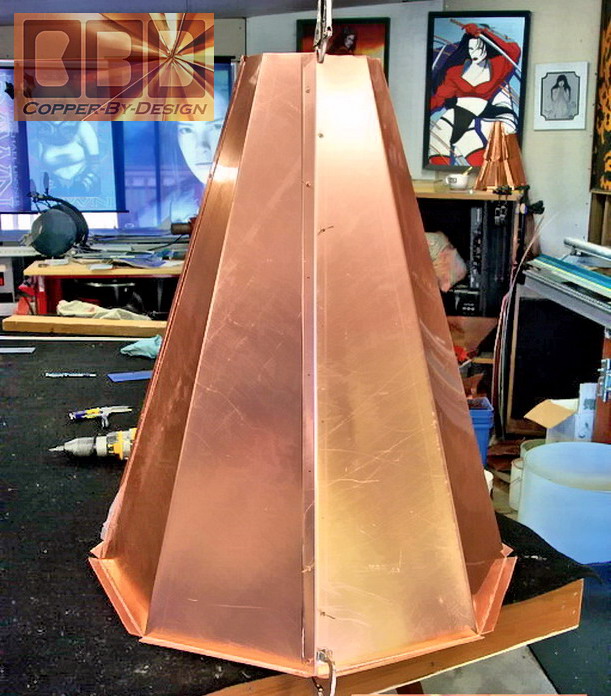
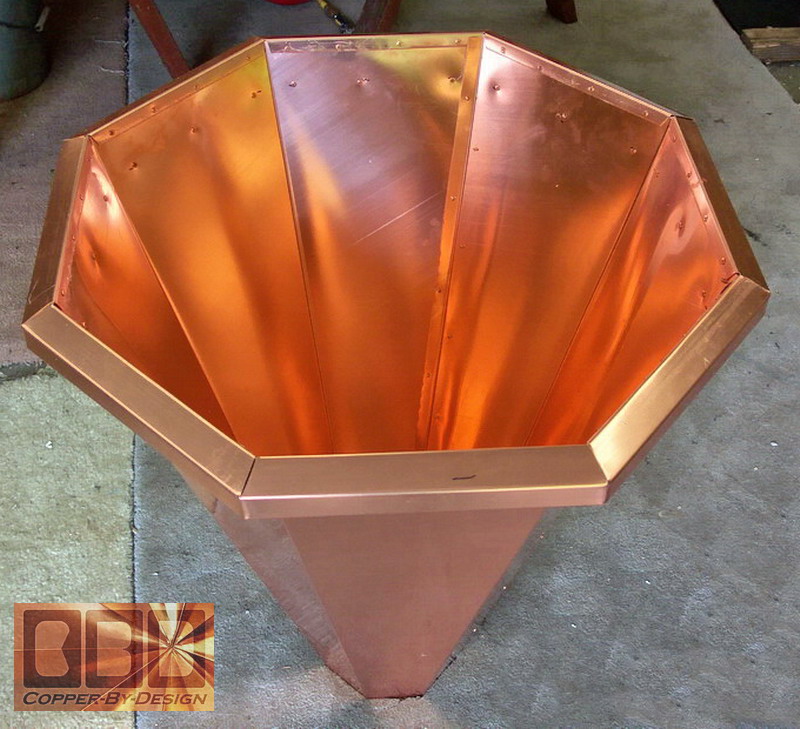
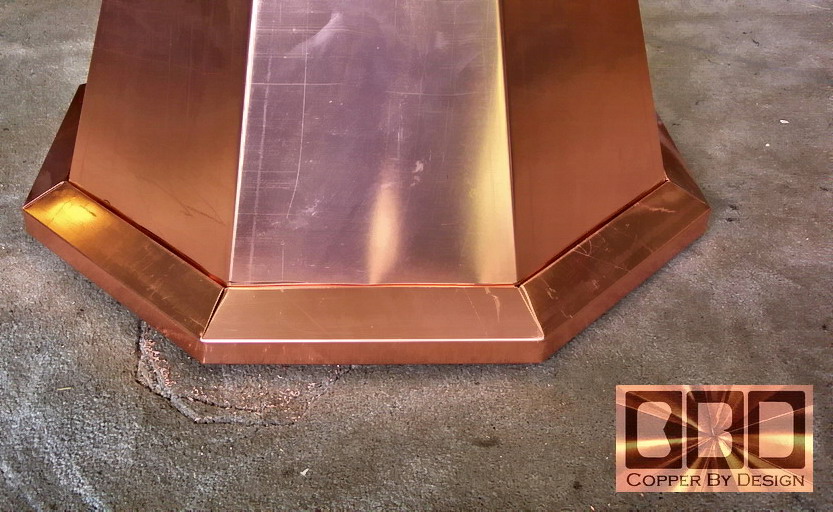
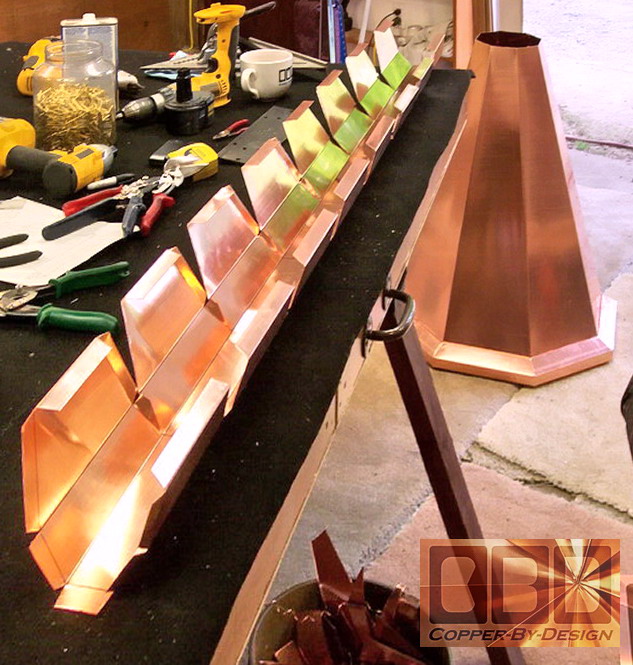
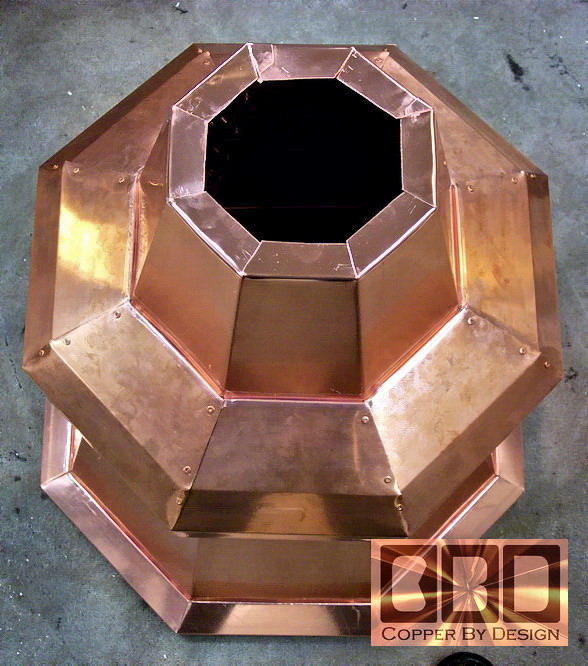
Here are the two pieces of the main cap section formed into the proper shape. This section will have the seams set to the back of the house, so there will be no seams on the front.
These photo show the sides bent to form the cone cap shape getting sealed and riveted together in this cone shape, showing the 2 seams we need to seal. |
|
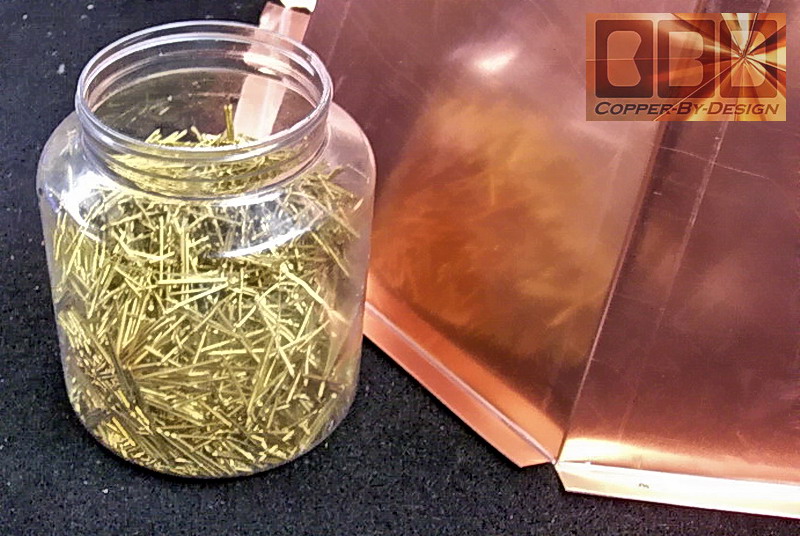
Again, it still has a clear plastic film over the bare copper to help keep finger prints off of the copper. The oil from finger prints causes early tarnishing and makes it tarnish in a rather spotty manner. The plastic film will be pealed off after the final installation. |
|
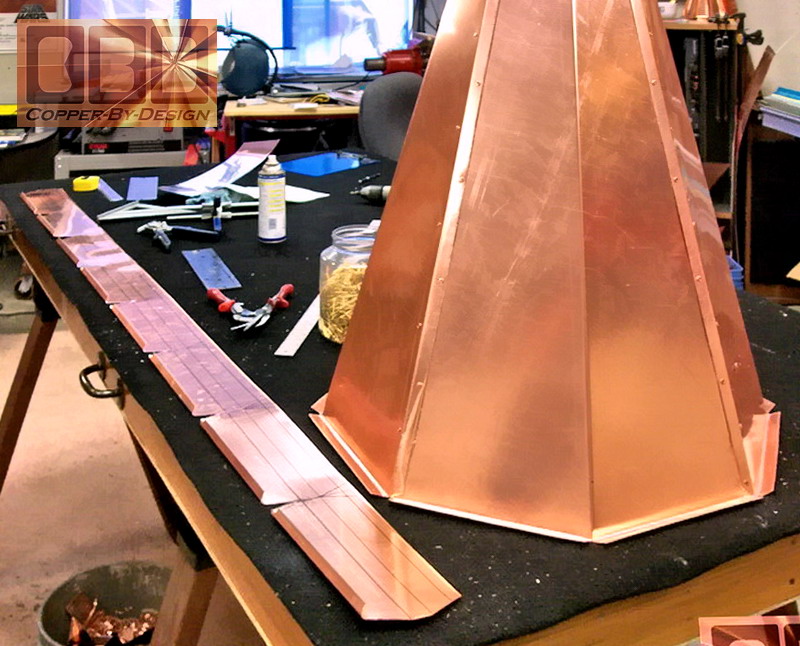
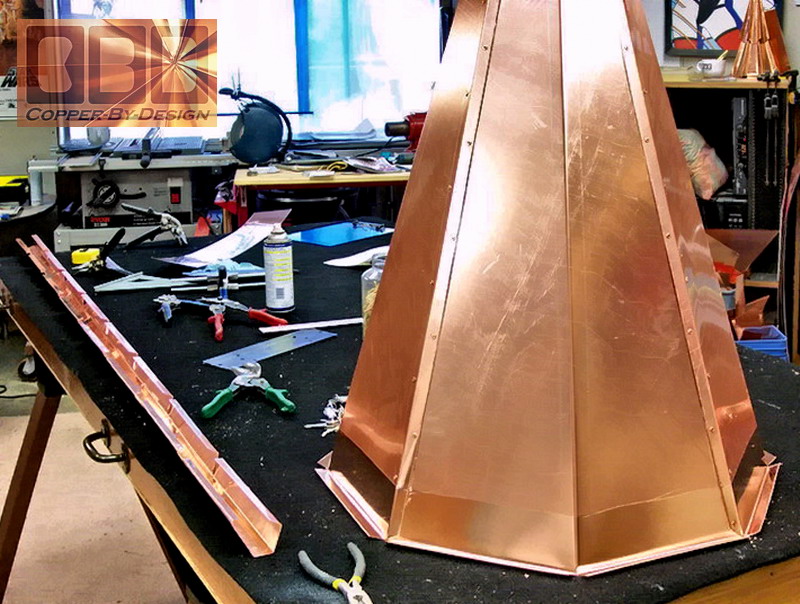
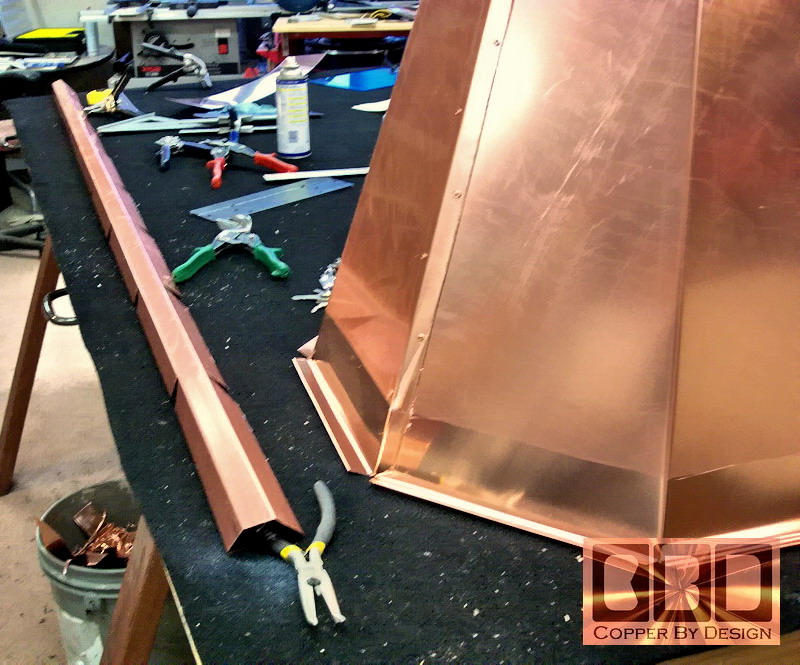
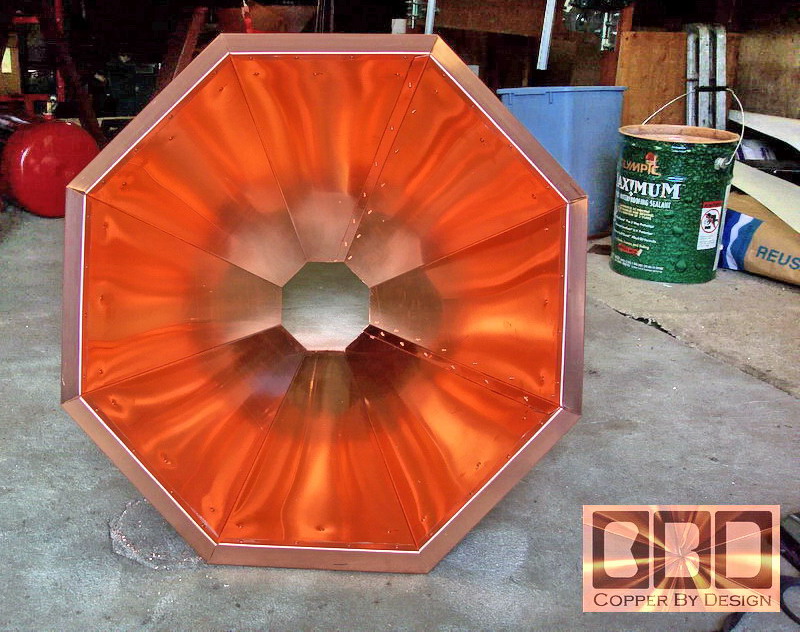
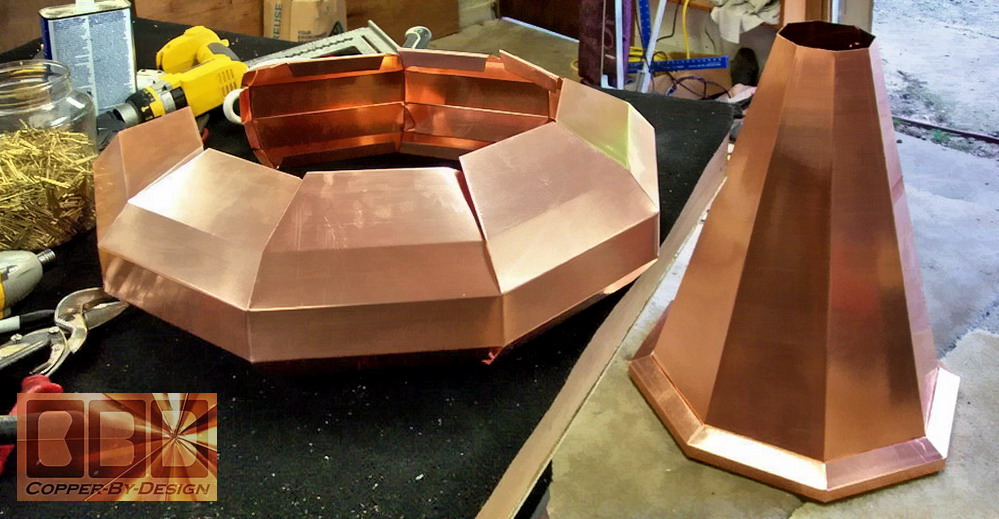
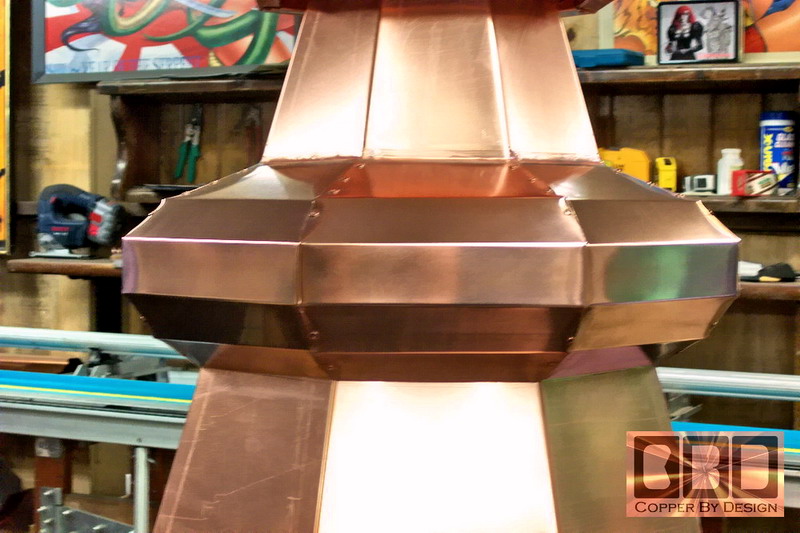
Here is the large decorative ring being fabricated from a strip of copper that is 12" wide x 67.5" long. The math involved with this part was one of the most challenging parts of our work. Not only that, but we first have to visualize this in our mind in a 3 dimensional way to get the ideas for the math we need to figure out. We used 80 rivets to connect this and attach it firmly to the cap
|
|
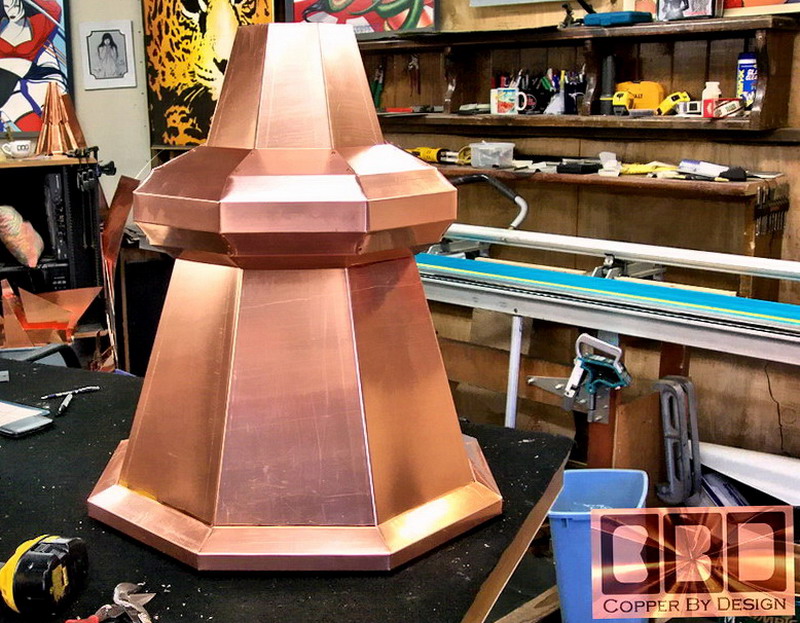
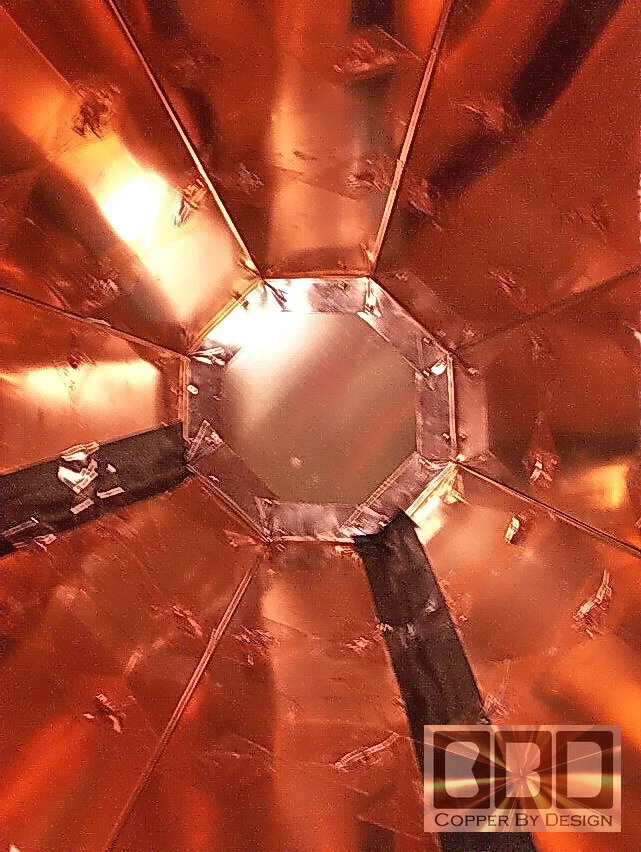
Here is the small top cap going on this roof cap. We do everything we can to hide the rivets when possible. It was not easy to rivet the top on from inside, but it was the right thing to do. We are not people to shy away from a challenge.
|
|
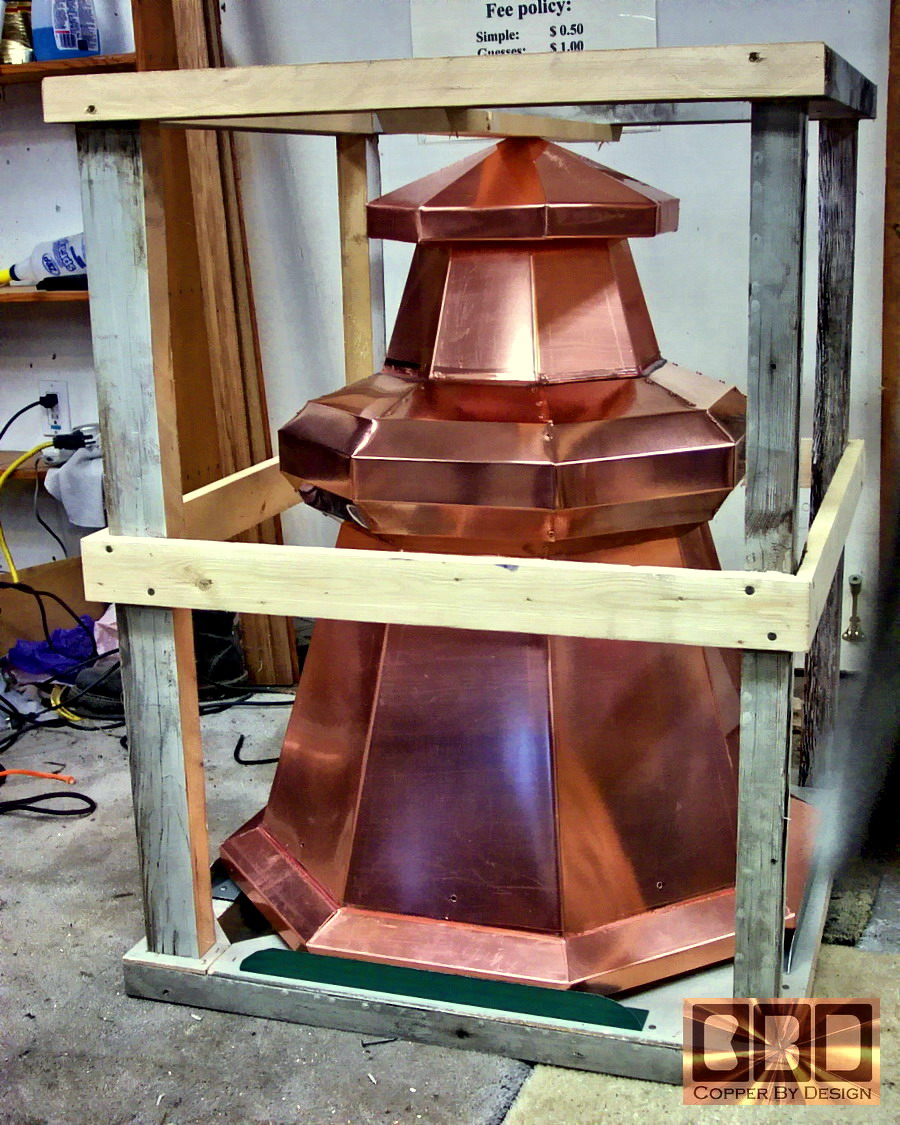
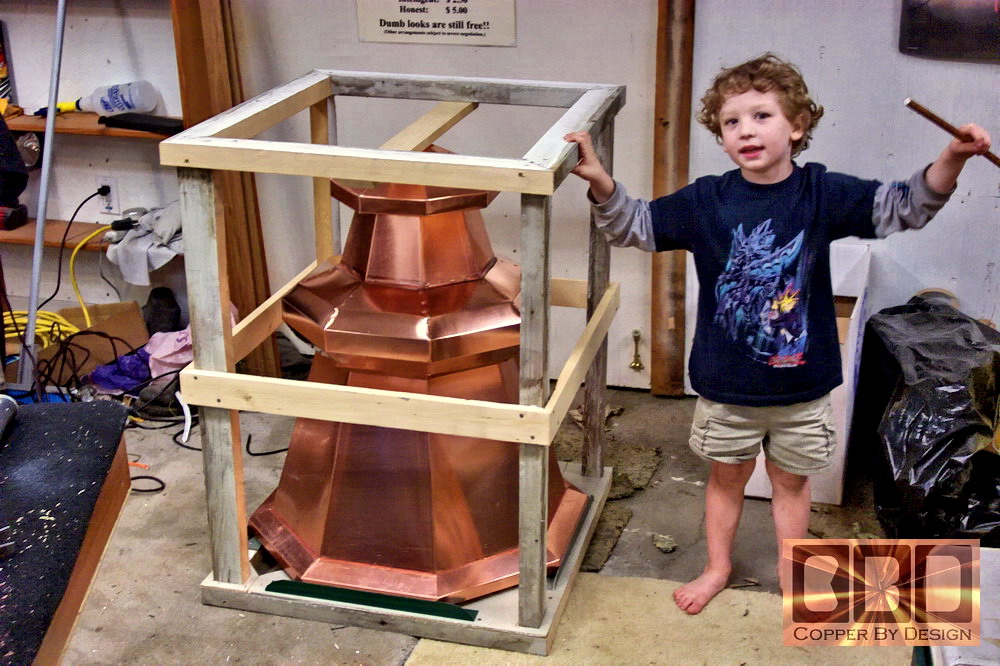
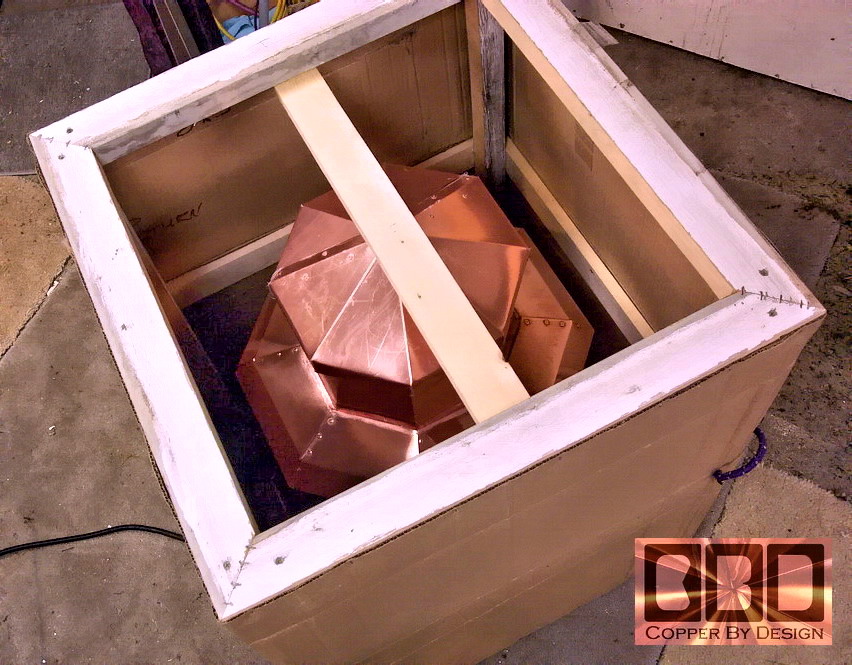
Here is the the custom wood framed crate we made for this turret roof cap. Our 4 year old son below left gives you a good idea of how large it is, but it will look plenty small once it is installed. The last photo shows it with most of the cardboard stapled over the wood frame. Luckily we have a DHL distribution center not far from our shop, so I always run these down as soon as I have them ready to ship.
|
.
| Click this
photo to go back to the Custom Copper Roof Cap main page.
|
.
|
Click here to go back to the Custom Copper Roof Cap main web page to see many of the different caps we have created over the years. |
|
Below is a
photo of our |
|
|
|
We were also a 1997 finalist for this same award. See our referral web page to see how we managed to be honored with this special award |
 Homepage |
|
|
Company Profile |
|
Roof Caps |
|
Chimney Caps |
|
Scuppers |
|
Gutters |
|
Shipping |
|
Contact Info |
.
.
.
.
.
.
.
.
.
.