|
|
The
Huffmon Turret Cap Photos & Details Page Updated 7-7-2004 |

|
|
Company Profile |
|
Roof Caps |
|
Chimney Caps |
|
Scuppers |
|
Gutters |
|
Shipping |
|
Contact Info |
|
|
The
Huffmon Turret Cap Photos & Details Page Updated 7-7-2004 |
|
|
Company Profile |
|
Roof Caps |
|
Chimney Caps |
|
Scuppers |
|
Gutters |
|
Shipping |
|
Contact Info |

|
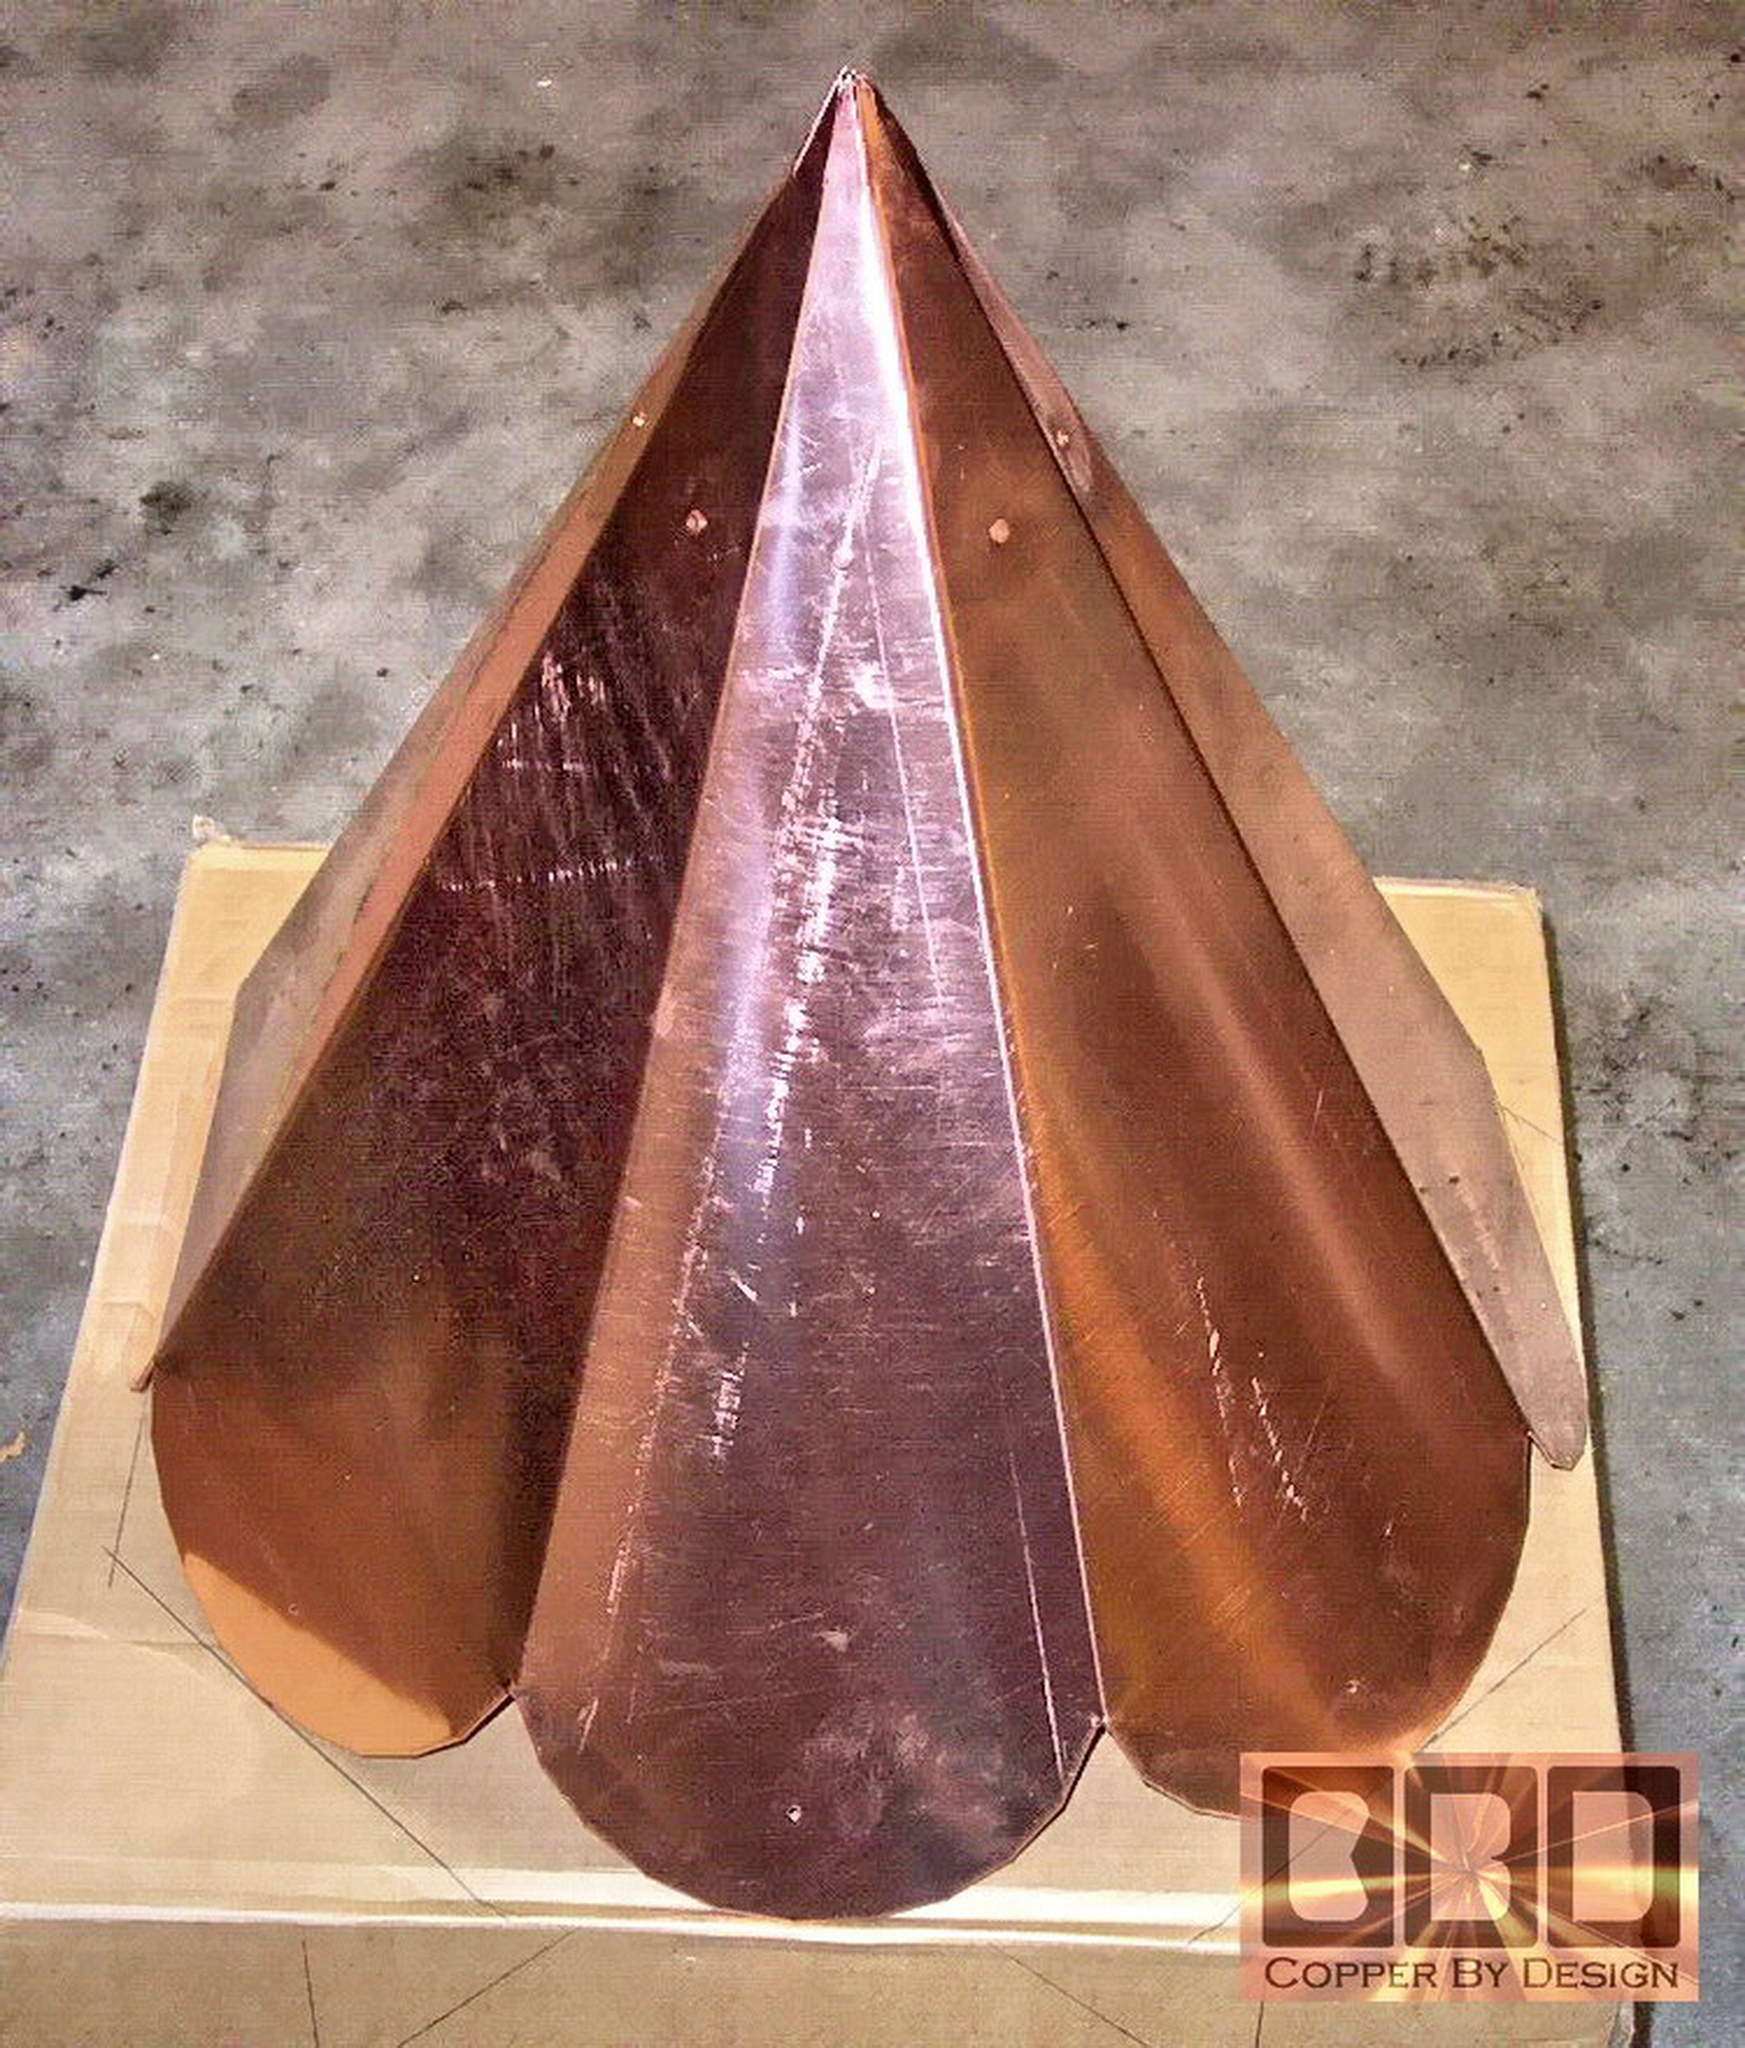
He and his Wife were going to drive up here to visit relatives at the same time, so we were able to coincide this fabrication with their departure, and they were able to pick it up instead of having us ship it. As you see below, they wanted this copper cap with the rounded bottom scallop look for the leading edge. We left an extra 1/2" copper sheet metal on the lower edge to notch out every 1" for folding over these tabs to fashion a safety hem for strength and better handling during installation. |
|
|
They agreed that it would be best to make a center brace inside this copper cap for the 3/4"weather vane shaft, positioned about 5" below the peak. We made it a double layer sheet metal brace. That is what the row of rivets are for near the top, to hold it in place. I choose not to solder the copper together. They did not used to have the type of caulk we have today, so lead solder was the best way to seal copper sheet metal. It usually leaves a gray mess around the seam that will not patina like the copper, and it can still crack open.
We use the most expensive caulk we have found to seal these seams, running a bead of this caulk between the seam before riveting it together. It is called PRO-SEAL 34 out of Redmond WA (1-800-349-7325). With their M-34 Polycarbonate sealant technology, this caulk is rated at 350% expansion, compared to others at 25 to 50% expansion. It does not seem to become brittle over time (we've used it since 1997), like the most common gutter seals do. |
|
|
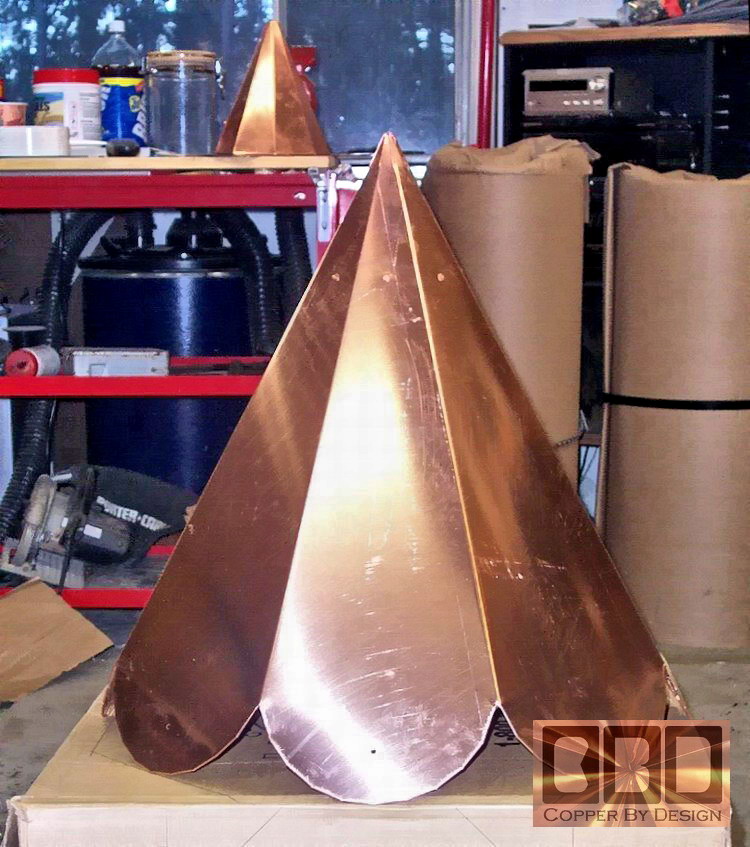
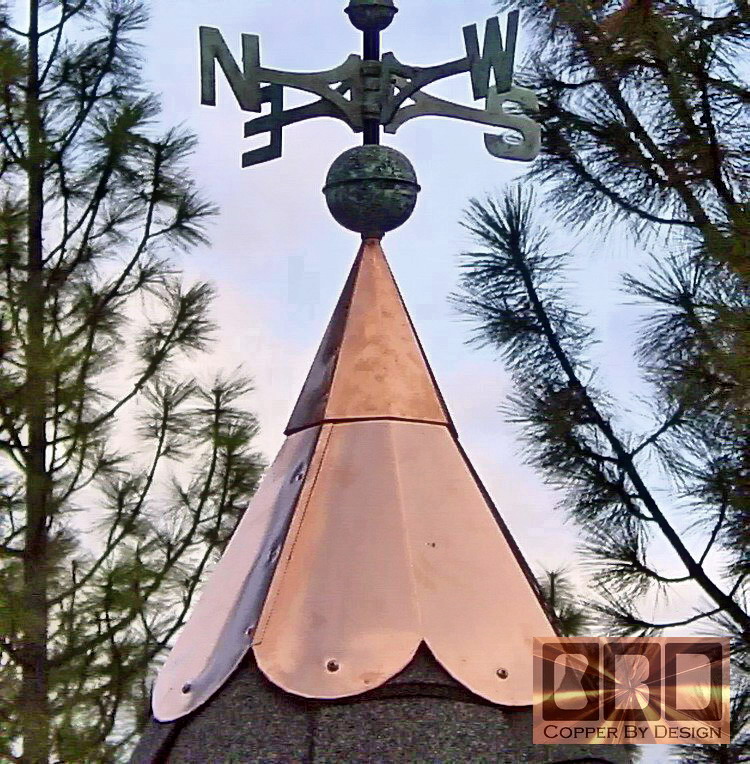
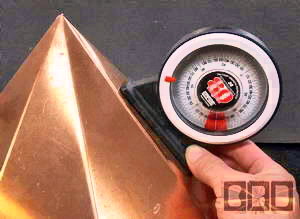
Here is a side view. We made it slightly steeper than the roof pitch, so the base is sure to rest tight to the shingles, given any possible miscalculation one either part, his or ours. We split the tip on all 8 edges about 1.25" down, to slide the shaft through the center. We gave them the some of the clear caulk we use at the tip, and a stainless steel hose clamp to fasten the tip flanges to the shaft of the weather vane to help hold it steady, since any motion from high winds could work to rip open the seal over the course of time. The cap in the background and shown below is to cover the caulk and hose clamp |
|
|
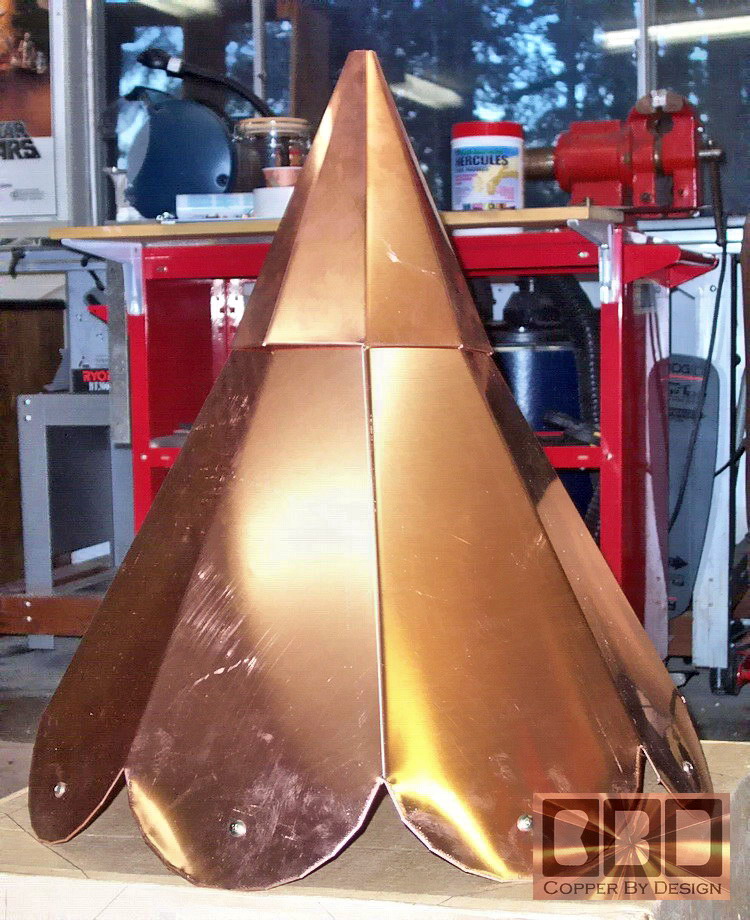
The holes for the fasteners drilled in each leading edge. We gave them the choice of 1.5" copper nails, 1.25" stainless steel rounded head #2 Philips screws, or larger 1.5" #3 Philips screw for each hole. They chose the large #3 screws. The final cost was only $225 for everything, excluding any shipping cost, since they were driving up here from California to visit relatives and was able to come to our place to picked it up. |
|
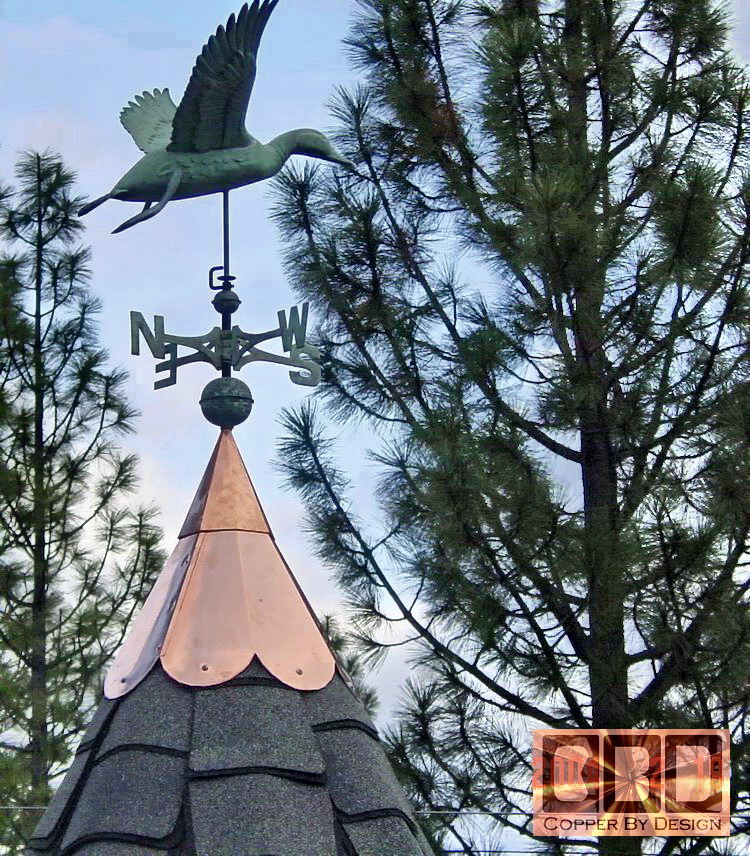 |
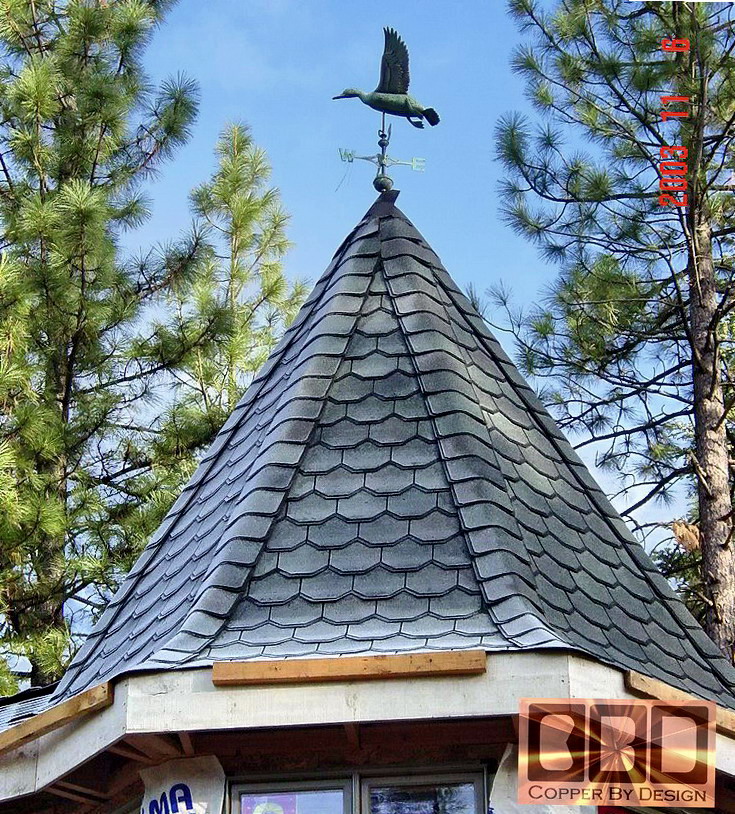
Here is this cap installed, showing the one seam to the left of center. Below is a copy of the nice letter he sent to us (2-24-04).
David, Thank you, |
.
| Click this
photo to go back to the Custom Copper Roof Cap main page.
|
.
.
|
Below is a
photo of our |
|
|
|
We were also a 1997 finalist for this same award. See our referral web page to see how we managed to be honored with this special award |
 Homepage |
|
|
Company Profile |
|
Roof Caps |
|
Chimney Caps |
|
Scuppers |
|
Gutters |
|
Shipping |
|
Contact Info |
.
.
.
.
.
.
.
.
.
.