|
|
The Giberson
Turret Cap Photos & Details Page Updated 6-20-2005 |

|
|
Company Profile |
|
Roof Caps |
|
Chimney Caps |
|
Scuppers |
|
Gutters |
|
Shipping |
|
Contact Info |
|
|
The Giberson
Turret Cap Photos & Details Page Updated 6-20-2005 |
|
|
Company Profile |
|
Roof Caps |
|
Chimney Caps |
|
Scuppers |
|
Gutters |
|
Shipping |
|
Contact Info |

.
|
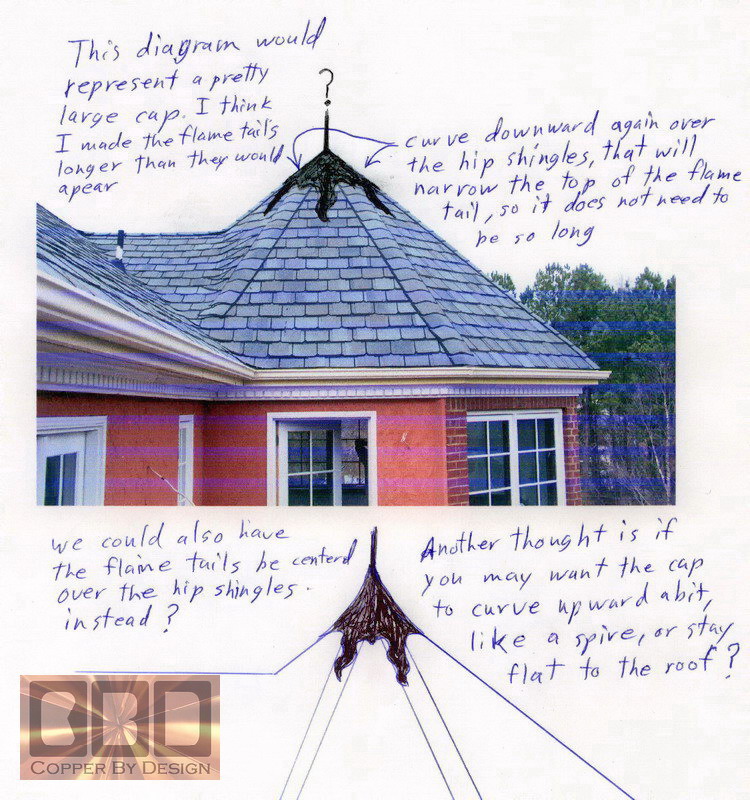
Over the coarse of 3 month, we gradually ironed out the details and options for this cap, corresponding over the Net with dozens of e-mails back and forth. We make it a point to check our e-mail at least twice a day and respond to e-mail within 24 hours, so this process can move smoothly. We have no control over the speed that our clients choose to respond back, and we are not a company that would e-mail back more than to a response directly from their e-mails. We suggested to them the idea of fabricating this cap with a graduating climb to a spire. They liked that idea. It took us over 8 hours of typing our 12 replies and drawing up a few diagrams to get this all ironed out to where they felt comfortable and confident we were the right people for the job. It was very important to the Gibersons, as they have thousands of people tour their gardens each year. They had done some remodeling to the house, but as he put it "The finishing detail work is the jewelry on the lady". They wanted to make sure that it was going to turn out just right.
|
|
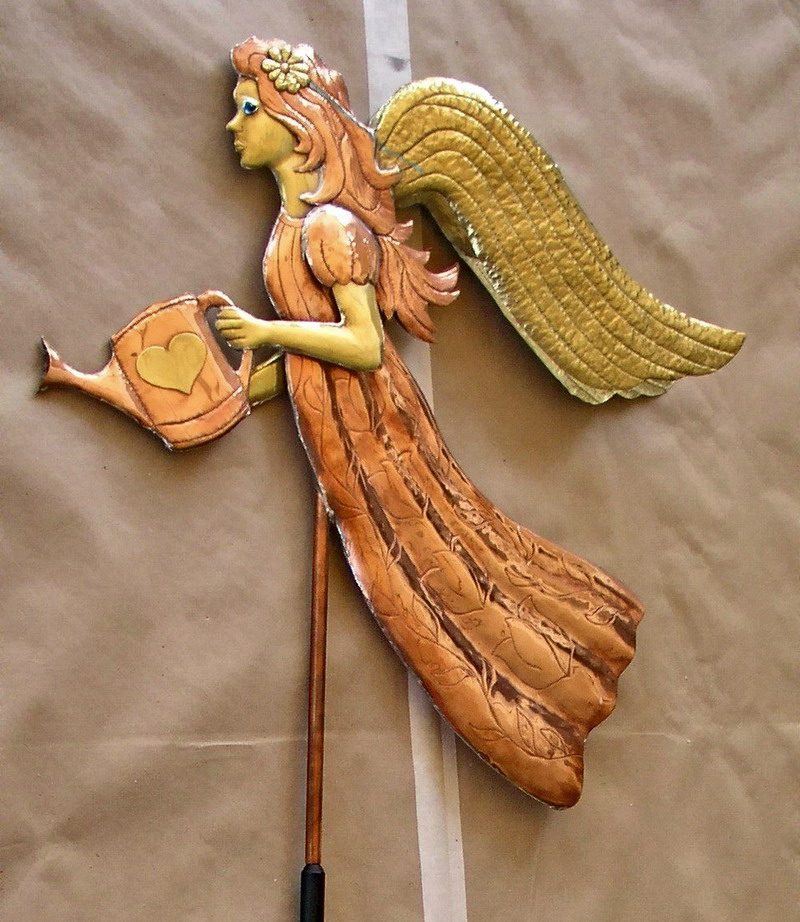
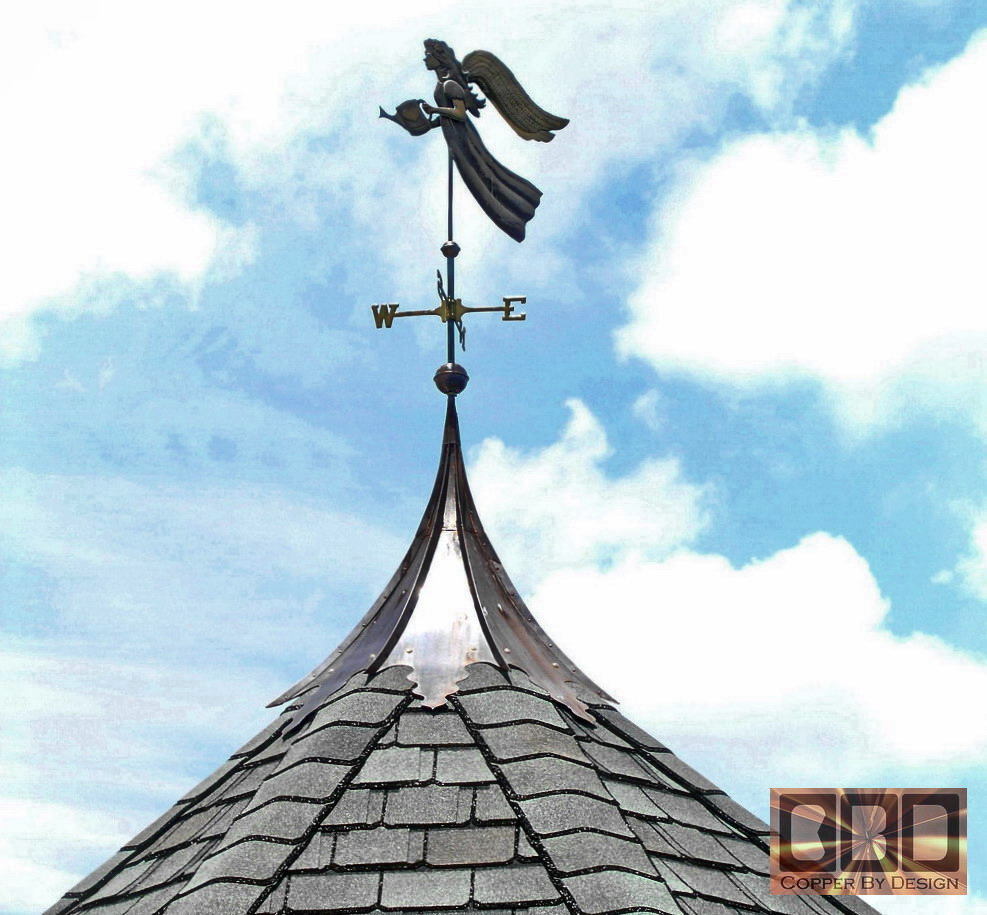
| Here is the
cap and weathervane mounted and aged a little after over a year up on
their roof
|
|
|
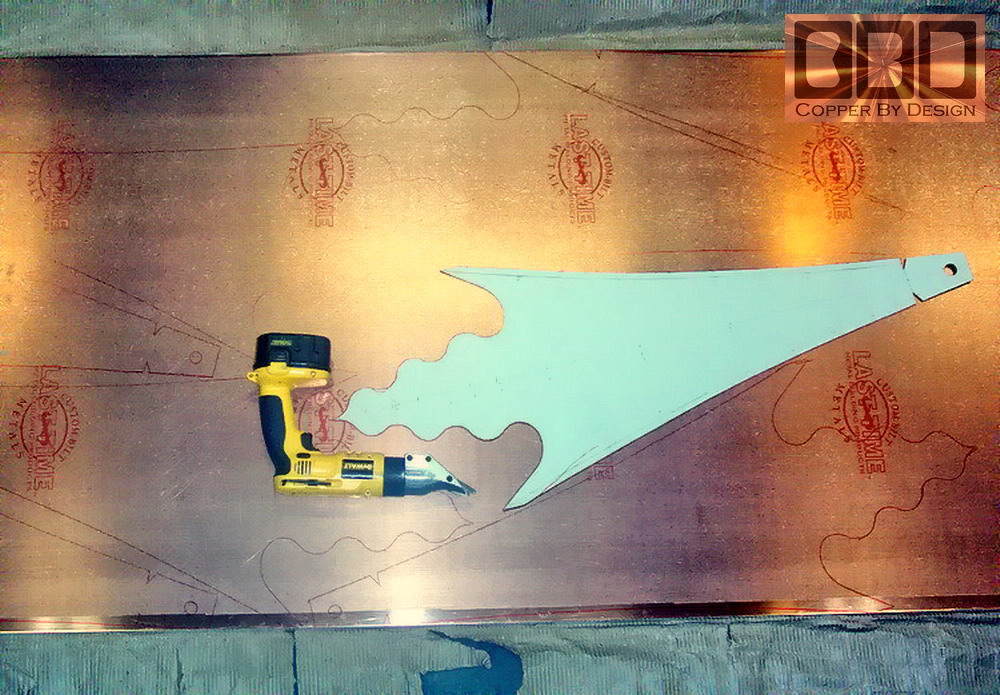
It took us another 6 hours to workout this life sized design on a large sheet of cardboard in order to fabricate this cap . We then made one template out of a spare sheet of painted aluminum we use for gutter fabrication.
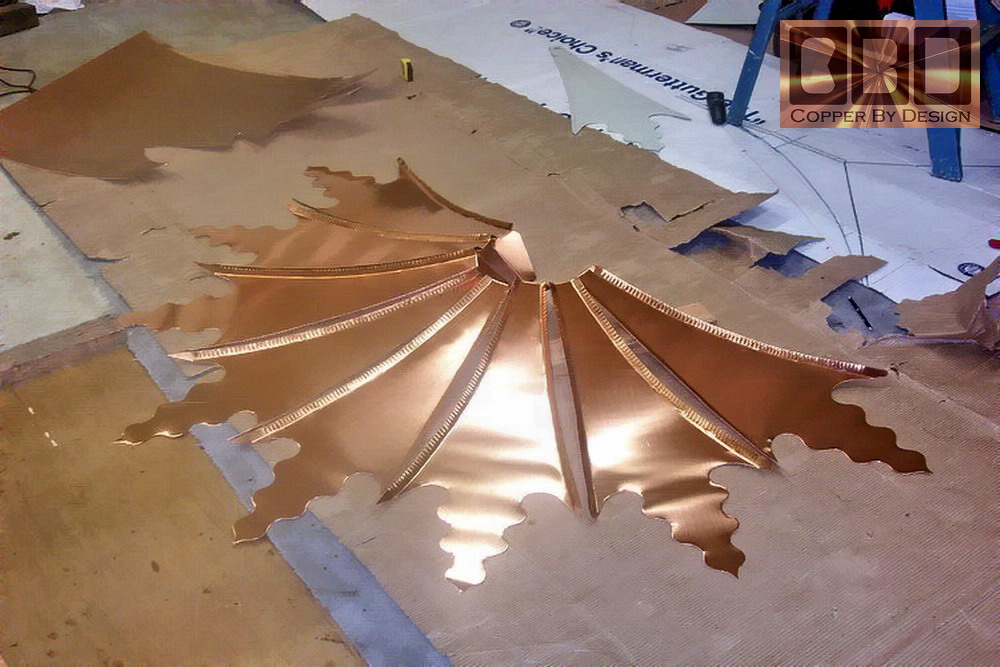
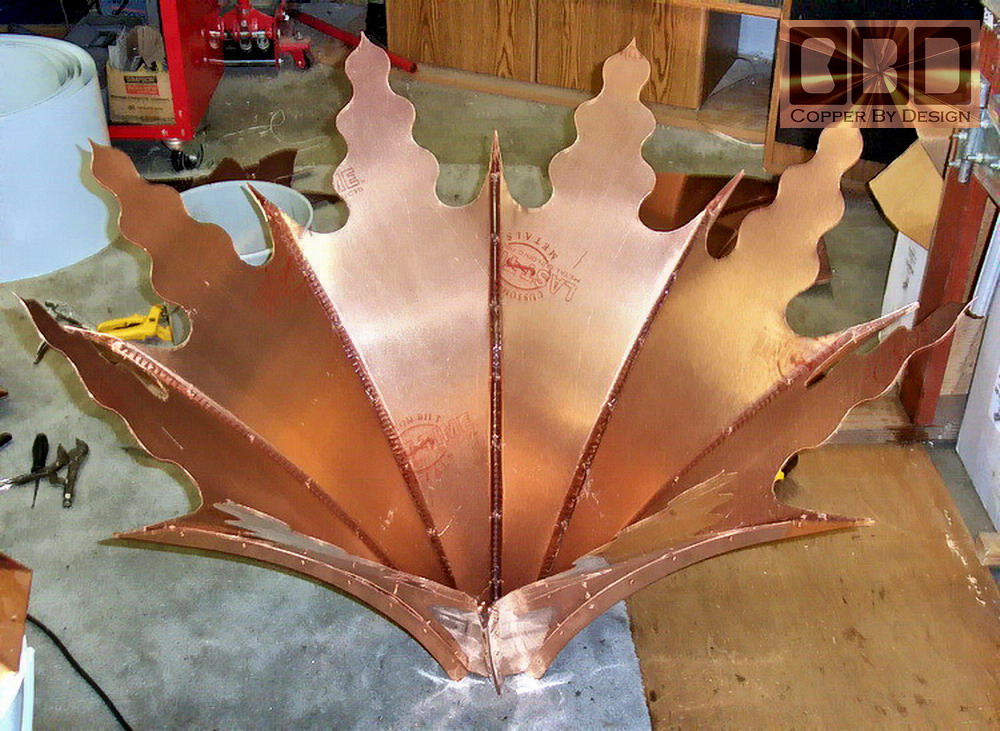
Here we have the 8 sides drawn out on the 3'x 10' sheet of 20oz copper. It is ready to cut out, and shape for assembly. The top tab is to be bent over and connect to the opposing side. The hole in the tab is for the weather vane support pipe. |
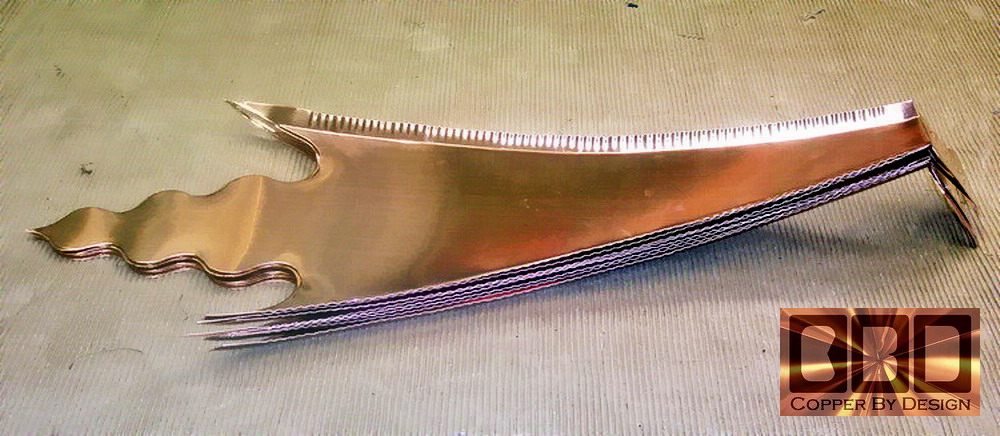 This would have been easier to just fold over the edges, but to give this copper cap a much more distinctive look, we chose to make it with raised edges. We made curved covers to cover over these edges that are to be connected and sealed together. Instead of sniping notches out every inch or two, we used a crimper to tweak the sides, so it had this gentle curve to it,
|
|
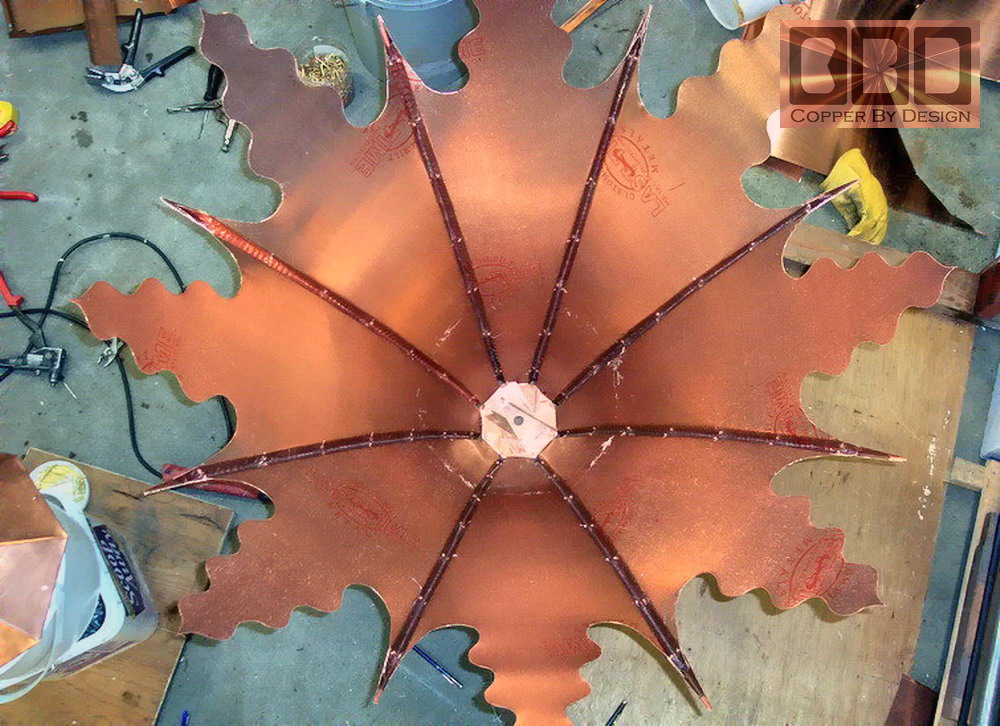
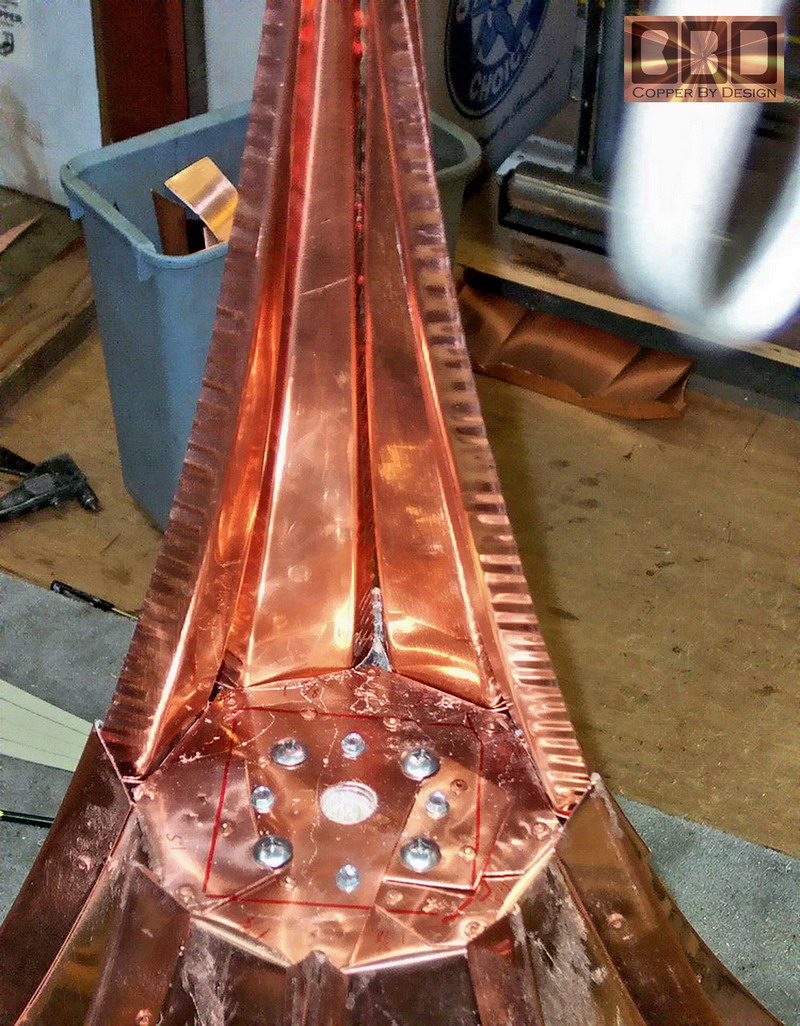
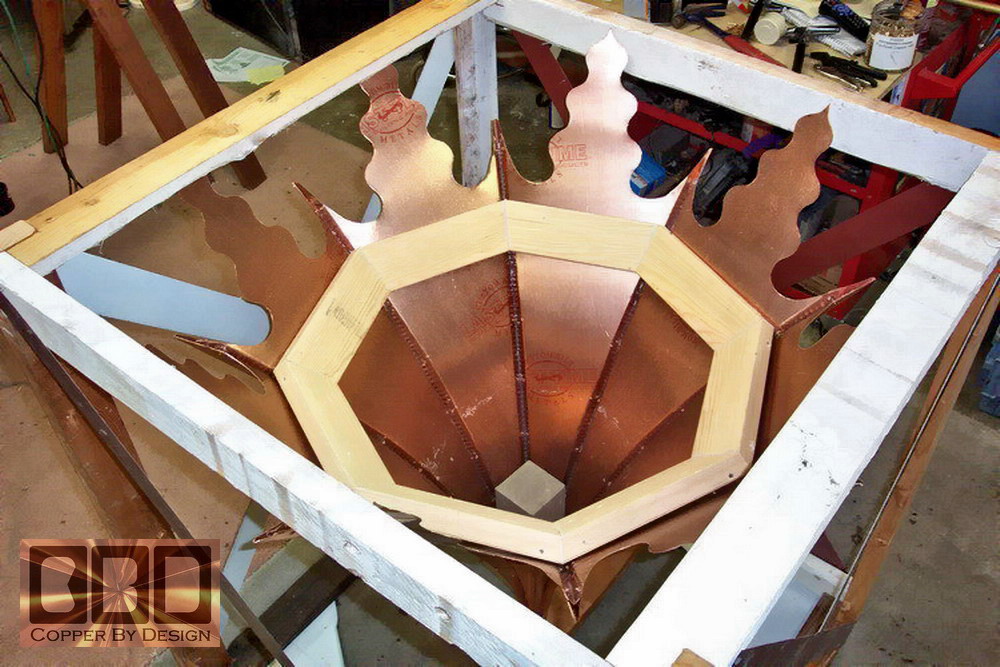
I have the cap segments propped up on 2 plastic buckets stacked, with steel weights inside for stability. We then set a small 8 sided copper cap we had here on the top bucket, with a 5" long 3" ABS sewer pipe on top to support the center with clamps on the bottom of the seams to hold them in place. This image shown has the top of this section riveted together. I used the red funnel (left to the cap) to align the 3/4" holes in the metal. There are 6 layers of this 20oz copper in the center all stacked together to support the rod in this one spot in the cap. These 6 layers are about 1/4" thick now. |
|
|
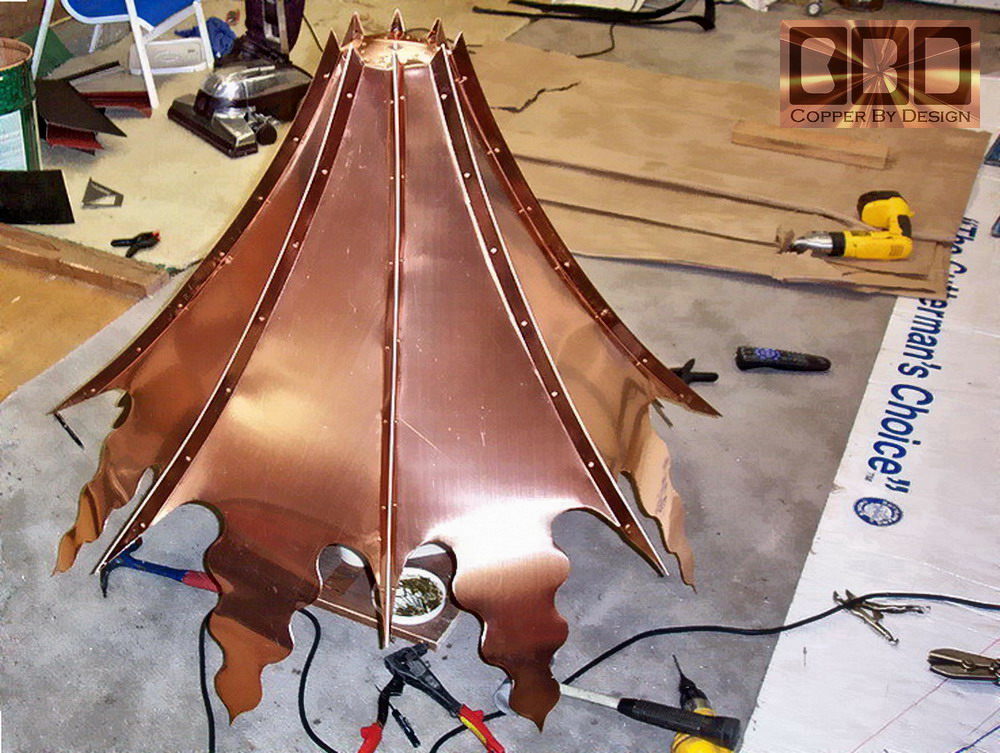
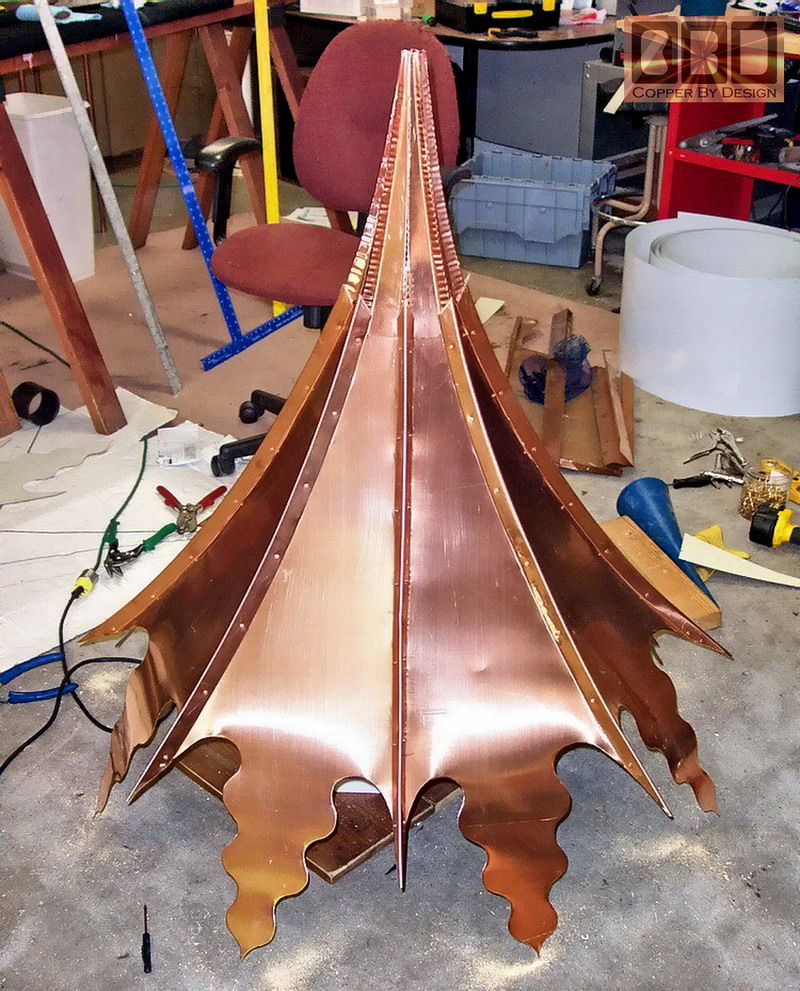
The ripples on the edges are small crimps that make the flat sheets of copper curve as we need them to do. On the right side of this image it shows a close-up of the corner covers being riveted in place. On the left is seams to be covered over.
|
The image below is looking straight down on the cap as it is up-side-down. The corners have been caulked with the high quality clear caulk we use for sealing gutters. It is said to be the best on the market. See our gutter work Quality Standards web page to learn more and to access their contact info.
|
|
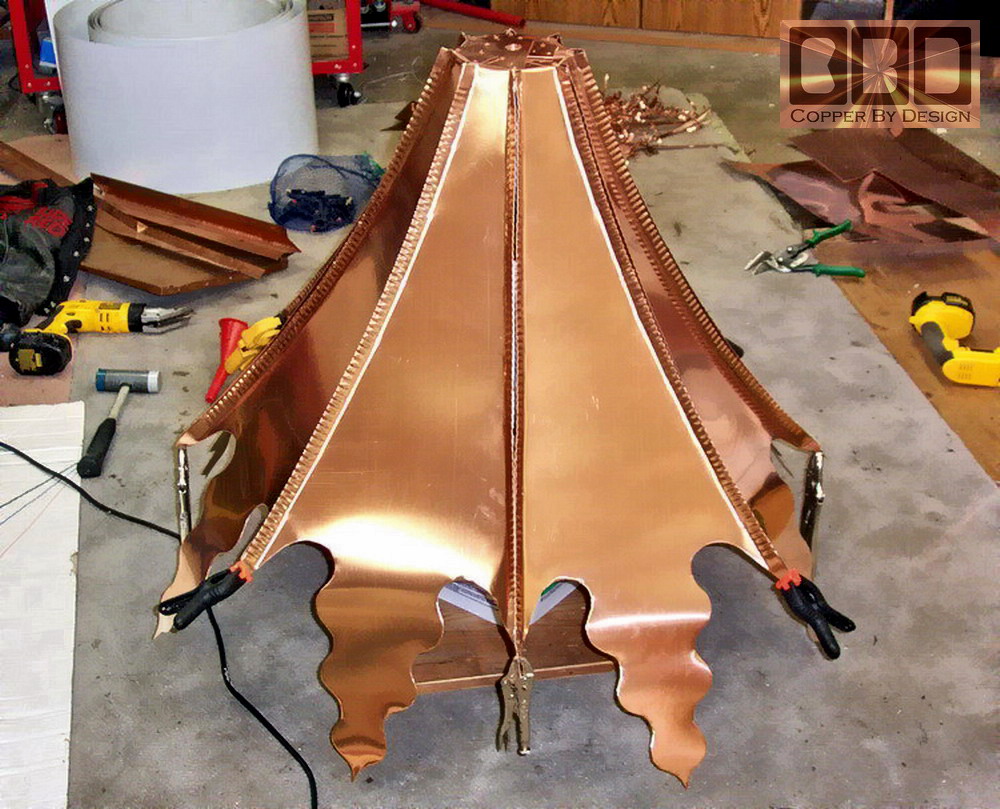
This image shows the curves a little better. The base without the flame tails was to be around 30" wide. with the flame tails it is more like 4' wide. We designed it to have these points on the corners as well, so you could say this cap has 16 tails to it.
|
This image shows all the raised corner covers riveted in place.
|
|
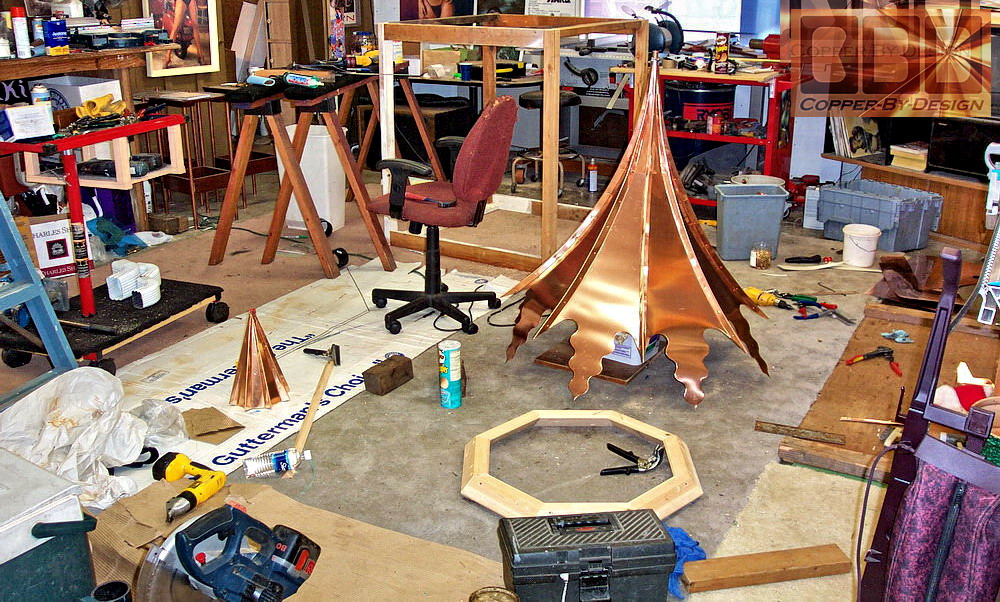
This was the first copper cap we made to finish the top section, but we were not pleased with how it turned out, so we started over in a different direction.
|
We then worked on the top section that measures about 13.5" above that lower section. We also installed a 3/4" type L copper water pipe, mounted over this support brace you see here. It has a little over 3/4" inside diameter to fit the weather vane shaft. We made it 16" long to extend up through the peak of the cap. We used a 3/4" brass pipe to stick into the 4x4 with the round hole drilled in the center for alignment.
|
|
We then made the template for the upper section of the copper cap. We made the cap with a mid-section brace as you see, with a 6" long 4x4 post mounted under that which has a 4.5" deep 3/4" hole drilled down the center. According to my diagrams, it should not interfere with the roof peak. |
|
|
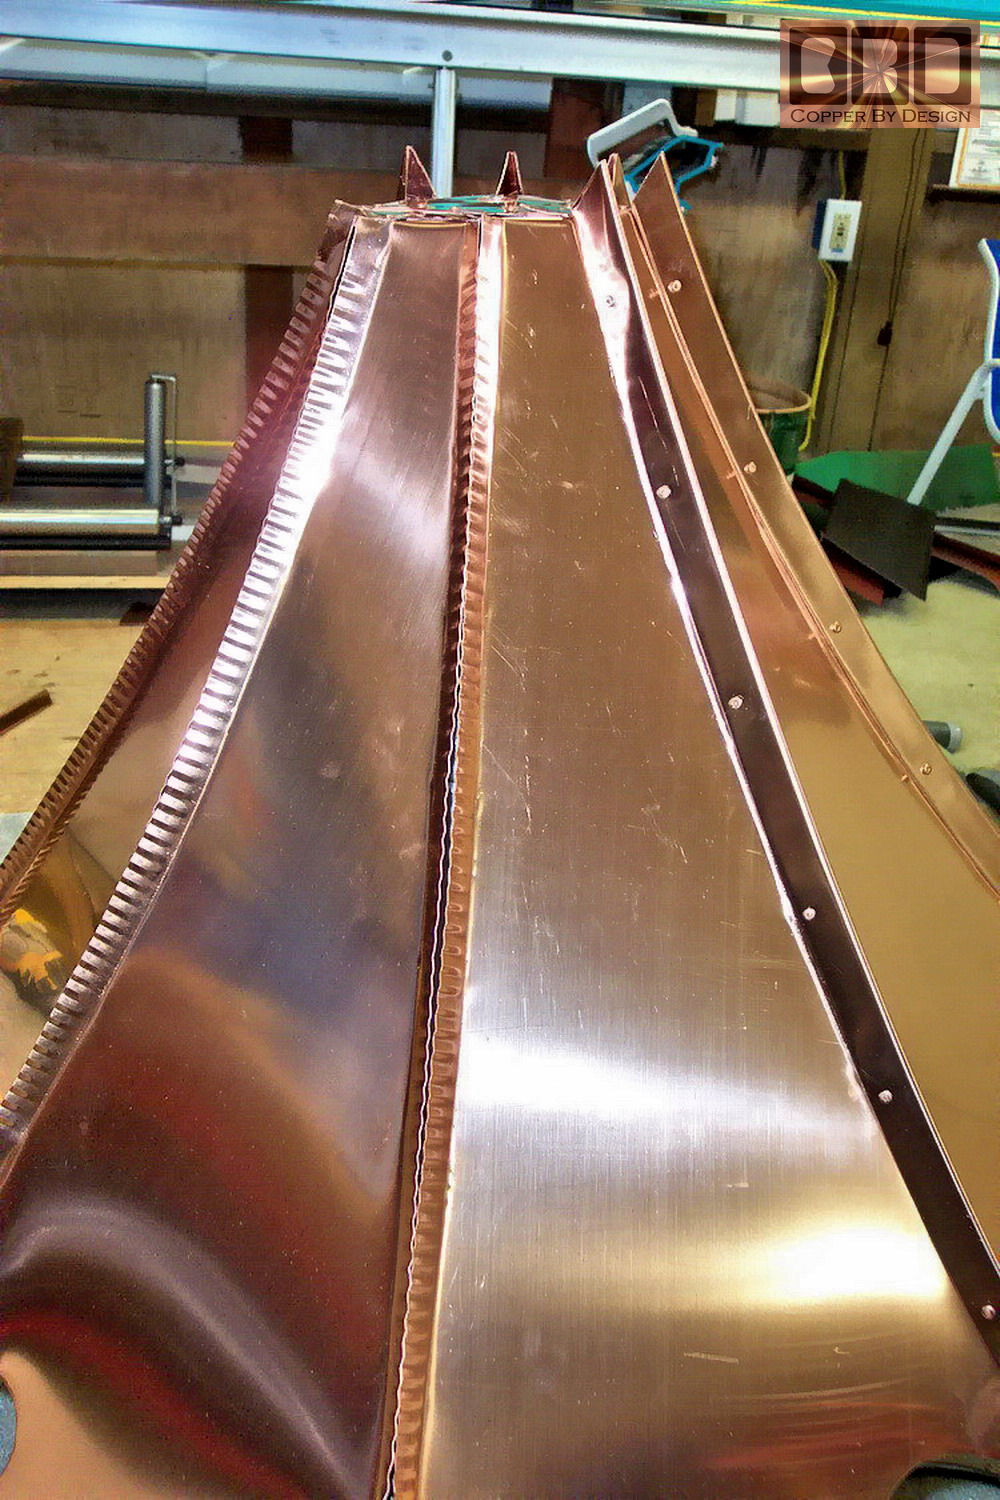
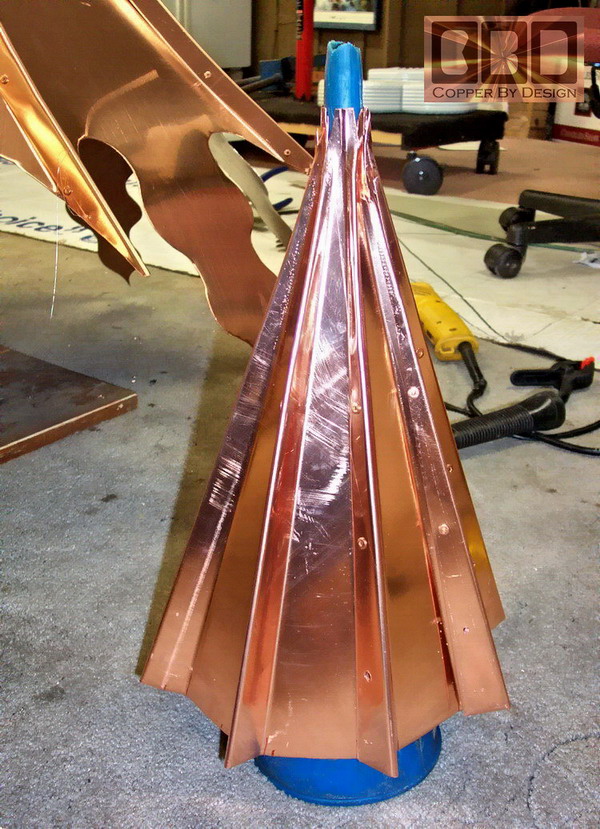
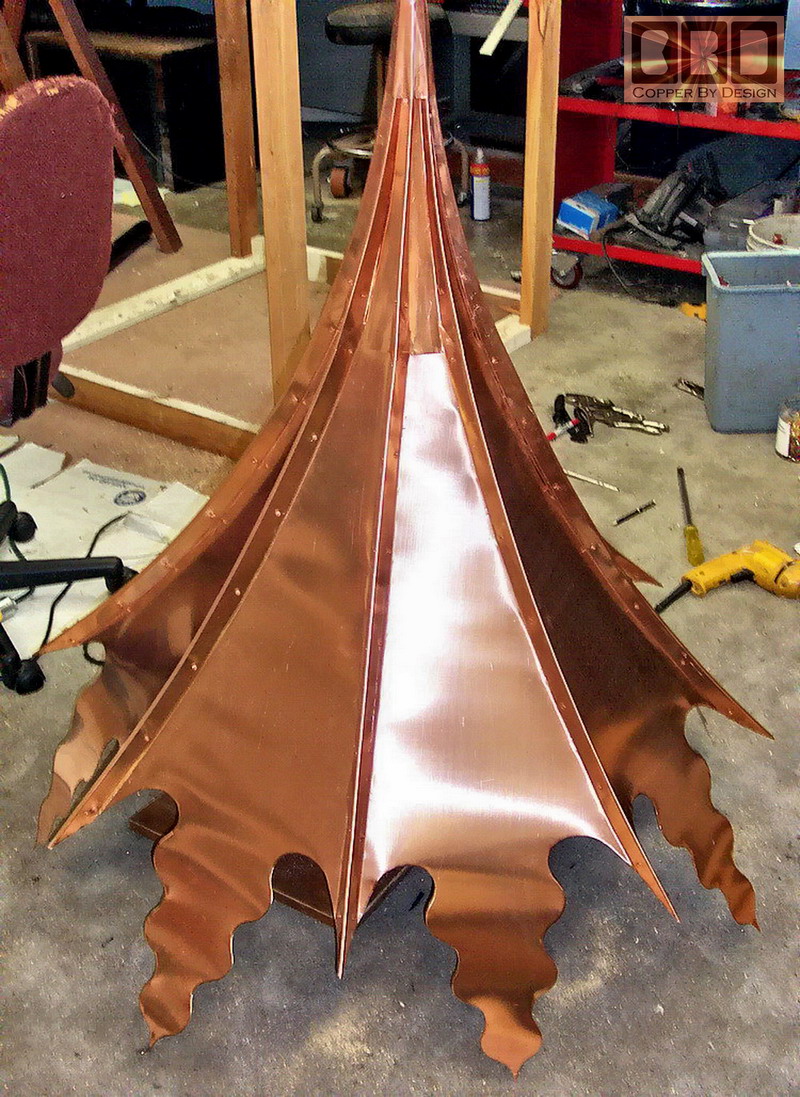
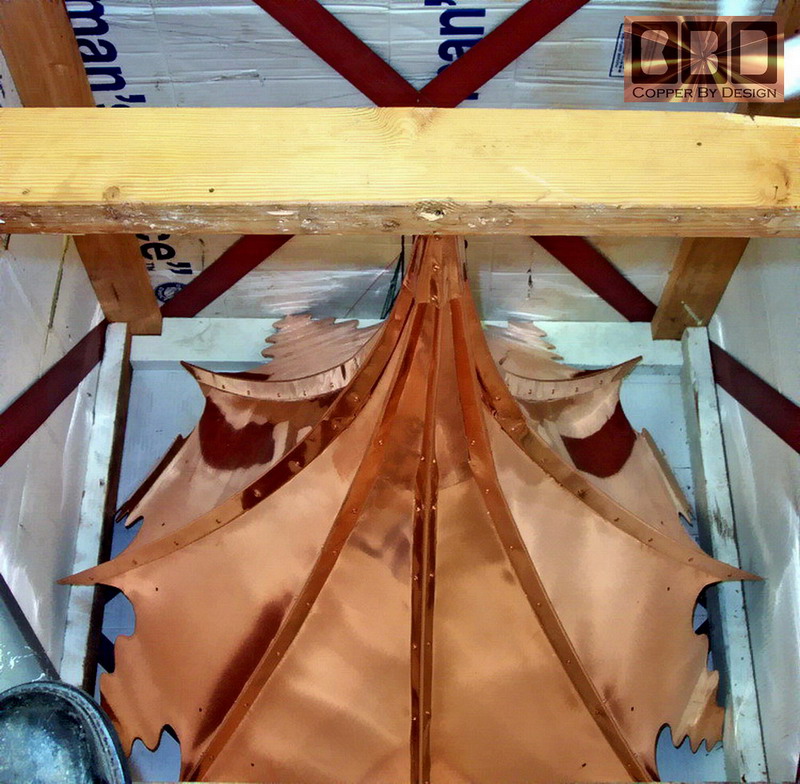
This photo does show the new peak sections fit in, but without the edge covers and the pipe is not inside it yet, so we had to removed them again to install that copper support pipe.
|
This photo show the new peak sections finished off with the corner covers on and a small cover cone at the top to seal it all to the copper pipe in the center. |
|
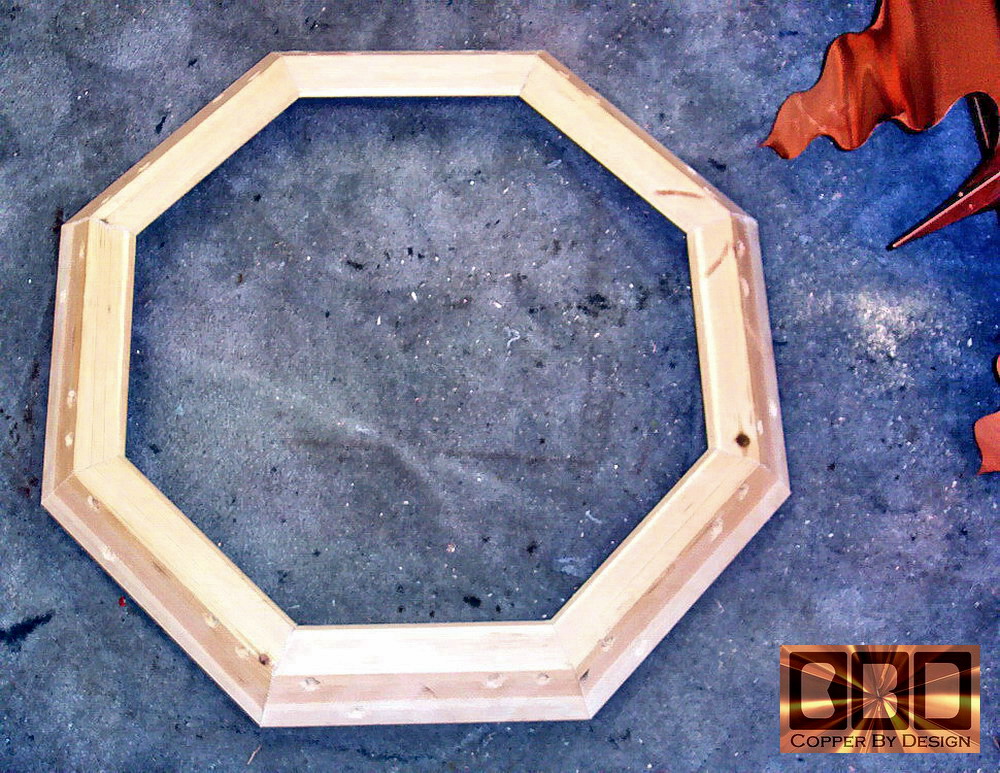
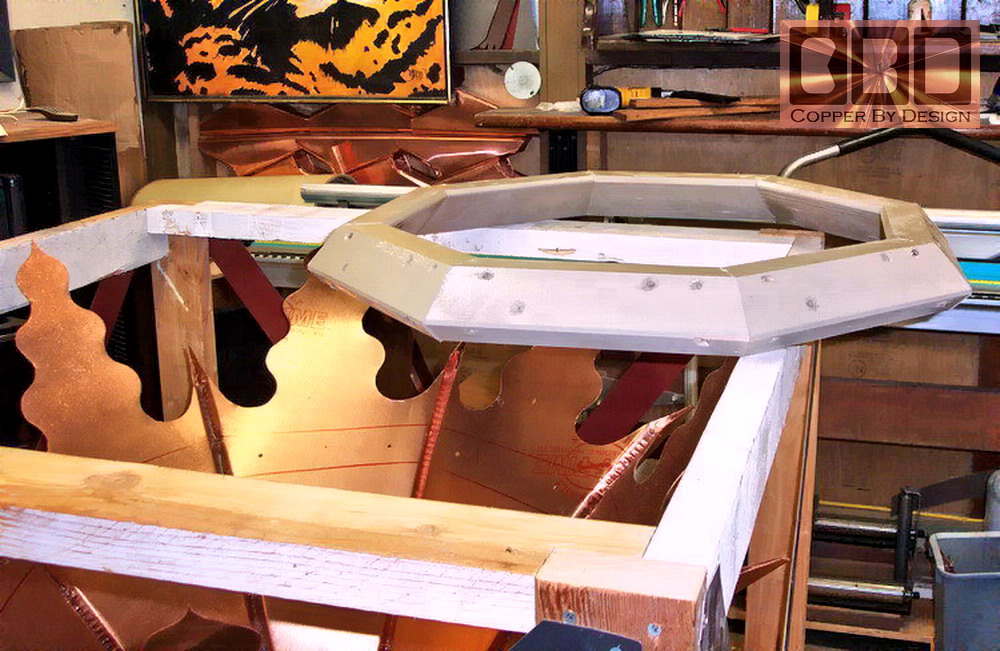
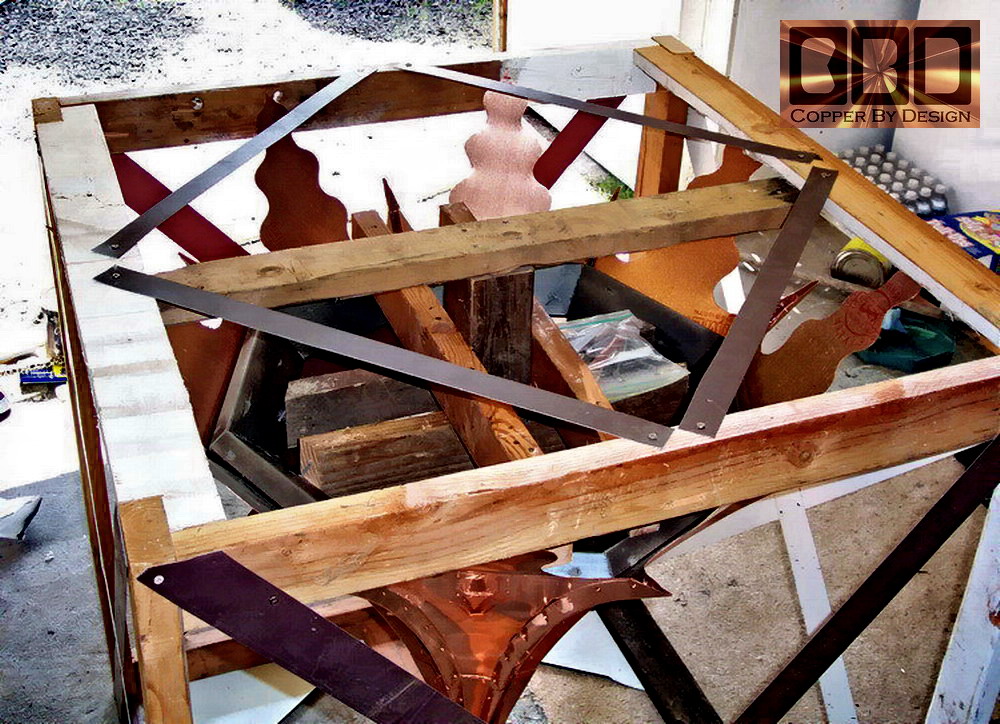
Here is the wood support ring we made to mount on the roofing with the 16 - 3" deck screws we supplied. Then to mount the cap on this wood brace with the 16 stainless steel screws we also supply. This frame was built with Liquid Nails adhesive and 4 deck screws to hold each corner together. It is very sturdy. We also have the 16 holes pre-drilled in it for the 3" deck screws to fasten it securely to the roof.
|
|
|
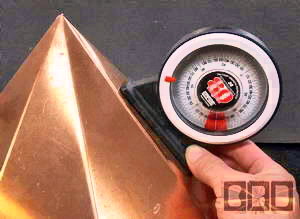
We also cut the wood on our table saw, so that when assembled it would have a flat top surface to set a level on it to be sure the cap would be going on straight.
|
Here is the wood support ring set inside the cap to mark for the 16 holes we need to drill through the copper for the stainless steel screws that will be holding it down. We supplied all the screws and even the screw tips for the #2, #3 Philips, and the combination #3/square drive Deckmate screws.
|
|
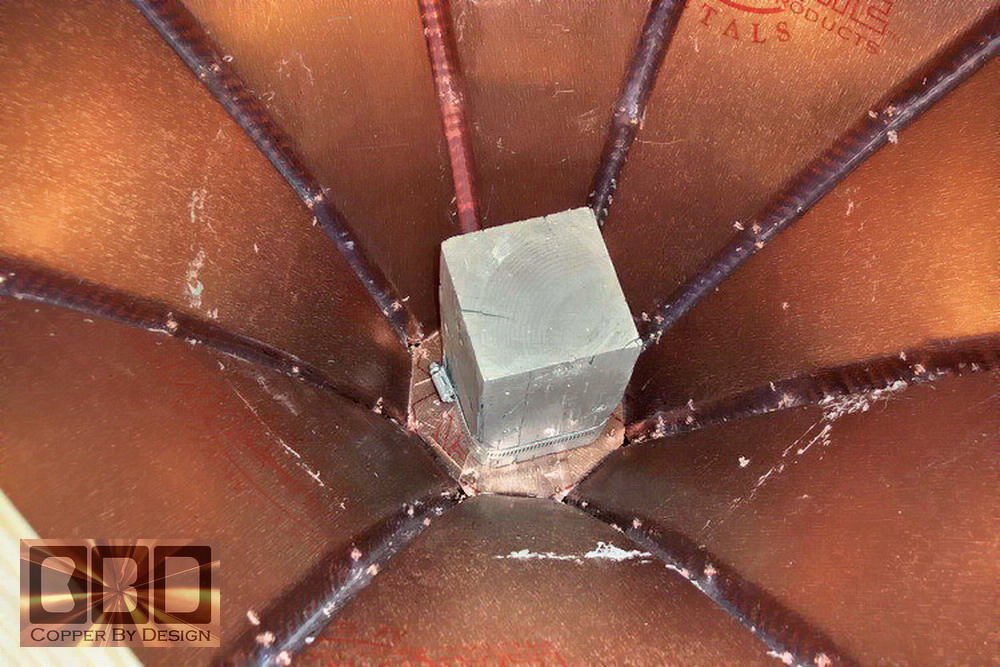
Here is a close up of the 4x4 wood block that is drilled down the center for the weather vane copper support pipe. There is a stainless steel hose clamp to help the wood from any possibility of splitting some day.
|
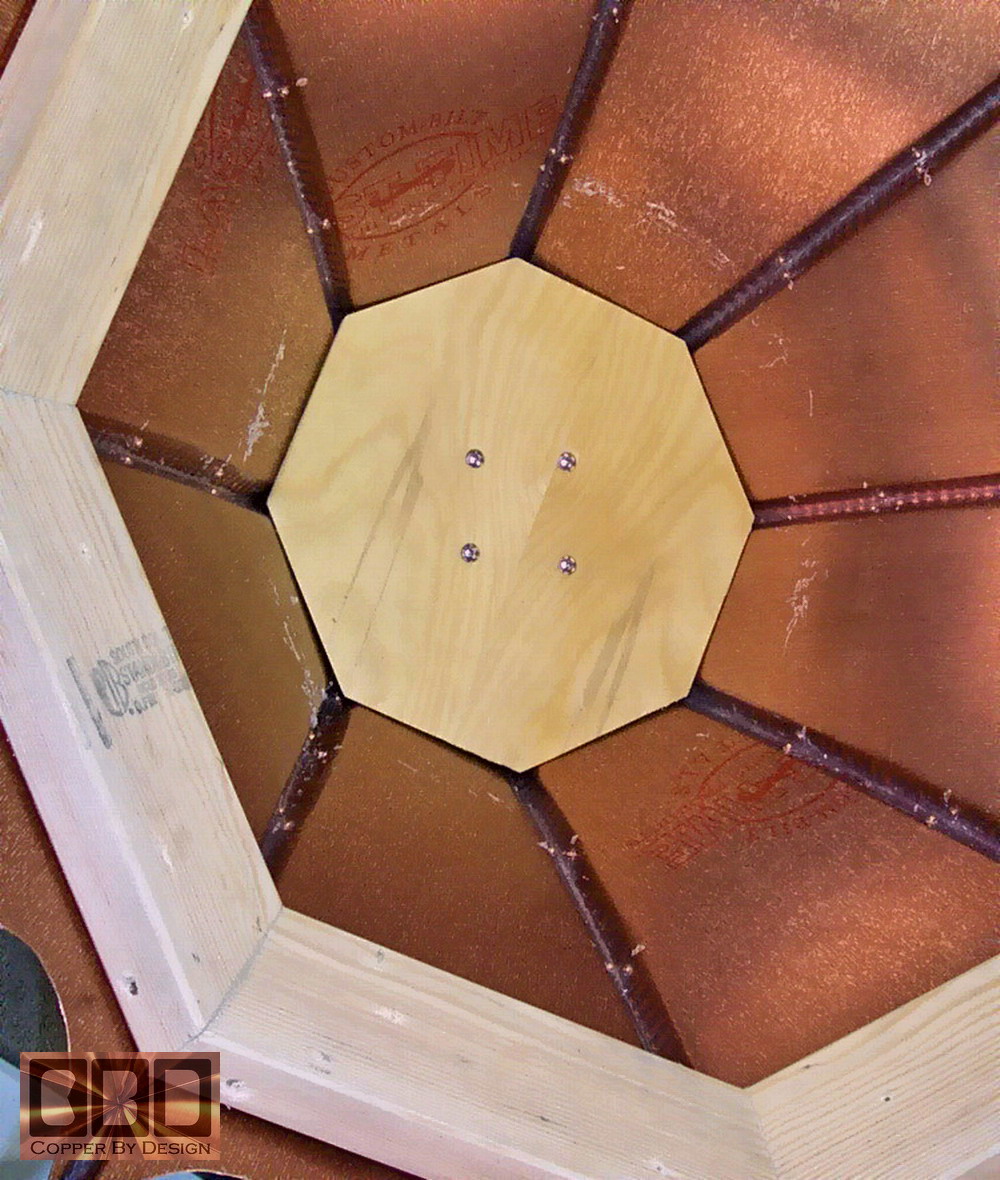
Here is a thin hardwood plywood we custom cut and screwed into the bottom of the 4x4 block.
|
|
Here is the wood support ring with the first coat of paint on it.
|
Here is the 2x4 wood crate we custom made just for this cap. It also has aluminum cross straps screwed on to hold the crate securely in shape.
|
|
Here it is just before the cardboard was stapled on the wood frame of the crate to appease the shipper and to keep the cap clean in transit.
|
This is looking down into the crate after it is turned right side up and the cardboard is stapled on the sides. We also screw on rope handles to the outside of each corner of the crate for easier handling by the shipper and the people receiving this package. |
|
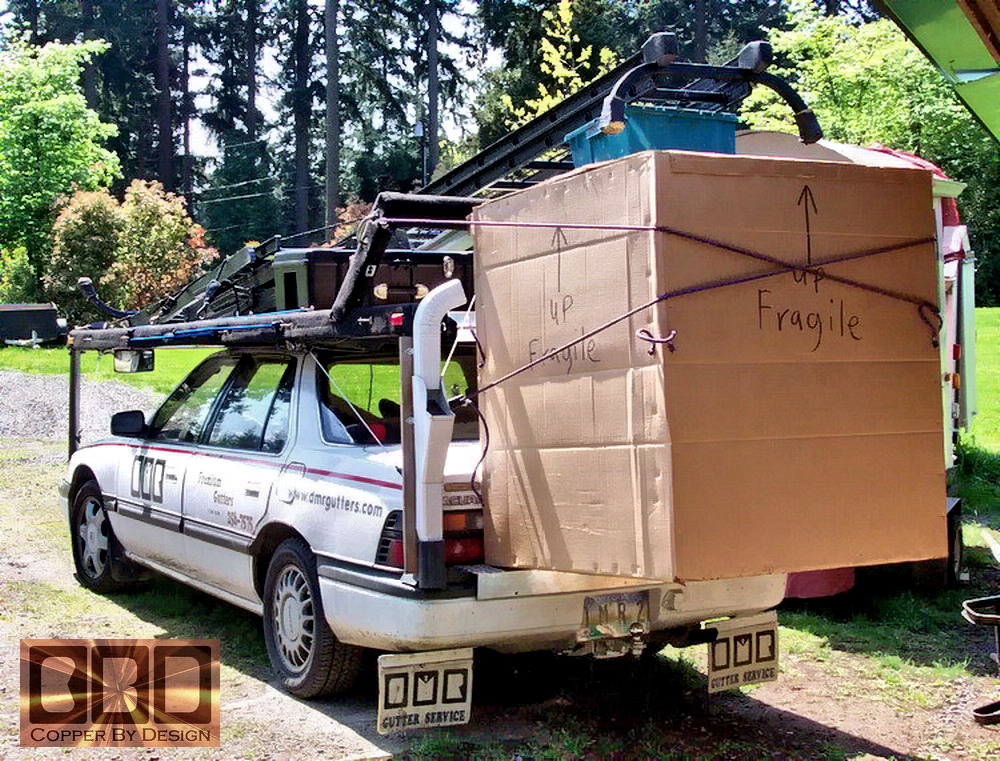
Here is the crate being transported to the shipper. It would not fit in the side door or even the back hatch of our van, so we had to rope it on the back end of our work vehicle.
|
This custom cap took over a week of full time work just to fabricate, not to mention the time e-mailing back and forth and designing the templates. The final cost was $1,200 for this cap, including the custom wood support ring, along with the 2x4 wood crate, along with the shipping and insurance costs. I would say they got a bargain and seemed quite pleased with the results |
.
| Click this
photo to go back to the Custom Copper Roof Cap main page.
|
.
.
|
Below is a
photo of our |
|
|
|
We were also a 1997 finalist for this same award. See our referral web page to see how we managed to be honored with this special award |
 Homepage |
|
|
Company Profile |
|
Roof Caps |
|
Chimney Caps |
|
Scuppers |
|
Gutters |
|
Shipping |
|
Contact Info |
.
.
.
.
.
.
.
.
.
.