|
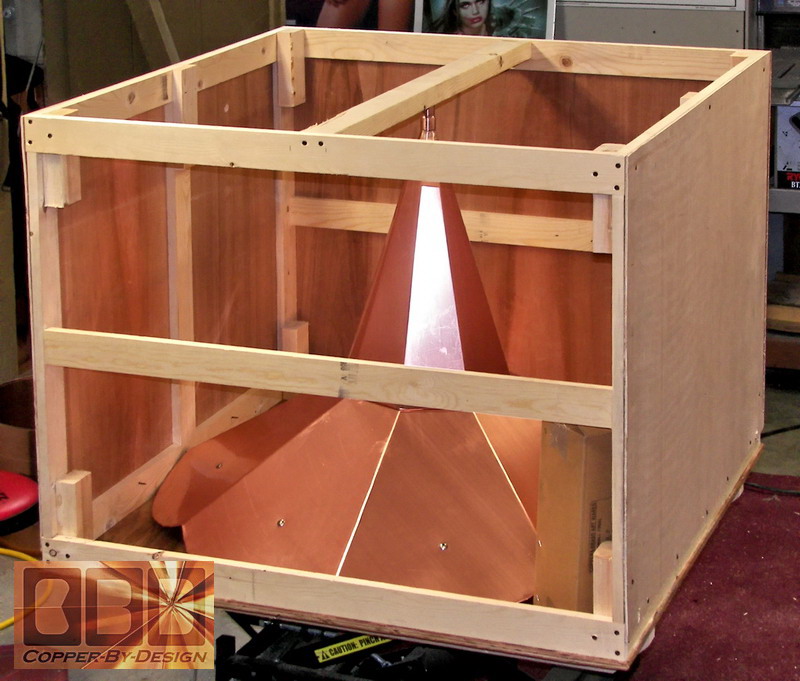
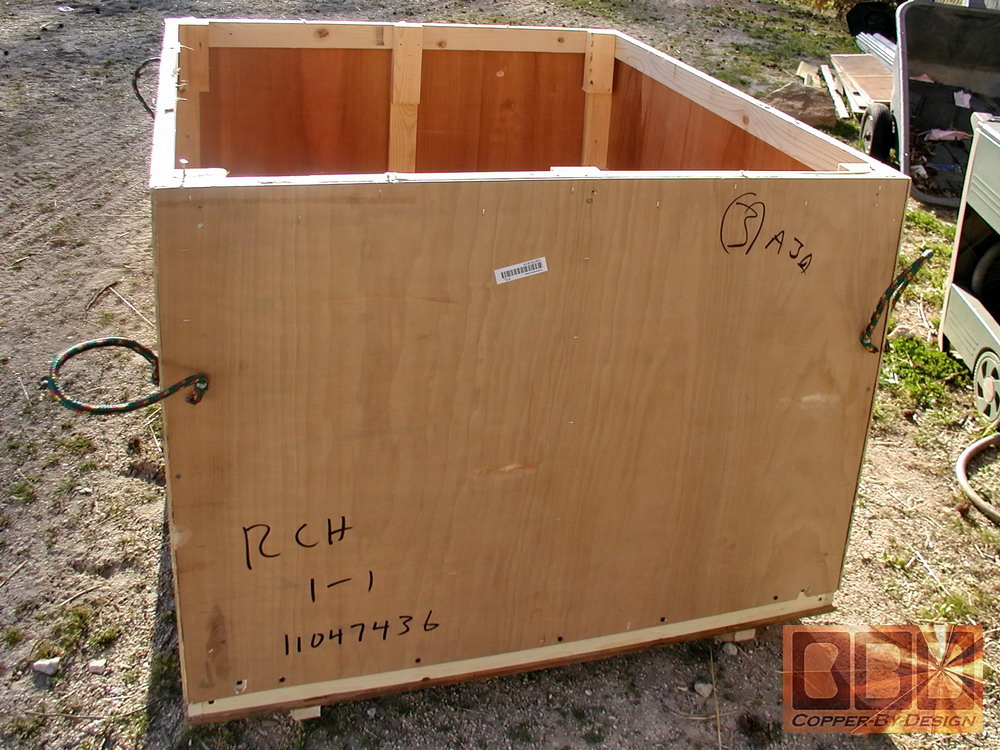
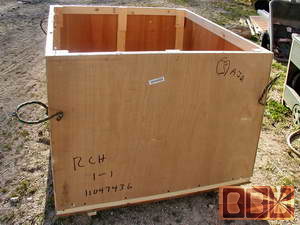
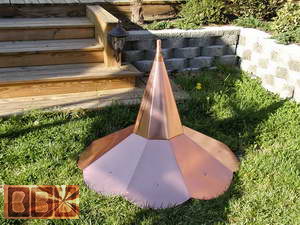
Here are the photos the client was so nice to
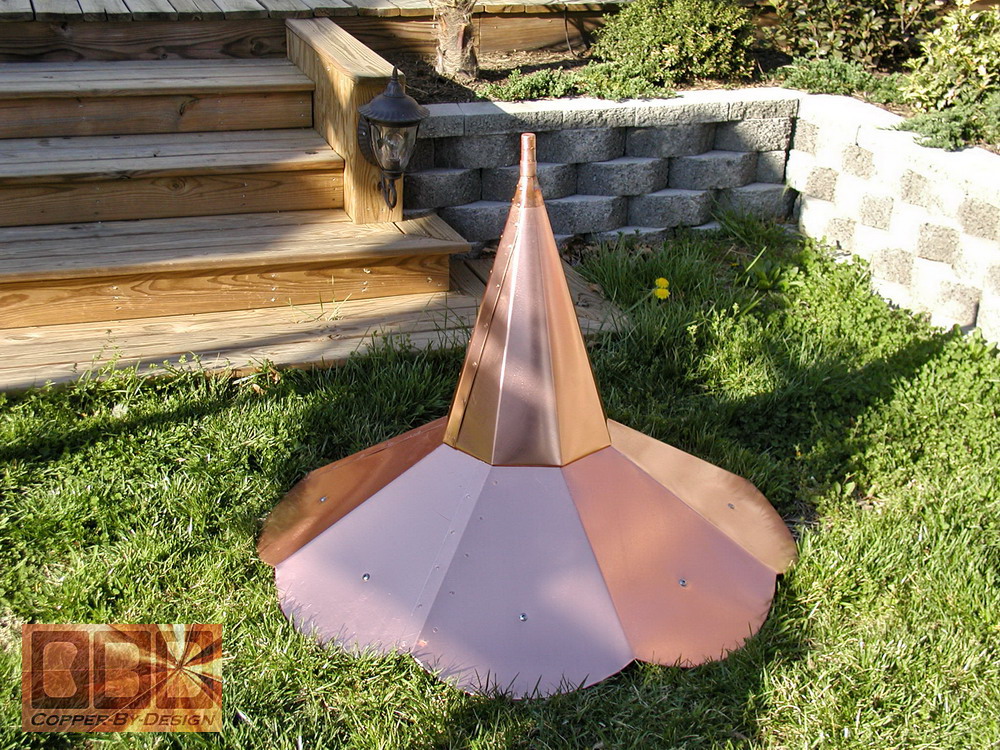
send to us of the installation for you to see. This is the crate after
it arrived safely and the new roof cap set on the grass.
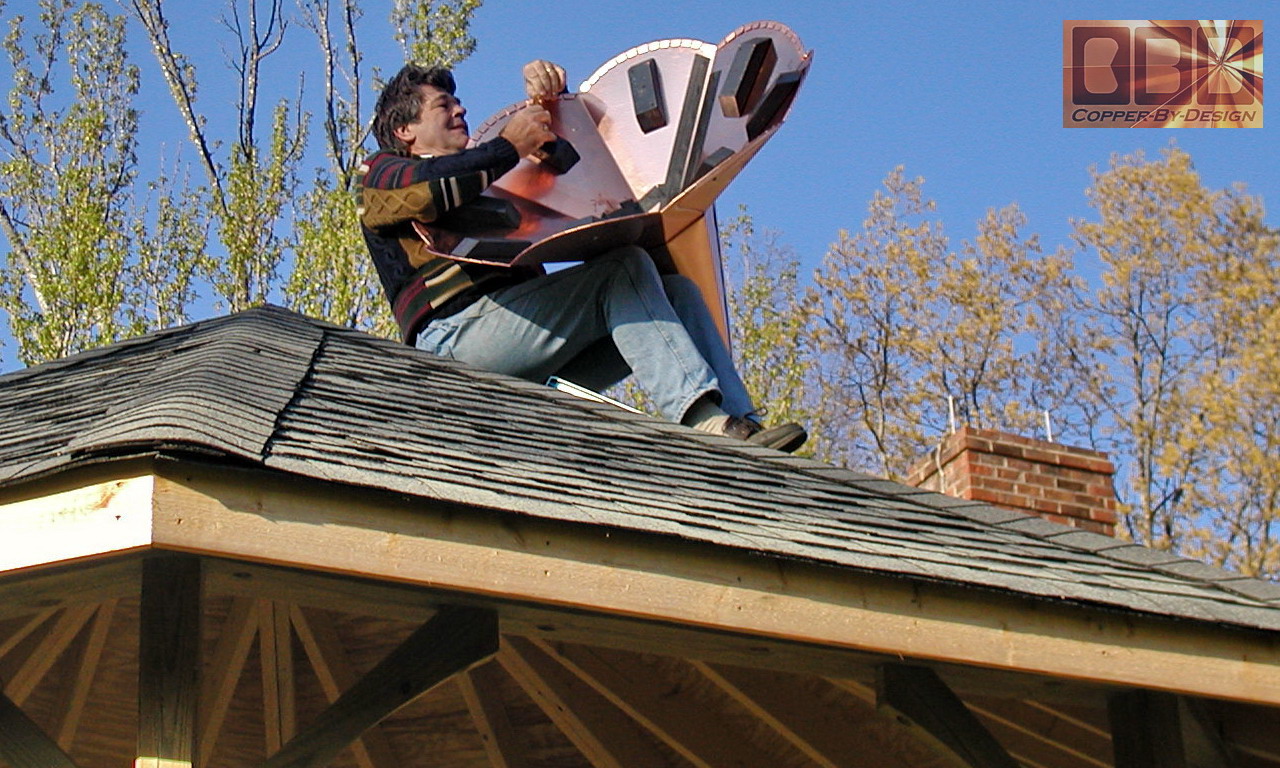
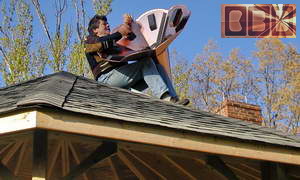
Here is the ladder preparation. He was very clever
using the tractor to get the angle he needed anchored in place for safety.
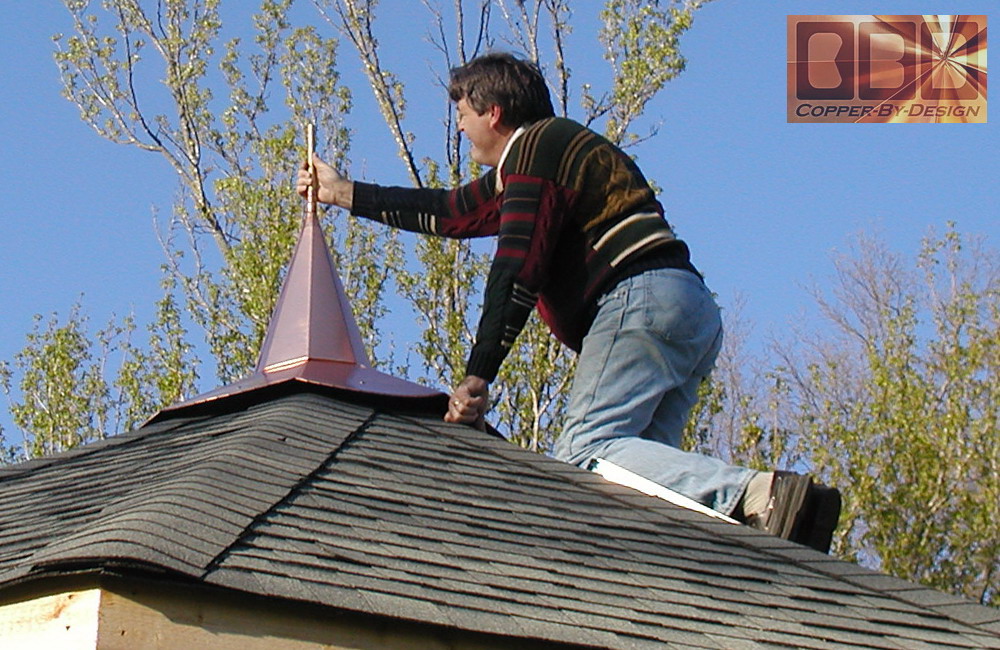
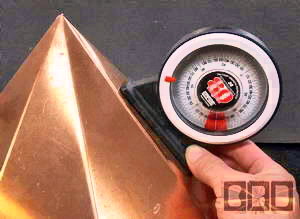
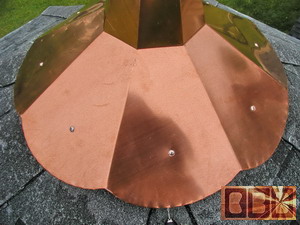
Then this shows applying the Gorrilla Glue to the bottom of the wood
spacer blocks just before he sets it in place and checks the level with
the brass mast rod.
I still would like more people to use the foam
cushion idea more along with the ladder.
You will
be glad you did. It will make it a lot more comfortable, but that is
just a pleasant side effect. Other wise knee pads should help.
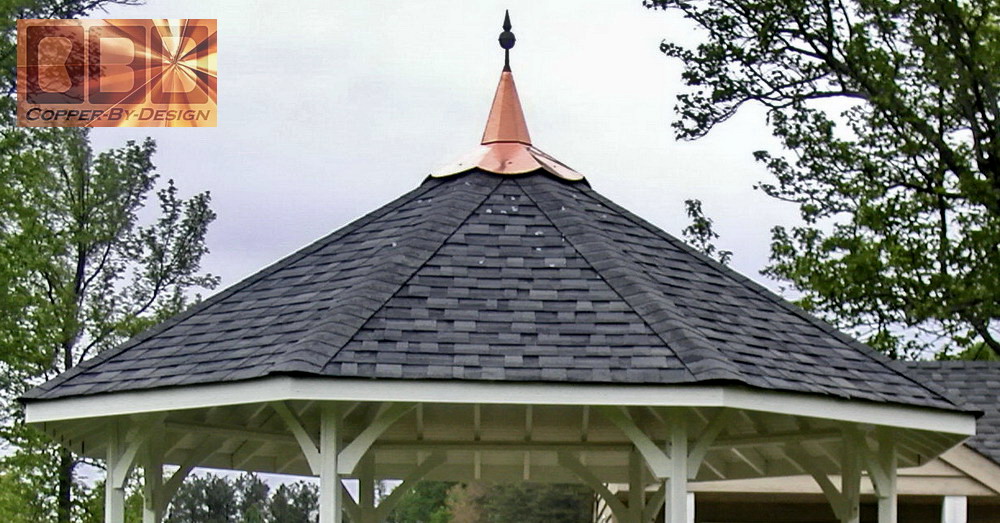
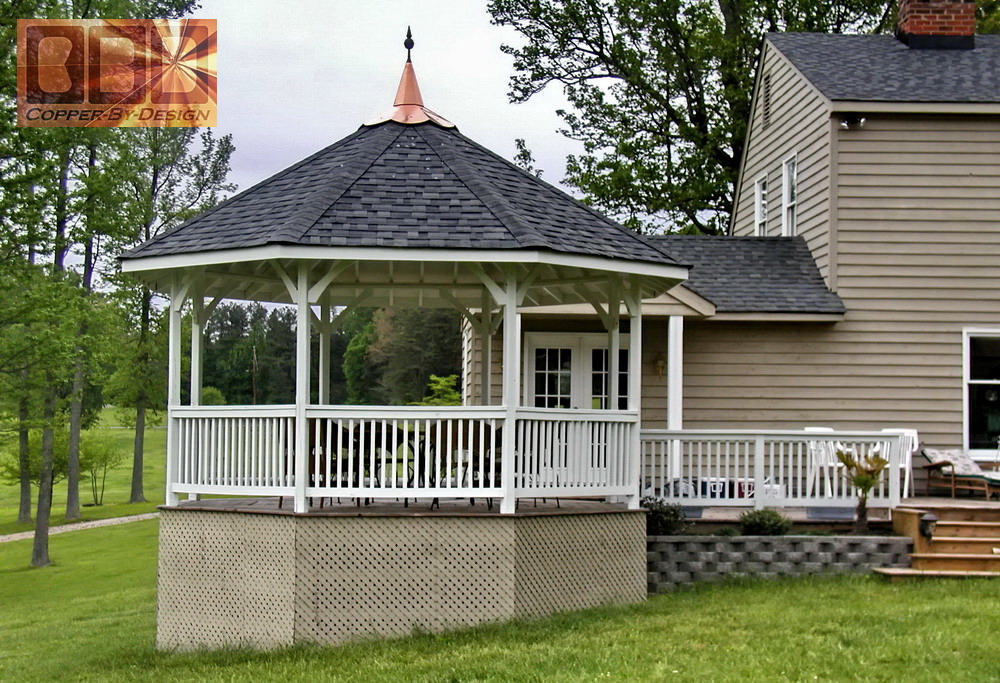
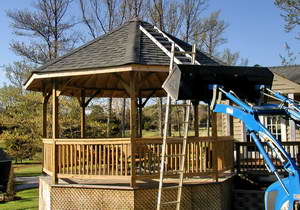
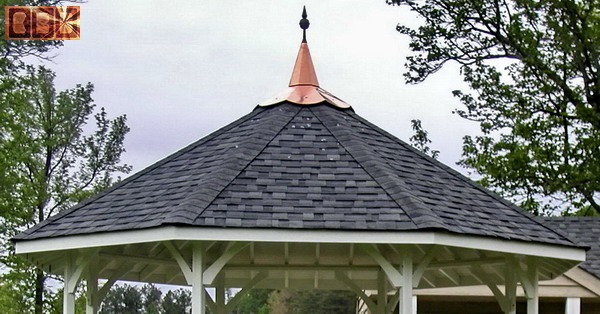
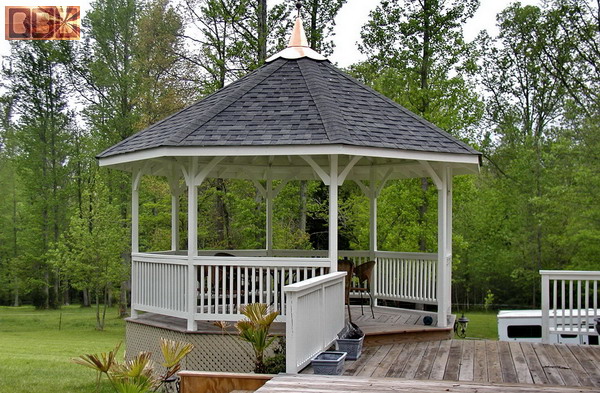
Here is a shot of the whole gazebo after it was
painted. I believe he had not yet removed the protective plastic over
the outside of the copper, since he still needs to remove the cap again
to lock down the blocks with the 3" deck screws I sent after the glue
dries.
 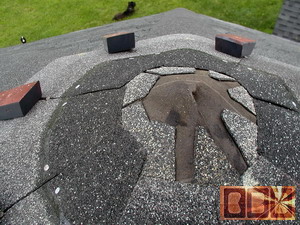
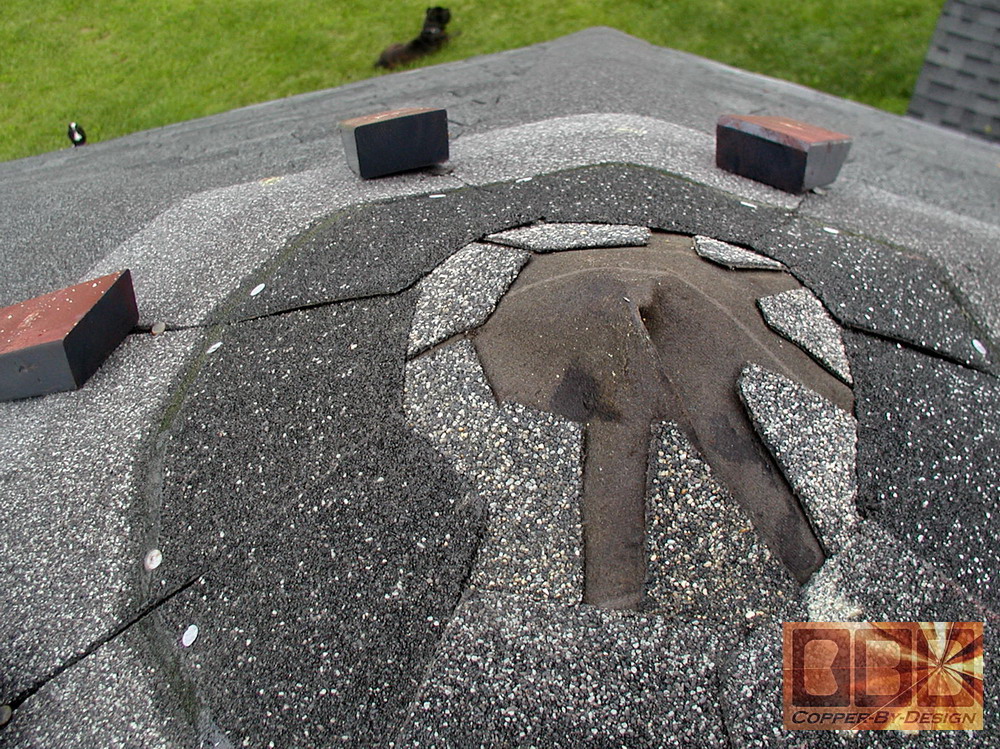
Here it is weeks later with the SS screws removed
to remove the roof cap for the final installation. The second photo
shows the wood spacer blocks glued down to the roof and having the 3"
deck screws run in to secure them to the roof.
 
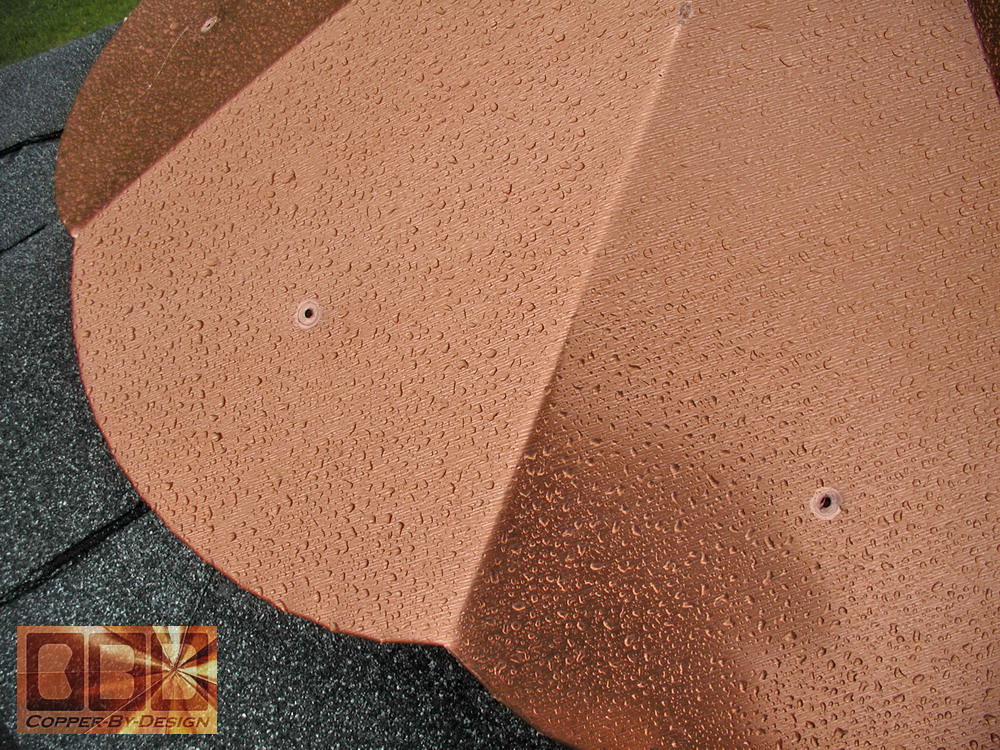
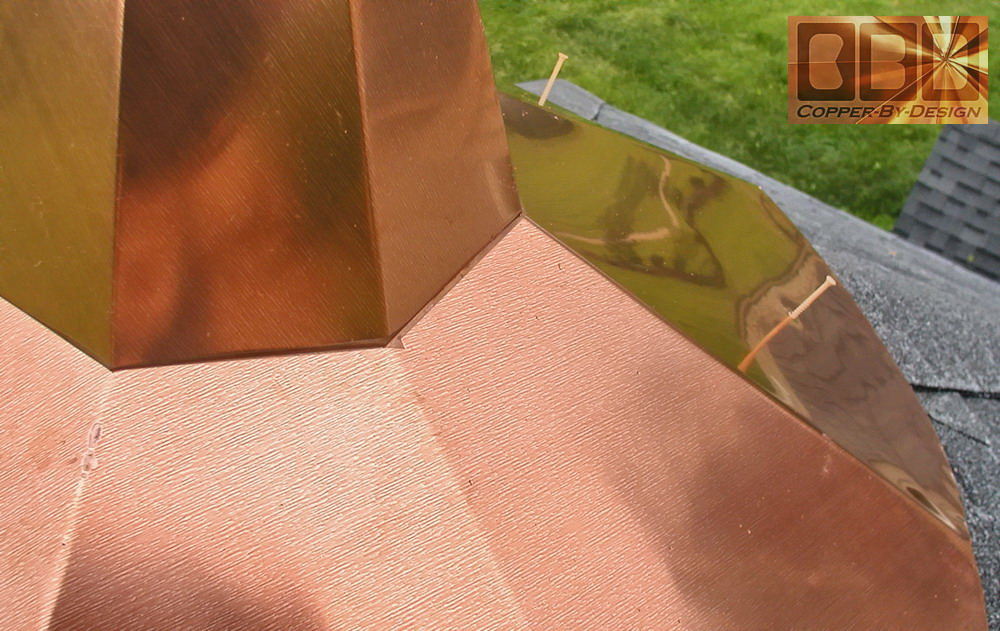
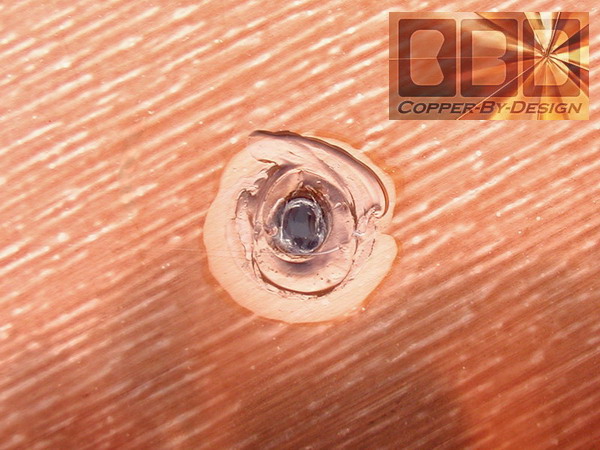
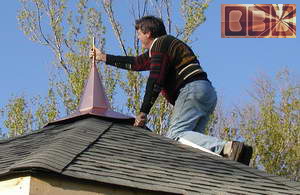
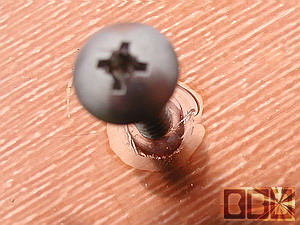
Here the alignment nails to find the right placement
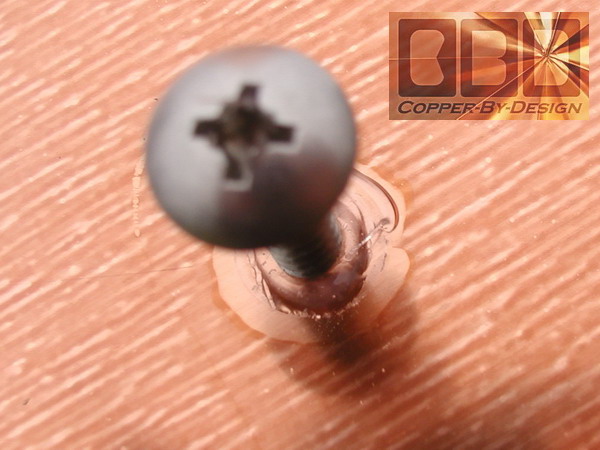
again. Then he added a dab of the clear caulk we sent to each screw
hole just before driving the SS screws in
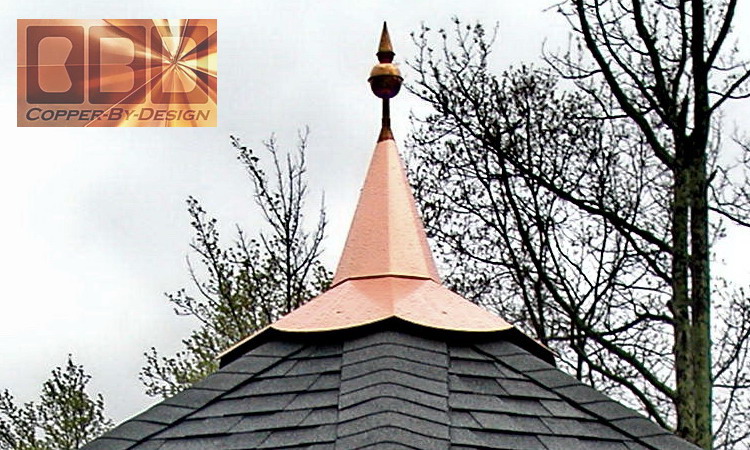
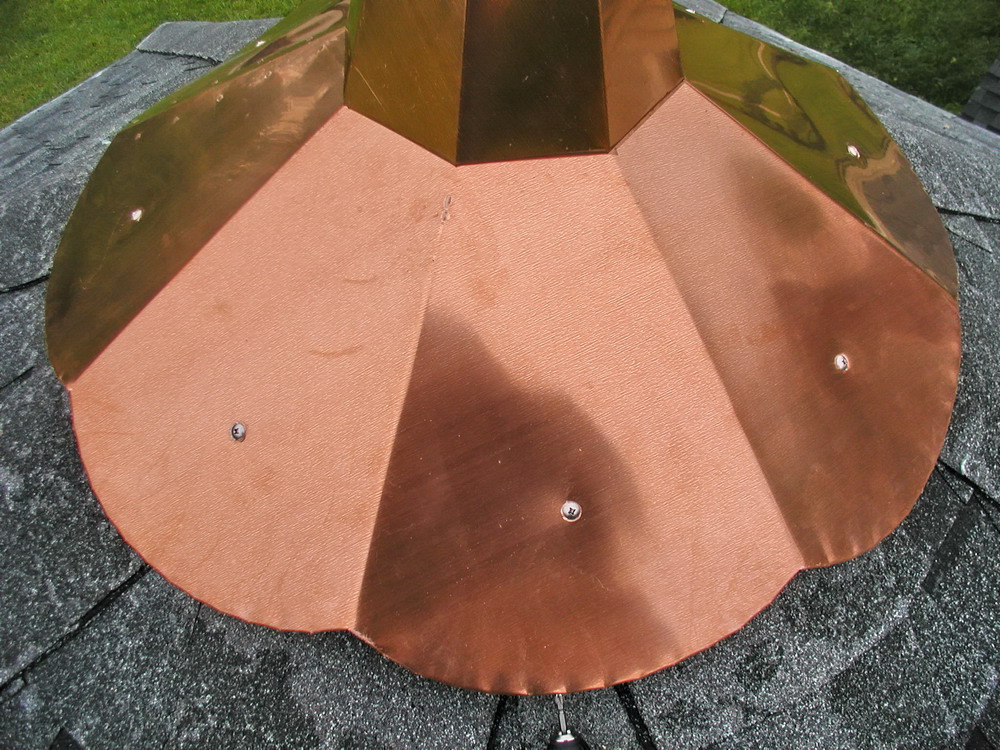
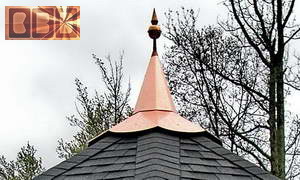
Here is the photos Mr. Cook sent us of the roof
cap now finally installed with the gazebo fully painted.
 
Good morning David:
Finally got round
to fixing the turret properly. That Gorilla glue is good!!!!!!!!!!
Here are the pics I promised. Maybe there is a good one
of the gazebo in its final painted glory that you can substitute
for the one you have.
Thanks, It looks GREAT
Chris
|