|
|
The Stanchfield Downspout Scuppers Fabrication Photo Page |
|
|
The Stanchfield Downspout Scuppers Fabrication Photo Page |

Updated 7-1-2005
Here is the assembly of a pair of the custom rain scuppers we have fabricated to give you an idea of what we can offer you.
..Note: (remember that you can click on each picture shown to get a closer look)
.
|
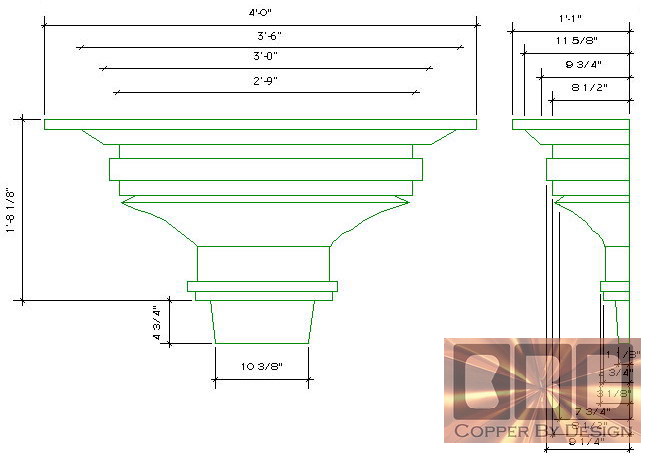
We had a Builder, Ron Stanchfield of MasterPlan Construction - 631-428-7576 from the Hamptons in New York contact us about building a large copper leader-box for the development they are building. Here is the first diagram he sent to us to give us an idea of what they wanted.
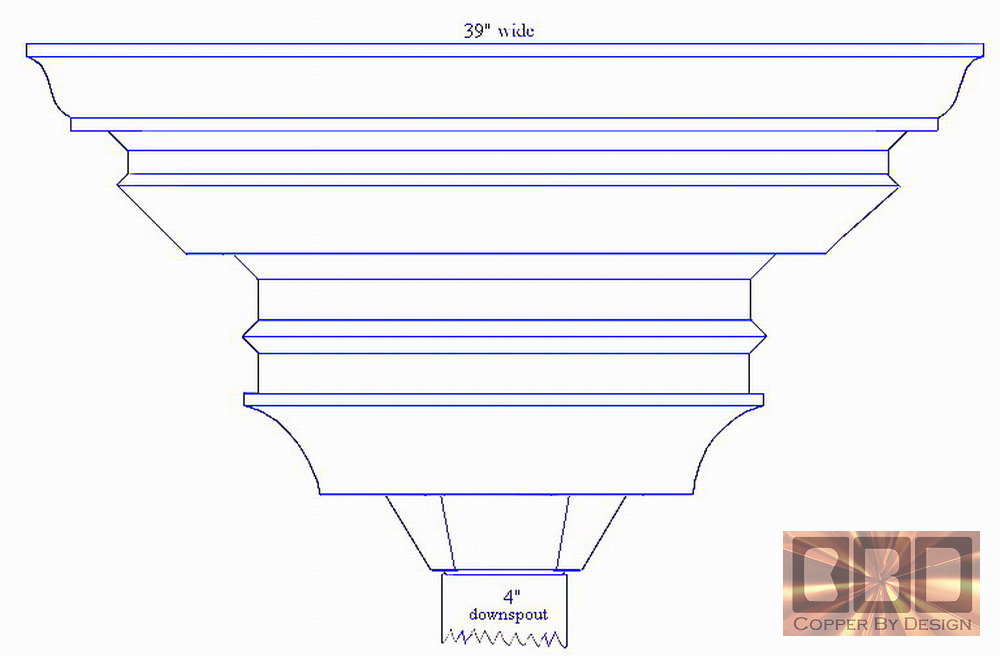
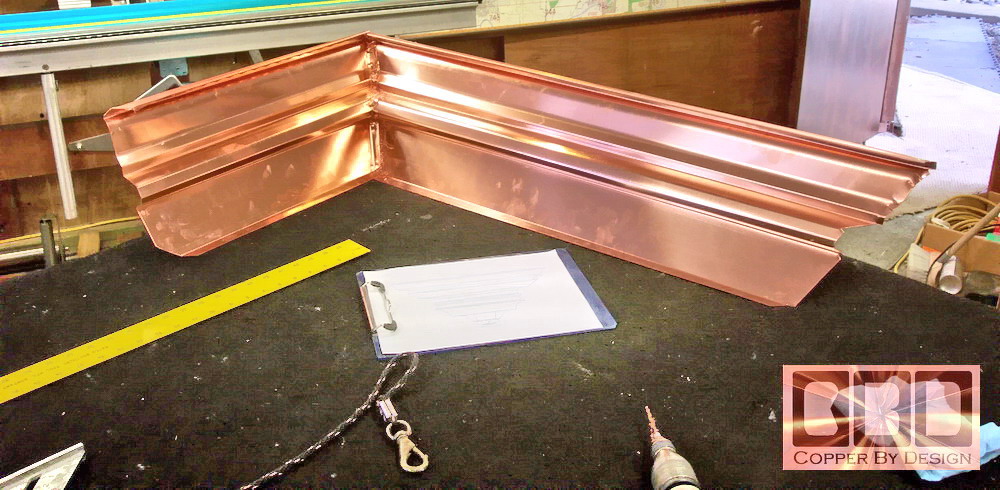
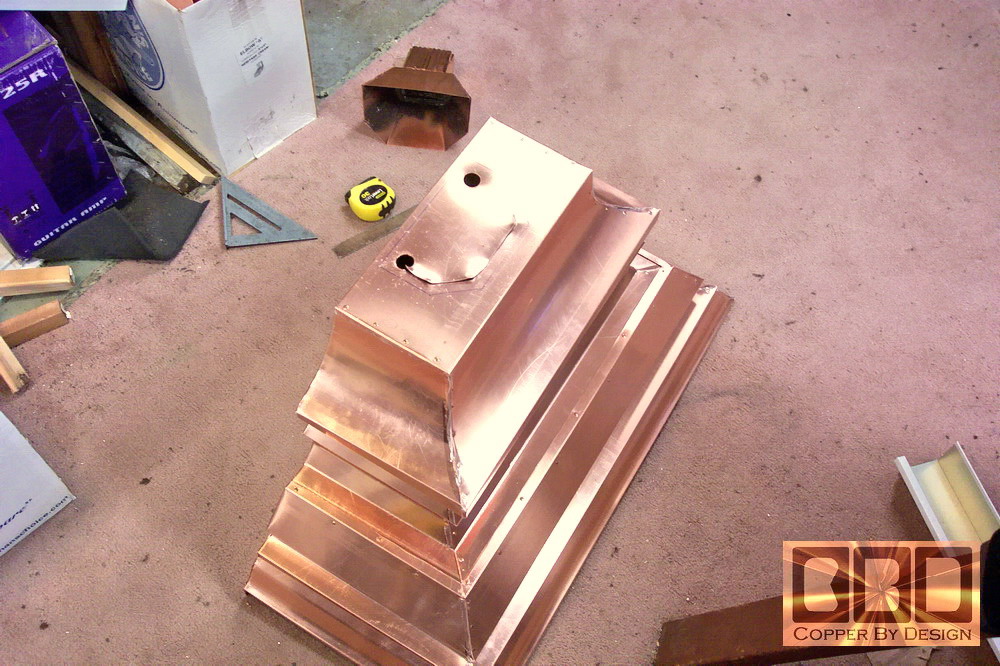
Below is the scupper design We drew up for the clients to consider. It is similar to diagram #2, but a lot wider, making it much deeper and taller as well. We made it with 20oz copper, with the top section being made from a section of K-5 gutter that had the bottom and back side bent down into the shape of this scupper diagram, so the top half was one piece without horizontal seams
|
|
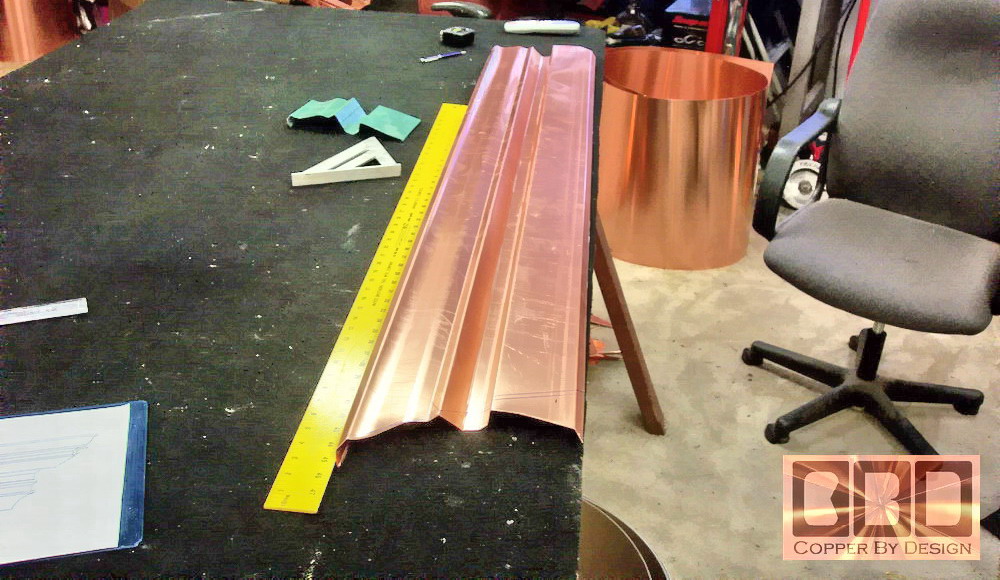
This shows the section of that K-5 gutter with the bottom bent down and the cut lines drawn on the protective clear plastic film covering the copper surface.
|
It is sealed in a clear protective plastic sheet that is to be peal off when it is installed. Here is the first corner upside down being formed.
|
| This shows the
inside of that corner after it is riveted together.
|
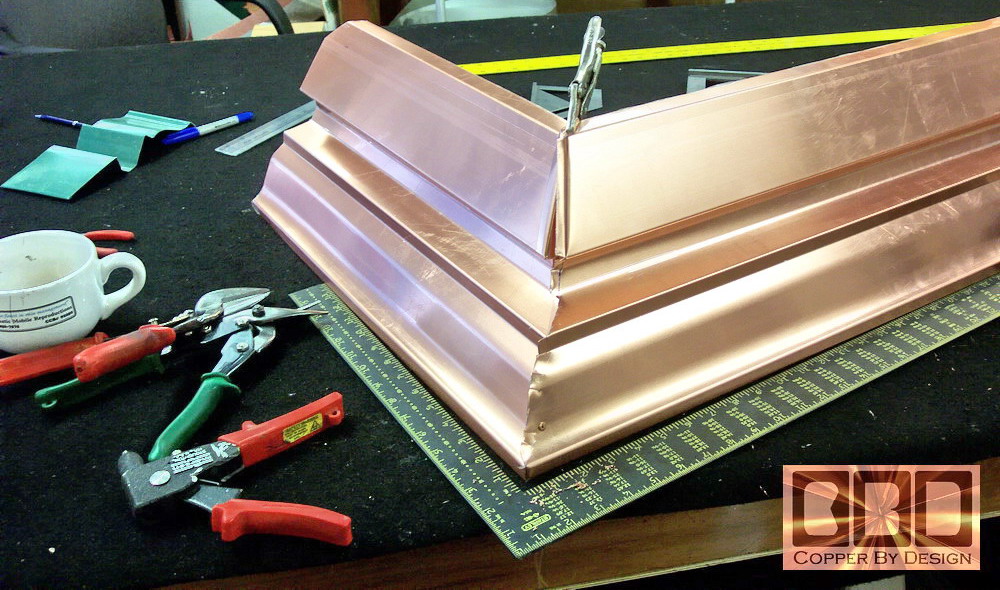
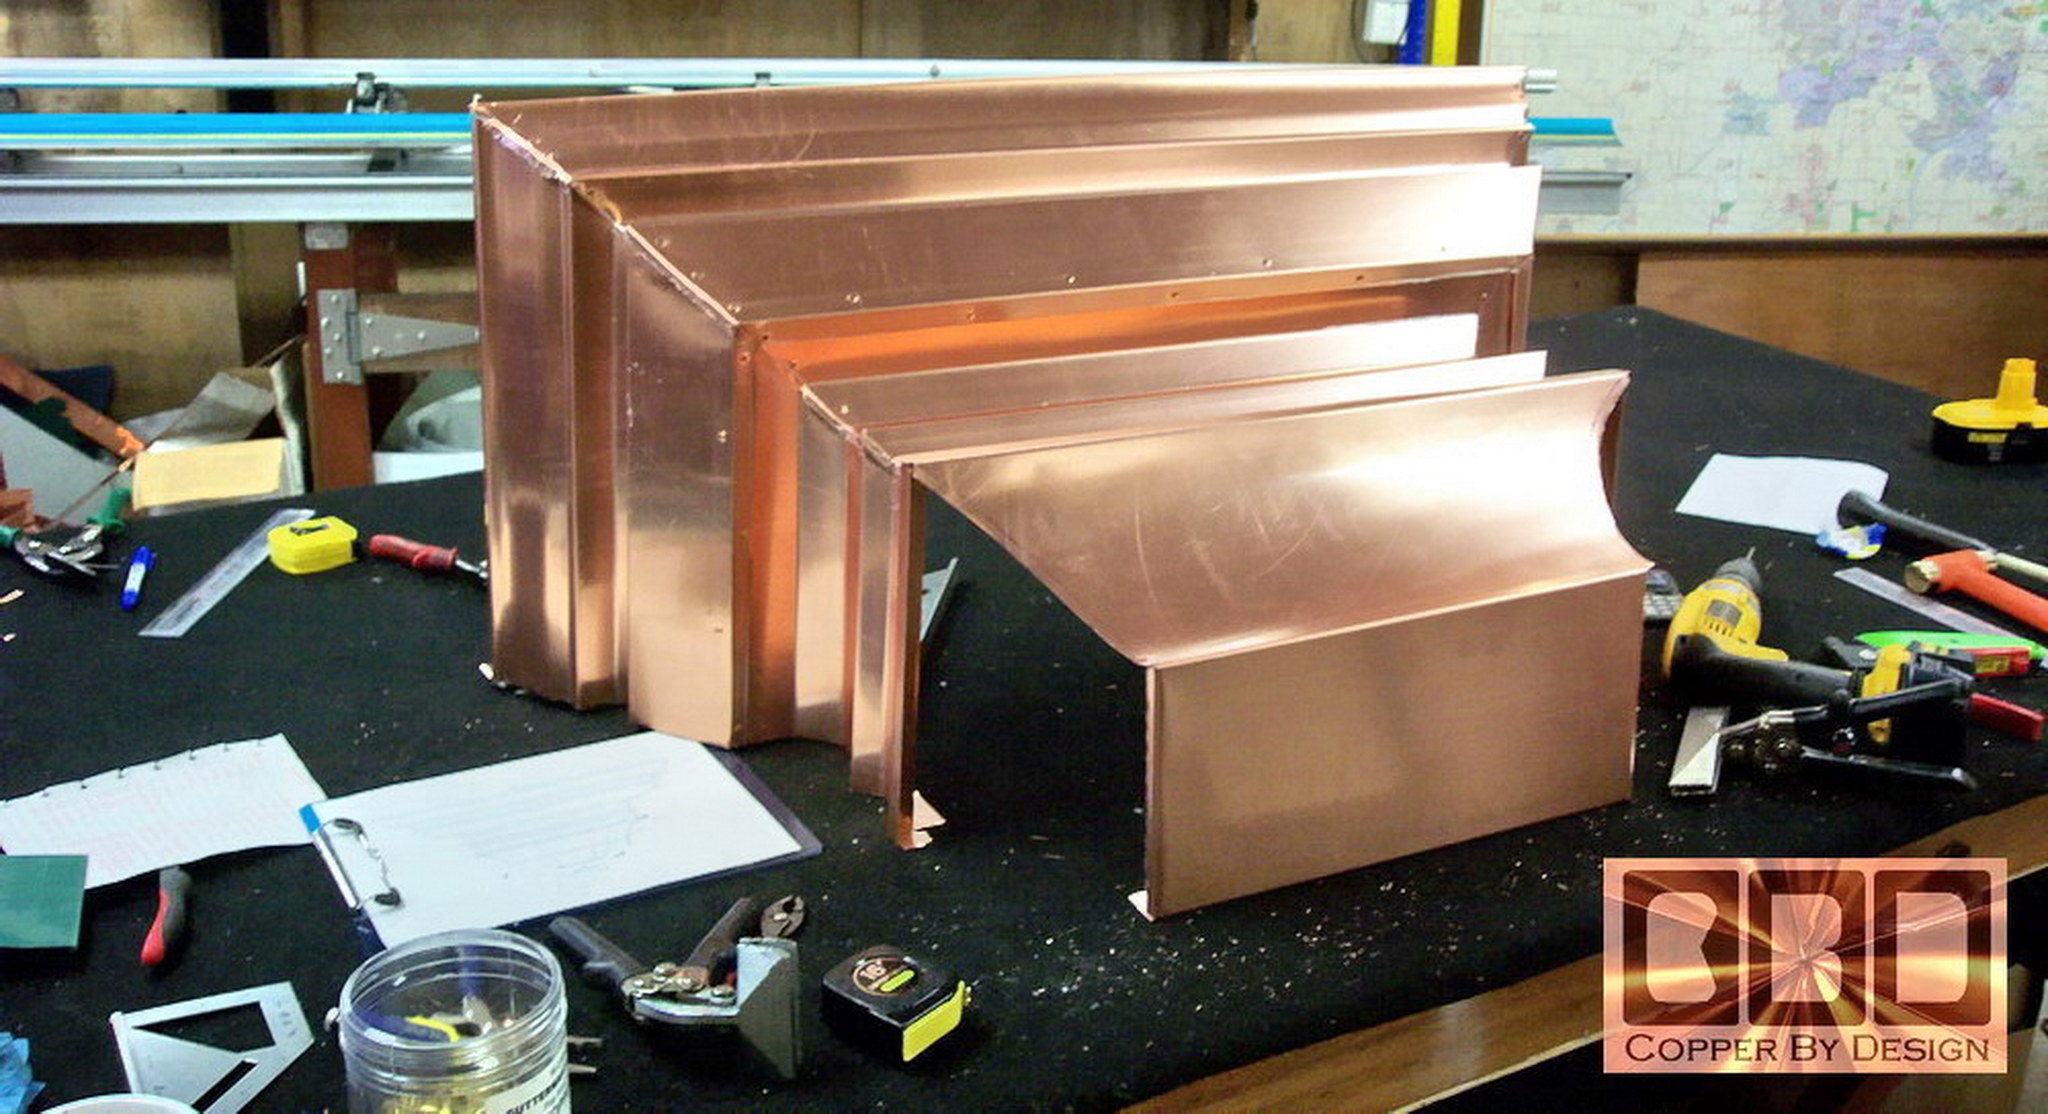
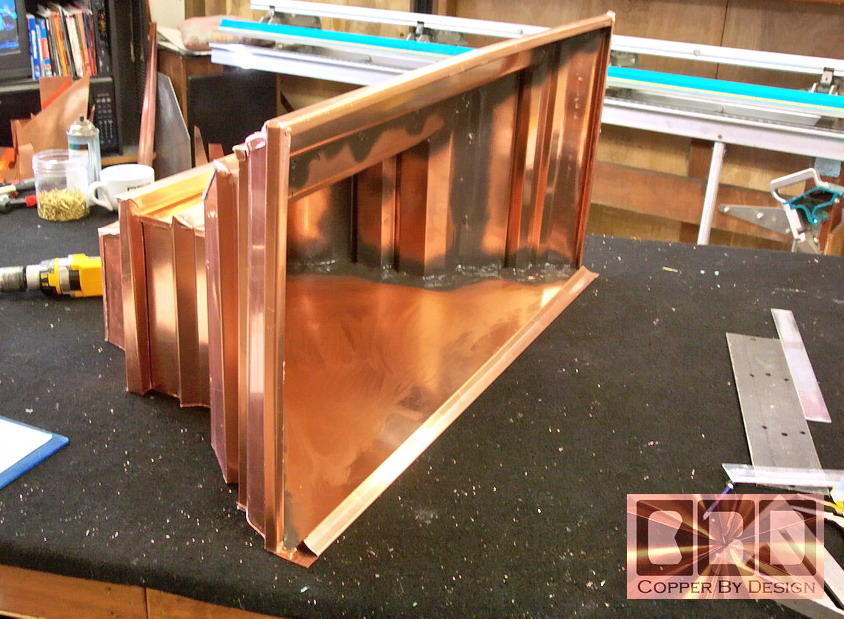
Here is an angle view of the 3 sides riveted together with the first mid-section in place.
|
|
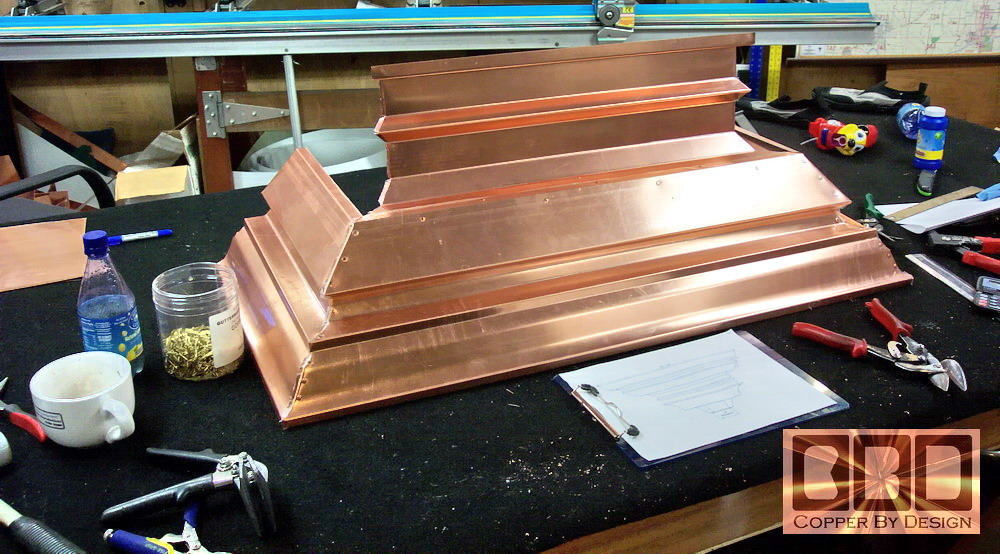
Here is the other 2 midsections in place and riveted together.
|
This is the inside of this, still upside down, showing the
tabs that we will fasten the back to.
|
|
Here is it is laying down on it's back.
|
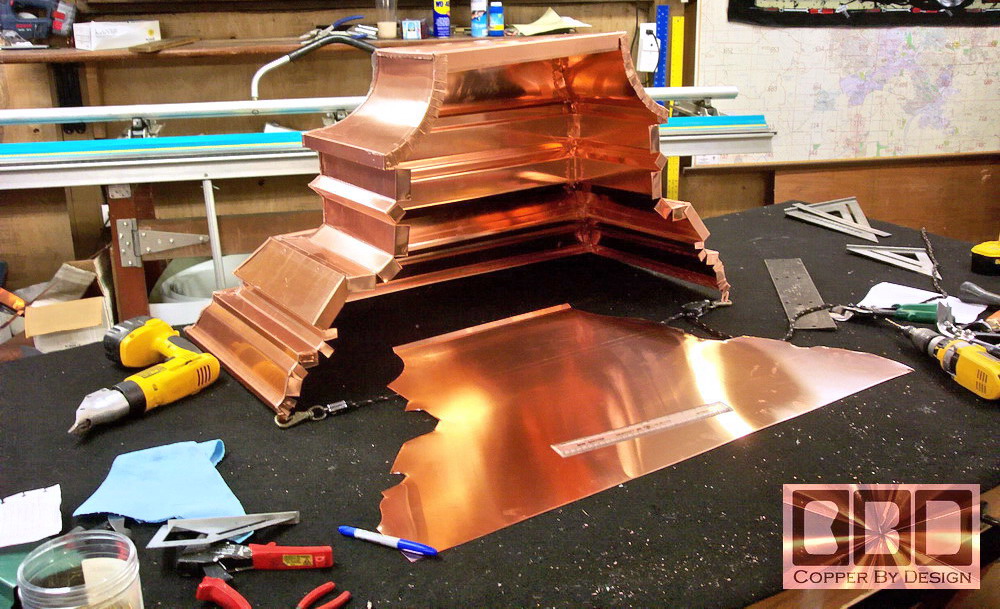
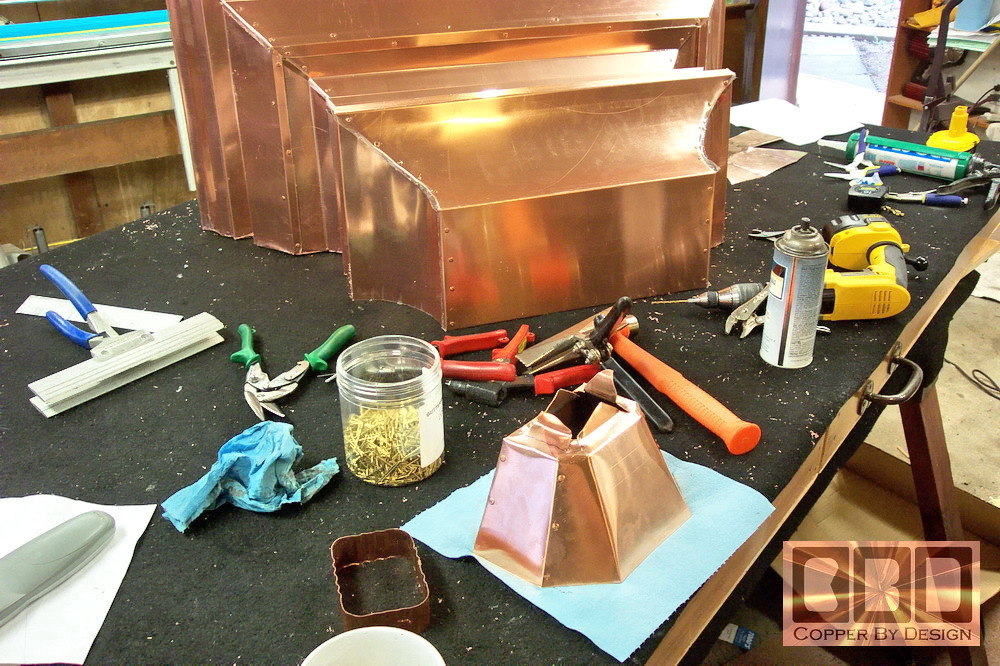
Here is the beginnings of the bottom section.
|
|
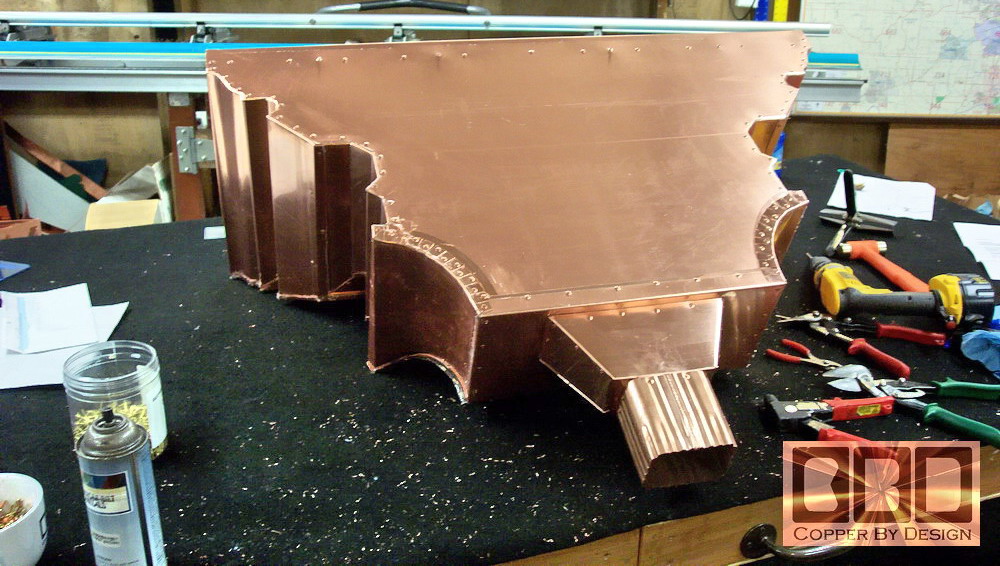
Here is the main front sections of the scupper finished from behind with the back laying down flat, ready to be attached.
|
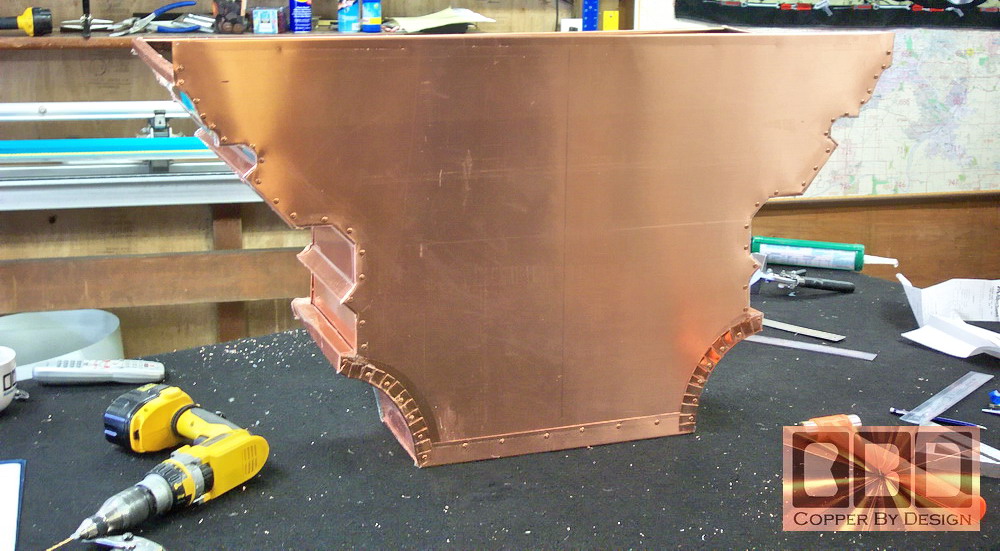
Here is This shows the back side attached. It has 52 rivets, but latter gets another 14 rivets to secure the back to the side walls.
|
|
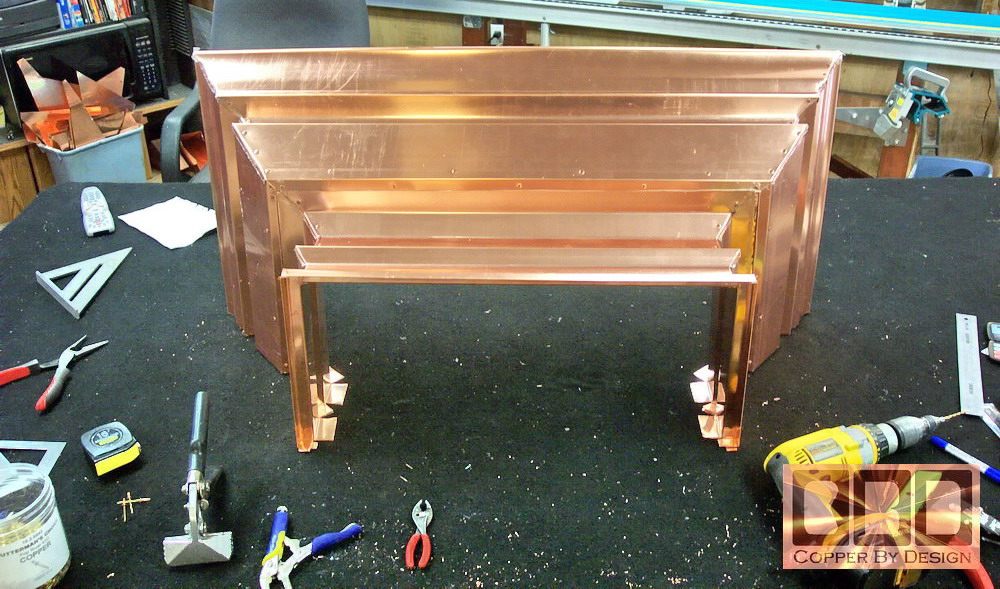
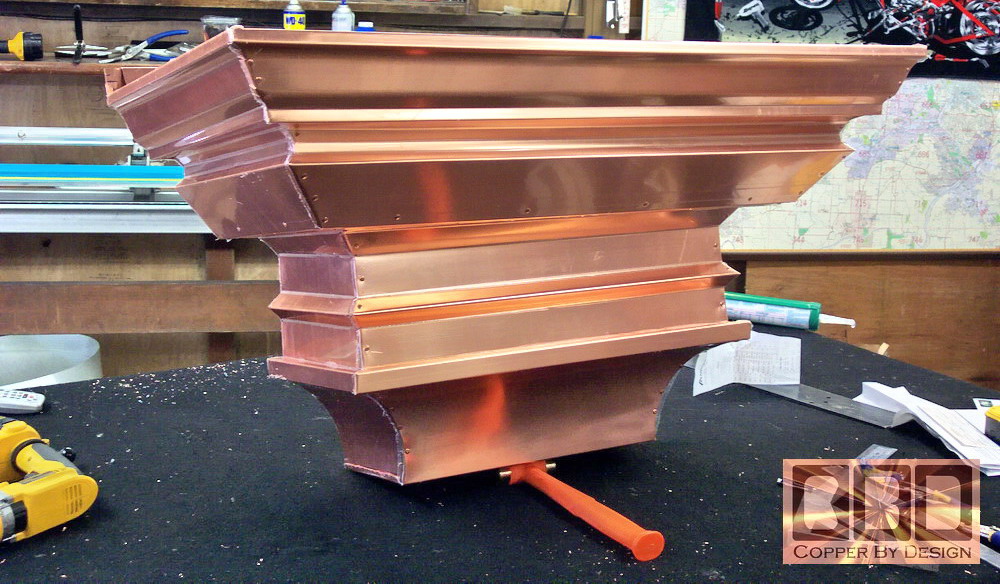
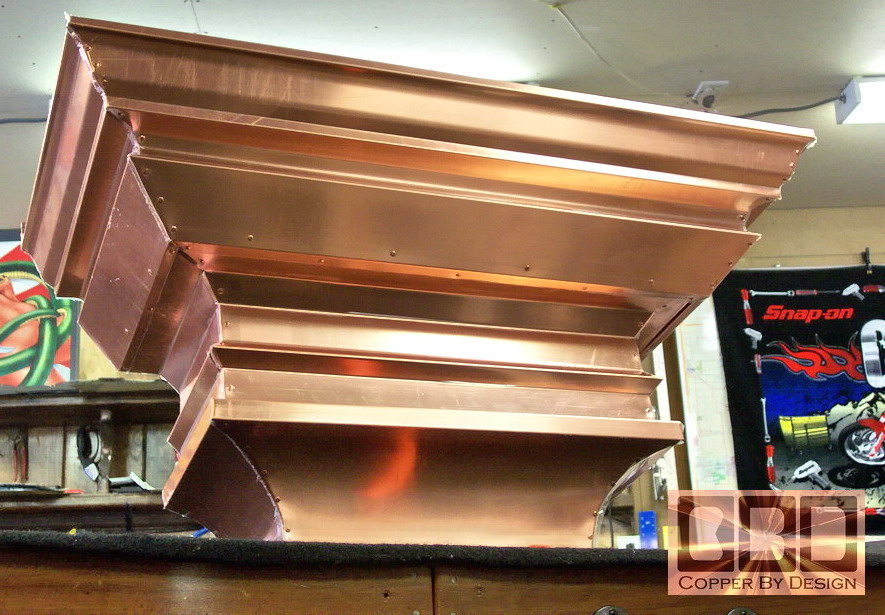
Here is the scupper propped up to lean back a little to balance, since it it still a bit front heavy.
|
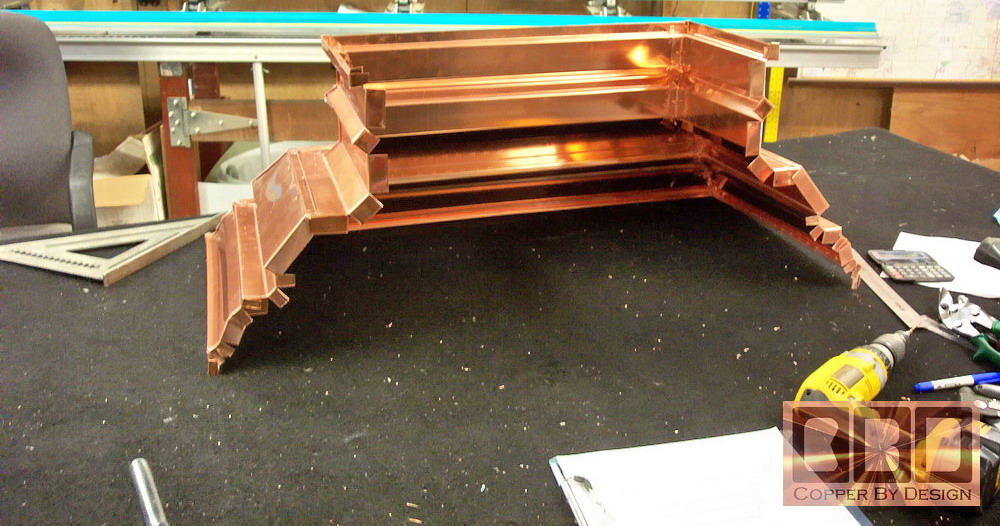
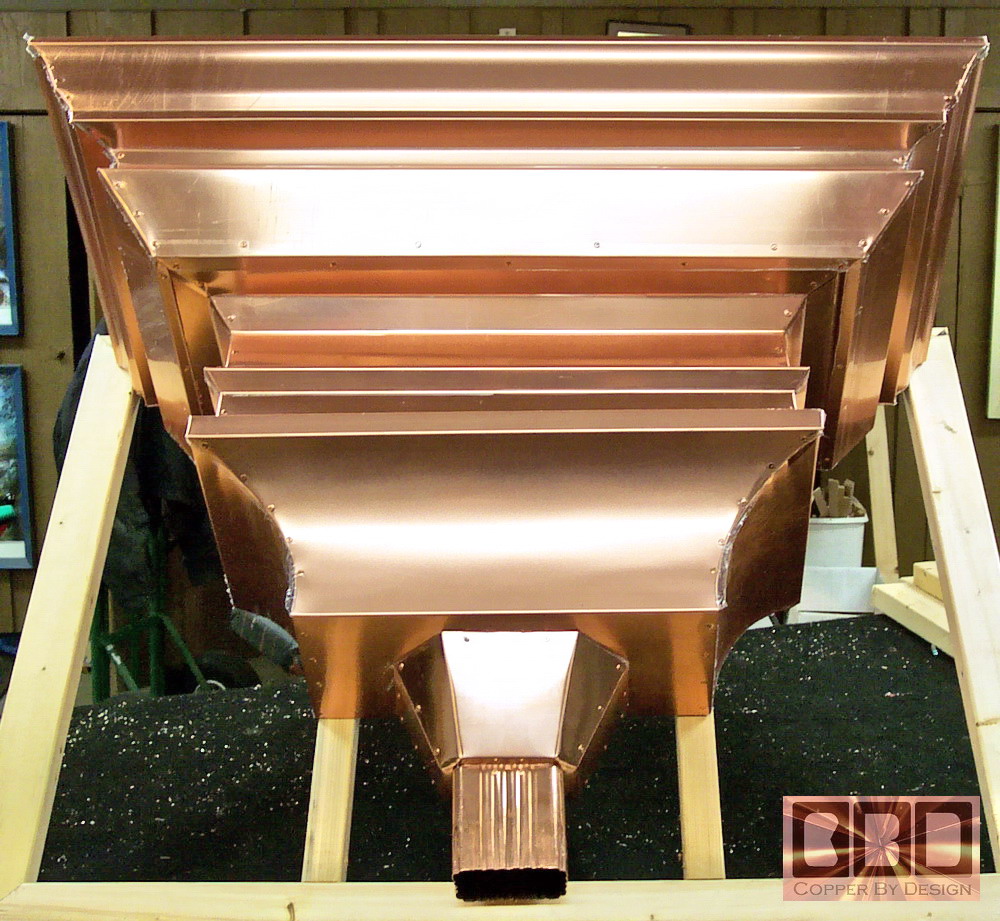
Here is an angle shot from below. |
|
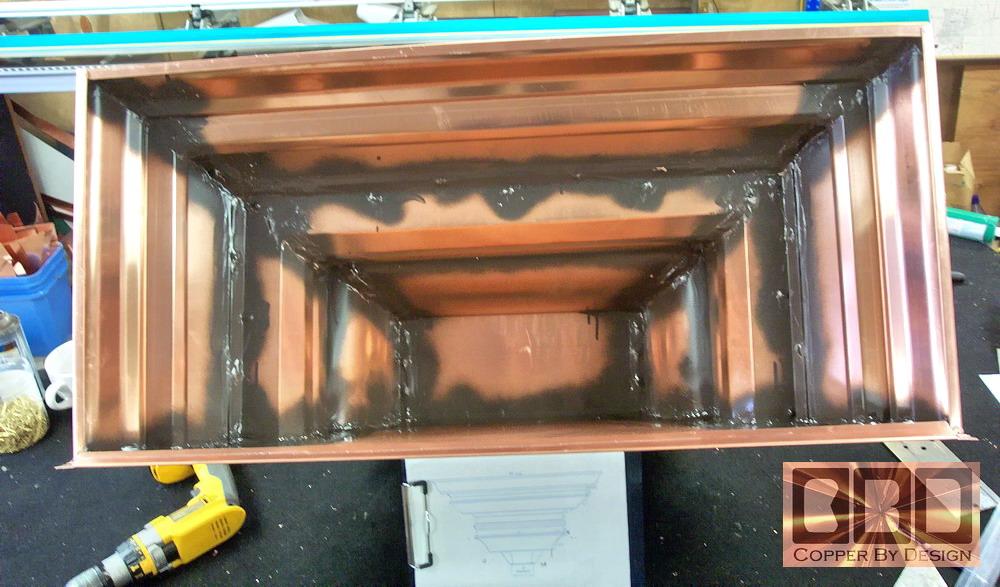
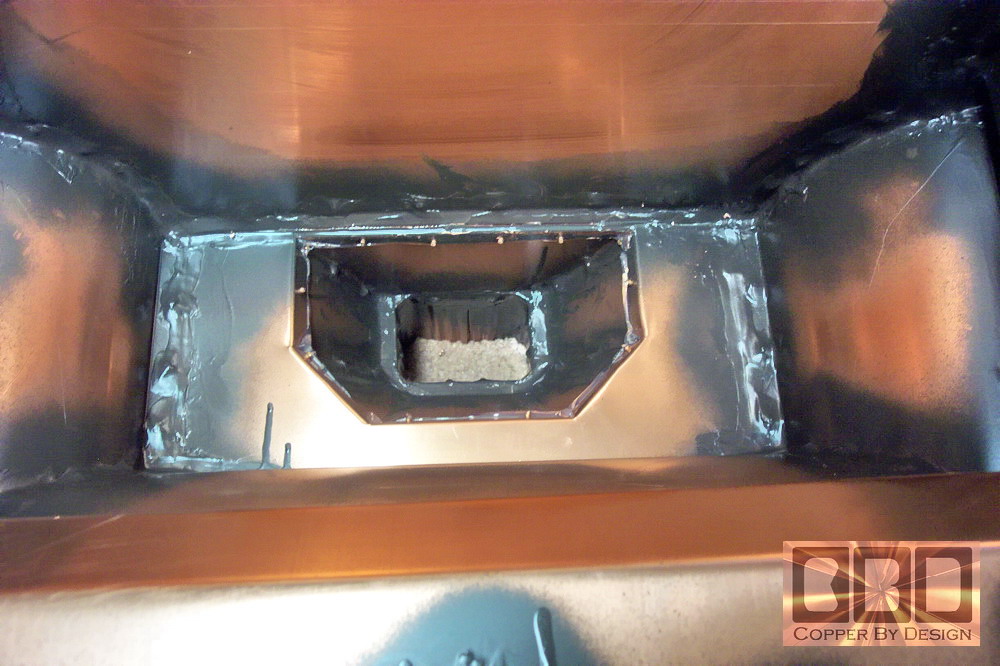
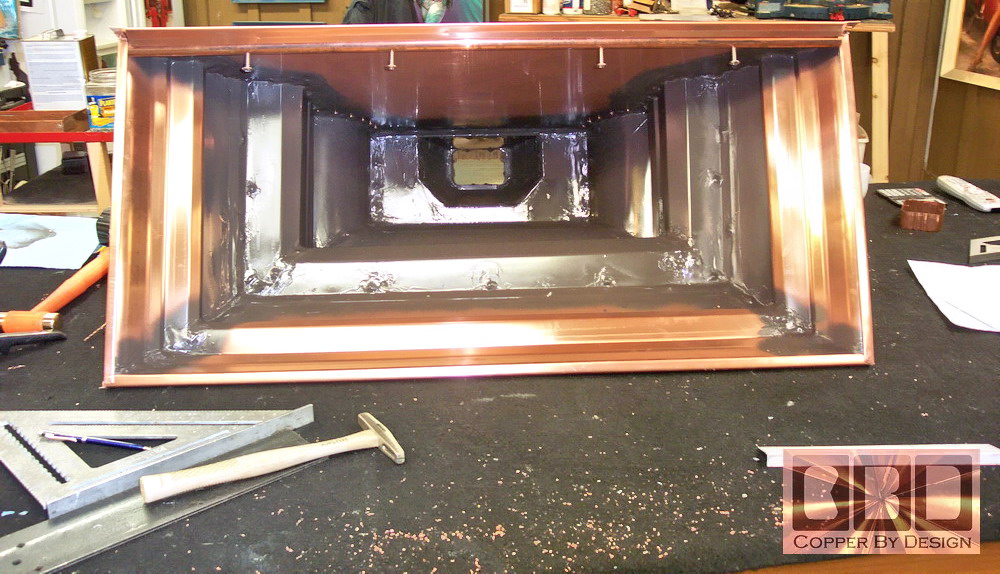
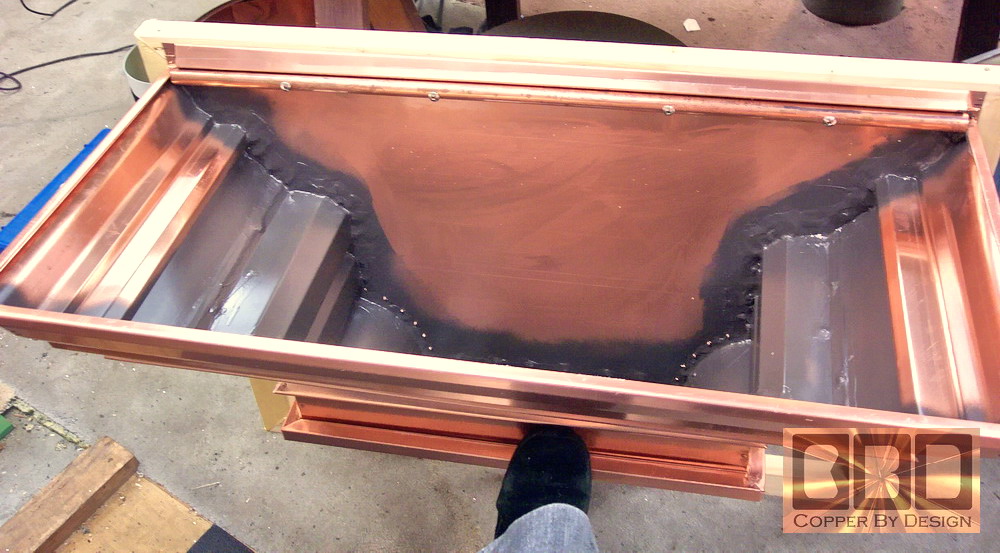
Here is a shot of the inside. We use a clear caulk, but then spray a brown over it to use as a solvent to finish pressing the caulk into the seams and over each rivet inside. It also helps to keep the sun lithe off the caulk for better life of the caulk.
|
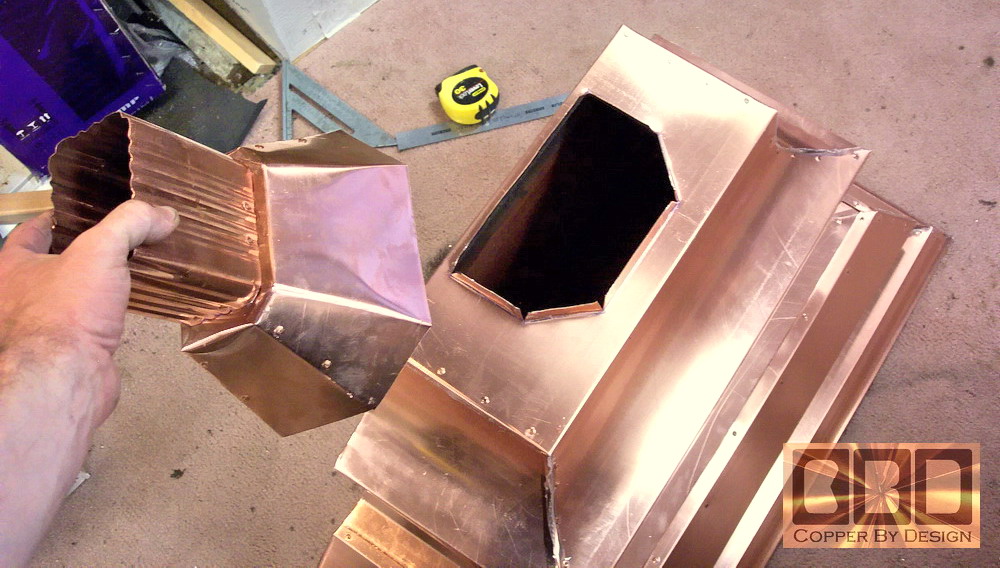
Here is an angle view of the inside of the leader head we made.
|
|
Here is the outlet to be mounted in the bottom of the
leader head.
|
Here is the leader head upside down with 2 holes drilled in the bottom to cut out the section needed for the outlet to be mounted.
|
|
Here is the bottom of the leader head cut open for the
outlet to be mounted.
|
Here is the outlet to be mounted in the bottom of the leader head.
|
|
|
This is the outlet from the inside of the leader head.
And the back of the leader box with the outlet mounted. |
|
Here is looking down inside the leader box with the 3/4" copper pipe mounted across the top of the back for support. It has the 2" stainless steel mounting screws run through that pipe.
|
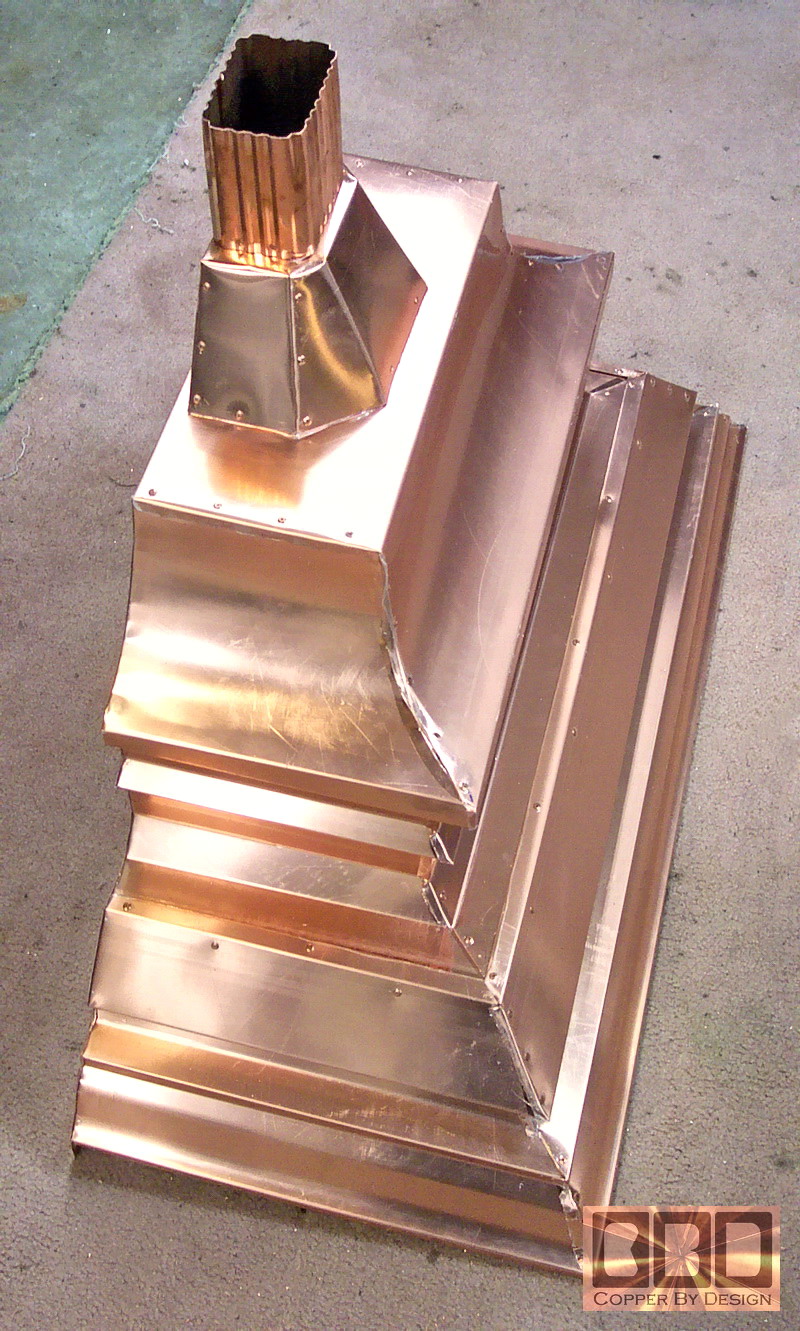
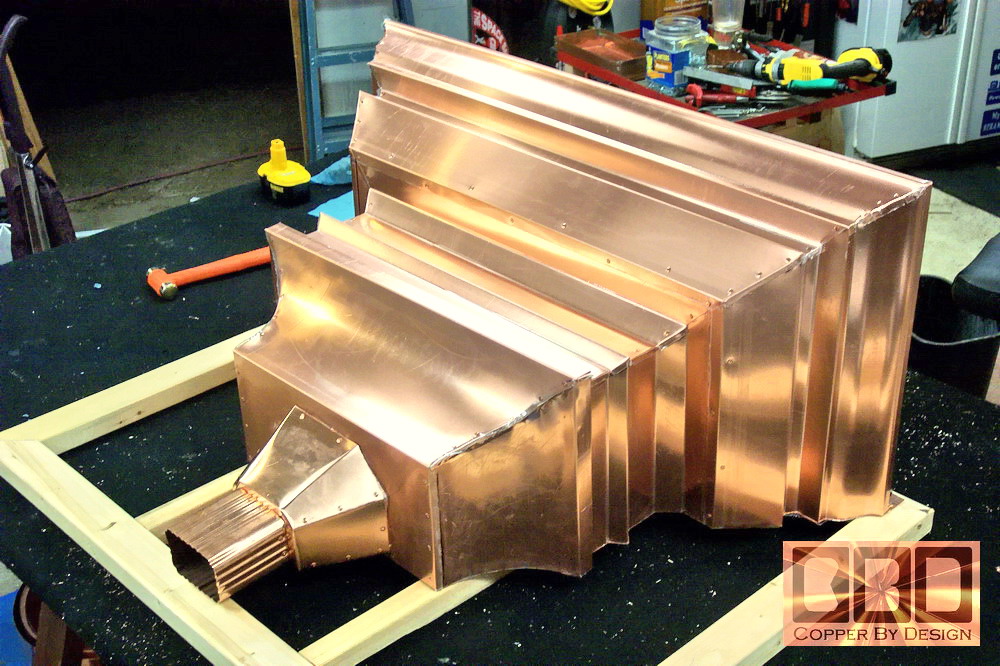
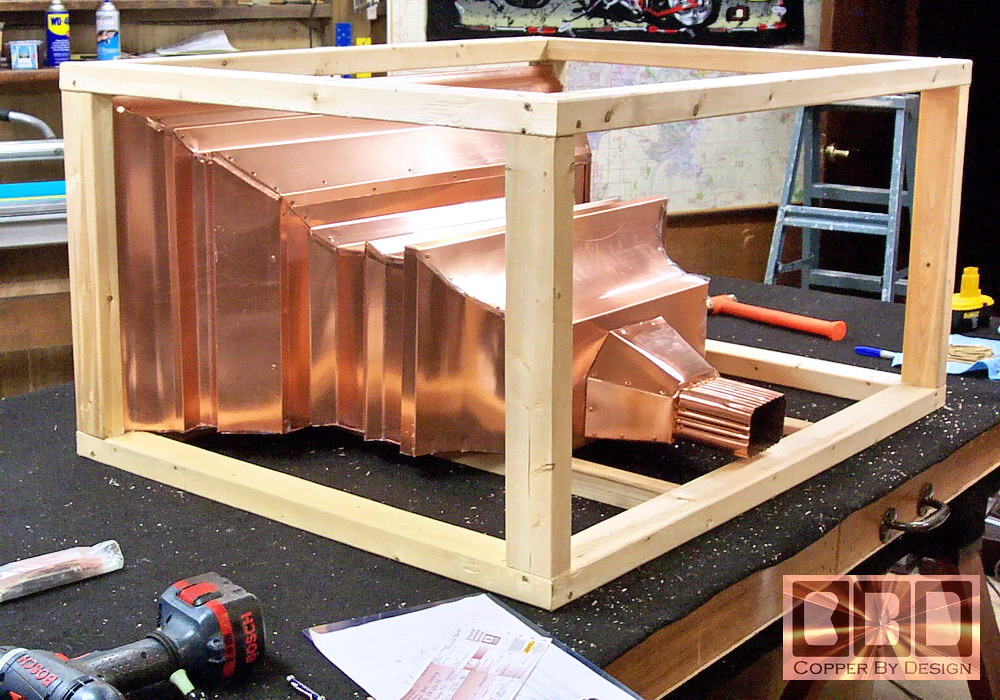
Here is the leader box mounted on the wood frame of the crate we are making here.
|
|
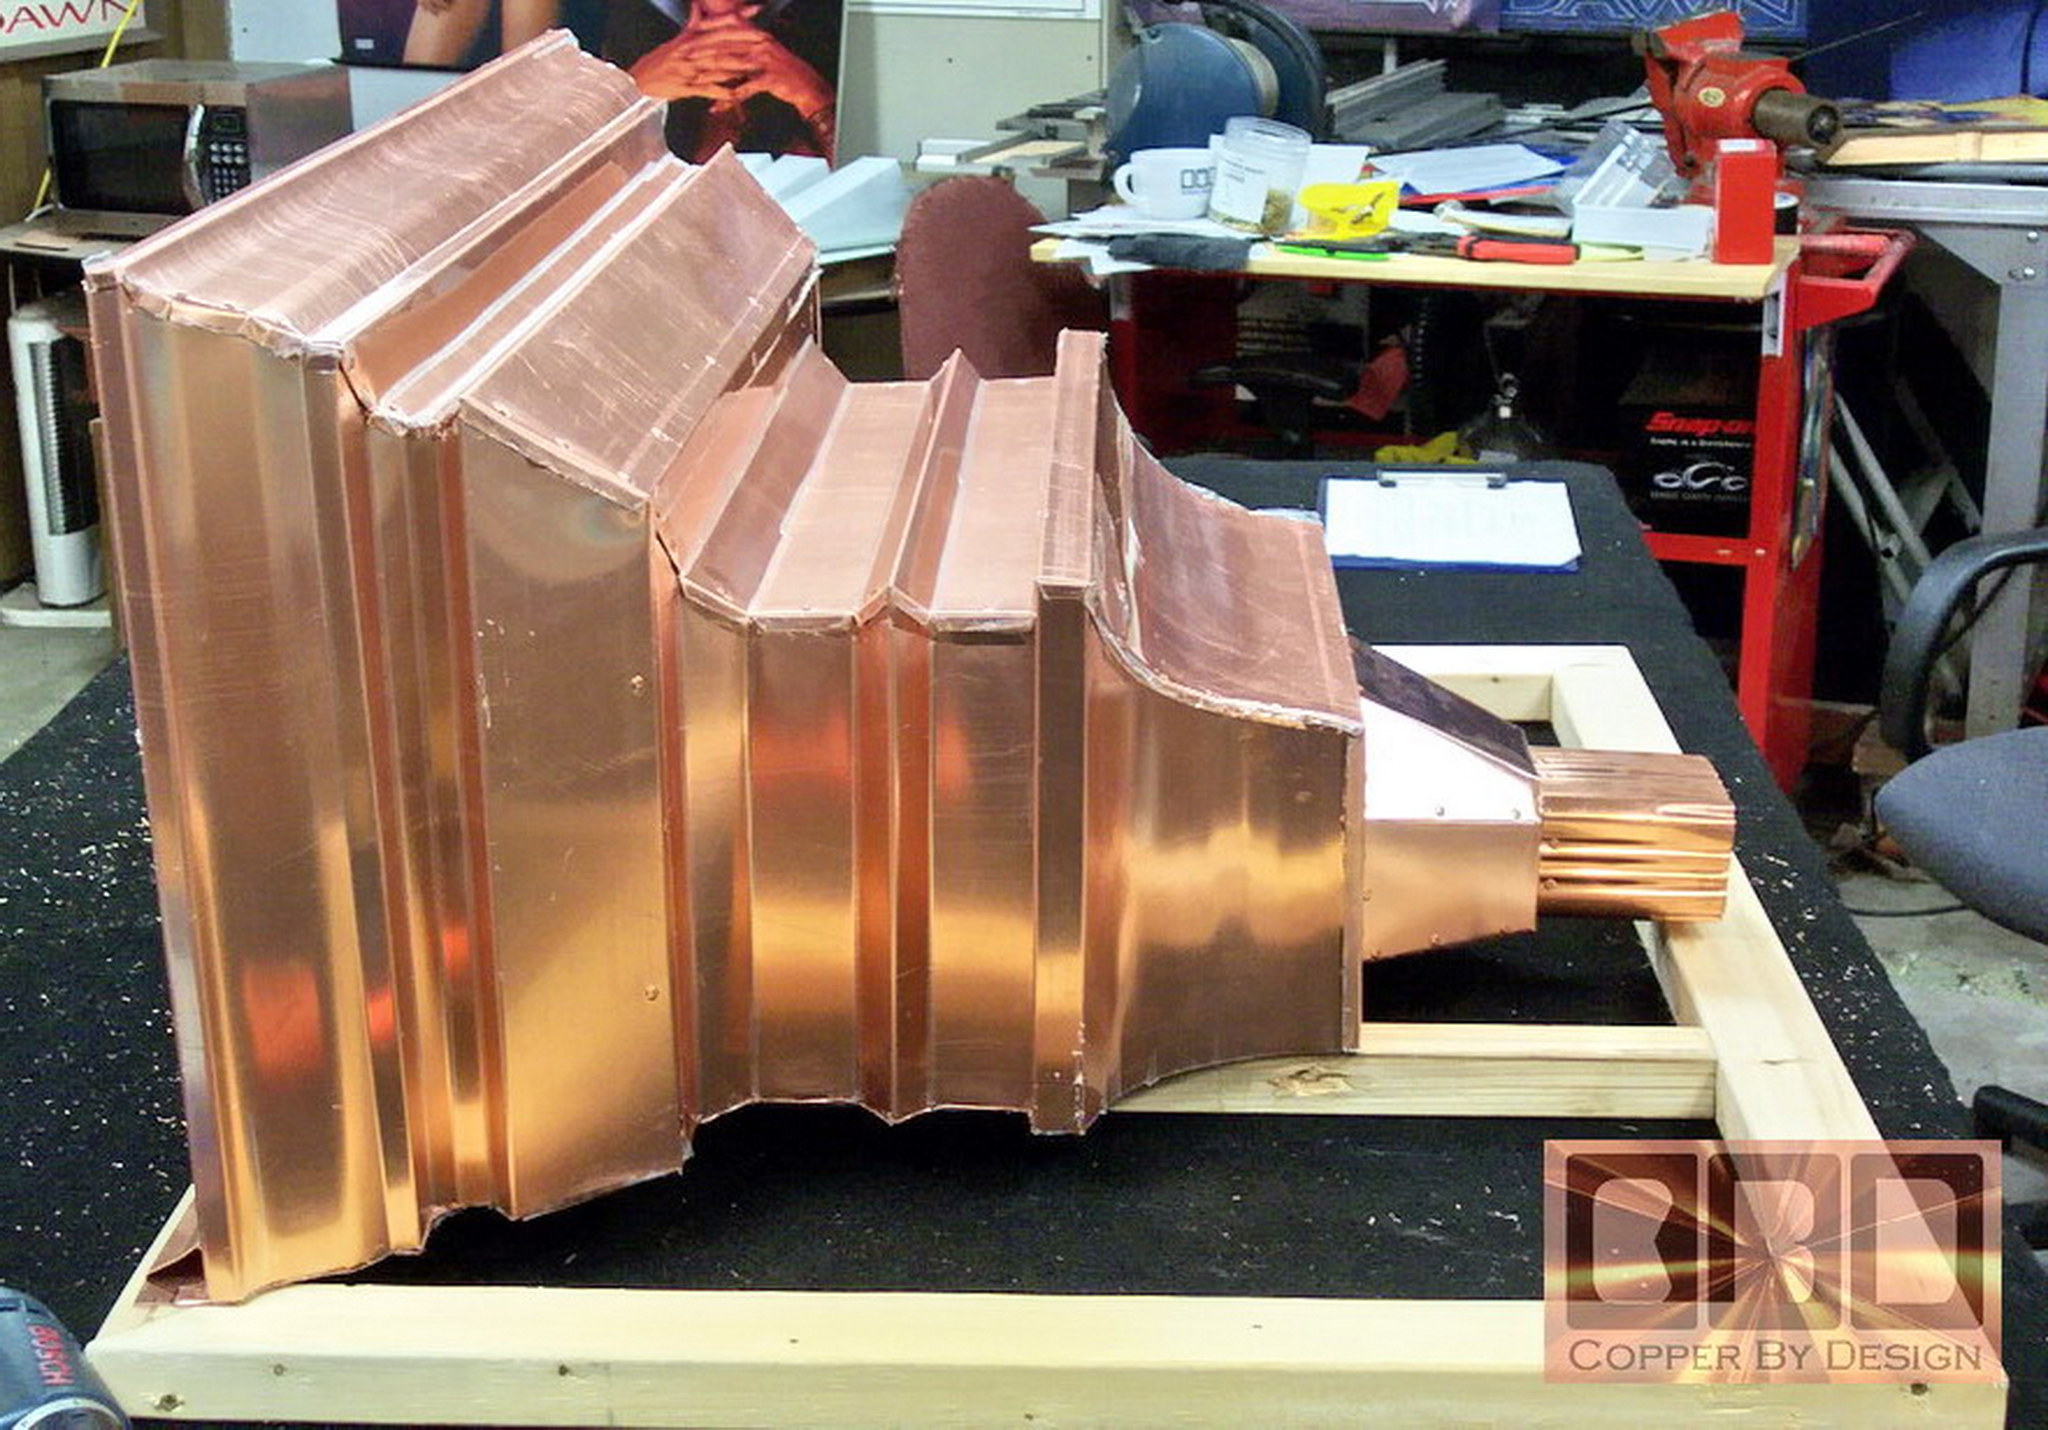
This is the leader box from different angles.
|
 |
|
This shows the copper pipe along the back from a different
angle.
|
The crate frame is screwed together. We added another pair
of boards over the leader box. Then stapled cardboard over this frame
for shipping.
|
We also added a 3"x 4" copper Leaf-catcher to the order, along with the mounting hardware for the two story downspout as a courtesy.
..
]
|
Below is a photo of our |
|
|
|
We were also a 1997 finalist for this same award. See our referral web page to see how we managed to be honored with this special award |
 Homepage |
|
|
Company Profile |
|
Roof Caps |
|
Chimney Caps |
|
Scuppers |
|
Gutters |
|
Shipping |
|
Contact Info |
.
.
.
.
.
.
.
.
.
.
.