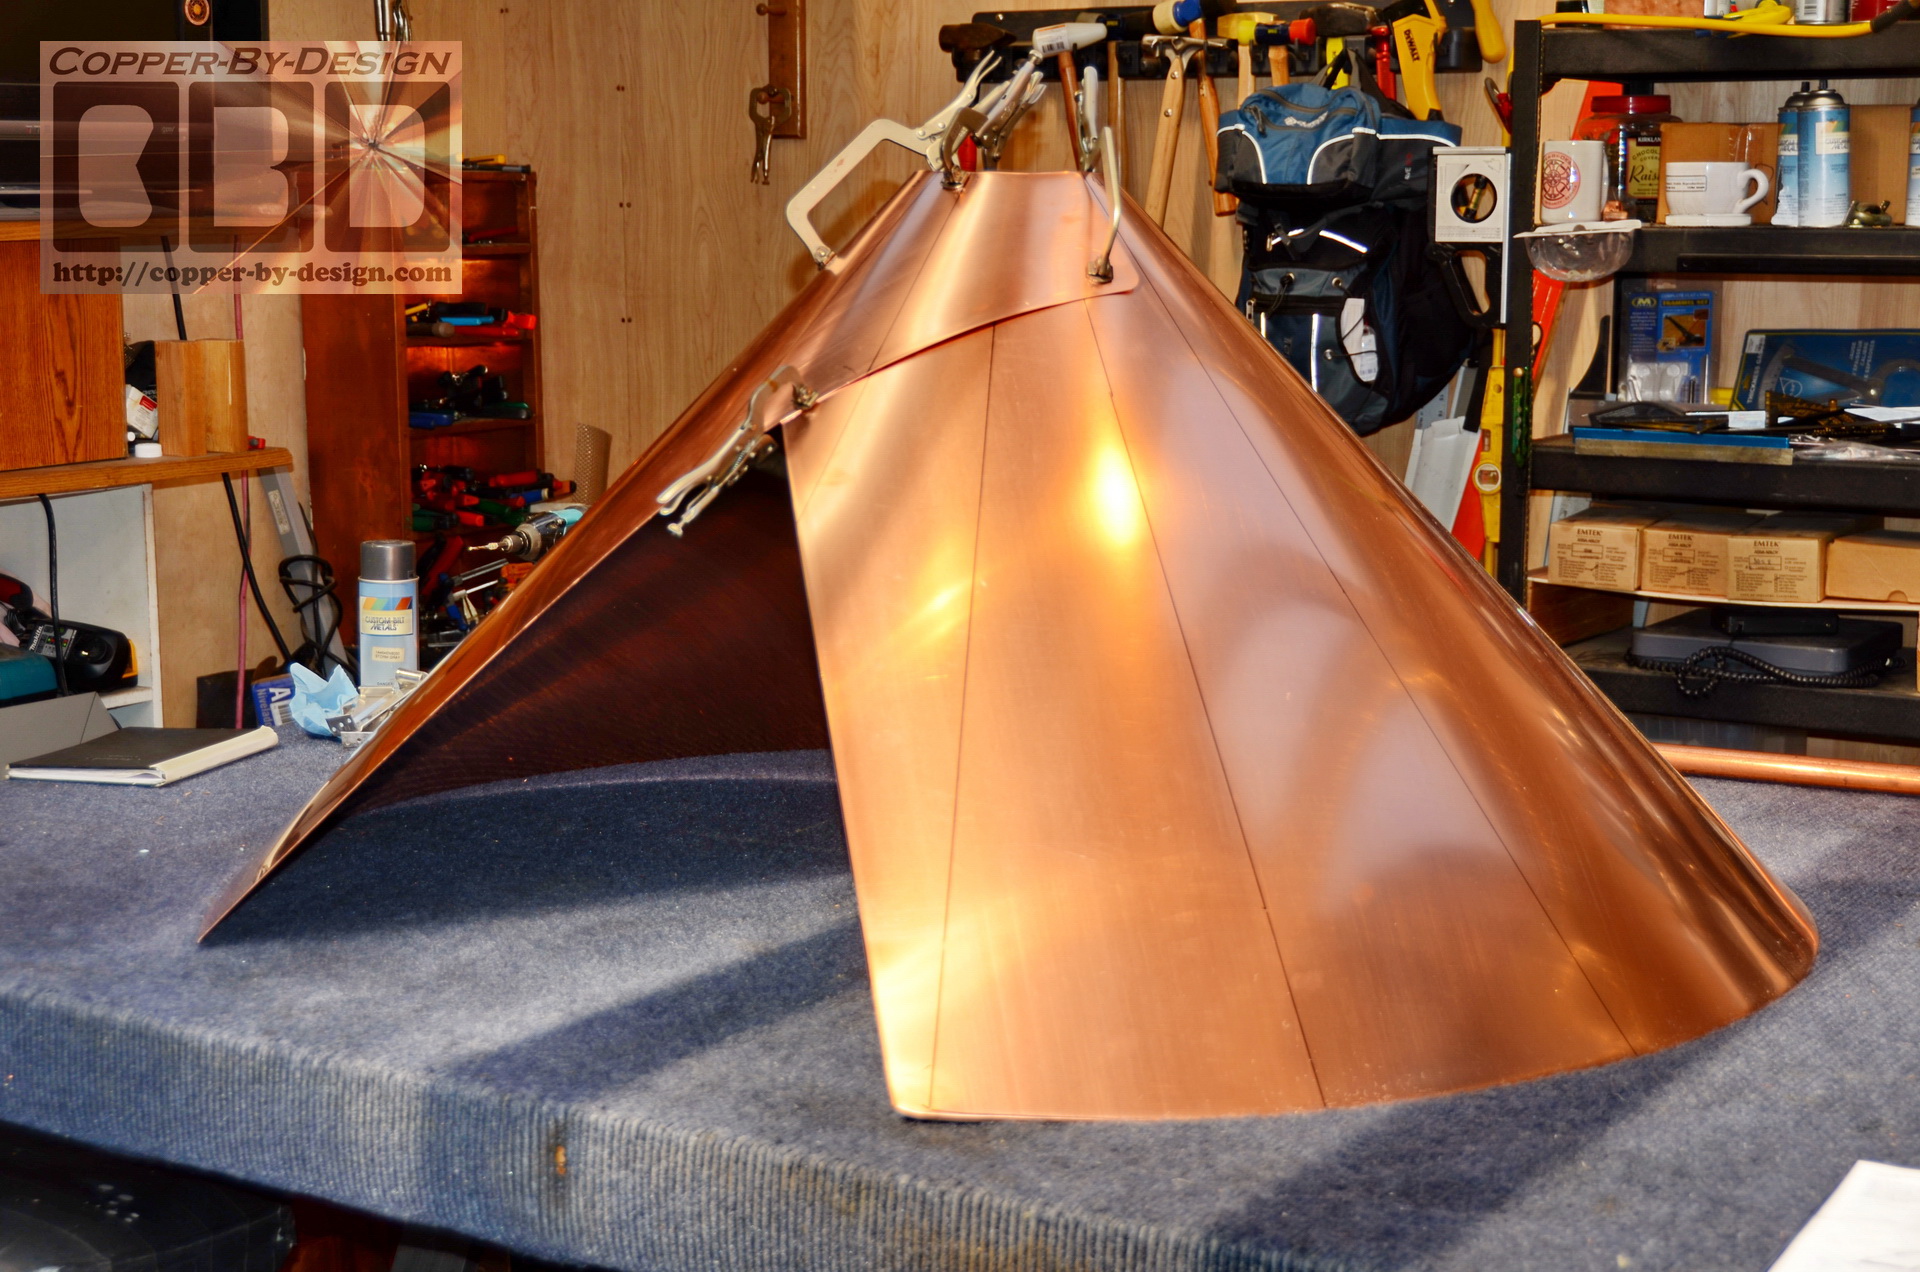
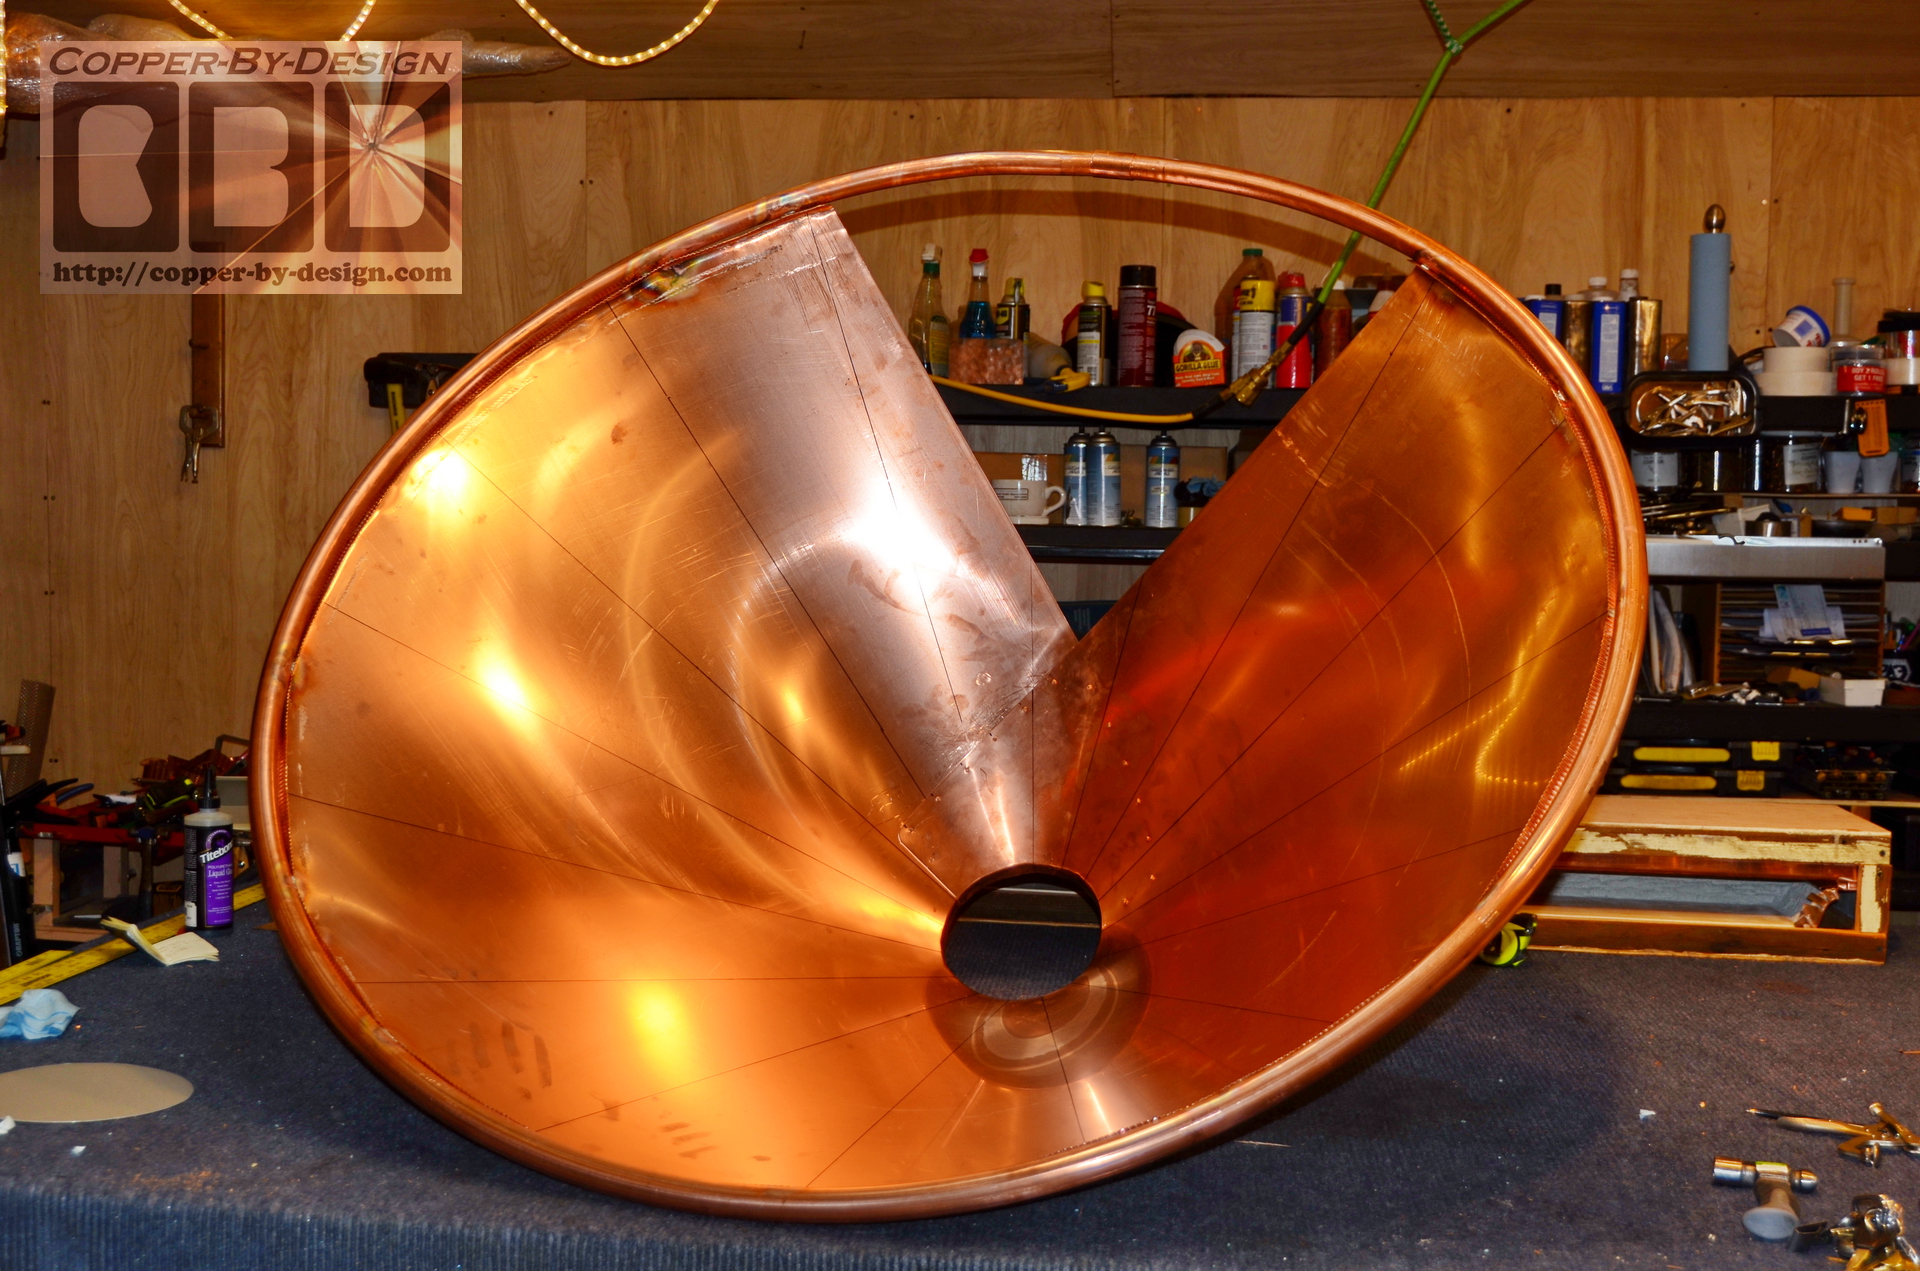
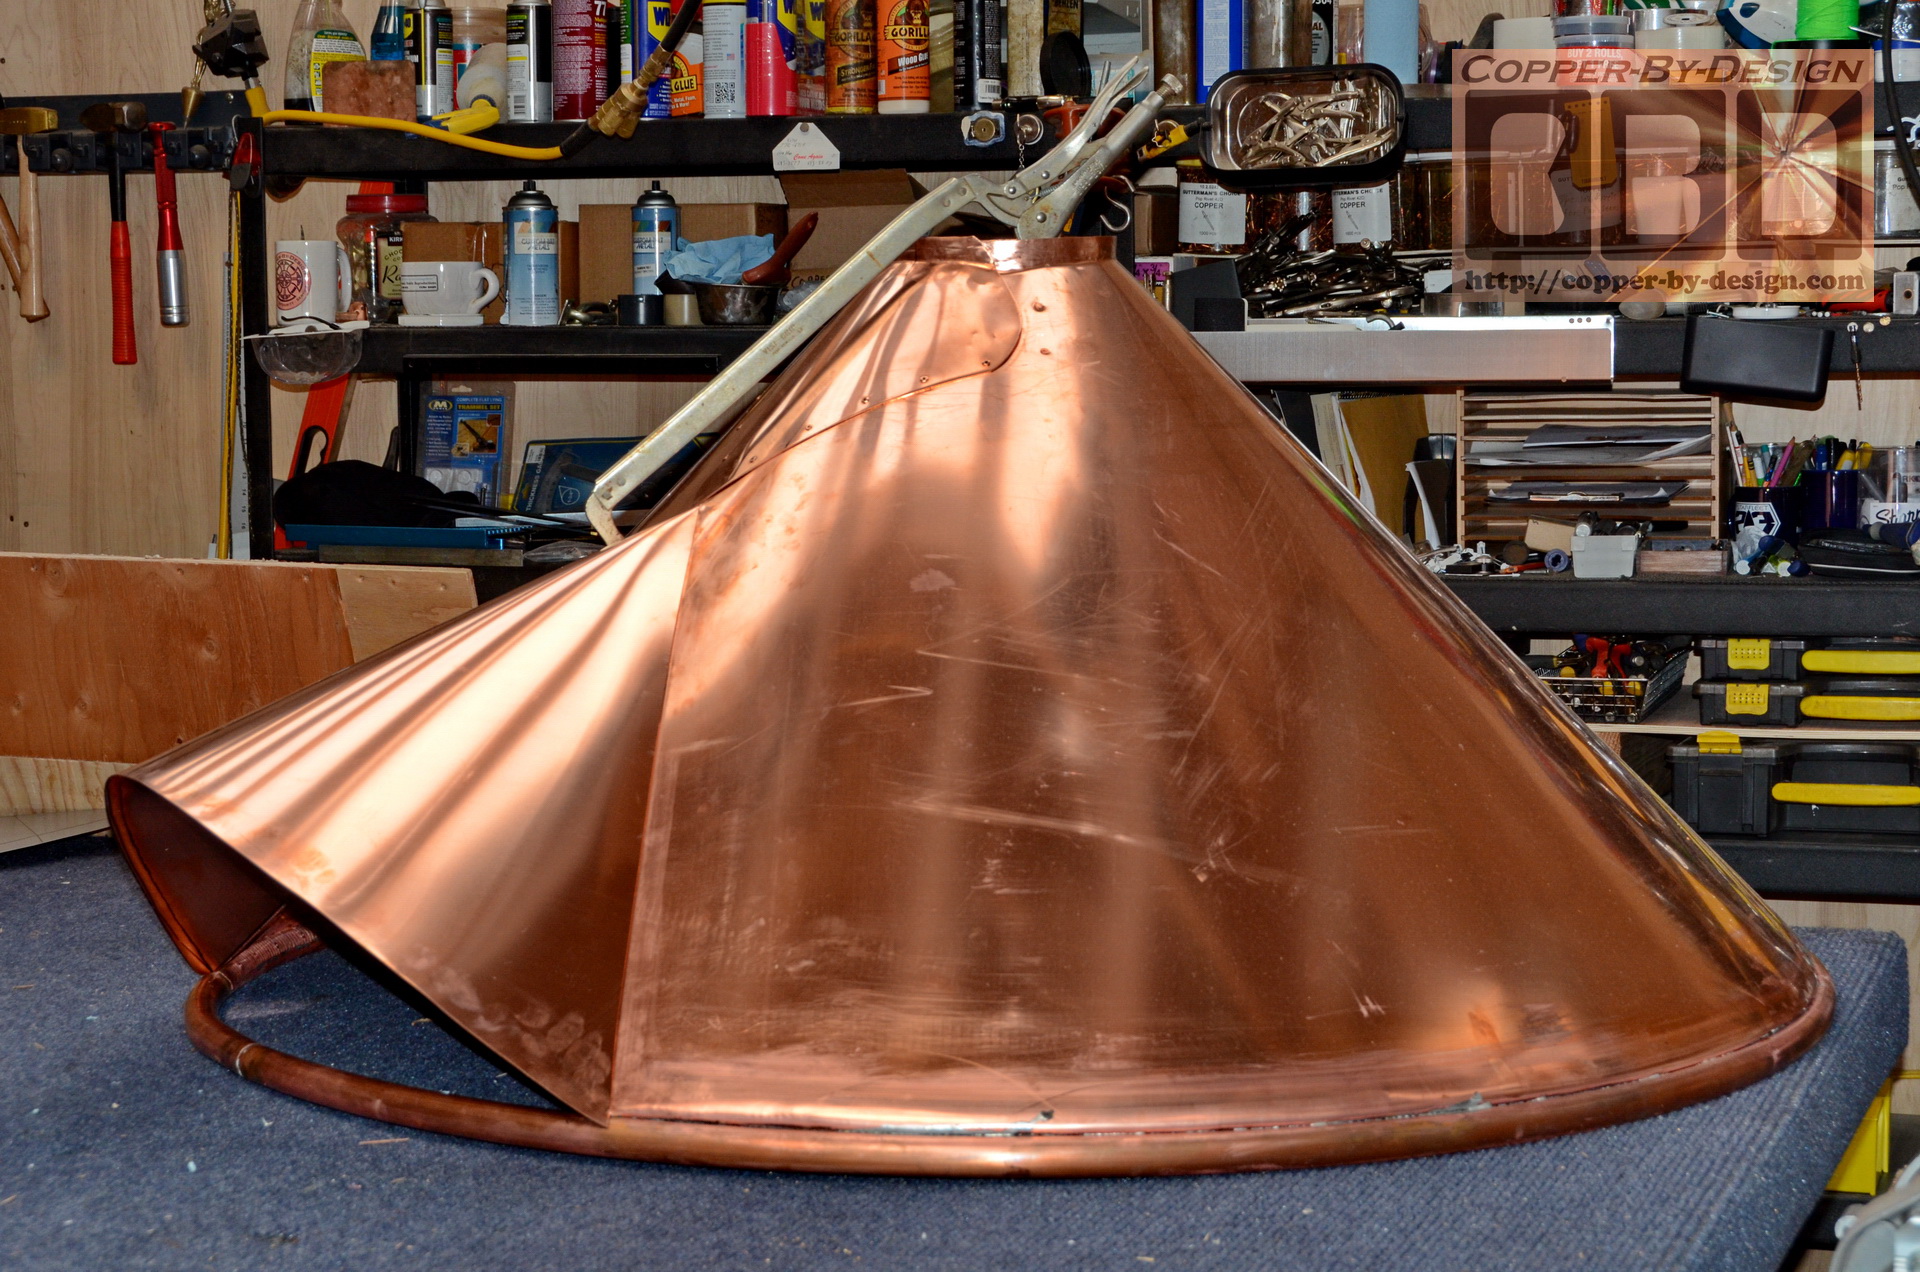
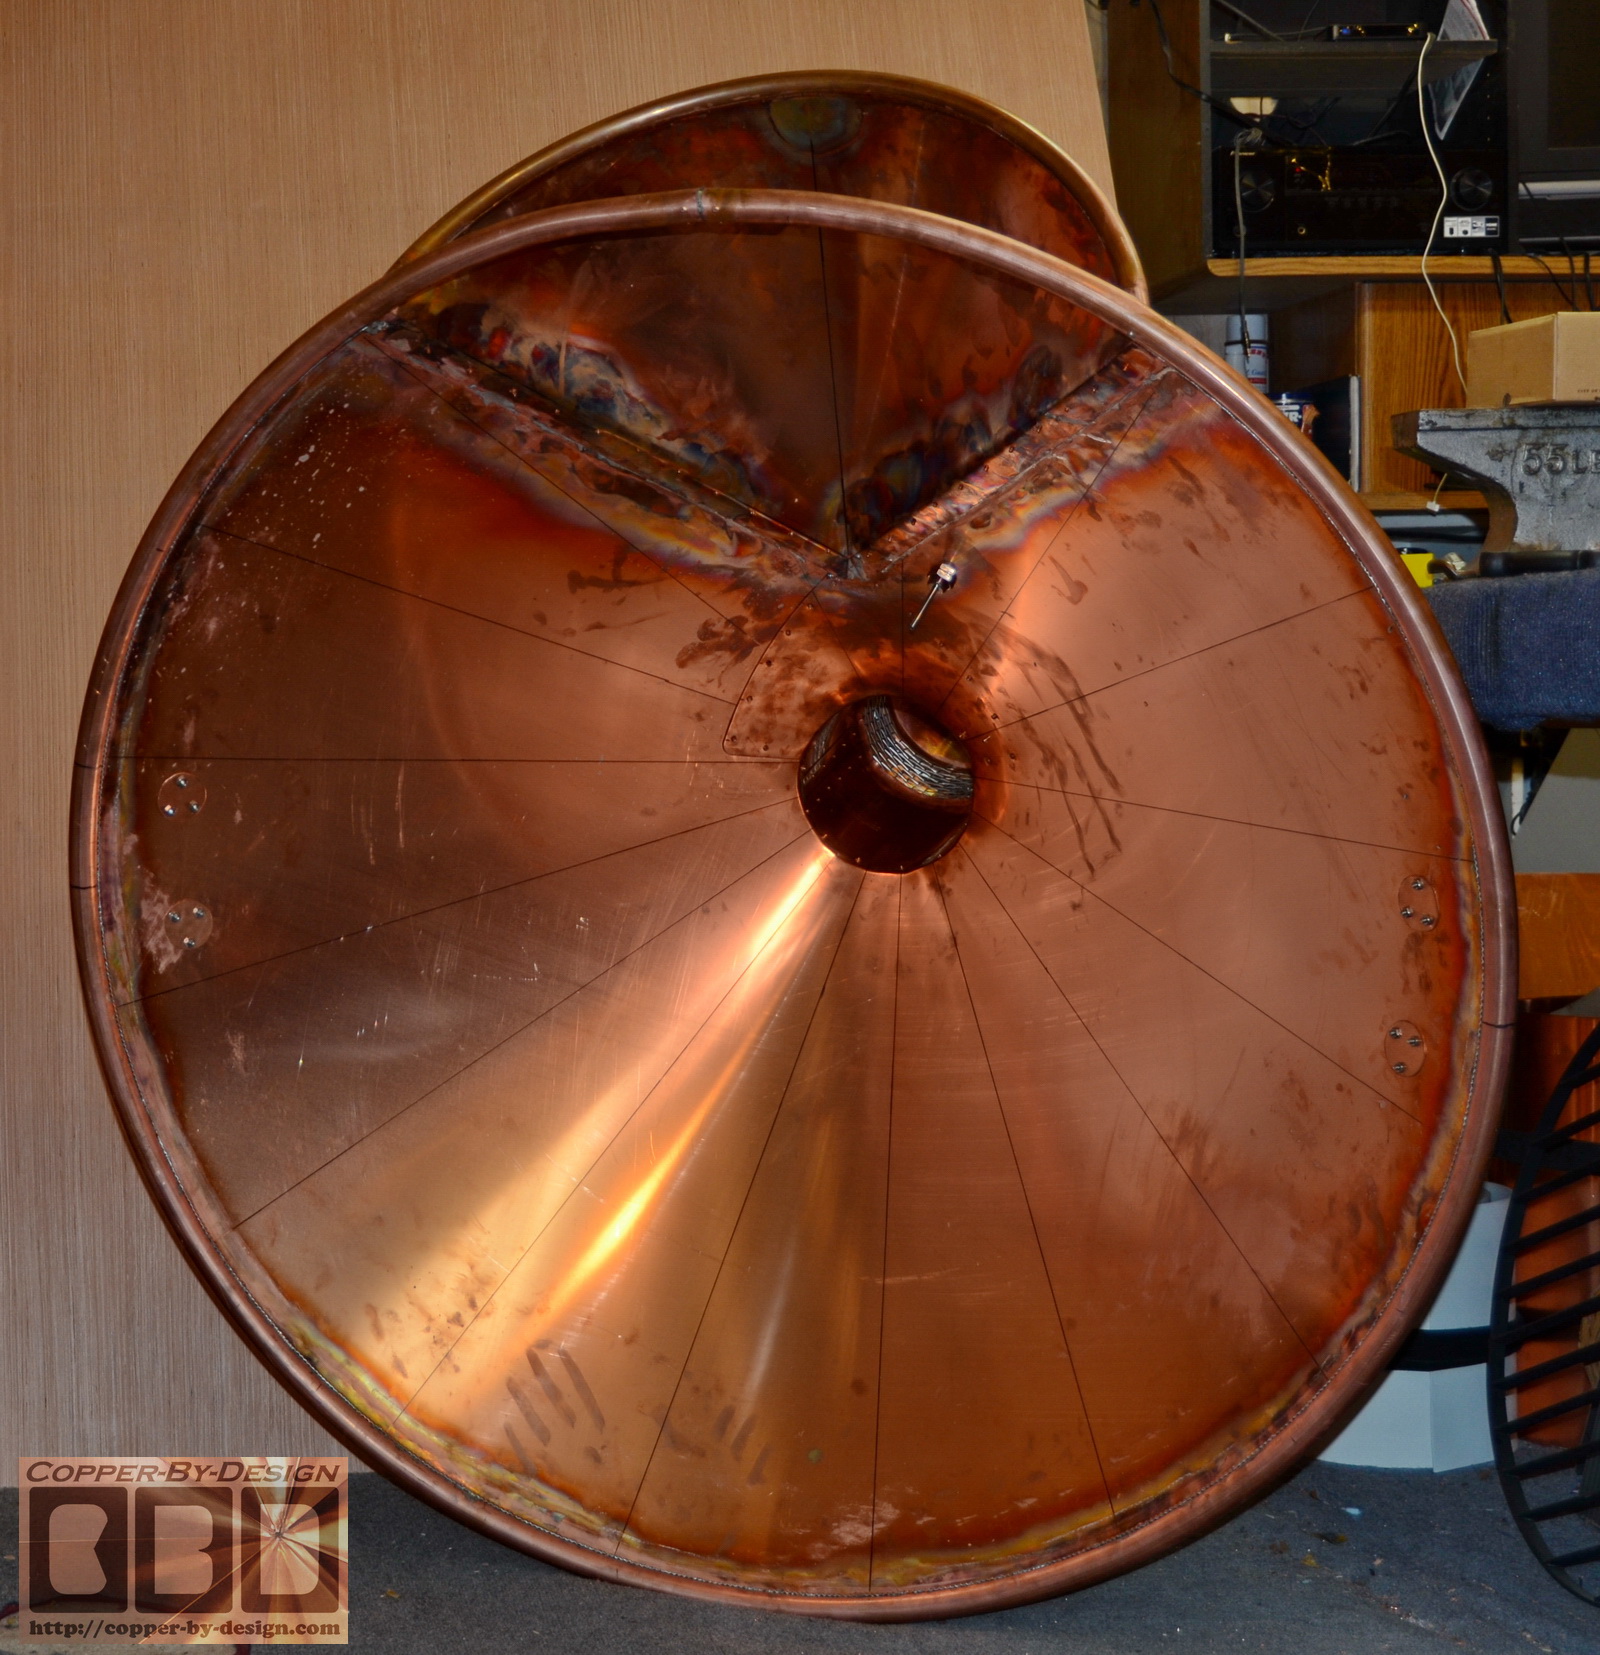
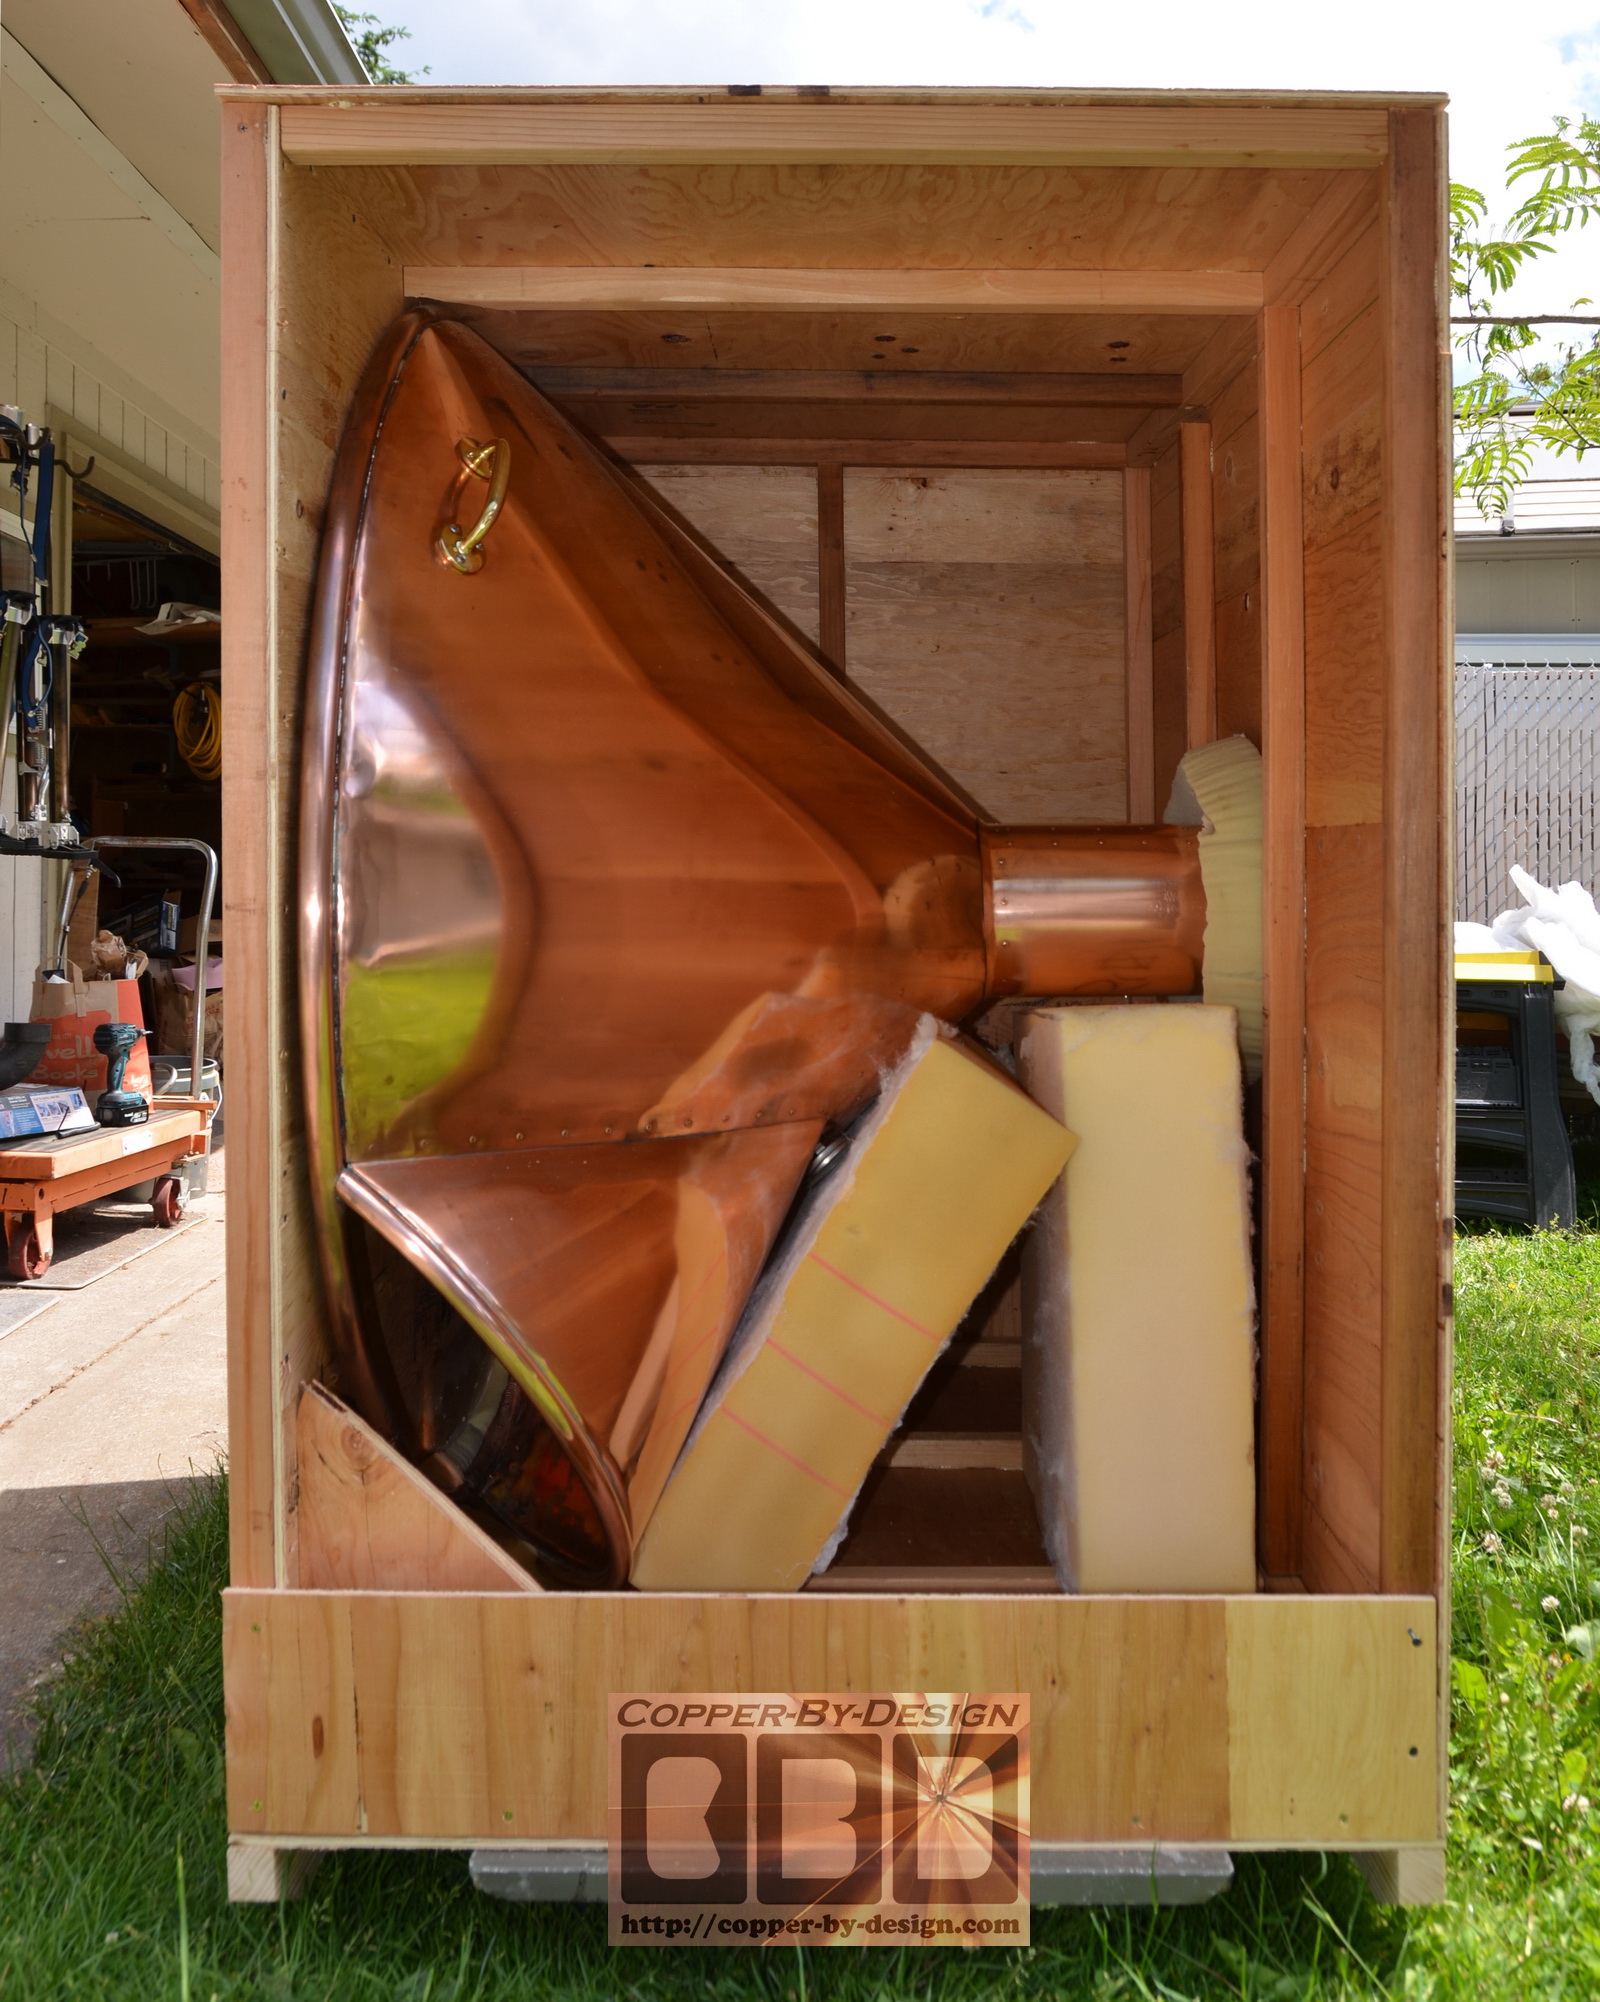
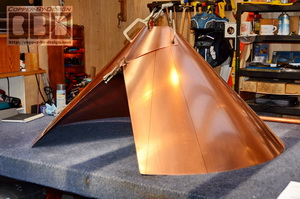
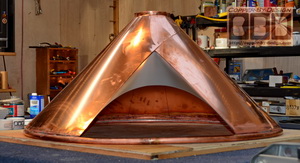
With a 4' wide sheet we were able to form most of this in 1 piece.
We designed an aluminum template for the shape divided in 16
segments. We drew
them out on the 32oz copper sheet, cut this out, and clamped it
together to form this cone shape.

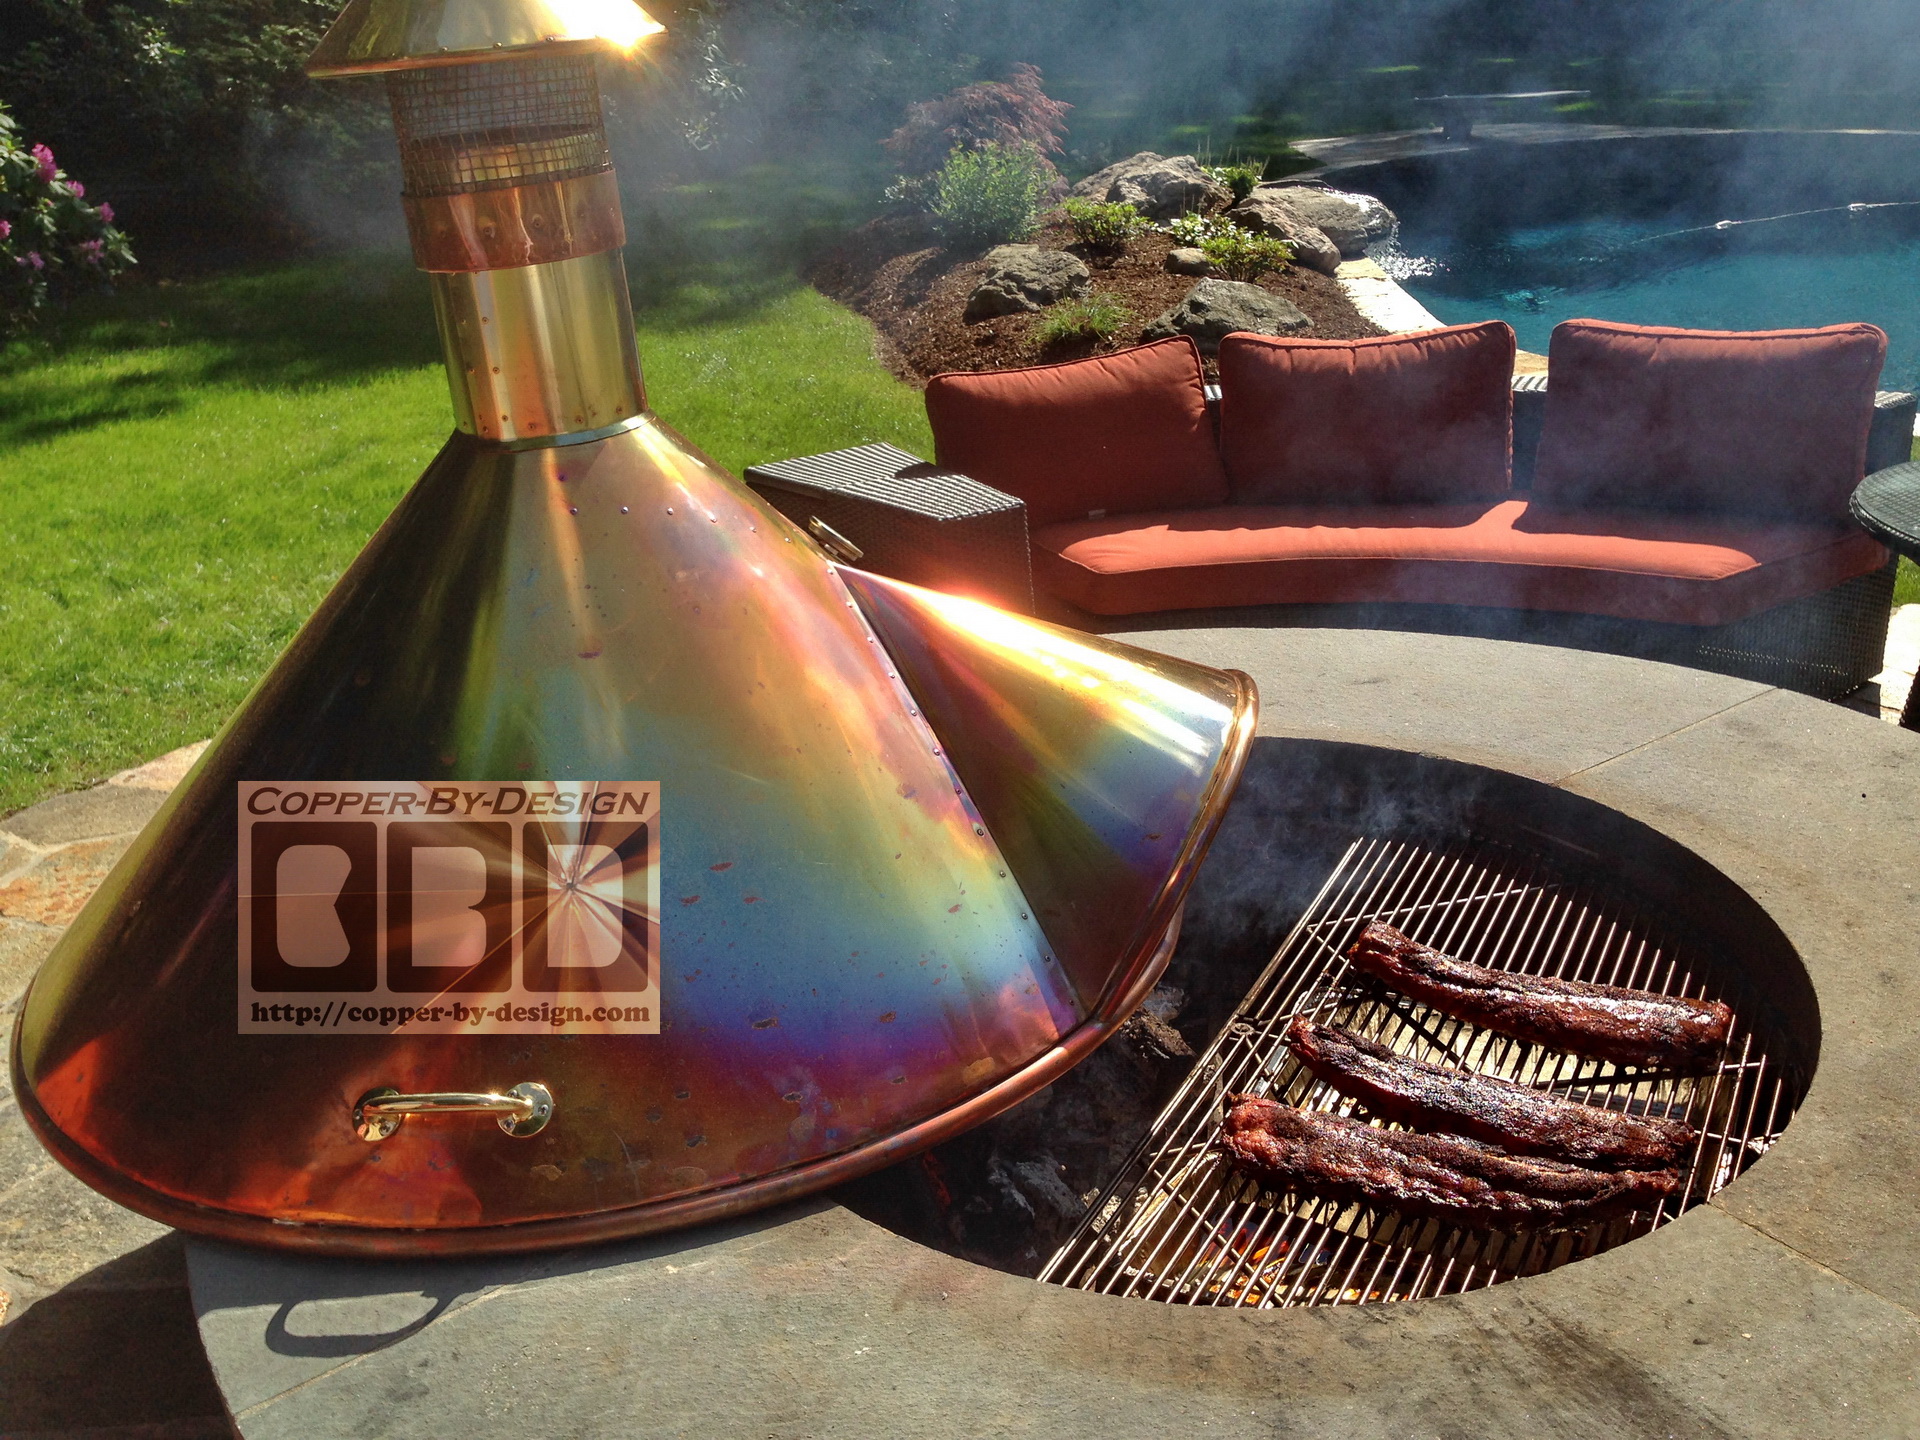
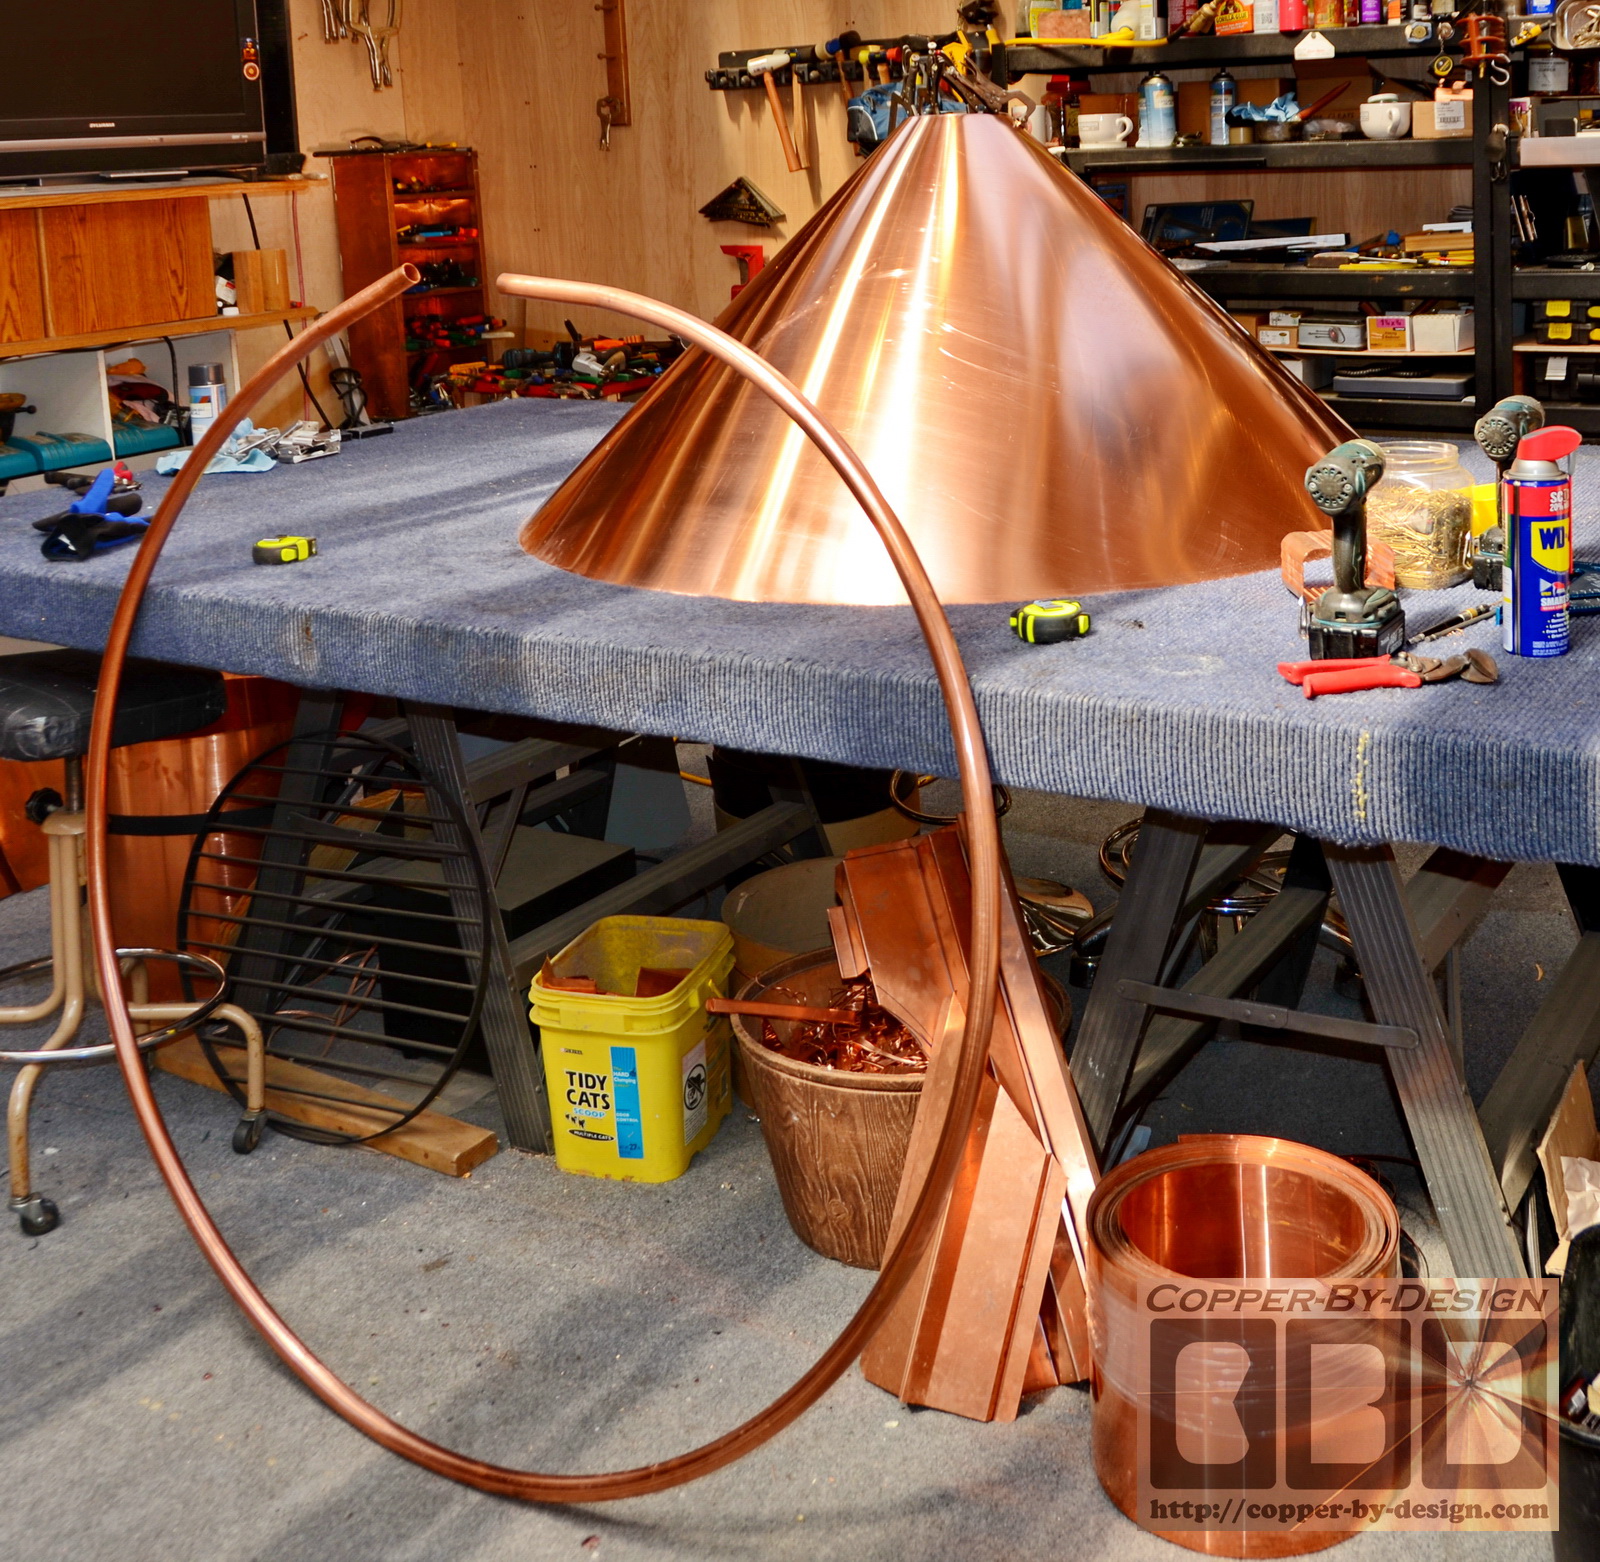
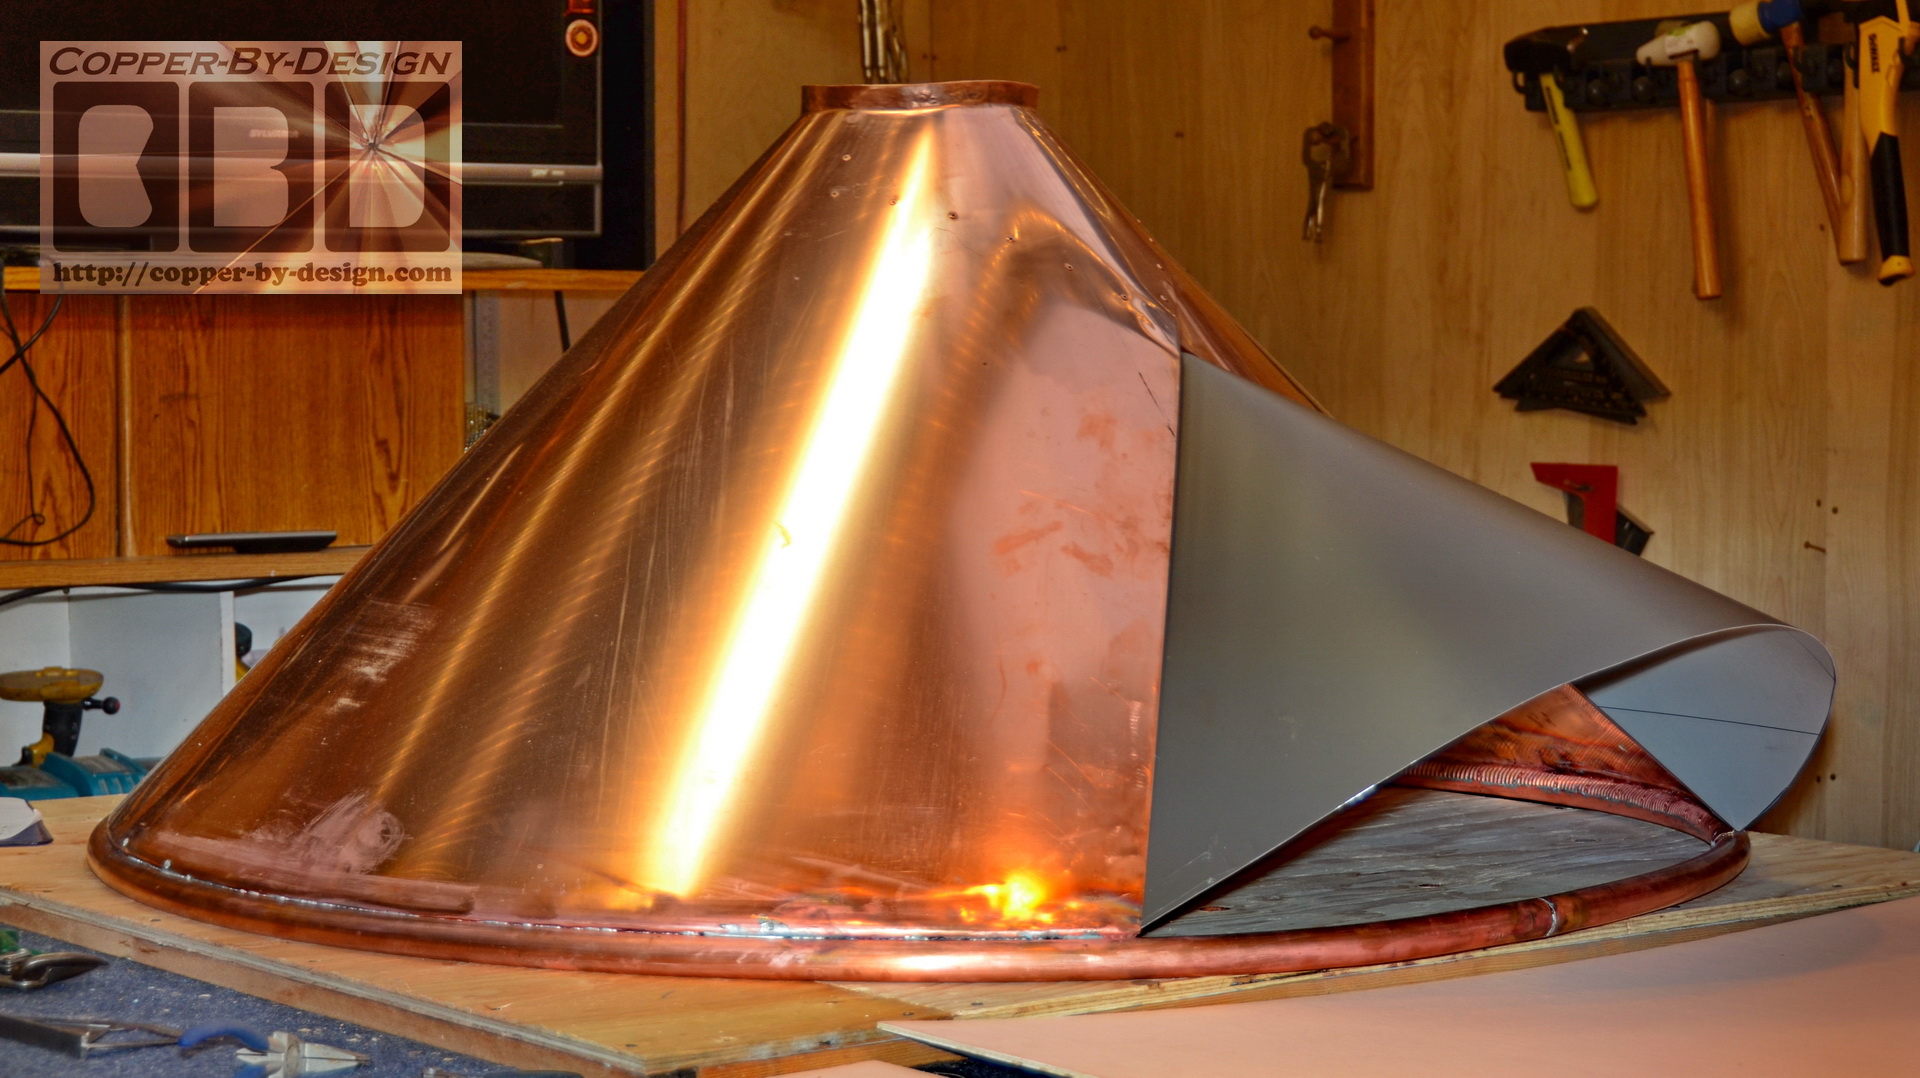
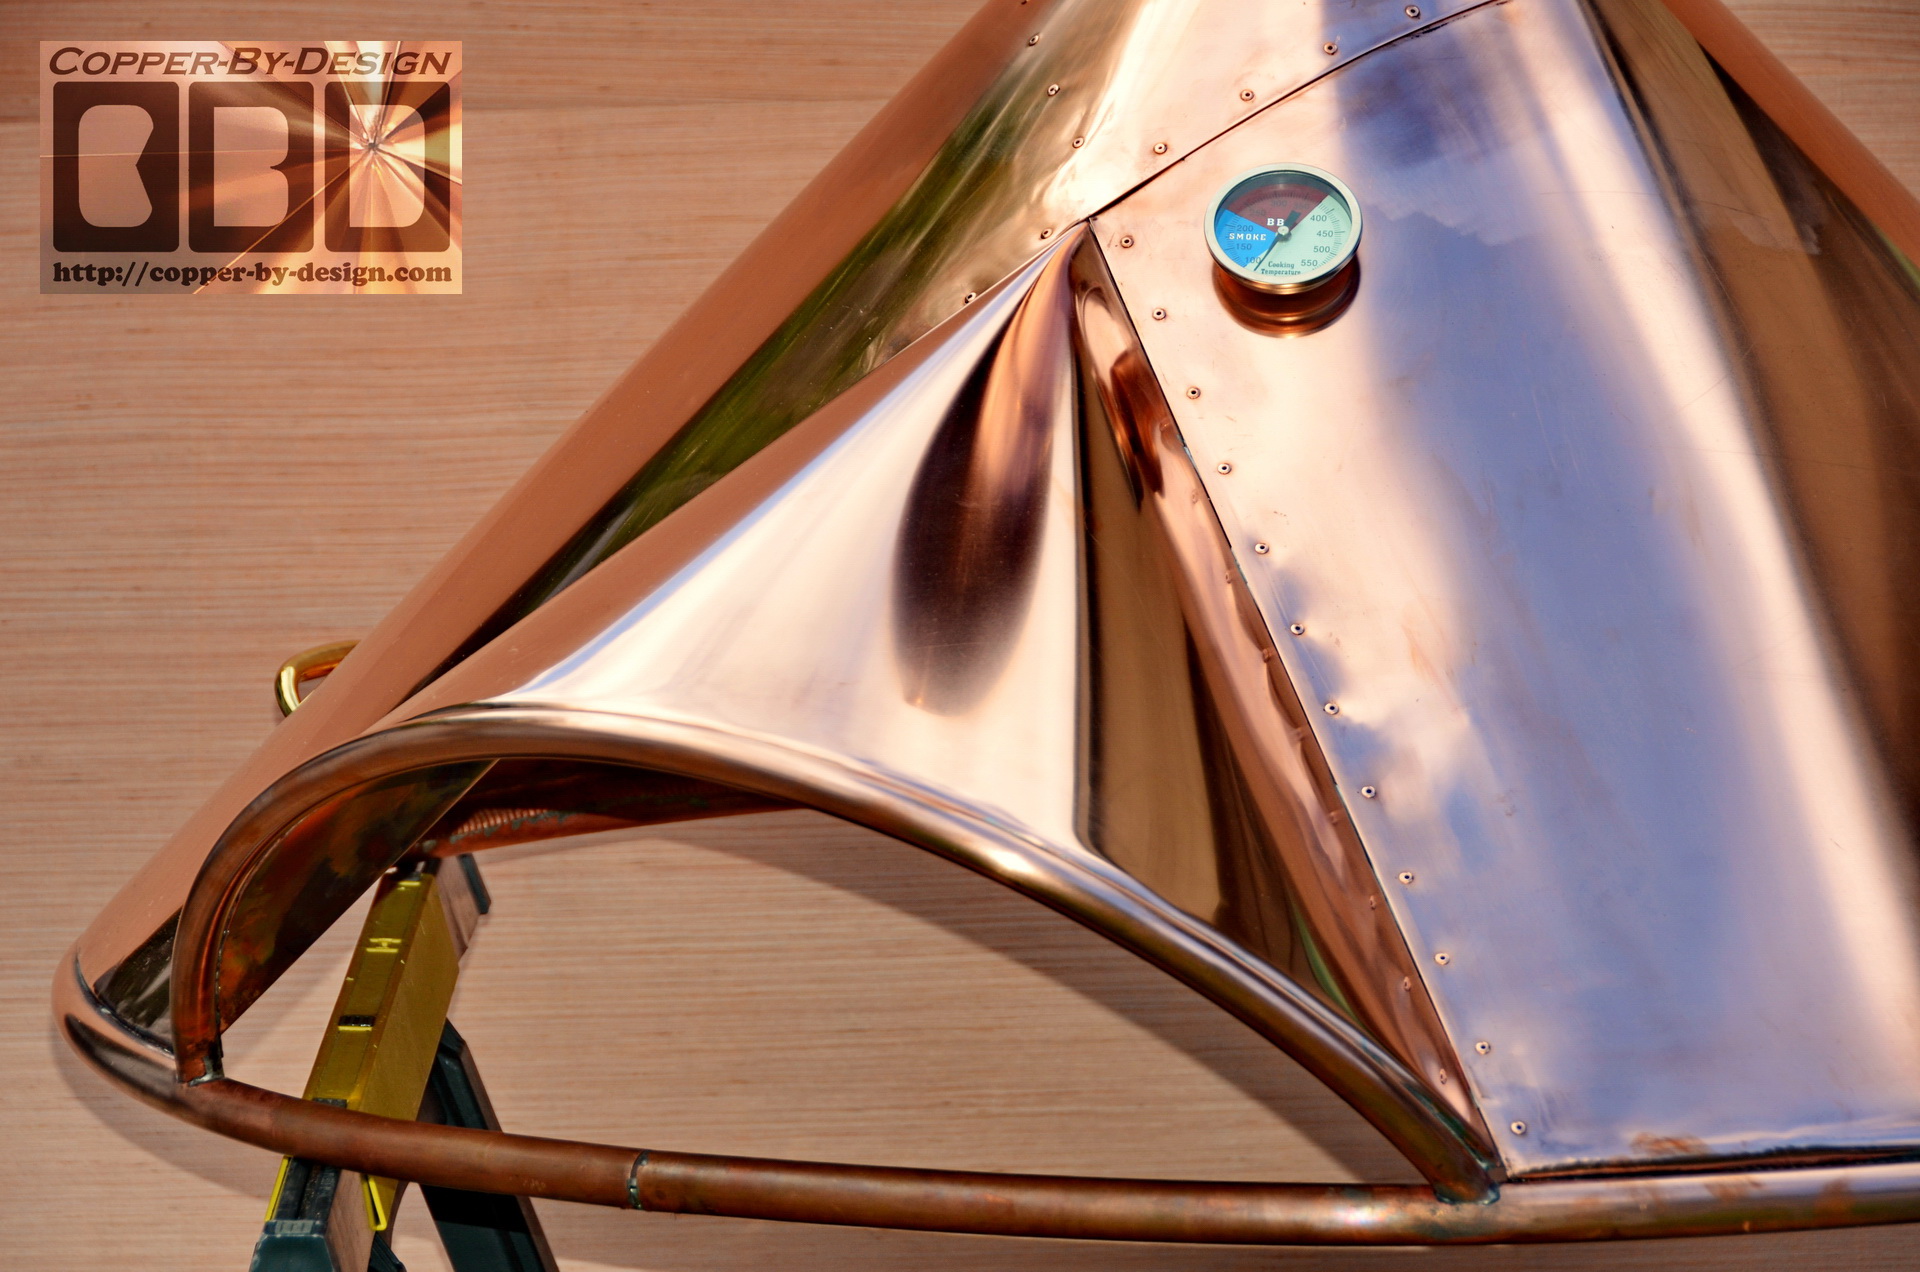
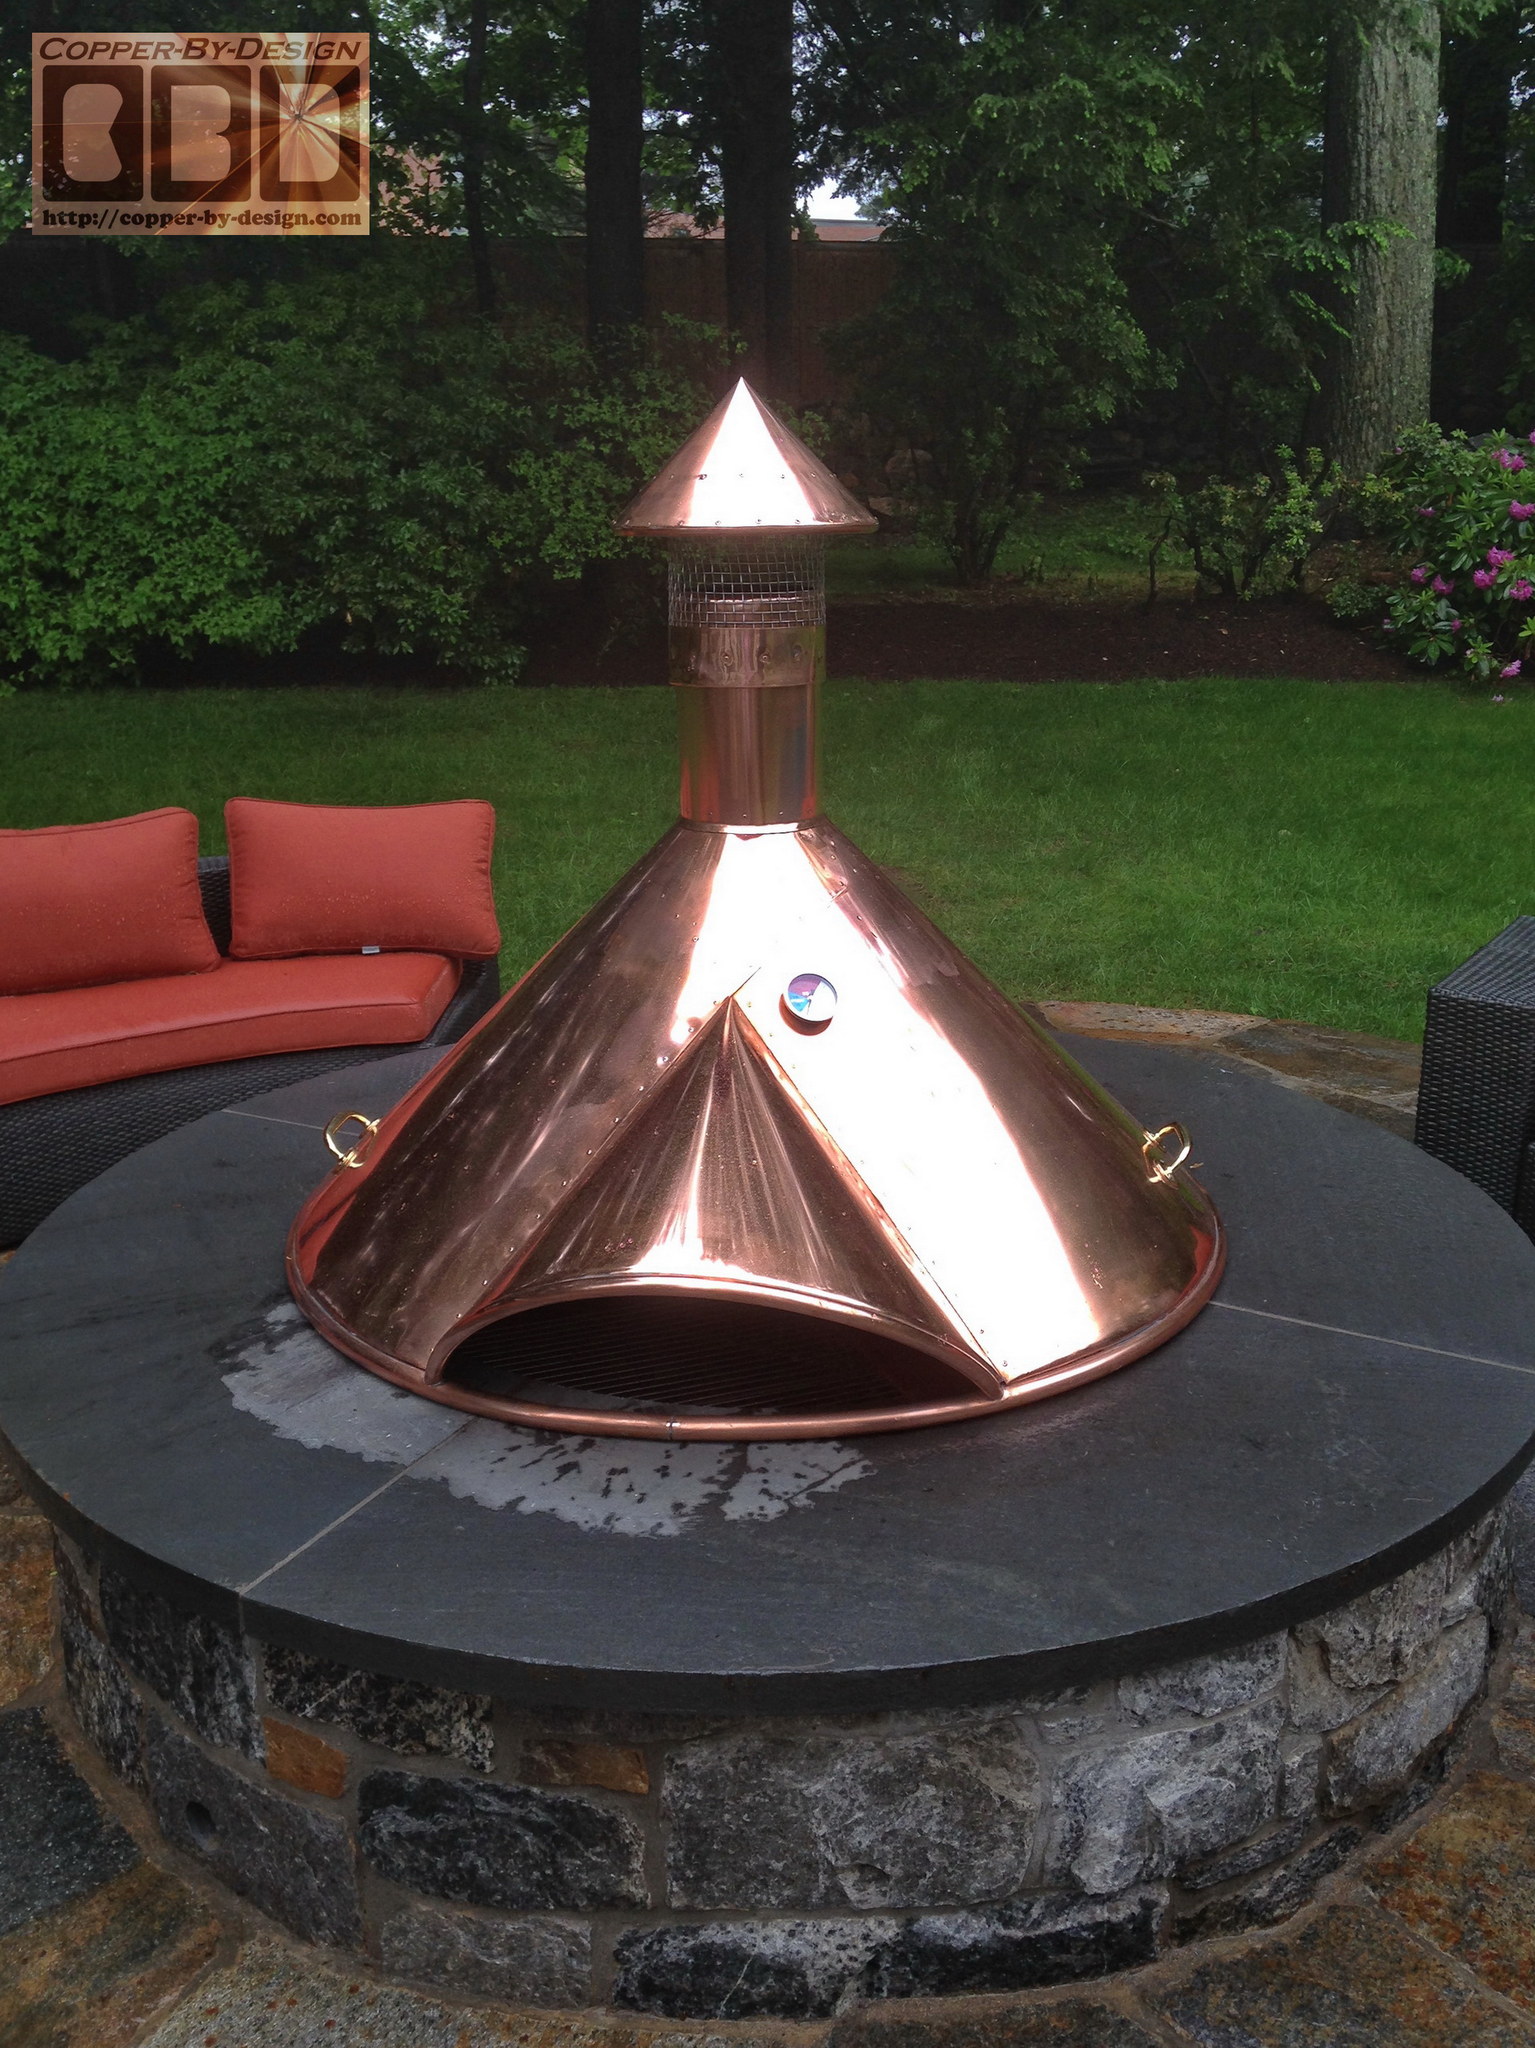
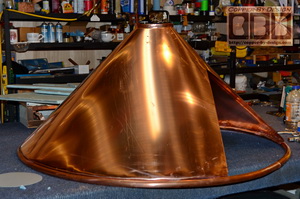
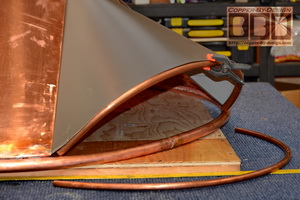
 We were able to strengthen the outer rim
with a larger 1" copper pipe bent
in a uniform circle to go under this cover. I had imagined
cutting the pipe off along the opening, but decided it would be
best structurally to leave it whole and attached end to end. The
bottom edge needed to be bent inward for this pipe attachment
that hides the fasteners. This edge then needs to be tediously
run through the shrinker to work it inwards.
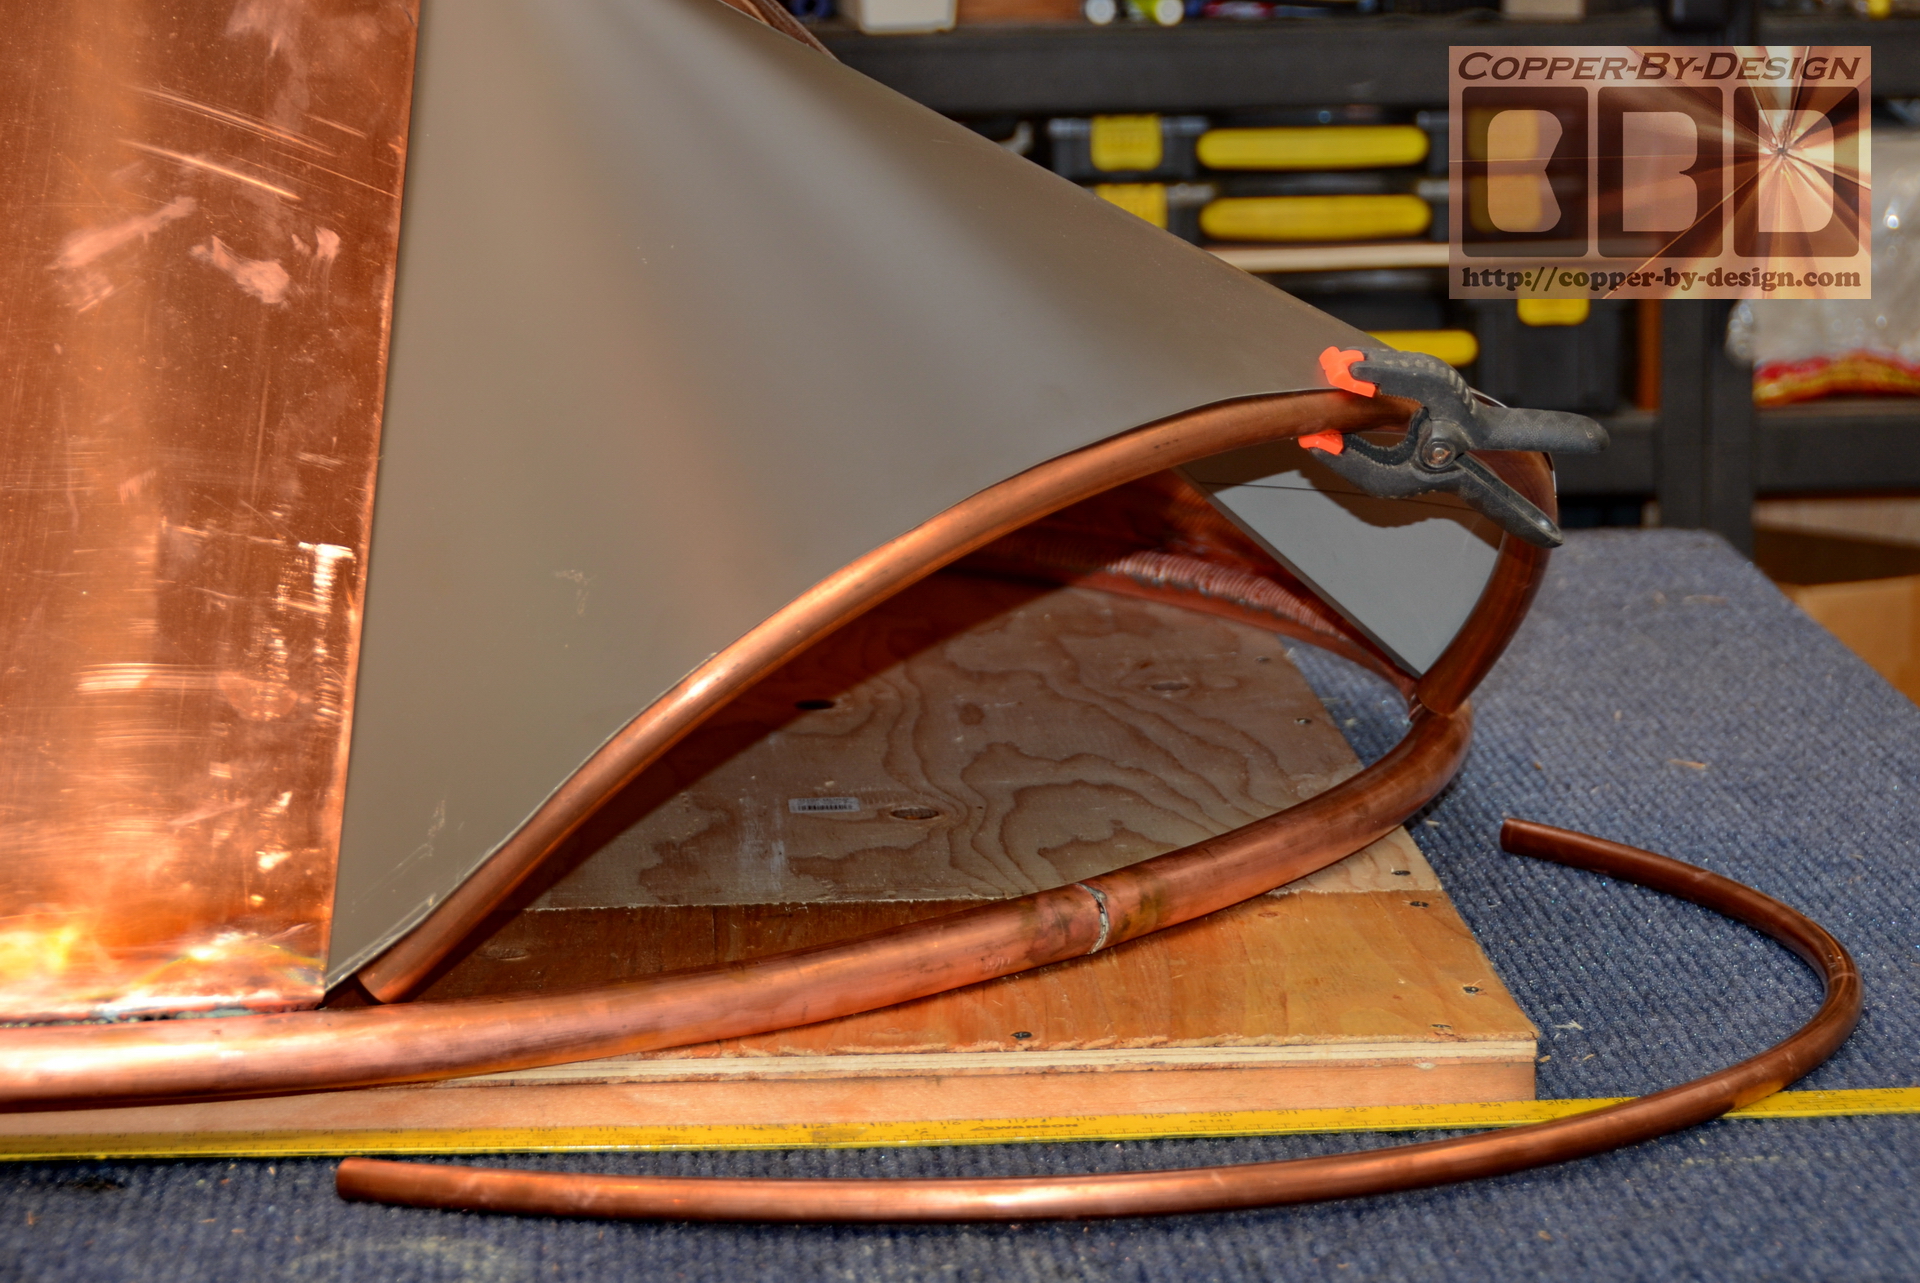
We were able to strengthen the outer rim
with a larger 1" copper pipe bent
in a uniform circle to go under this cover. I had imagined
cutting the pipe off along the opening, but decided it would be
best structurally to leave it whole and attached end to end. The
bottom edge needed to be bent inward for this pipe attachment
that hides the fasteners. This edge then needs to be tediously
run through the shrinker to work it inwards.
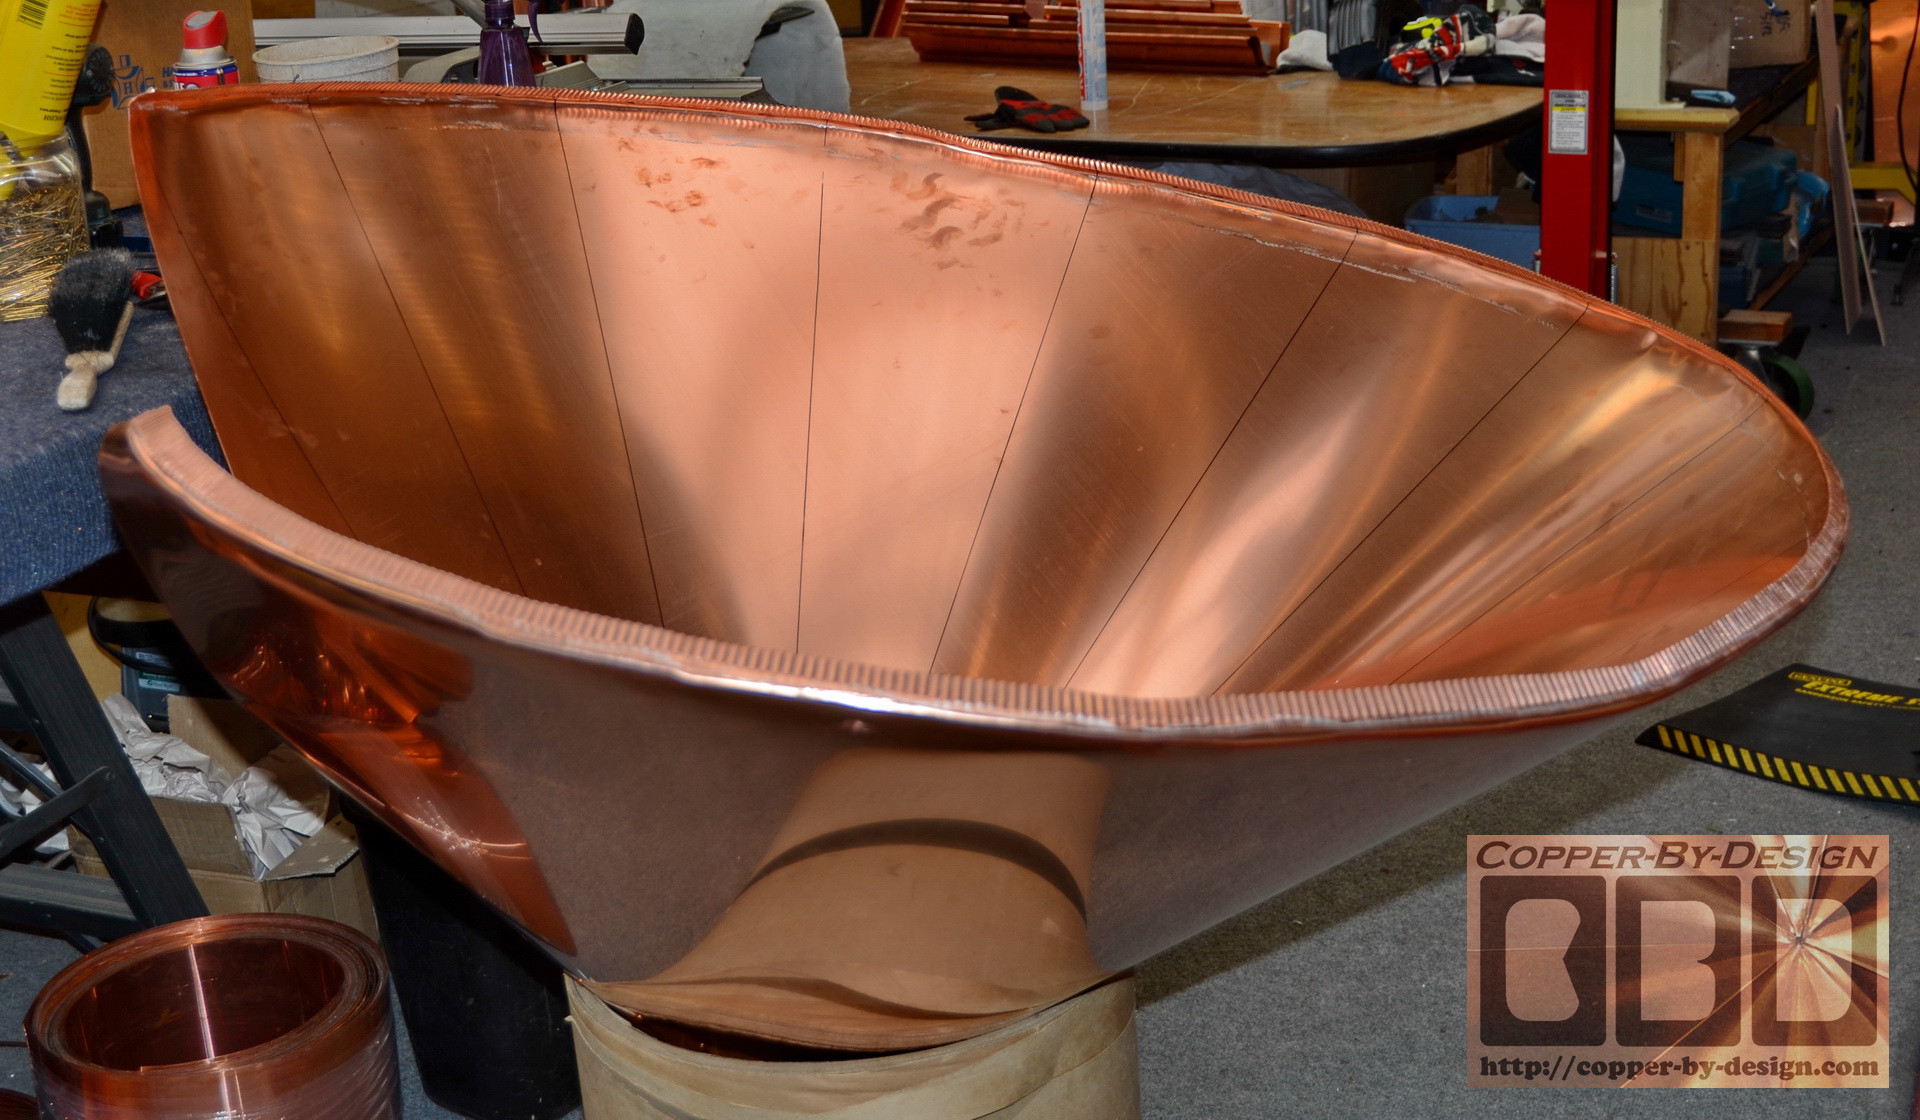
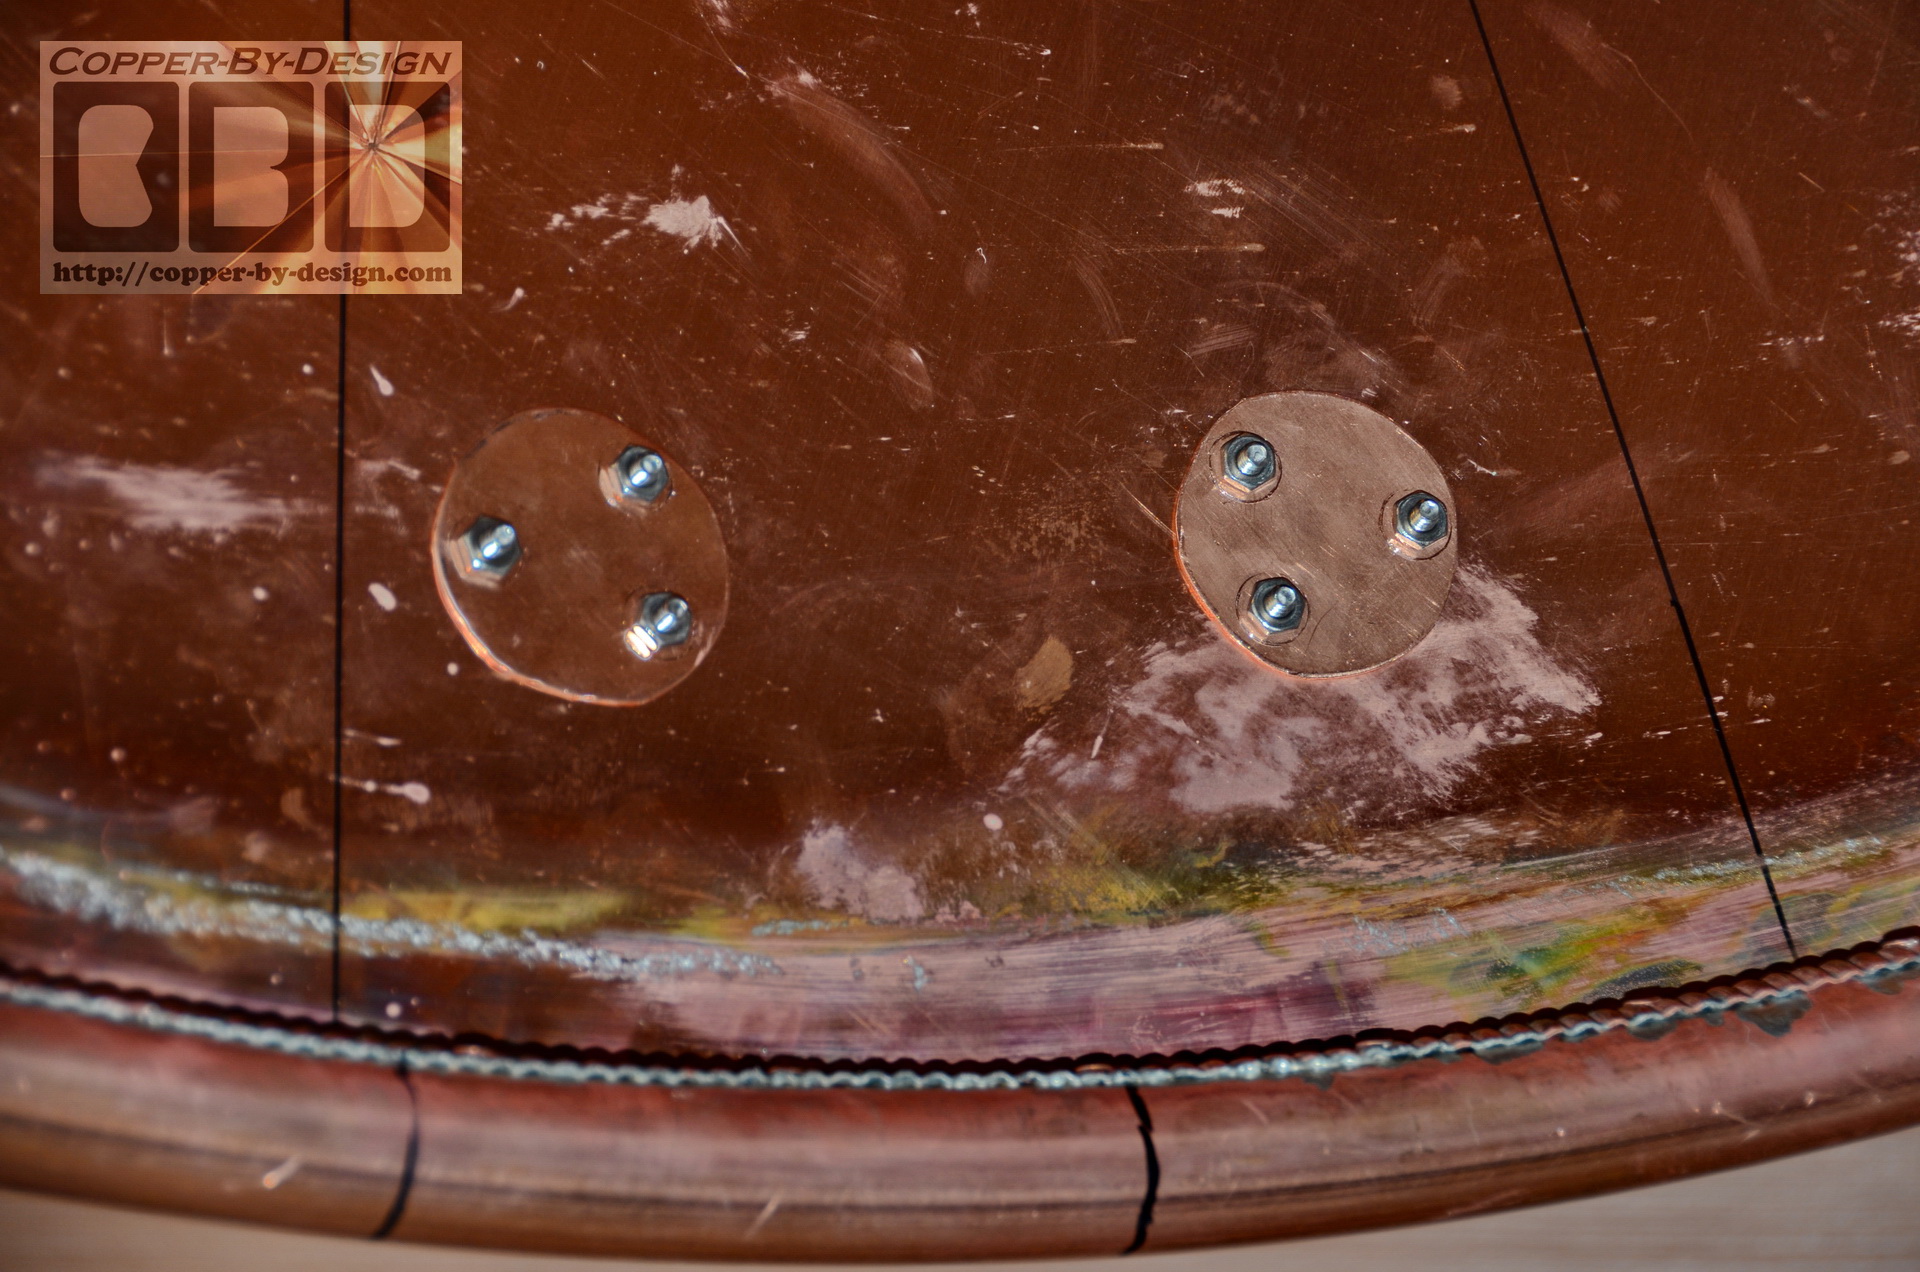
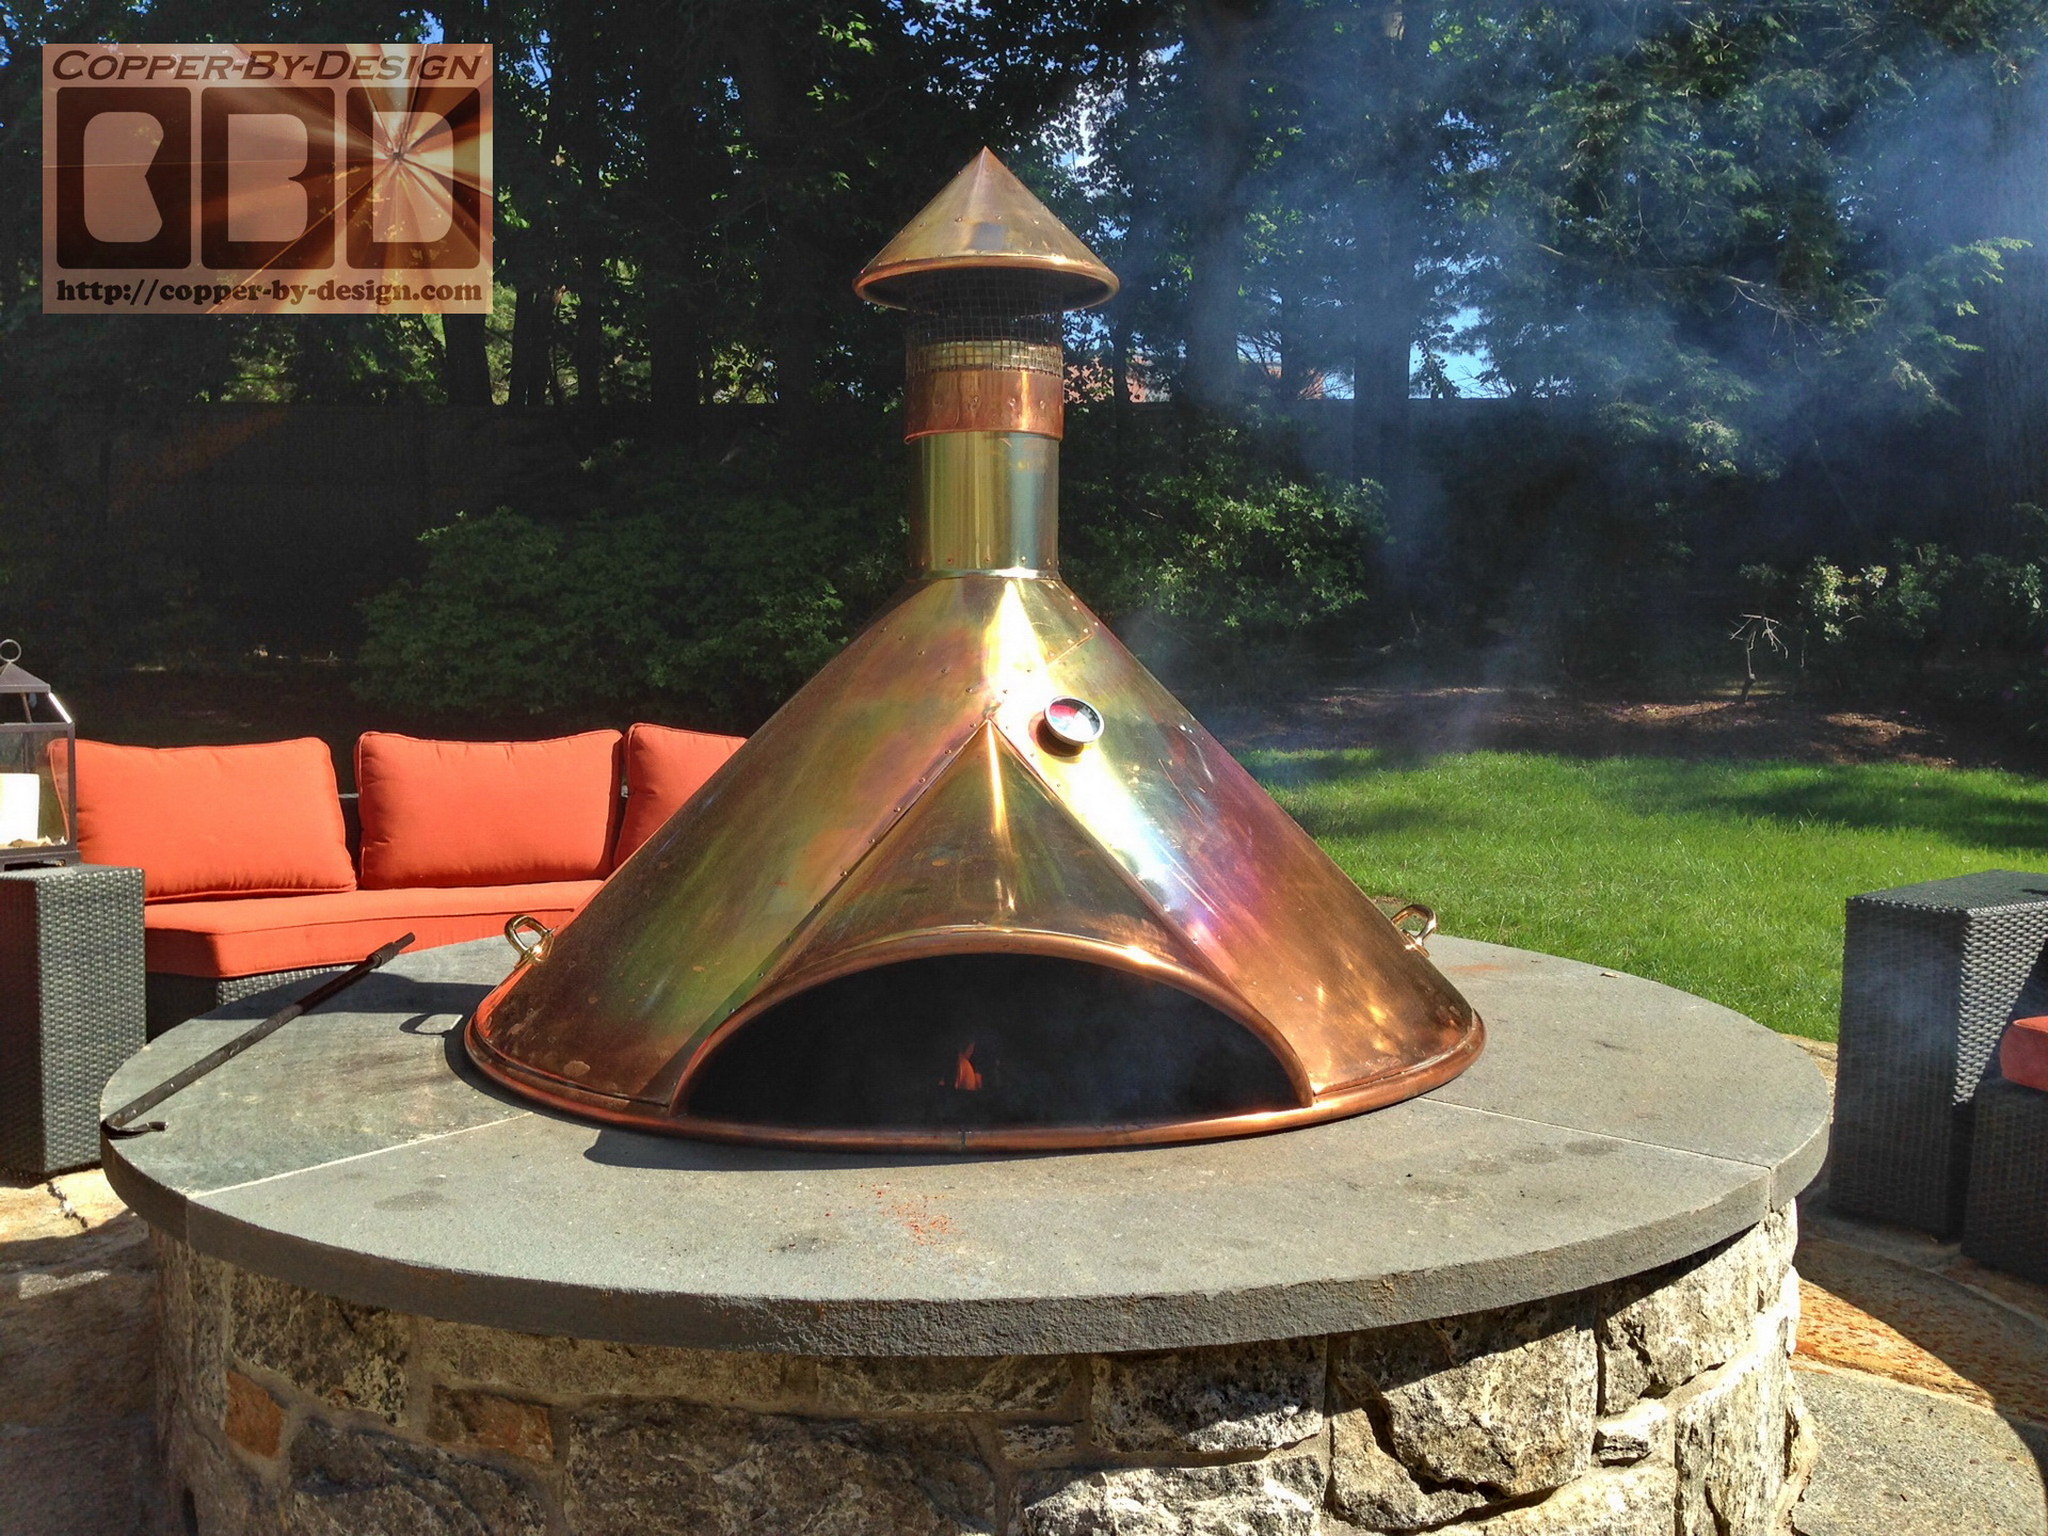
The shrinker was not able to reduce it enough, so we had to run
a crimper along this edge. Chris got his glove caught in the
motorized tool while testing it on some scrap metal and hurt his
hand. I managed to get it done the next day, but it took a
stronger drill than I had imagined to crimp this thick copper
sheet metal.


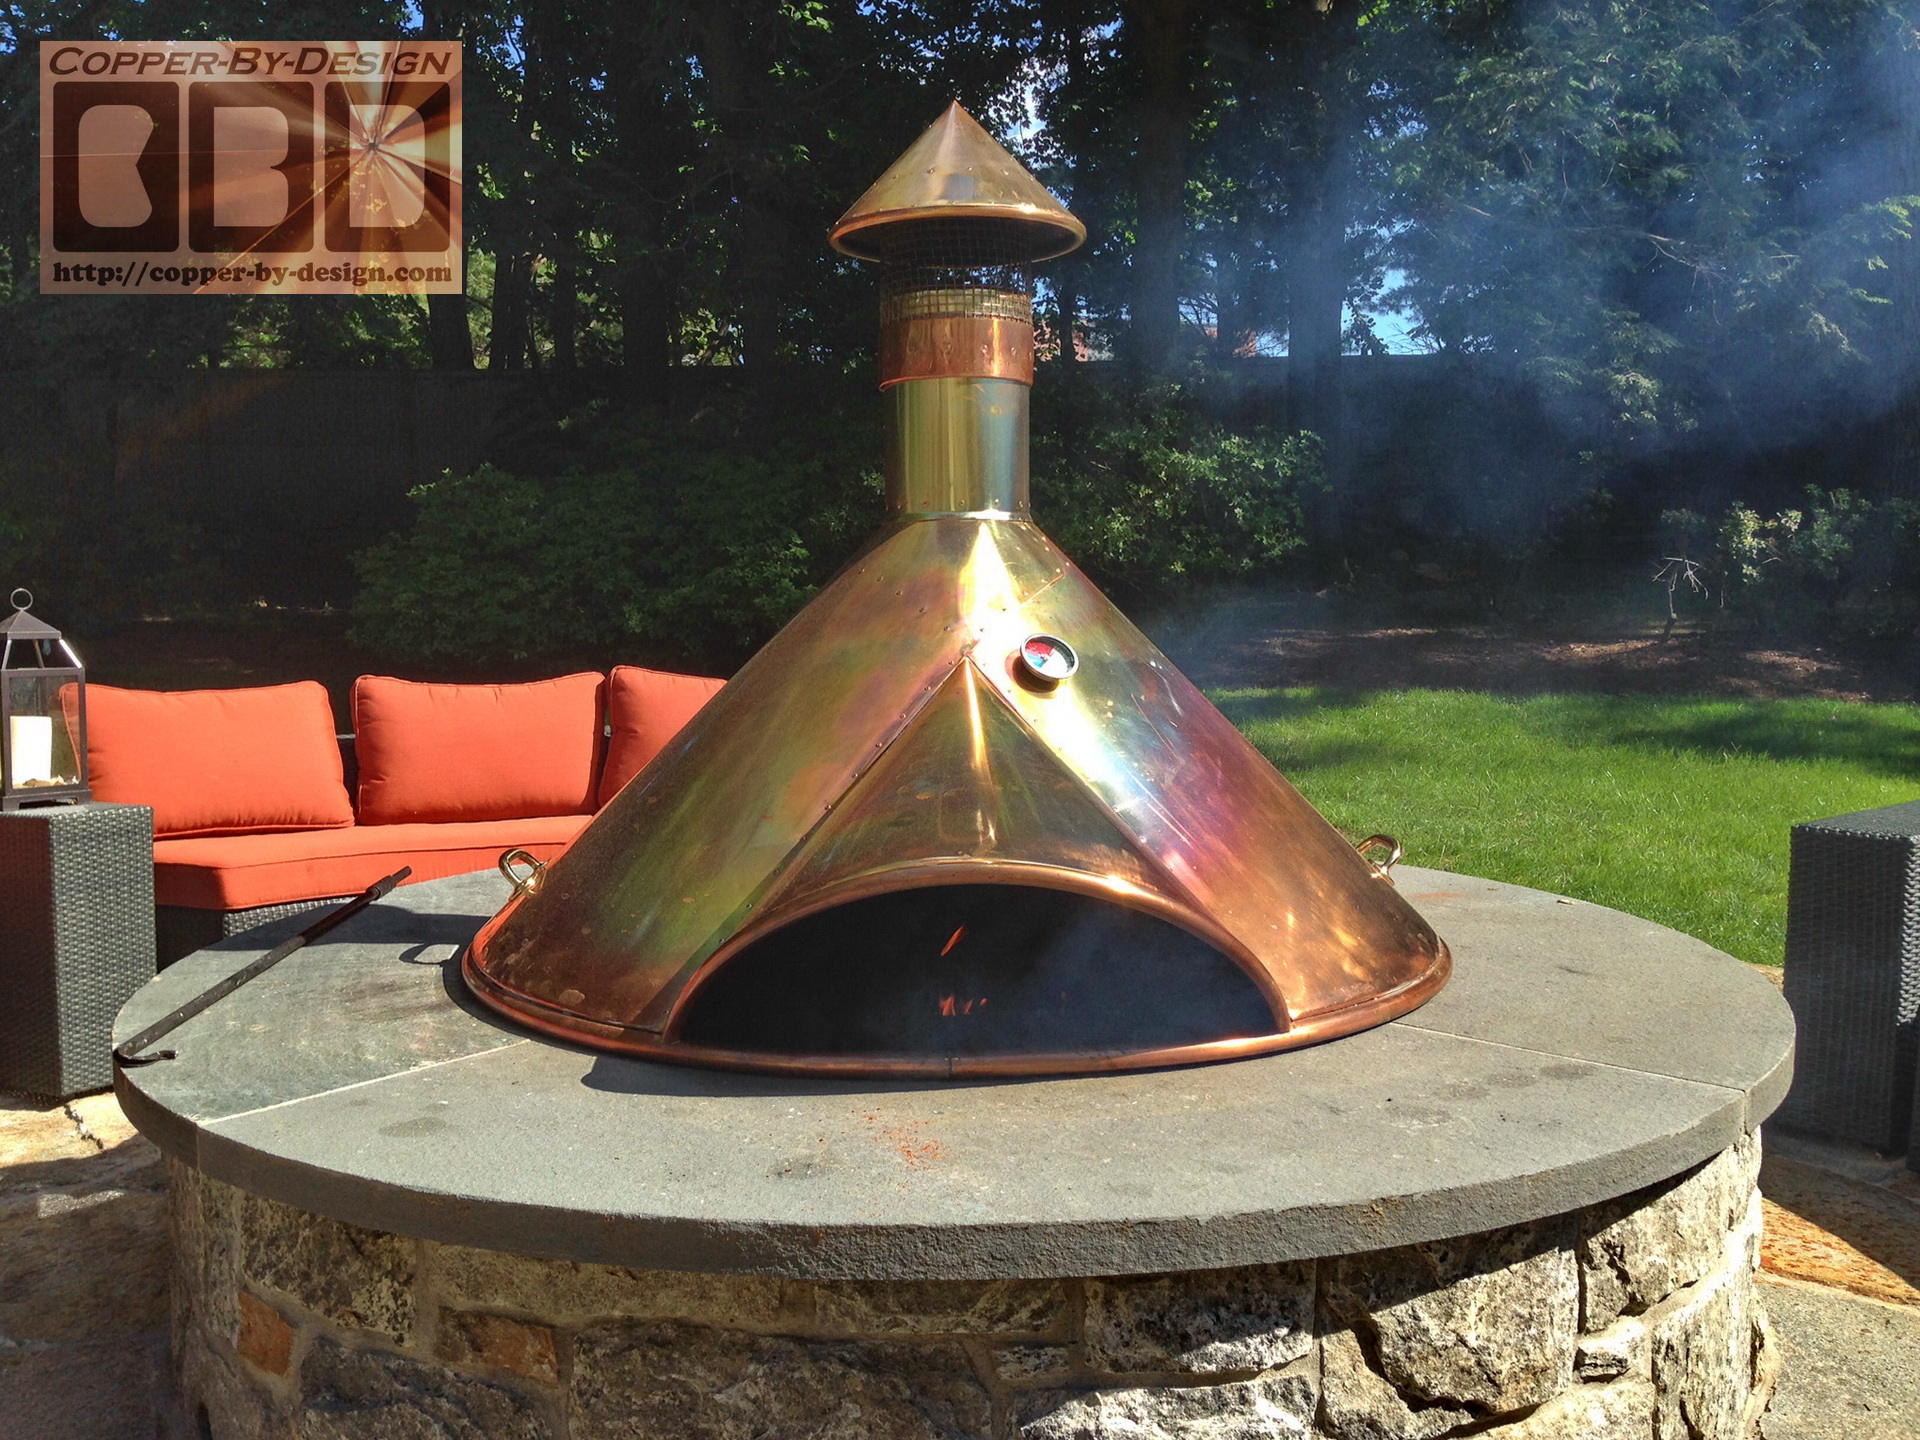
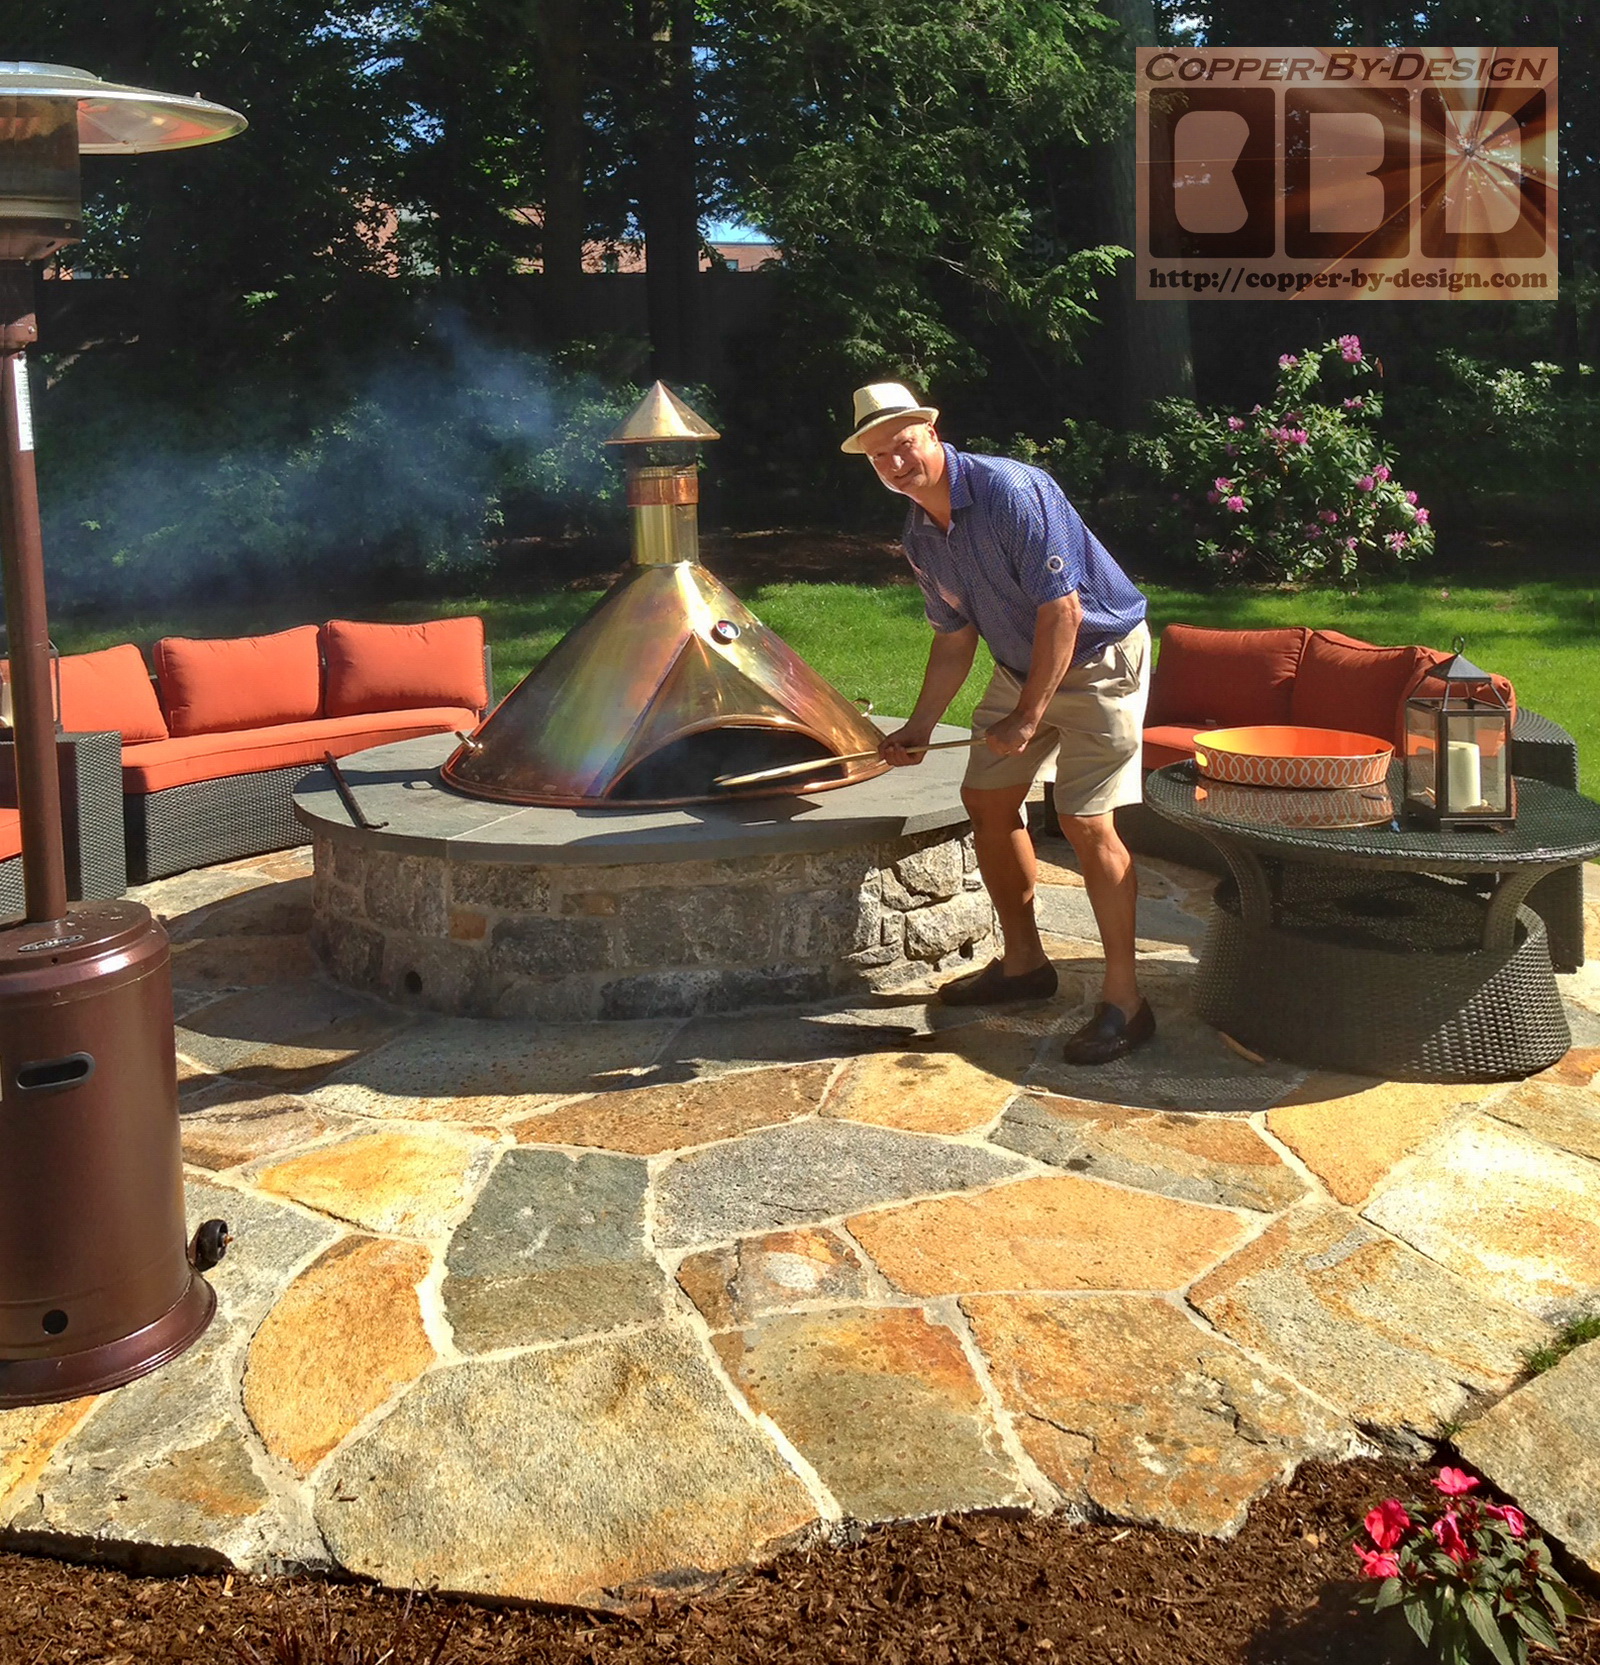
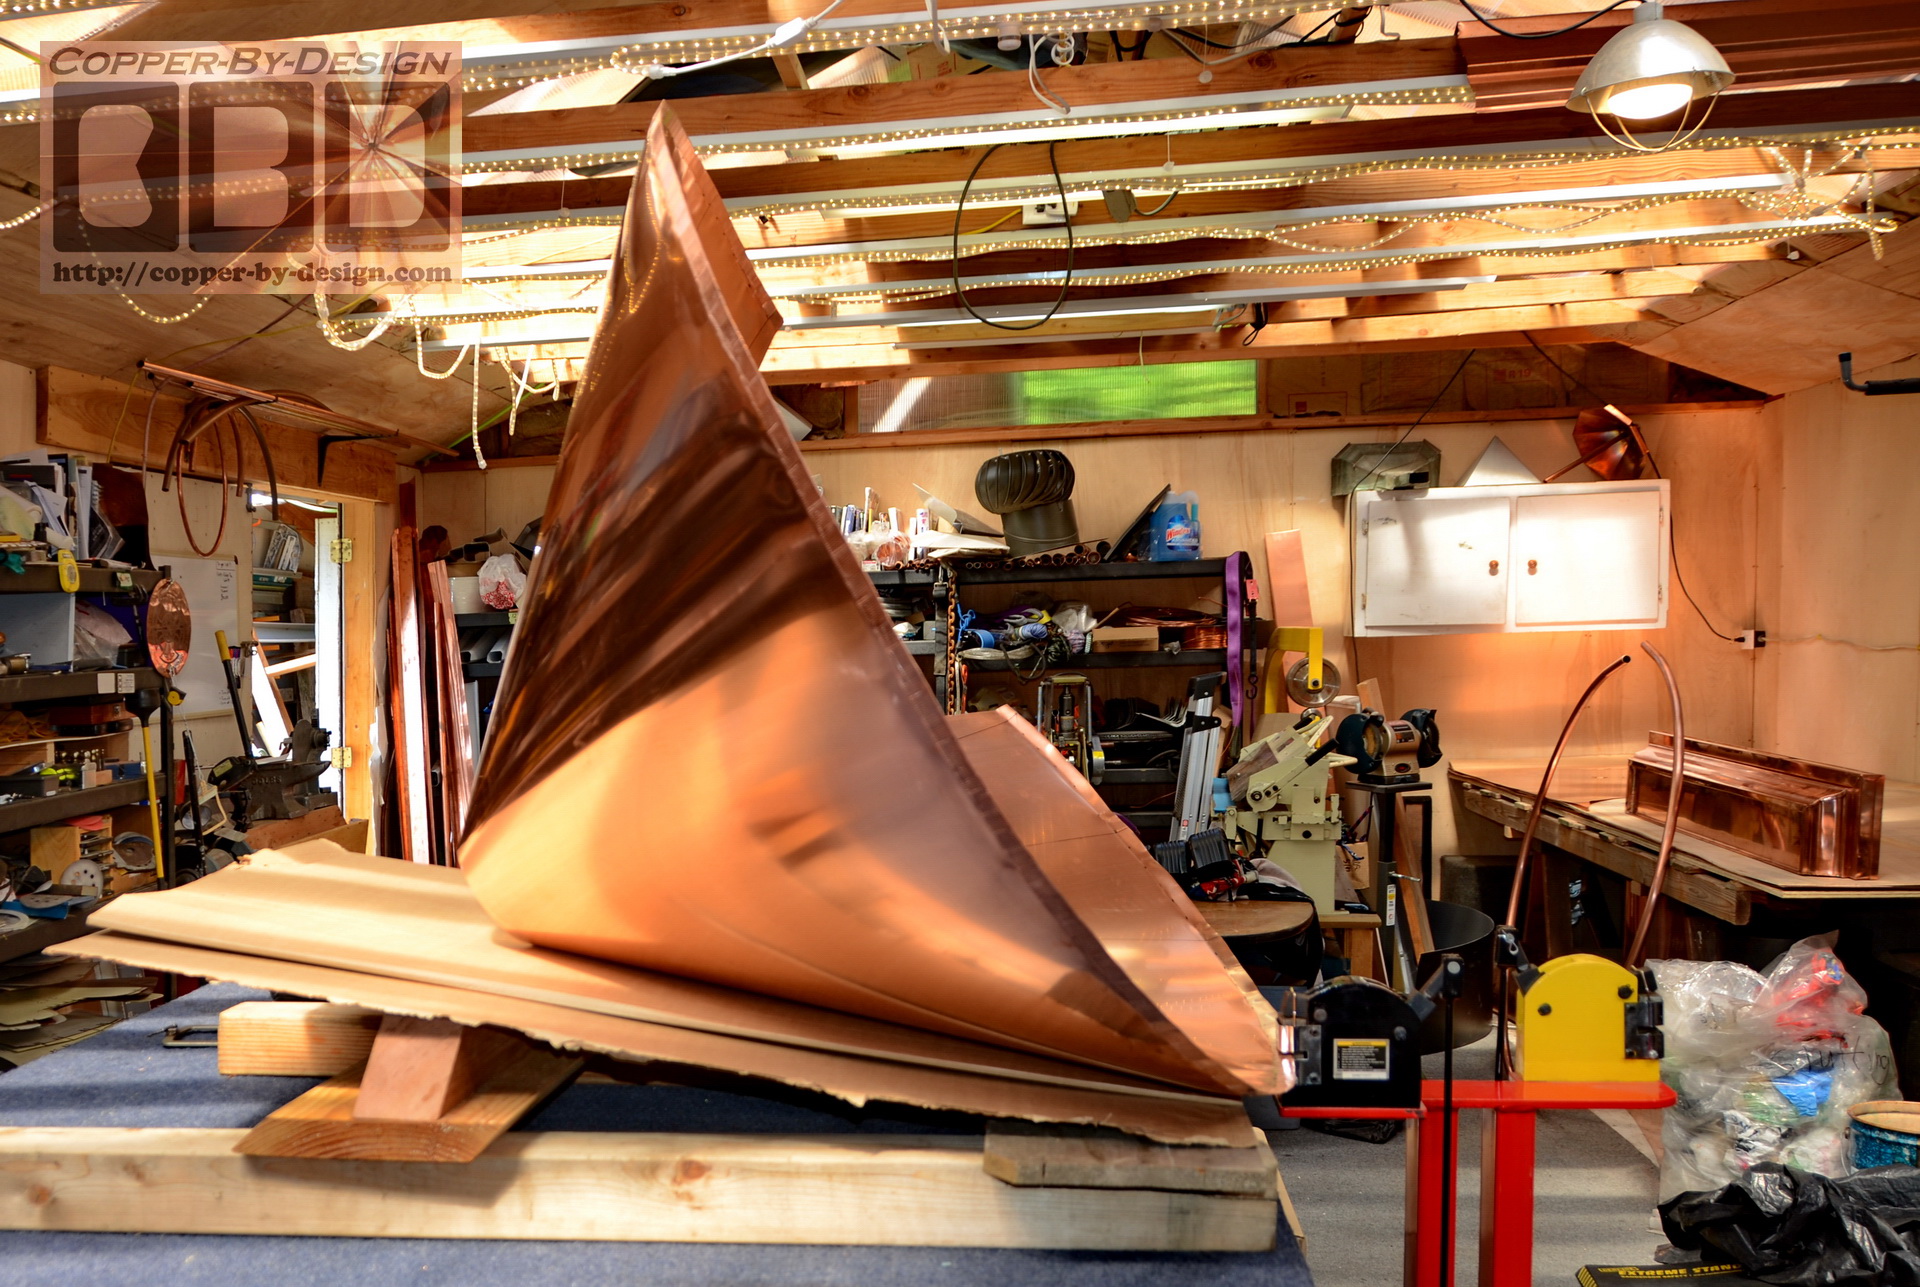
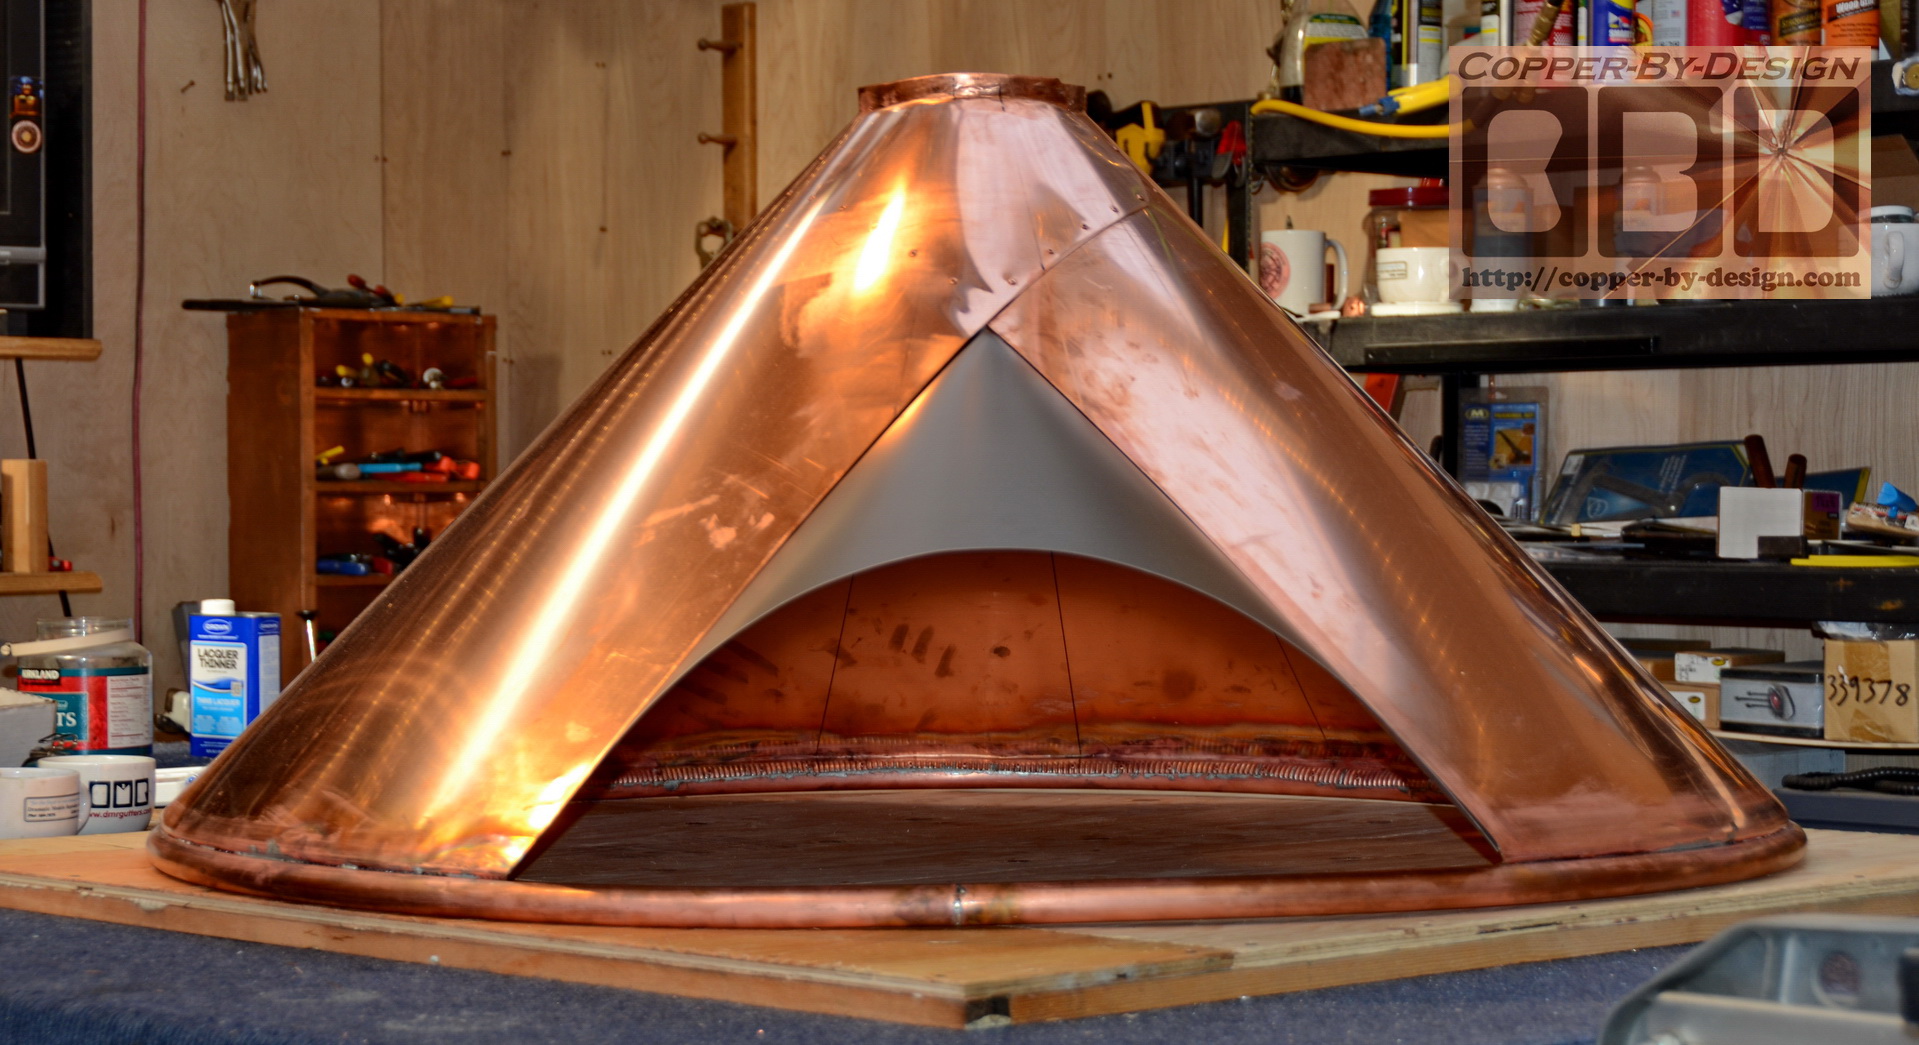
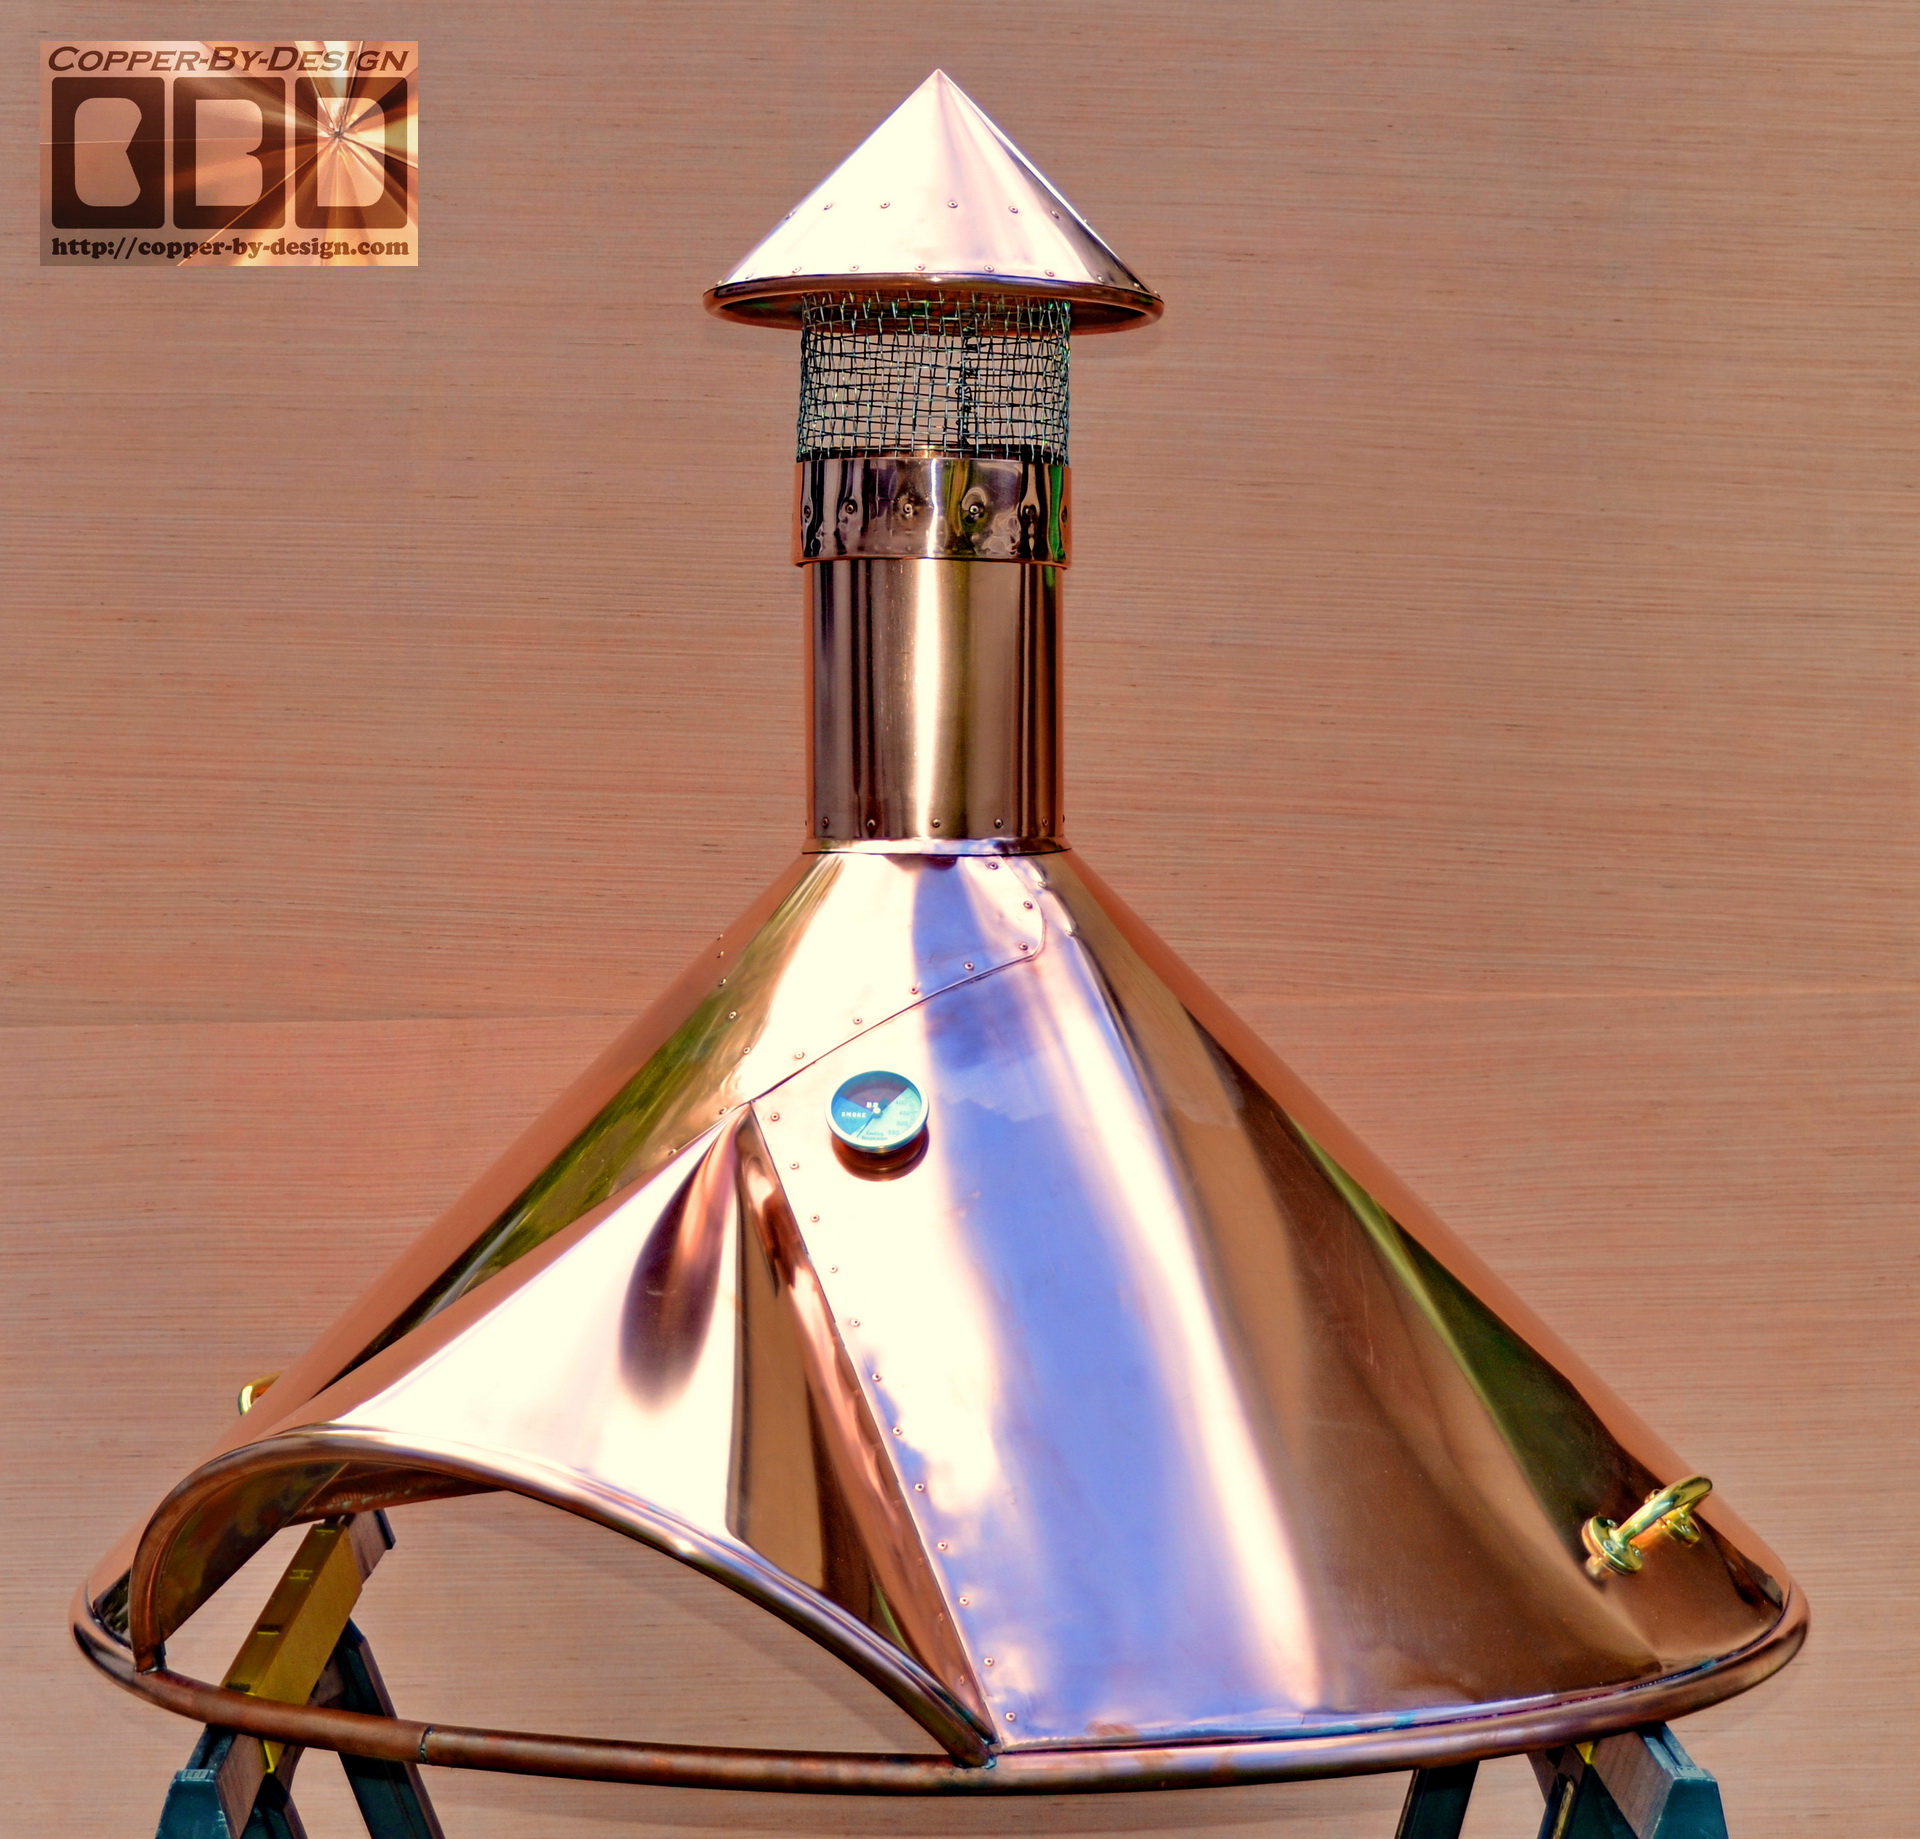
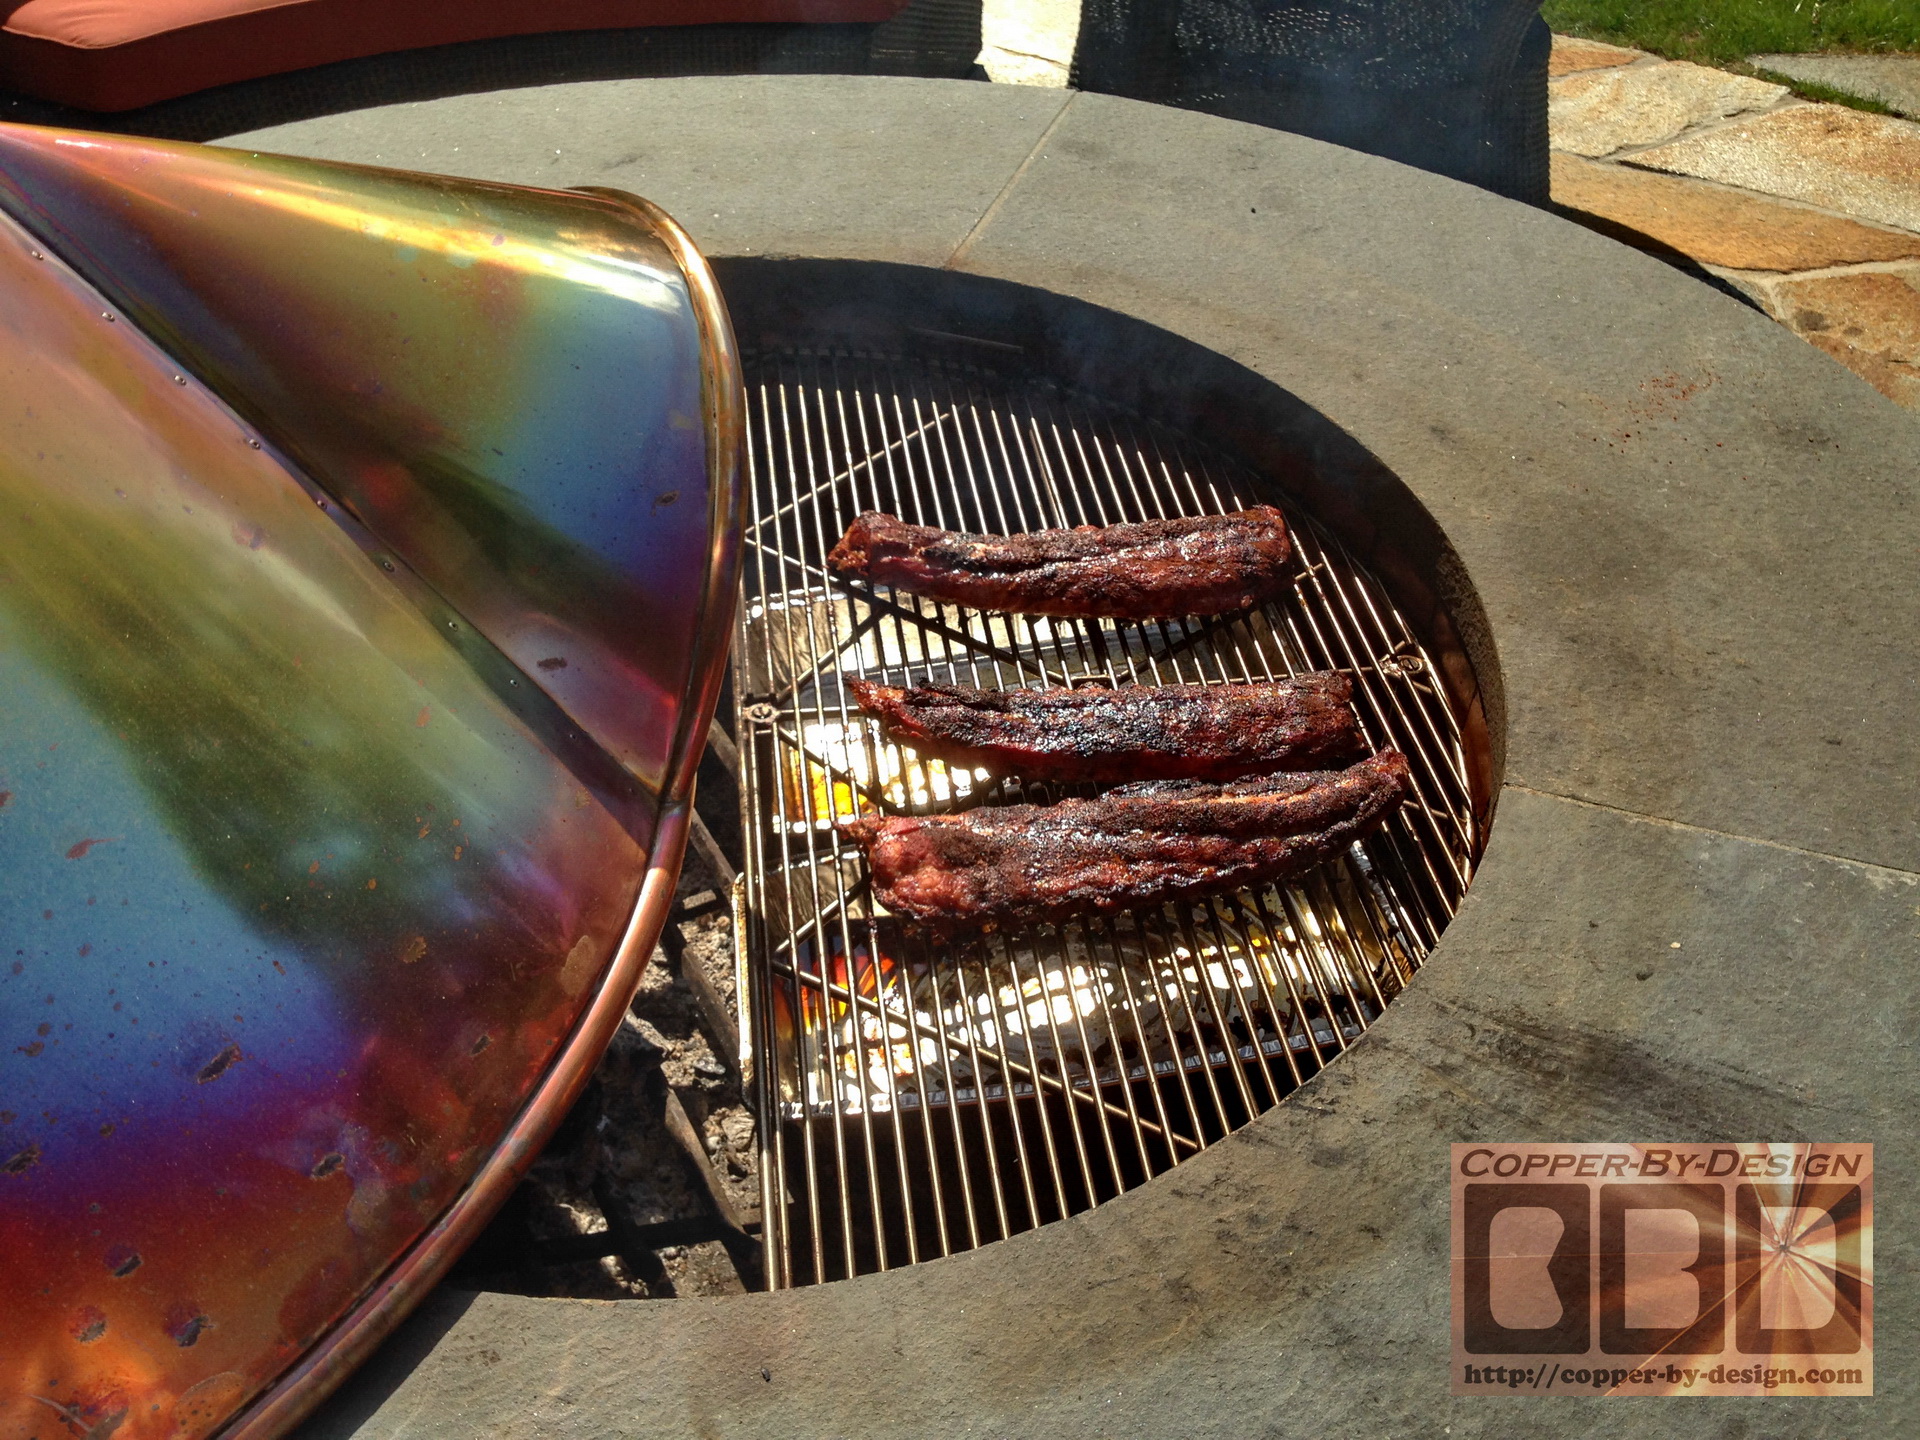
I collaborated with the Clients
concerning the design for the shape of the mouth using this
aluminum prototype in place for him to see different options of
height and over hang it would need and look best.


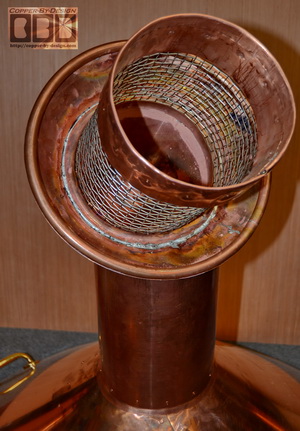
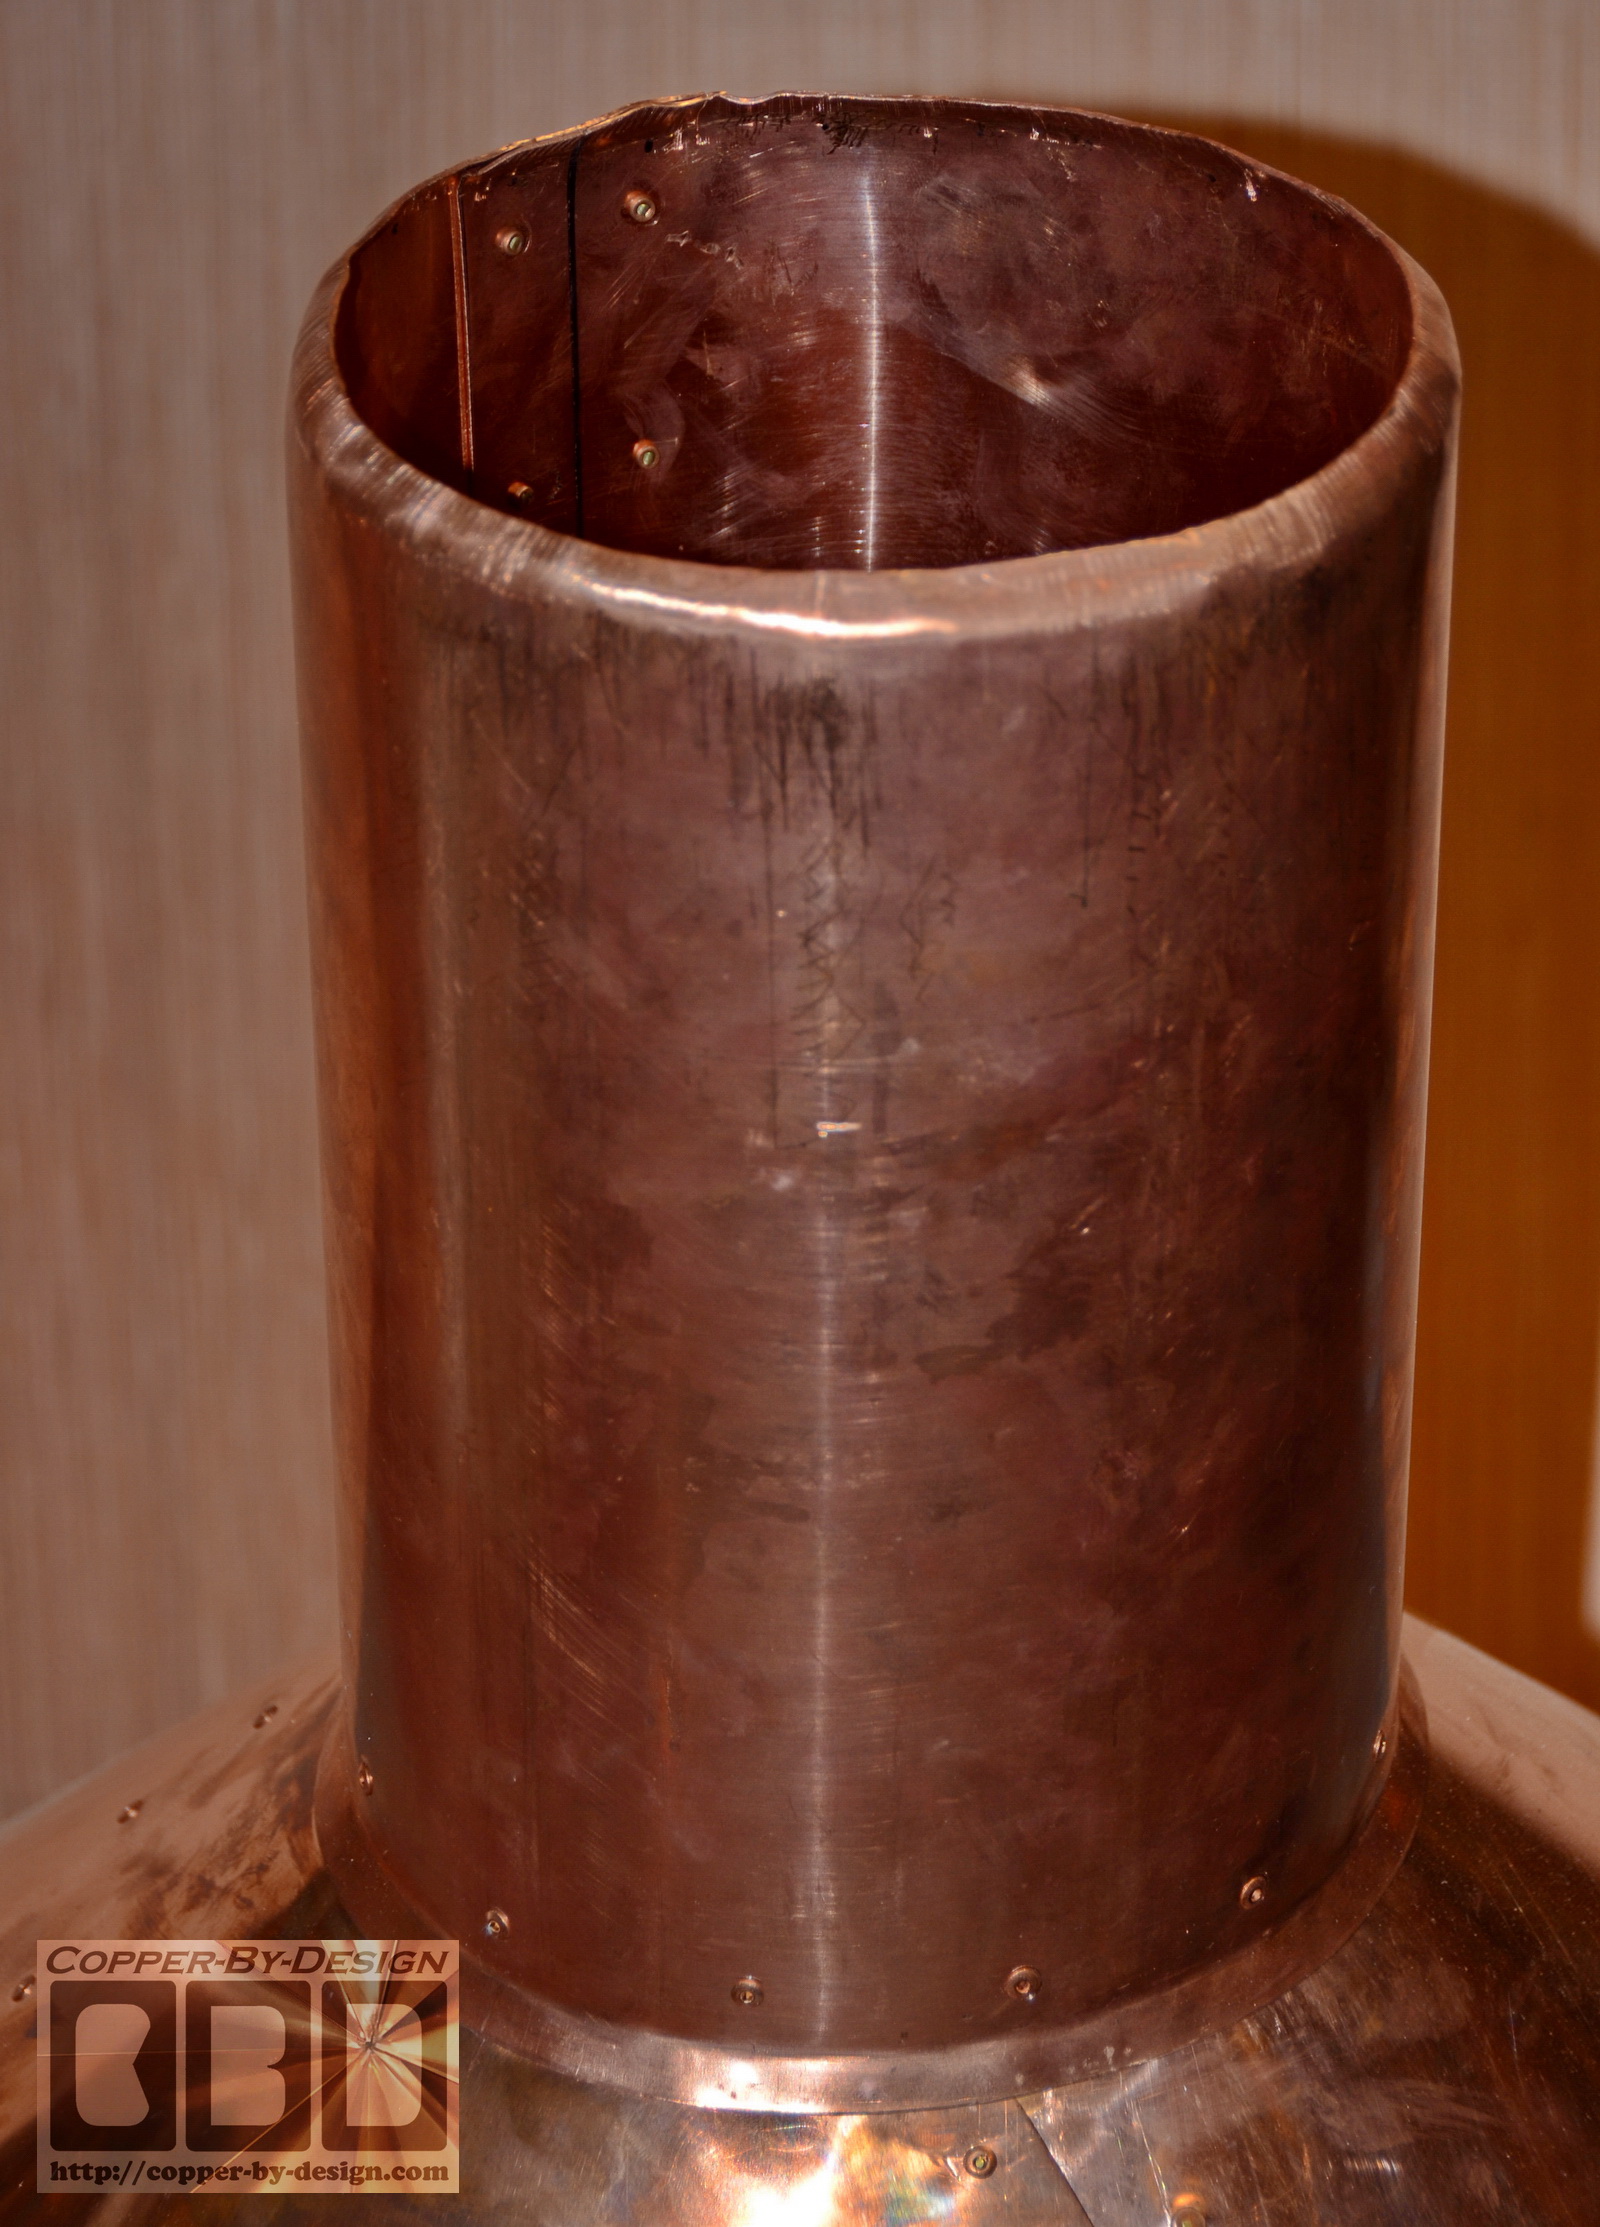
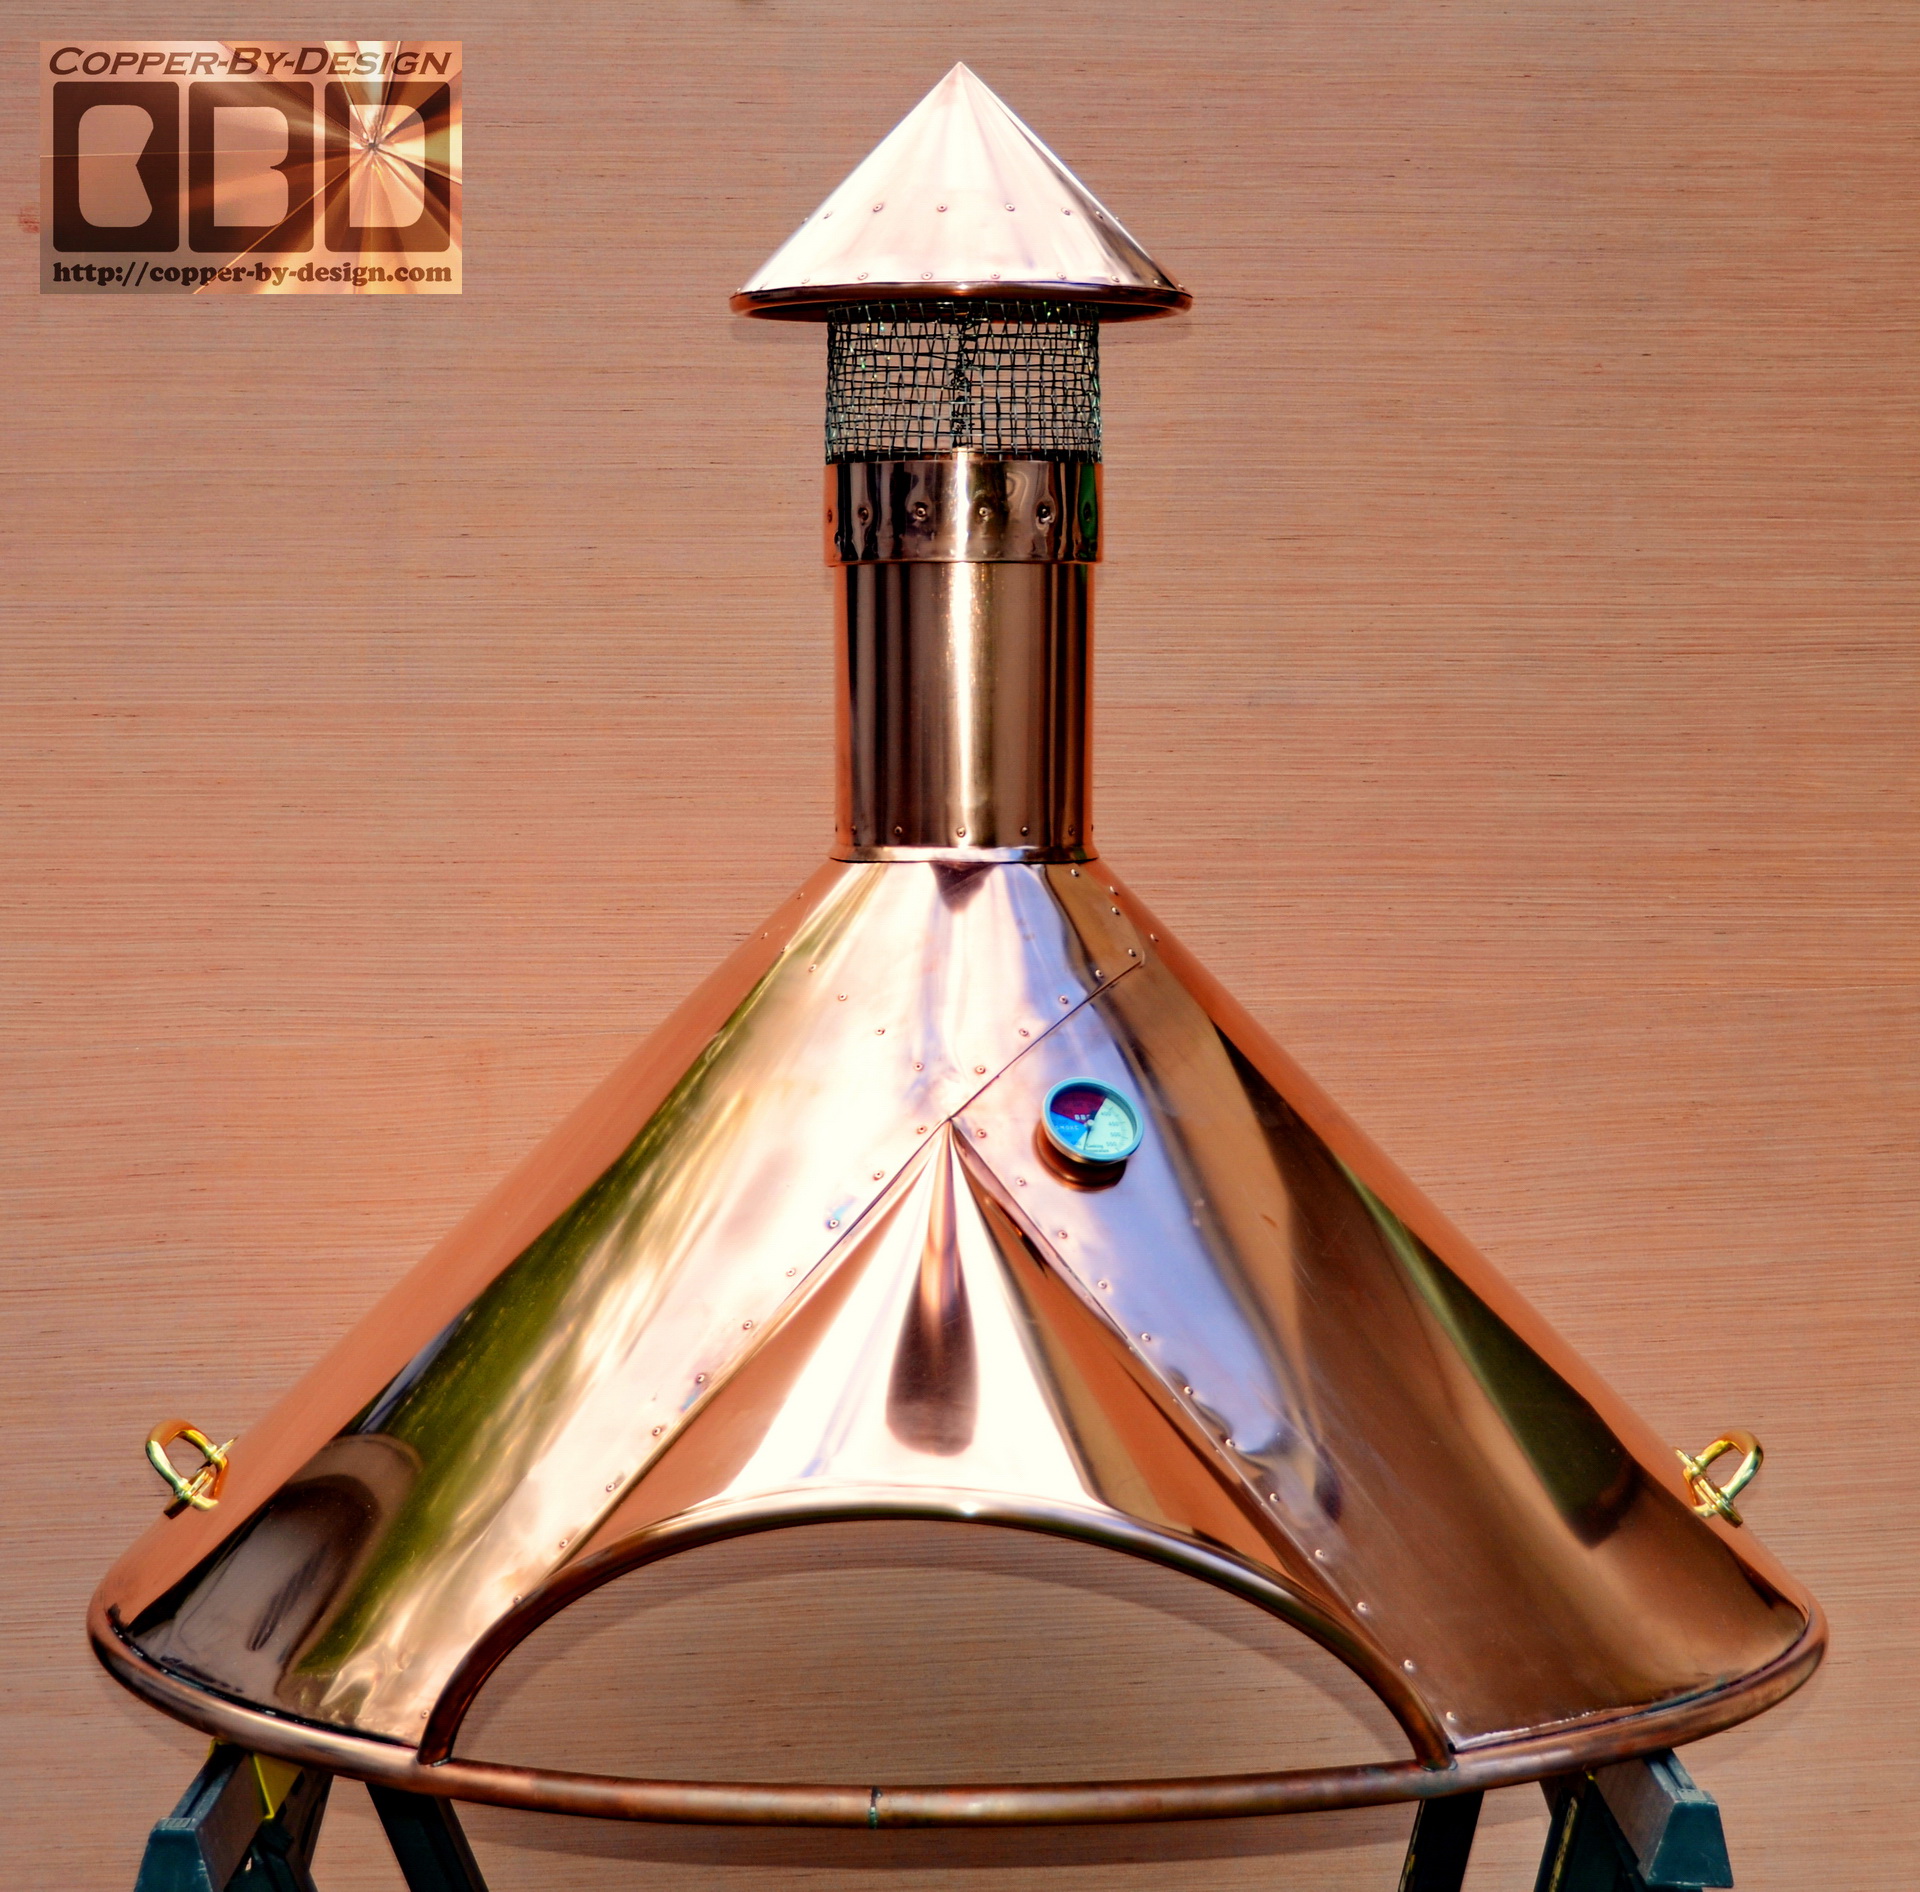
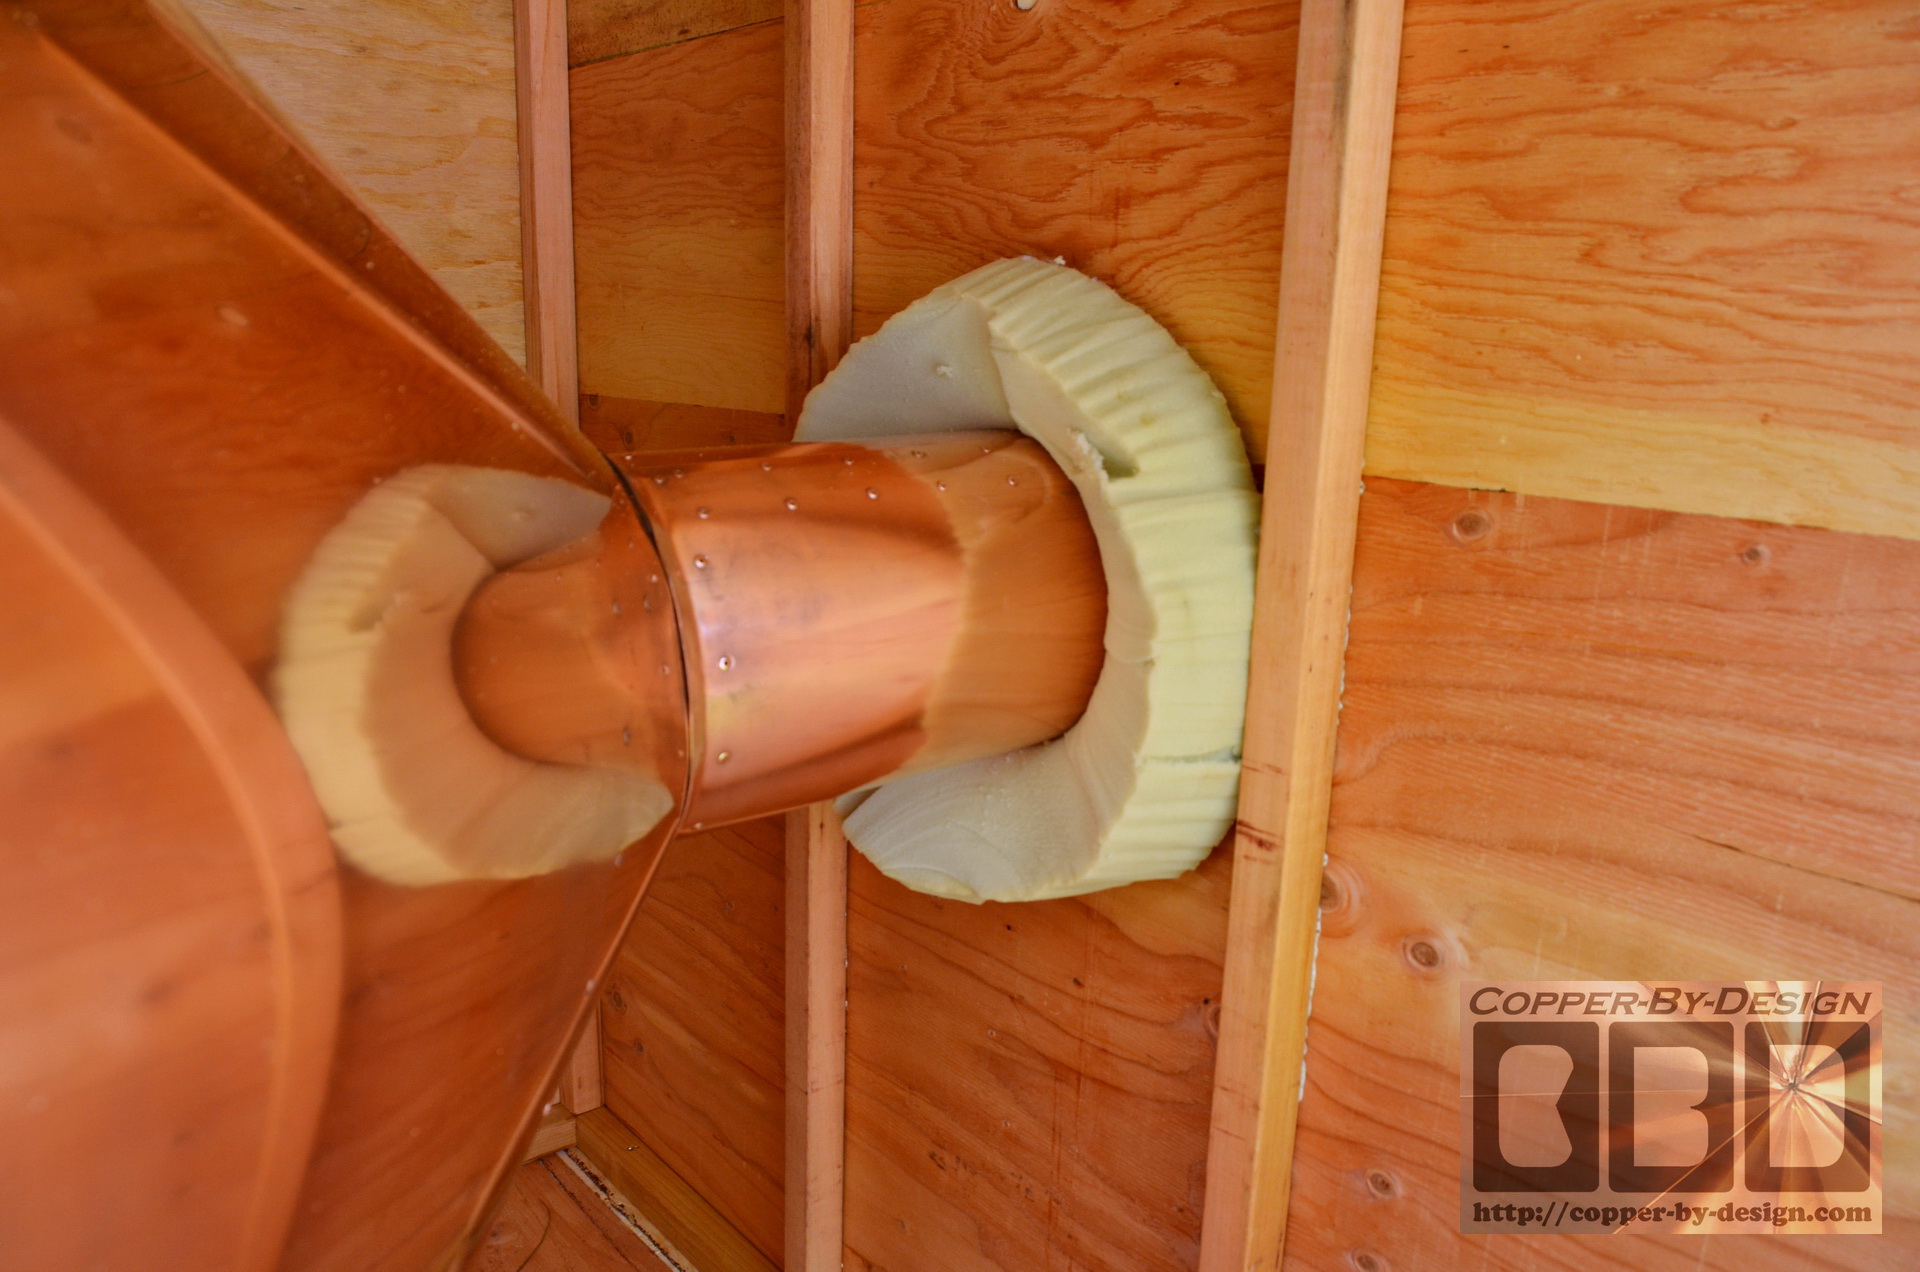
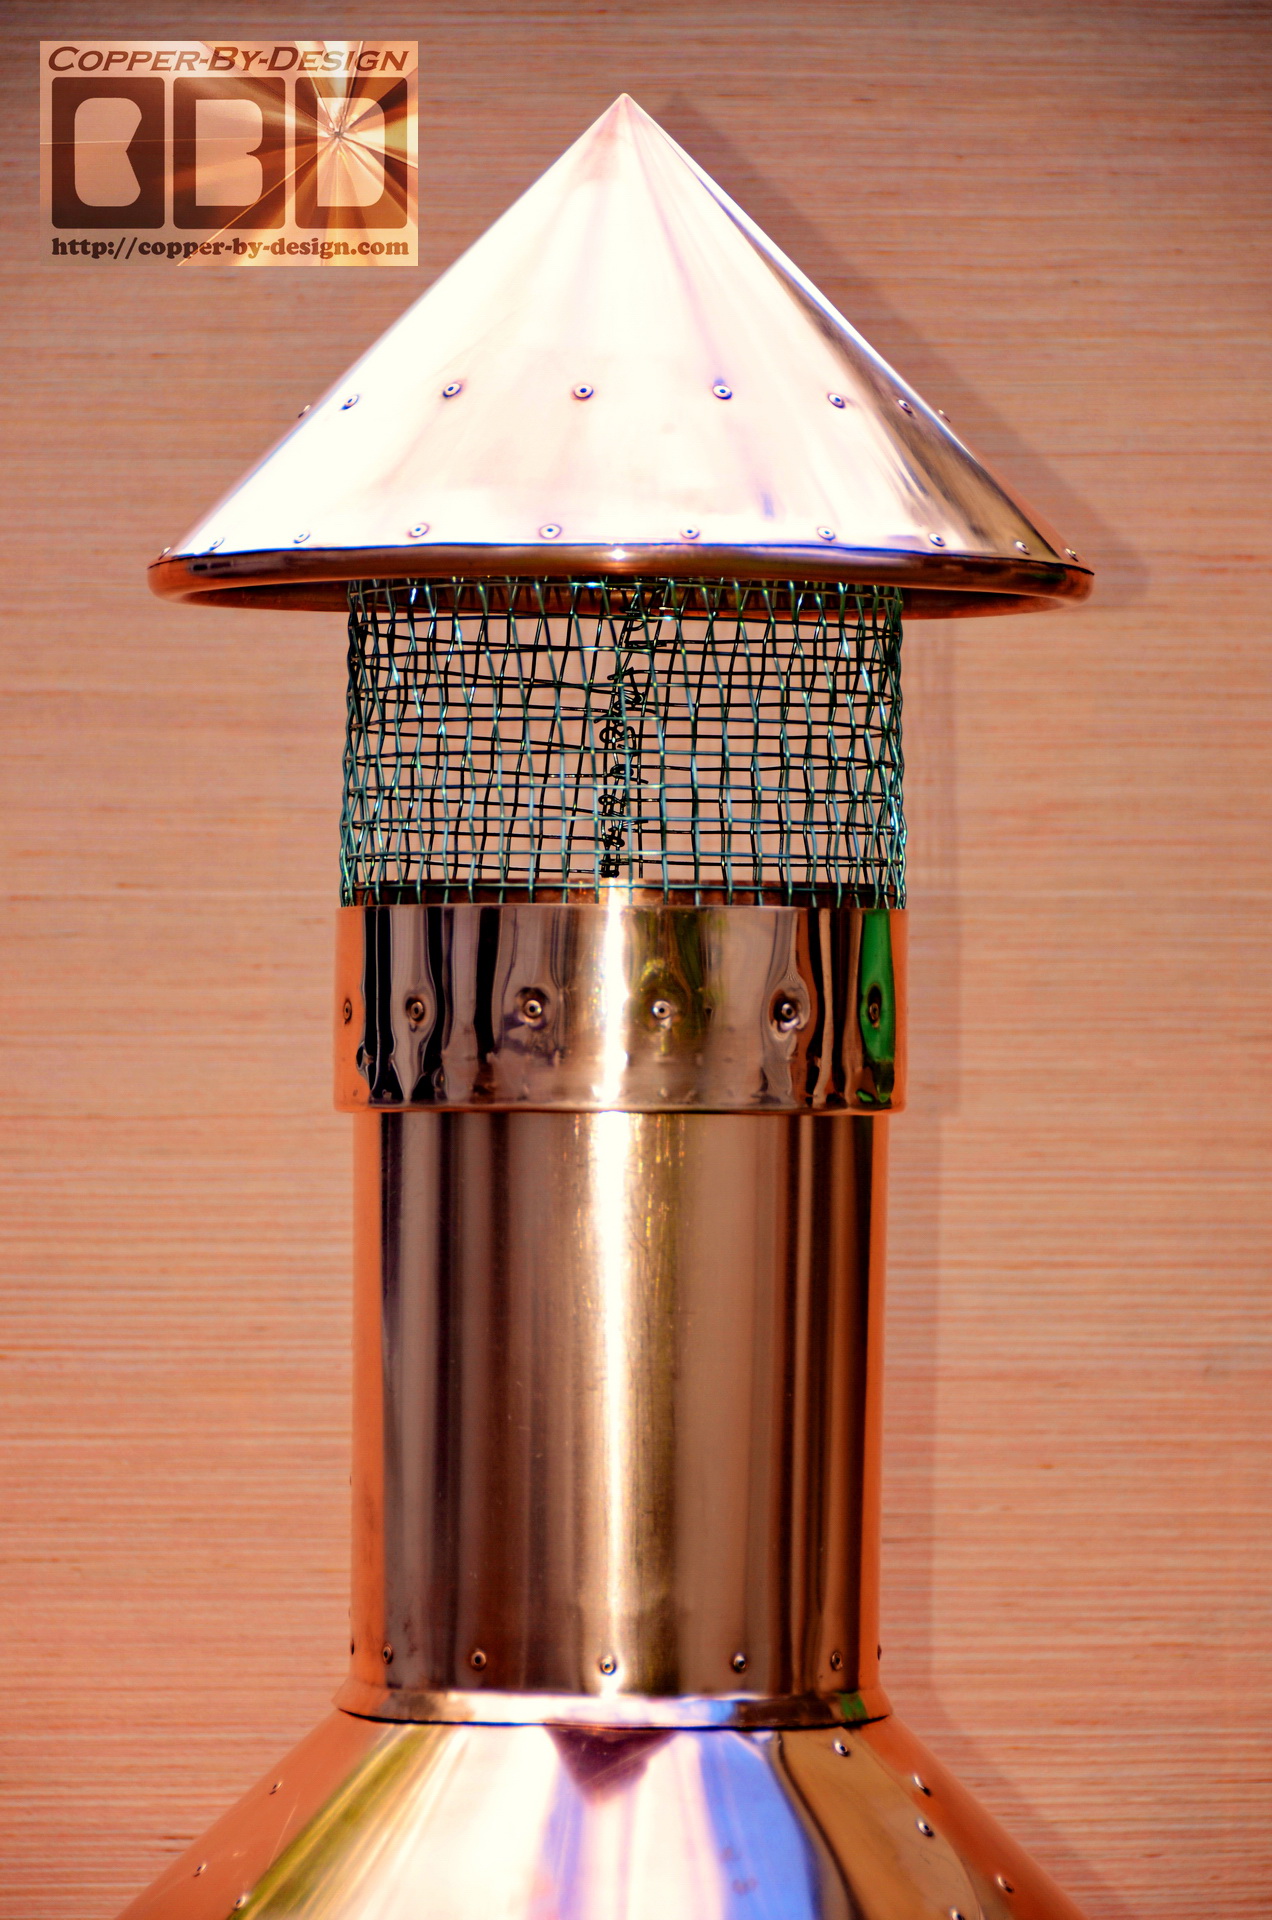
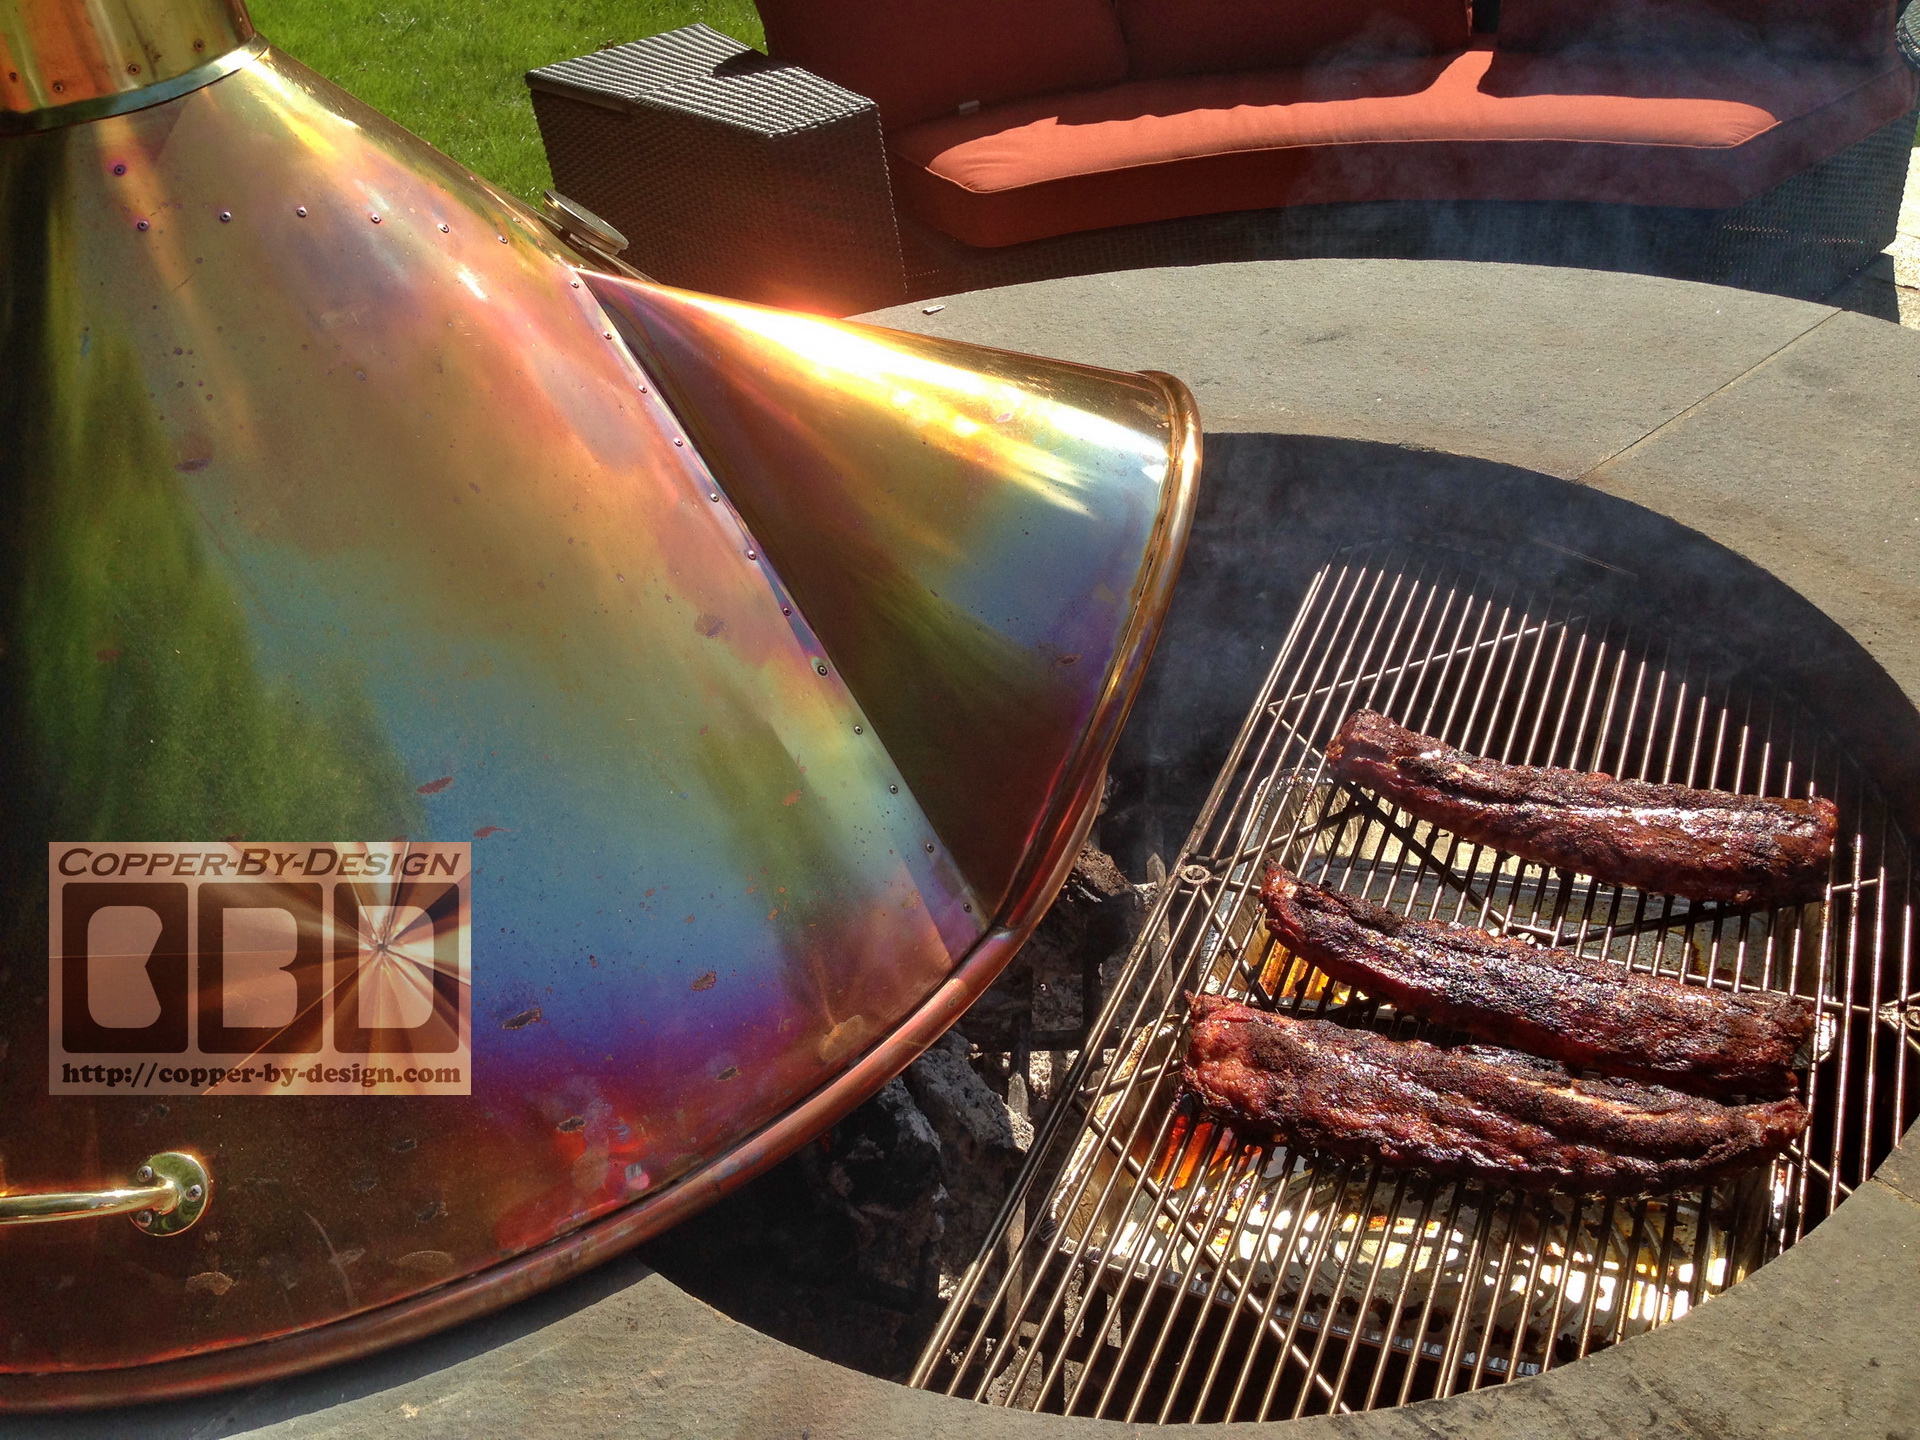
Now that we had the
main
cover prepped I was able to determine the width of the upper
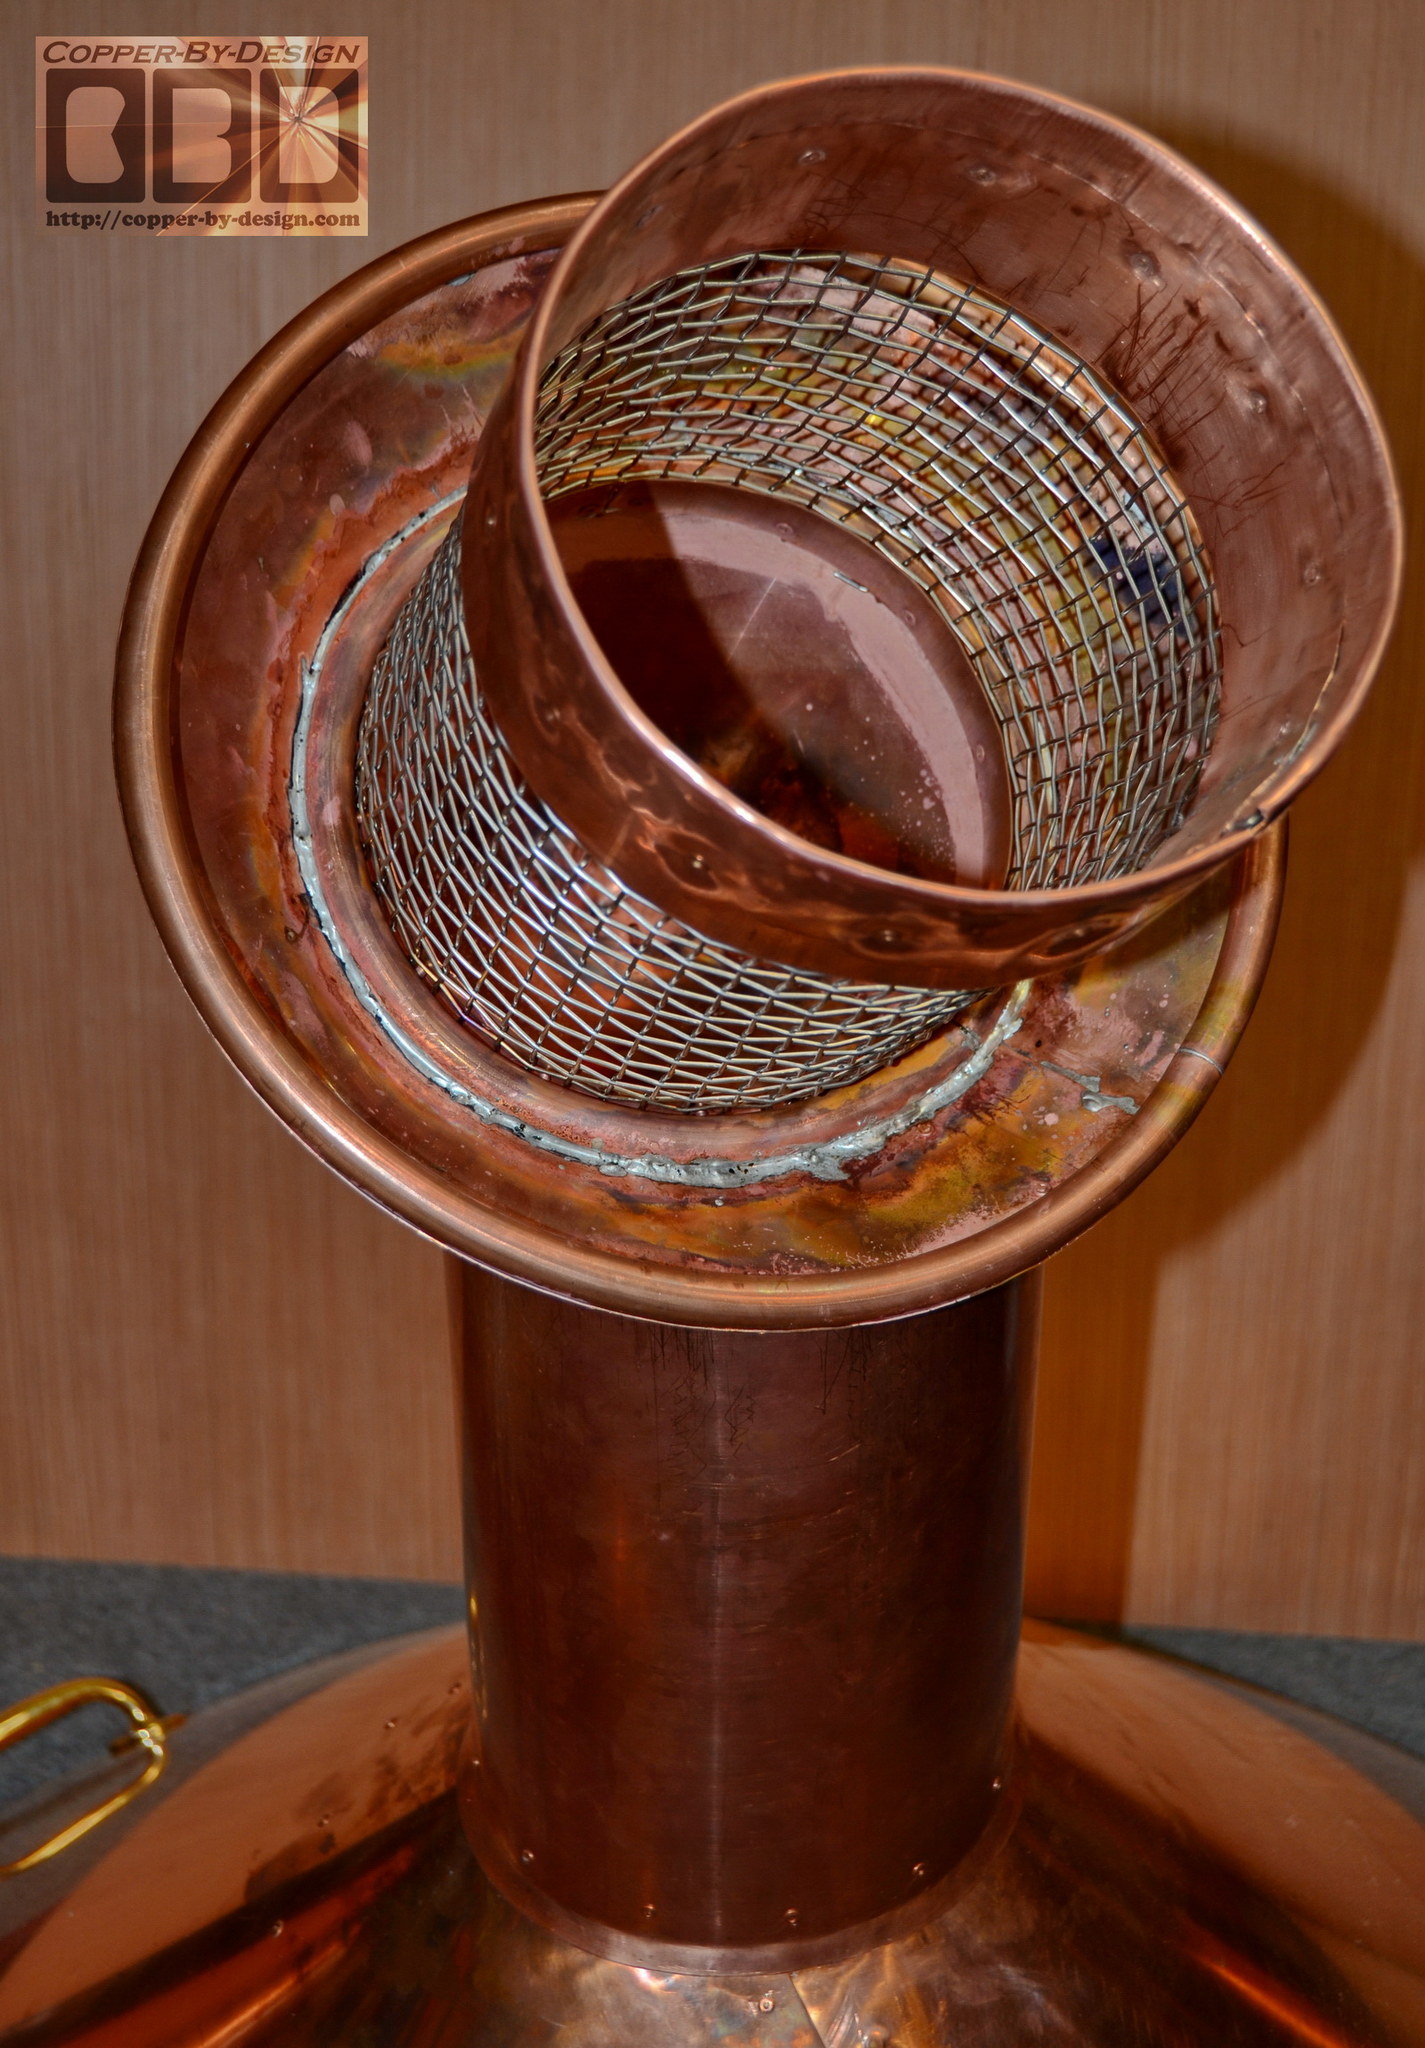
flue pipe and chimney cap, so it is fairly stable in high wind situations
while keeping out debris and pests. We used a 1/2 woven spark
arrest screen that is a lot more flexible than the flattened
expanded metal we use for most chimney caps. The upper rings
were formed with a smaller 1/2" copper pipe to trim it off and
add strength.