|
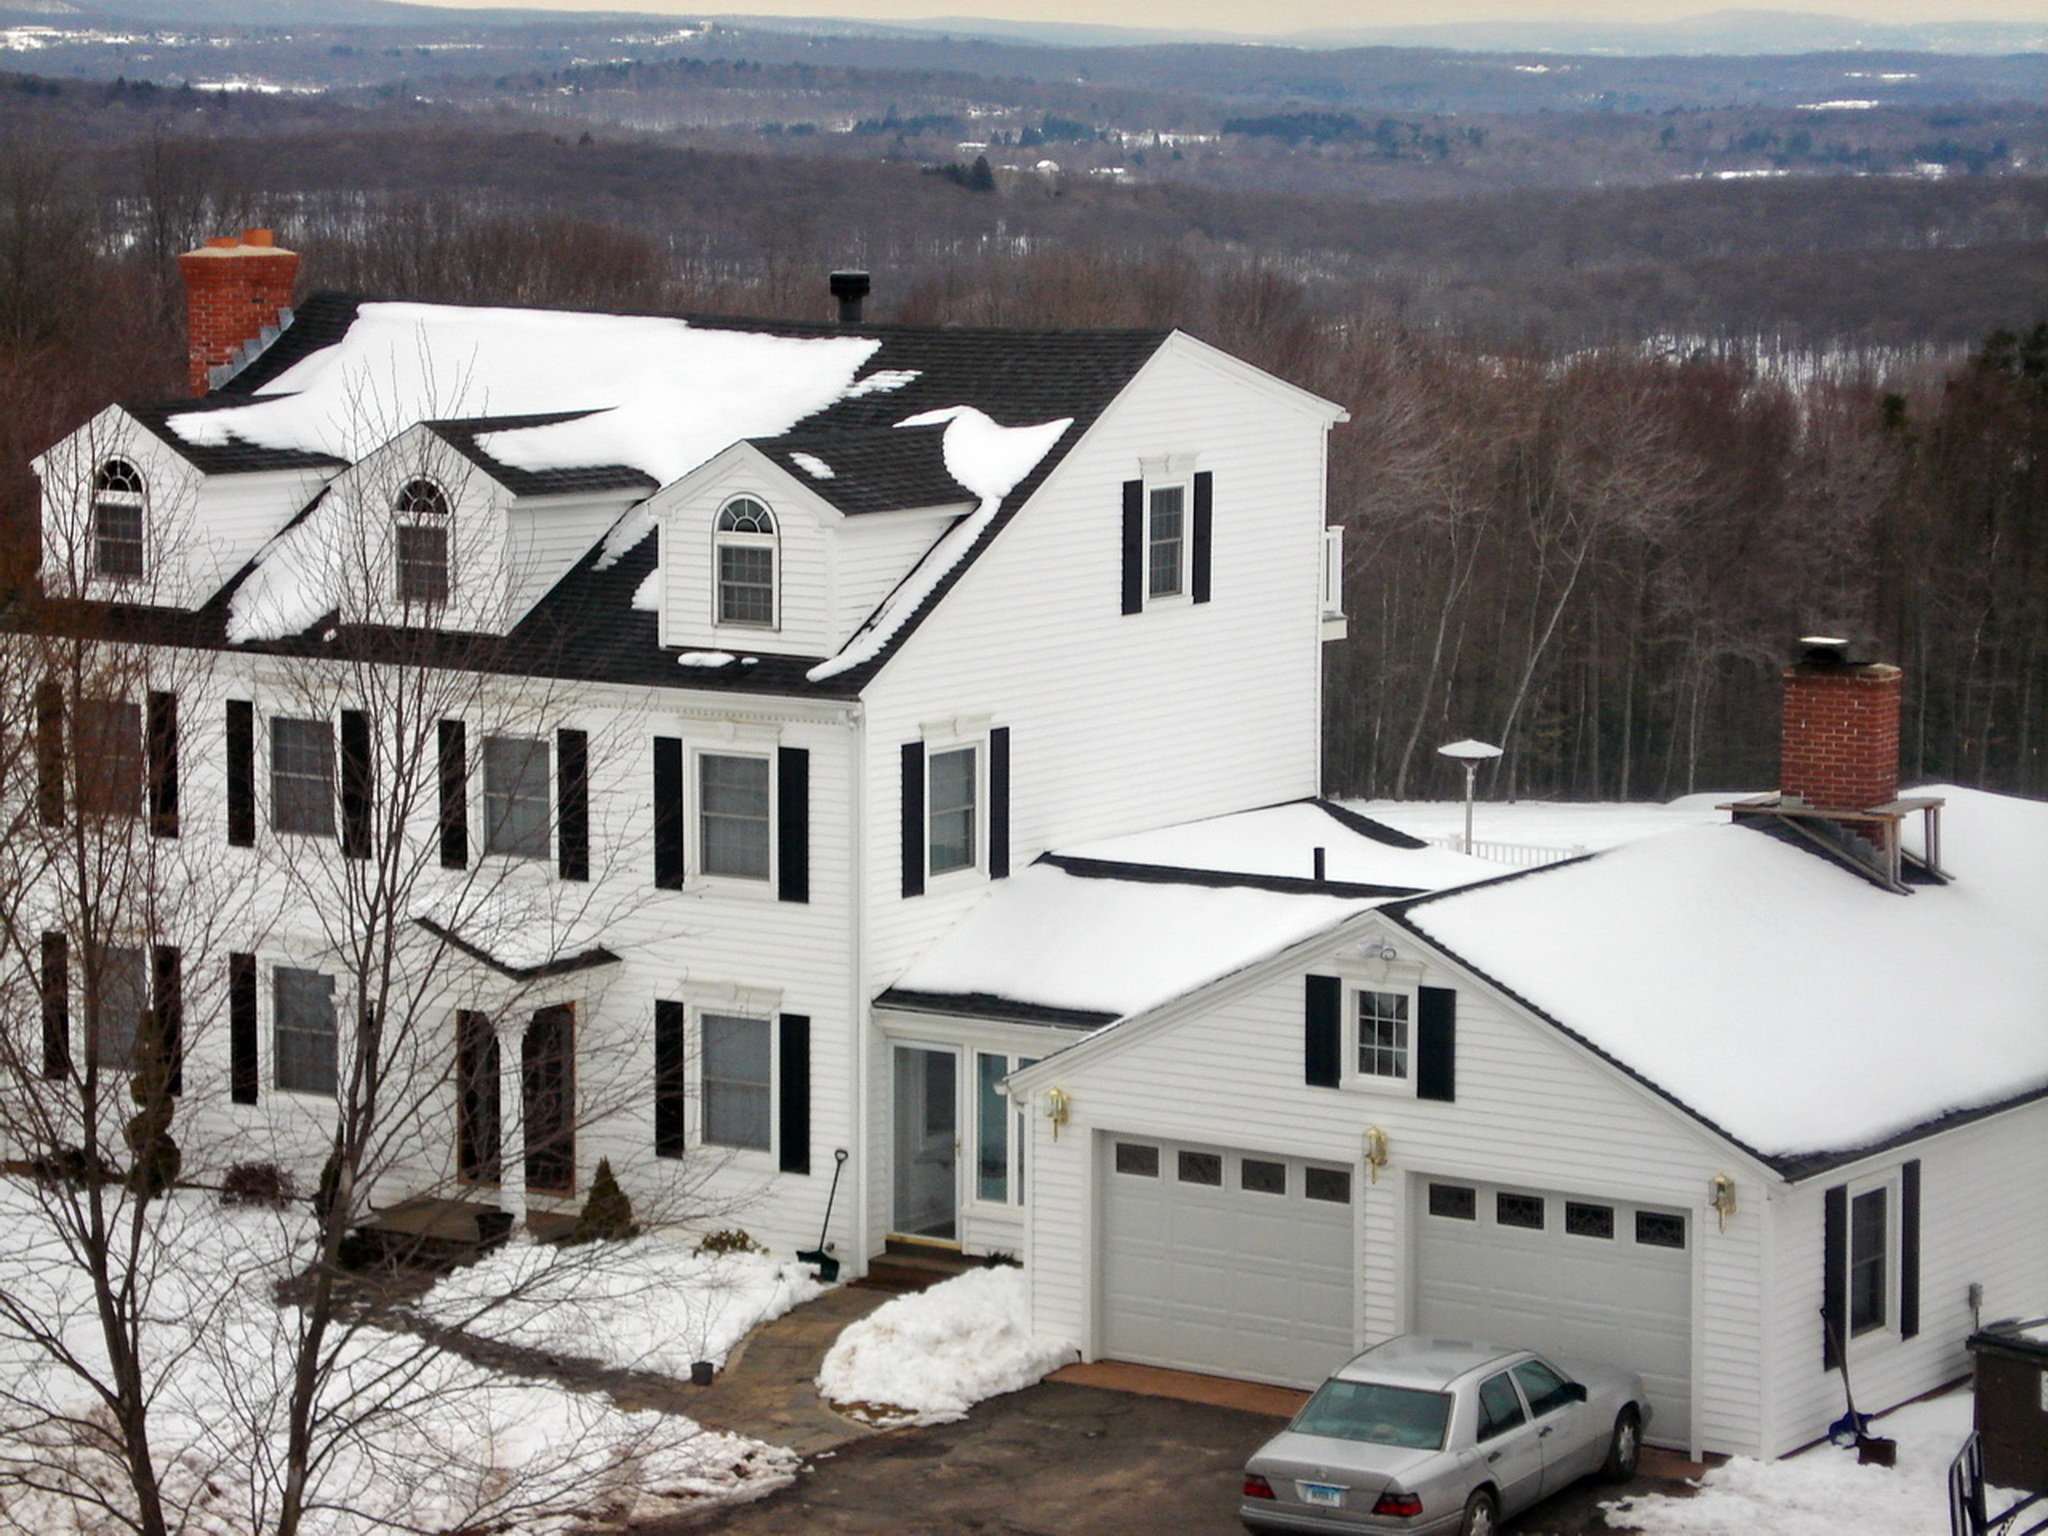
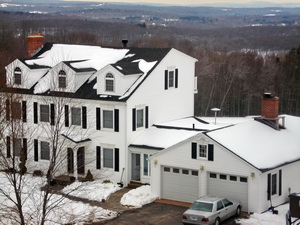
This copper chimney cap projects is for
a client in Connecticut
(name and City removed 12/08 at client's
request, first time ever).
We spent nearly 2 years working out the details of this project,
since his first e-mail (9/06).
We finally go the details worked out where he had
contracted with me to cover the other larger chimney as well, but
just before I finished this smaller chimney cap for over the garage
he had to cancel the other project do to lack of funds, so I was
only able to build this one.
 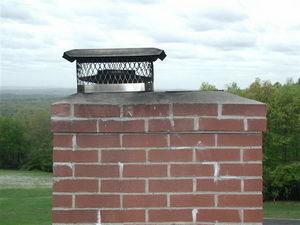
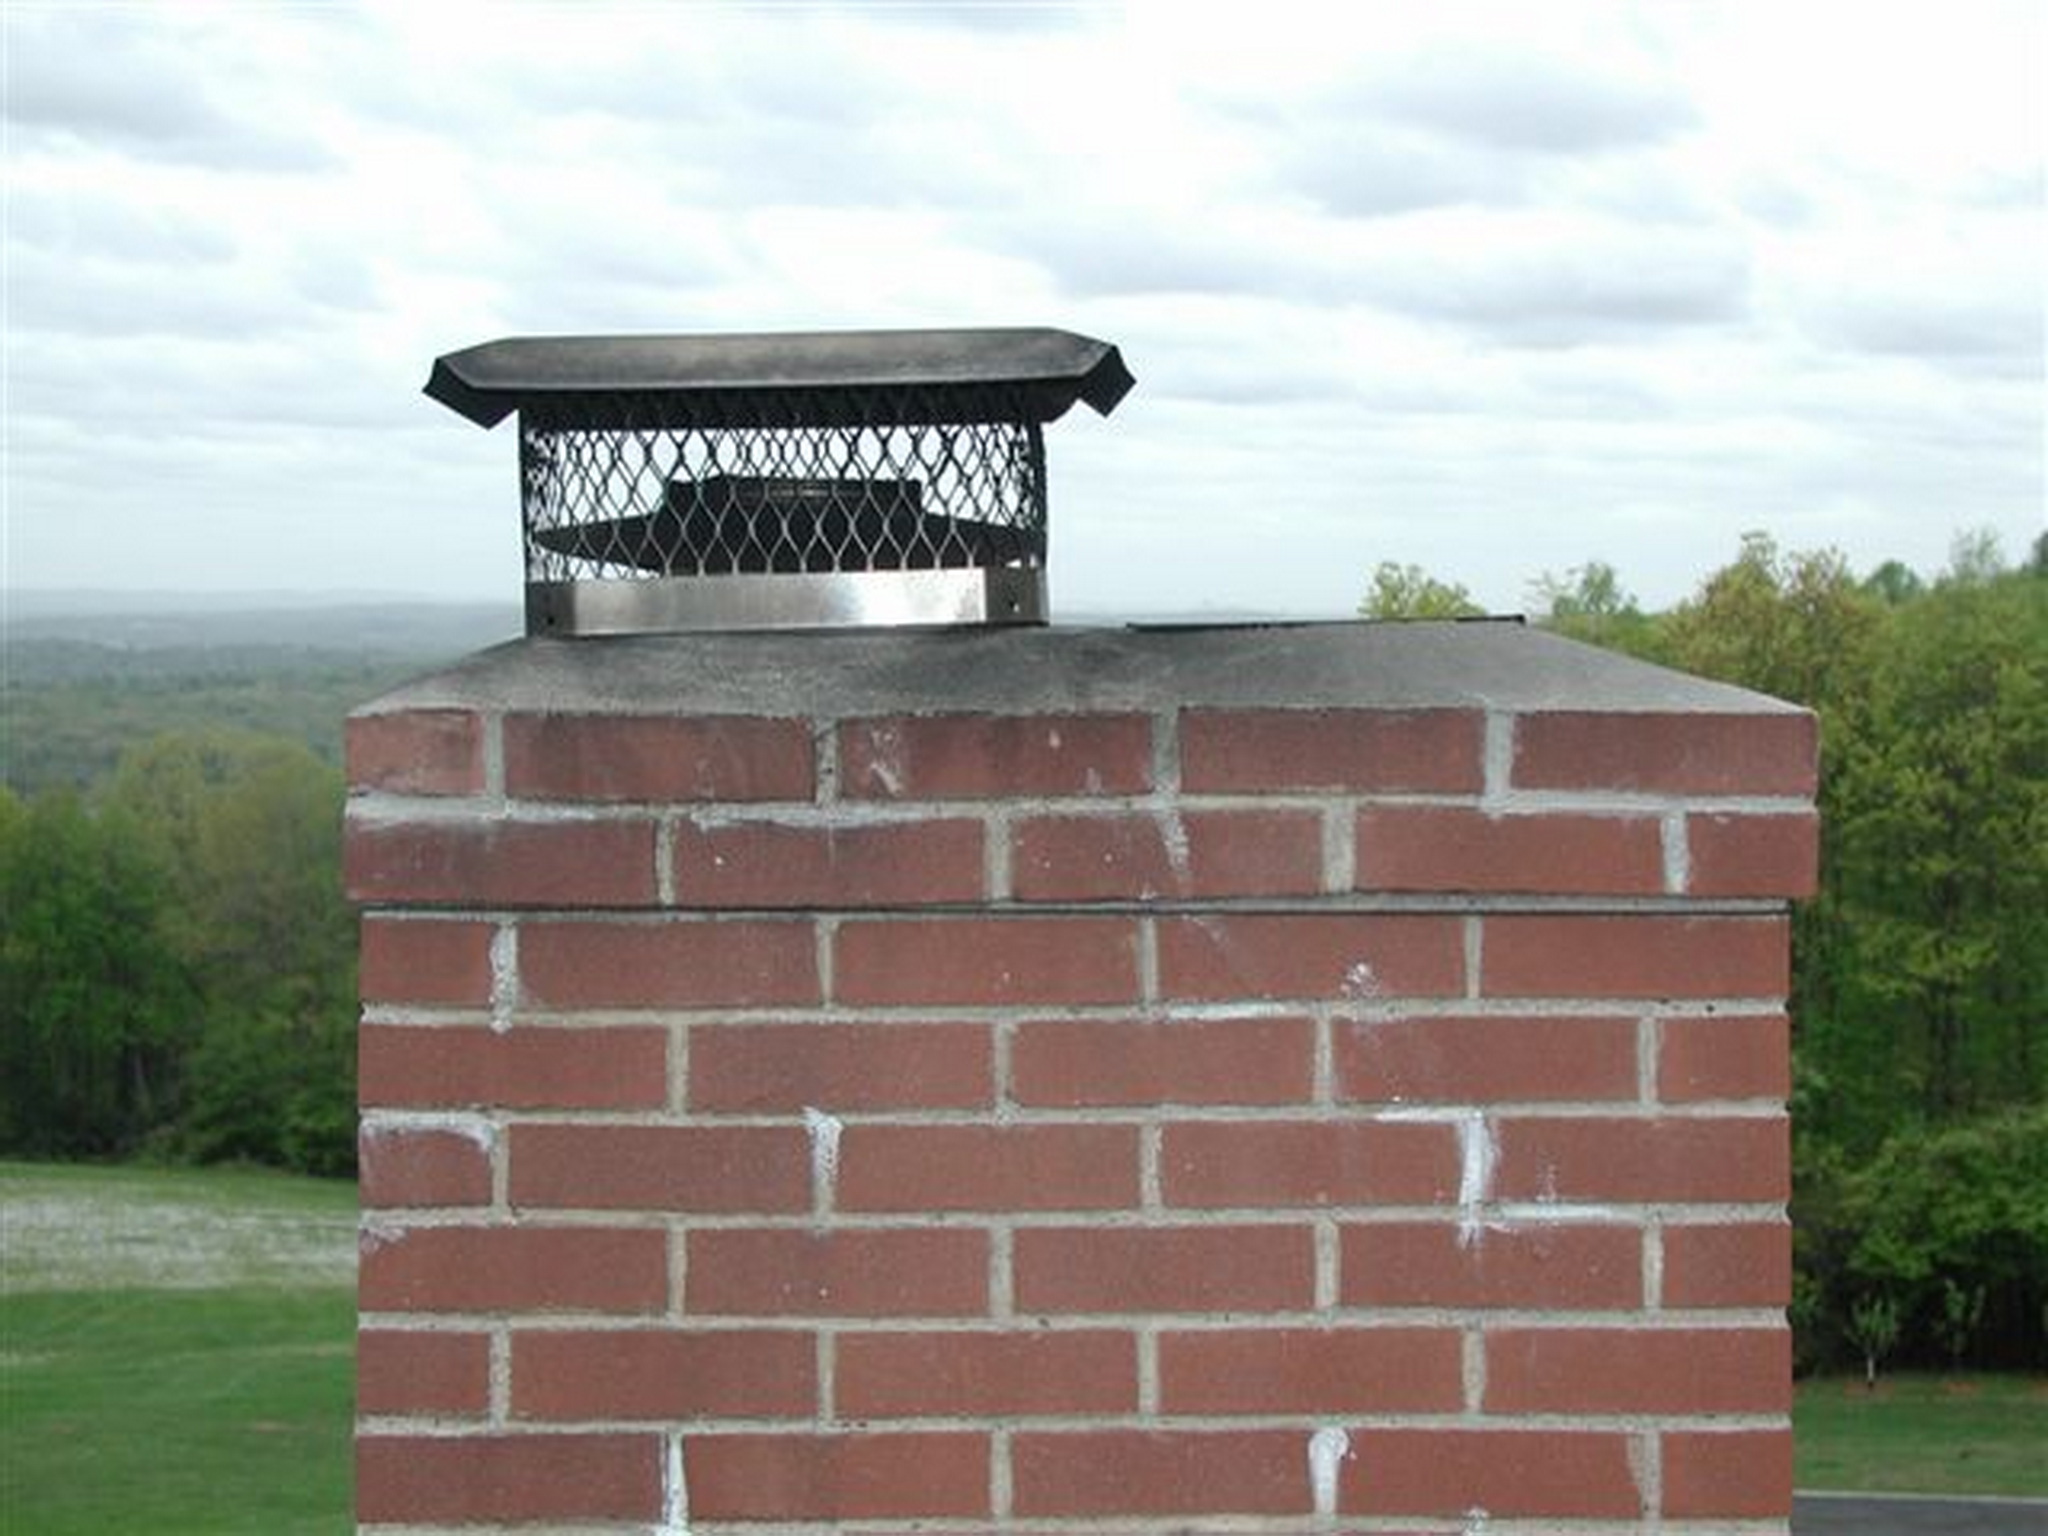
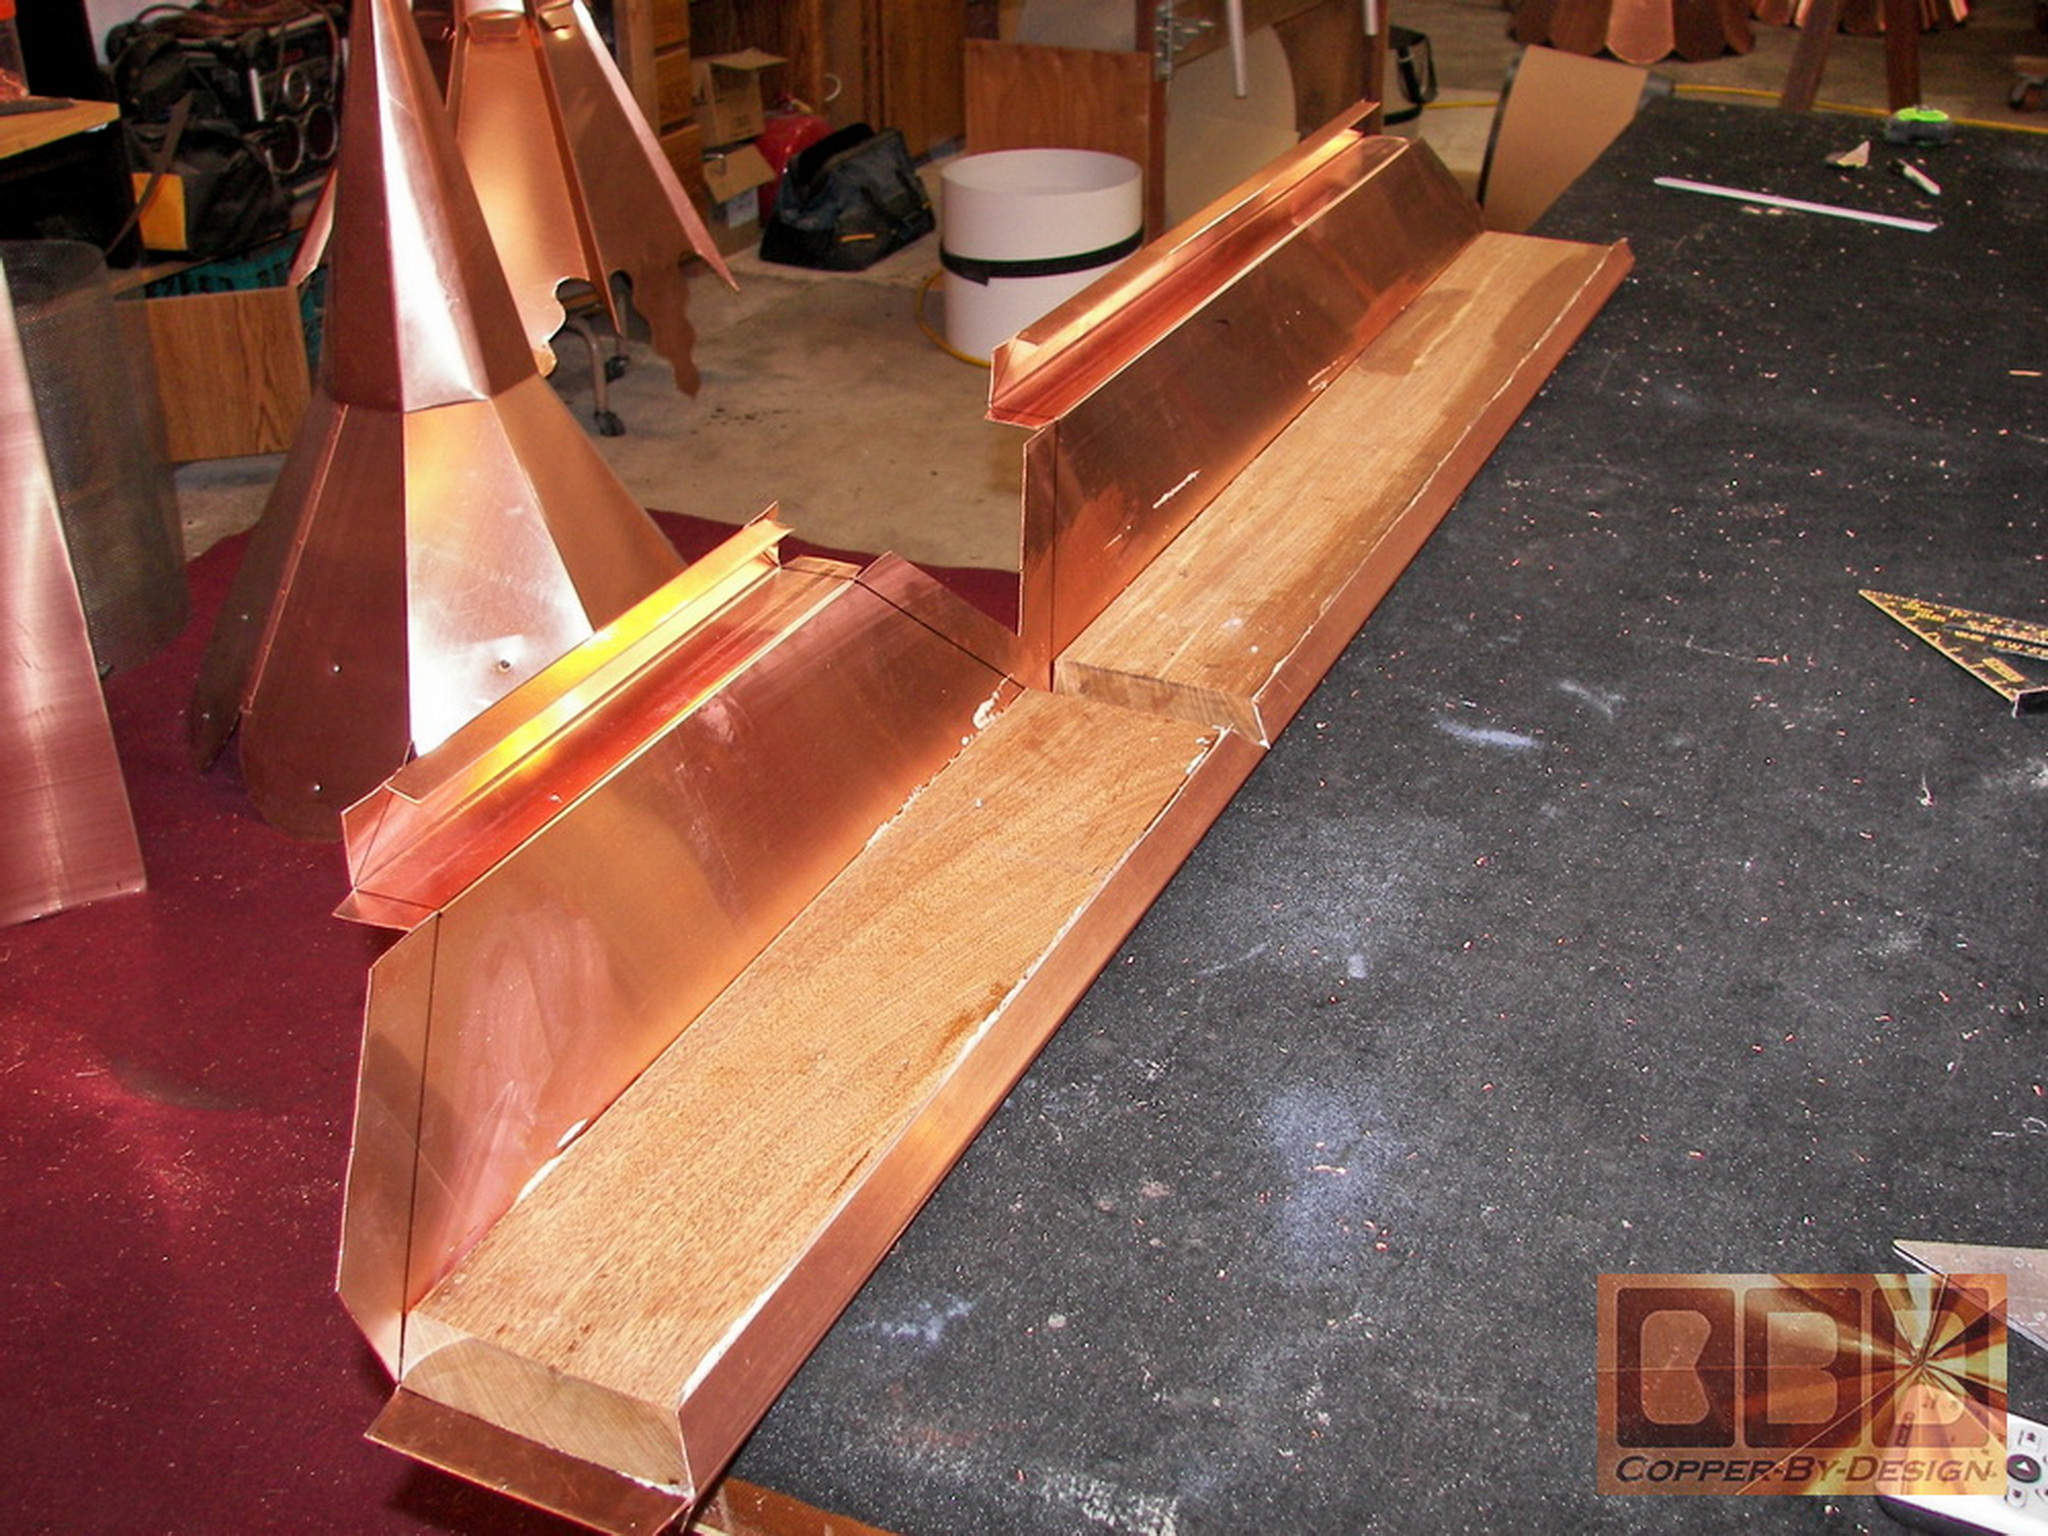
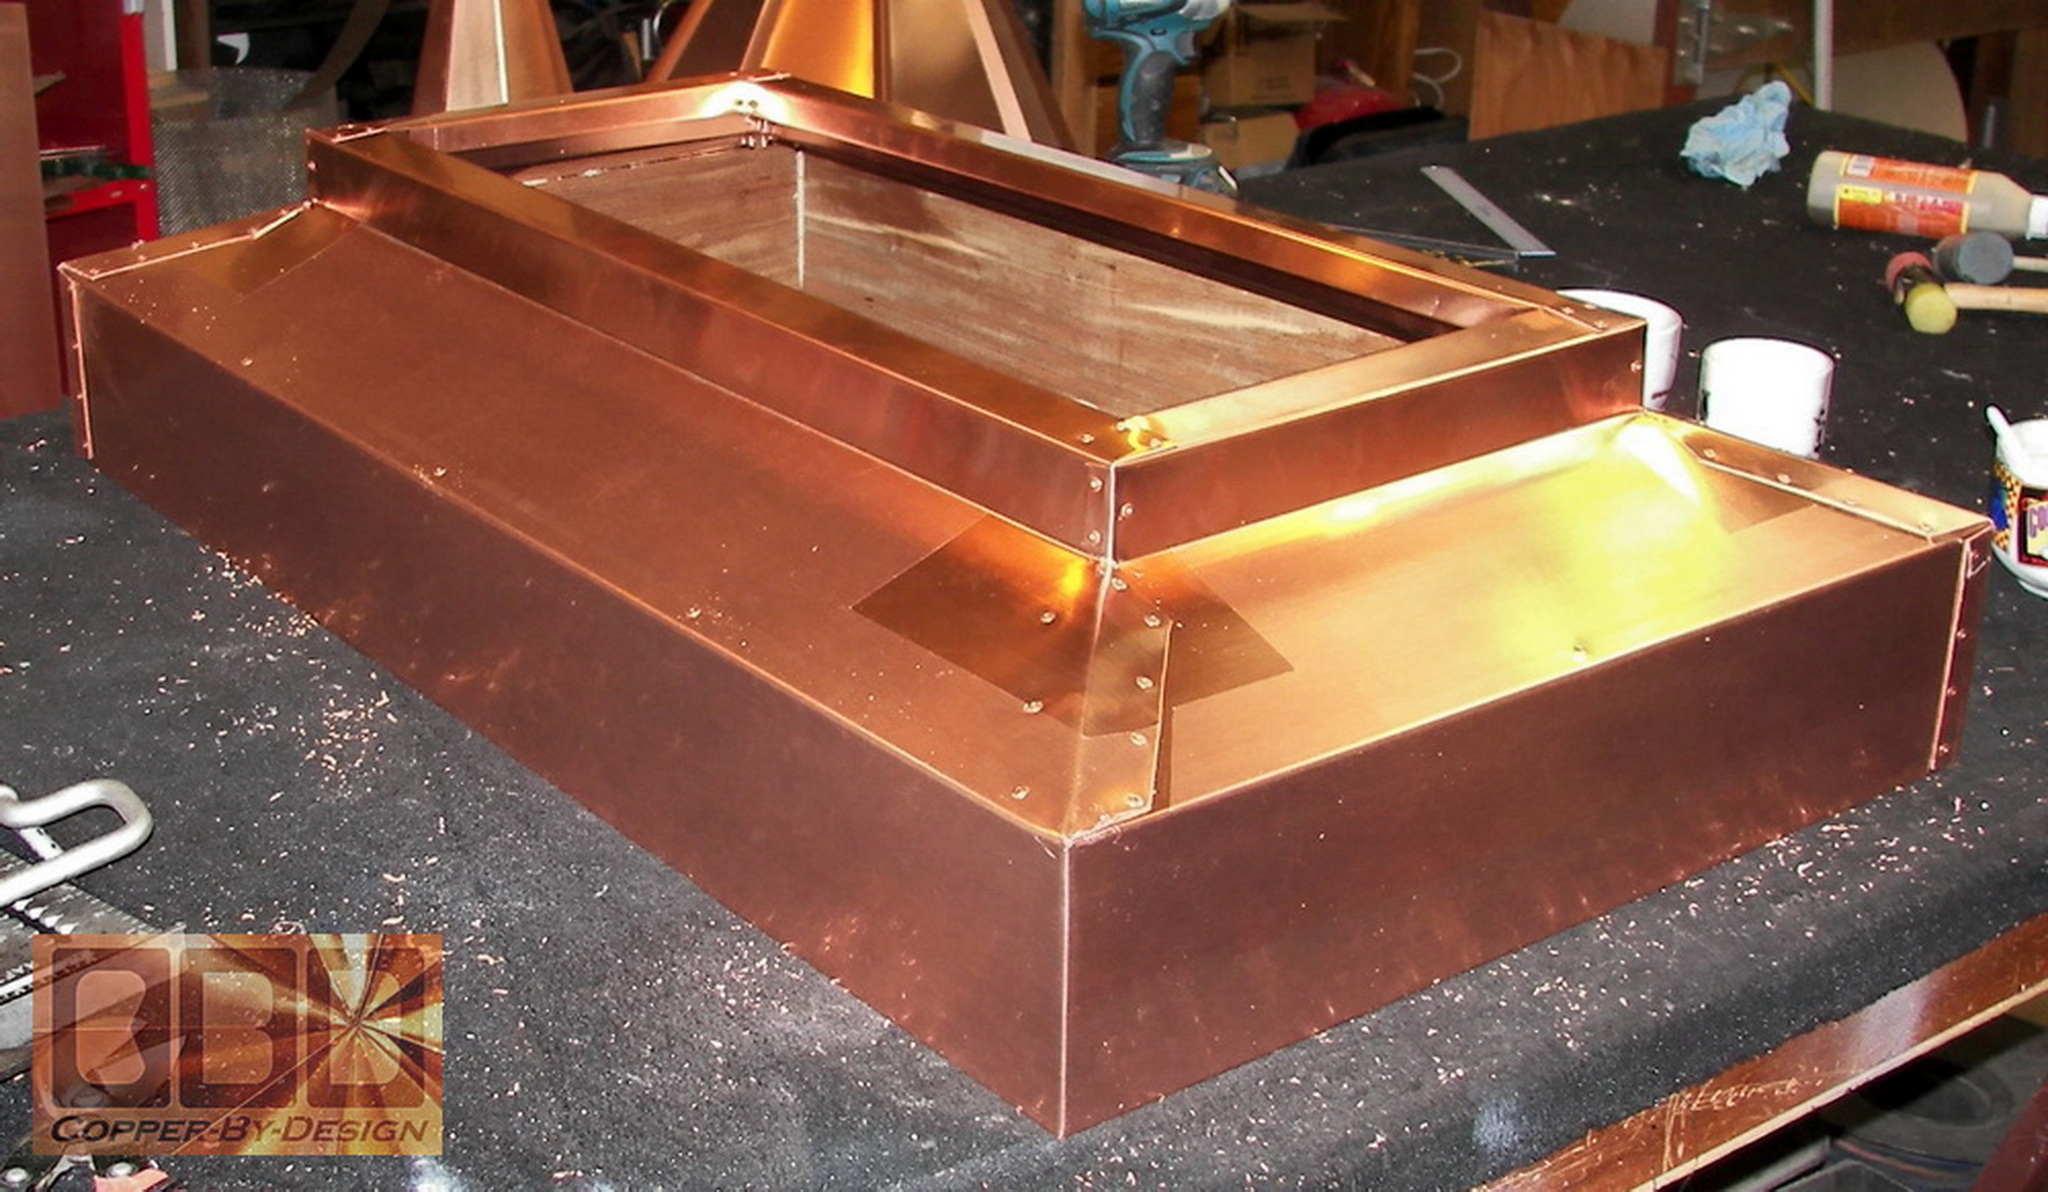
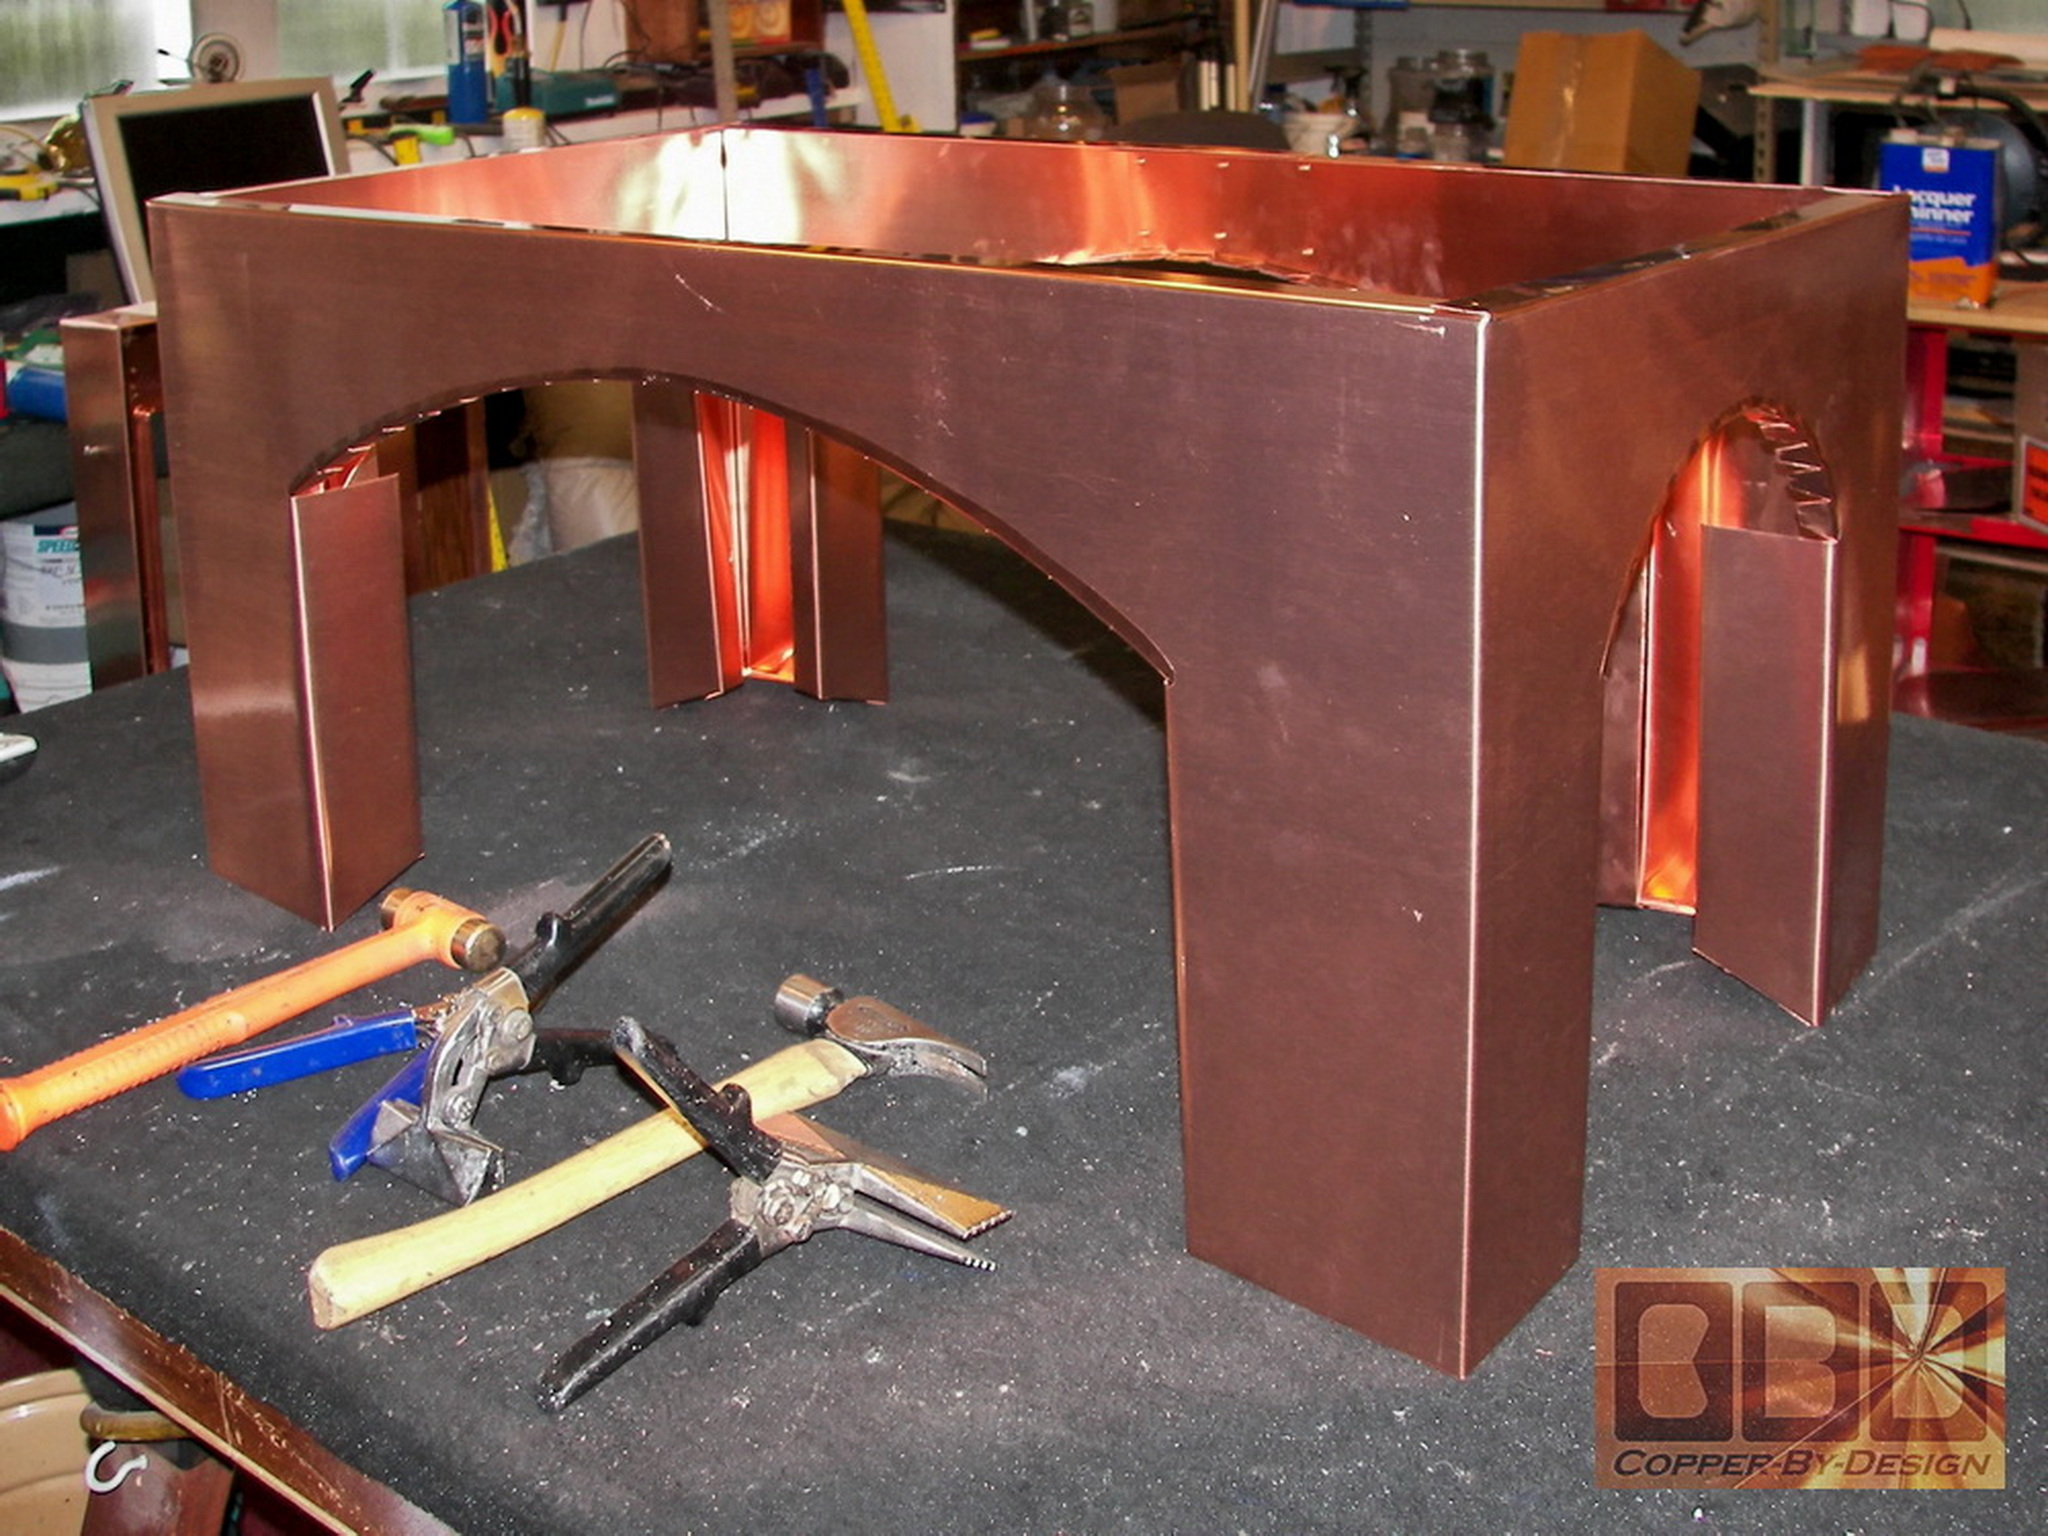
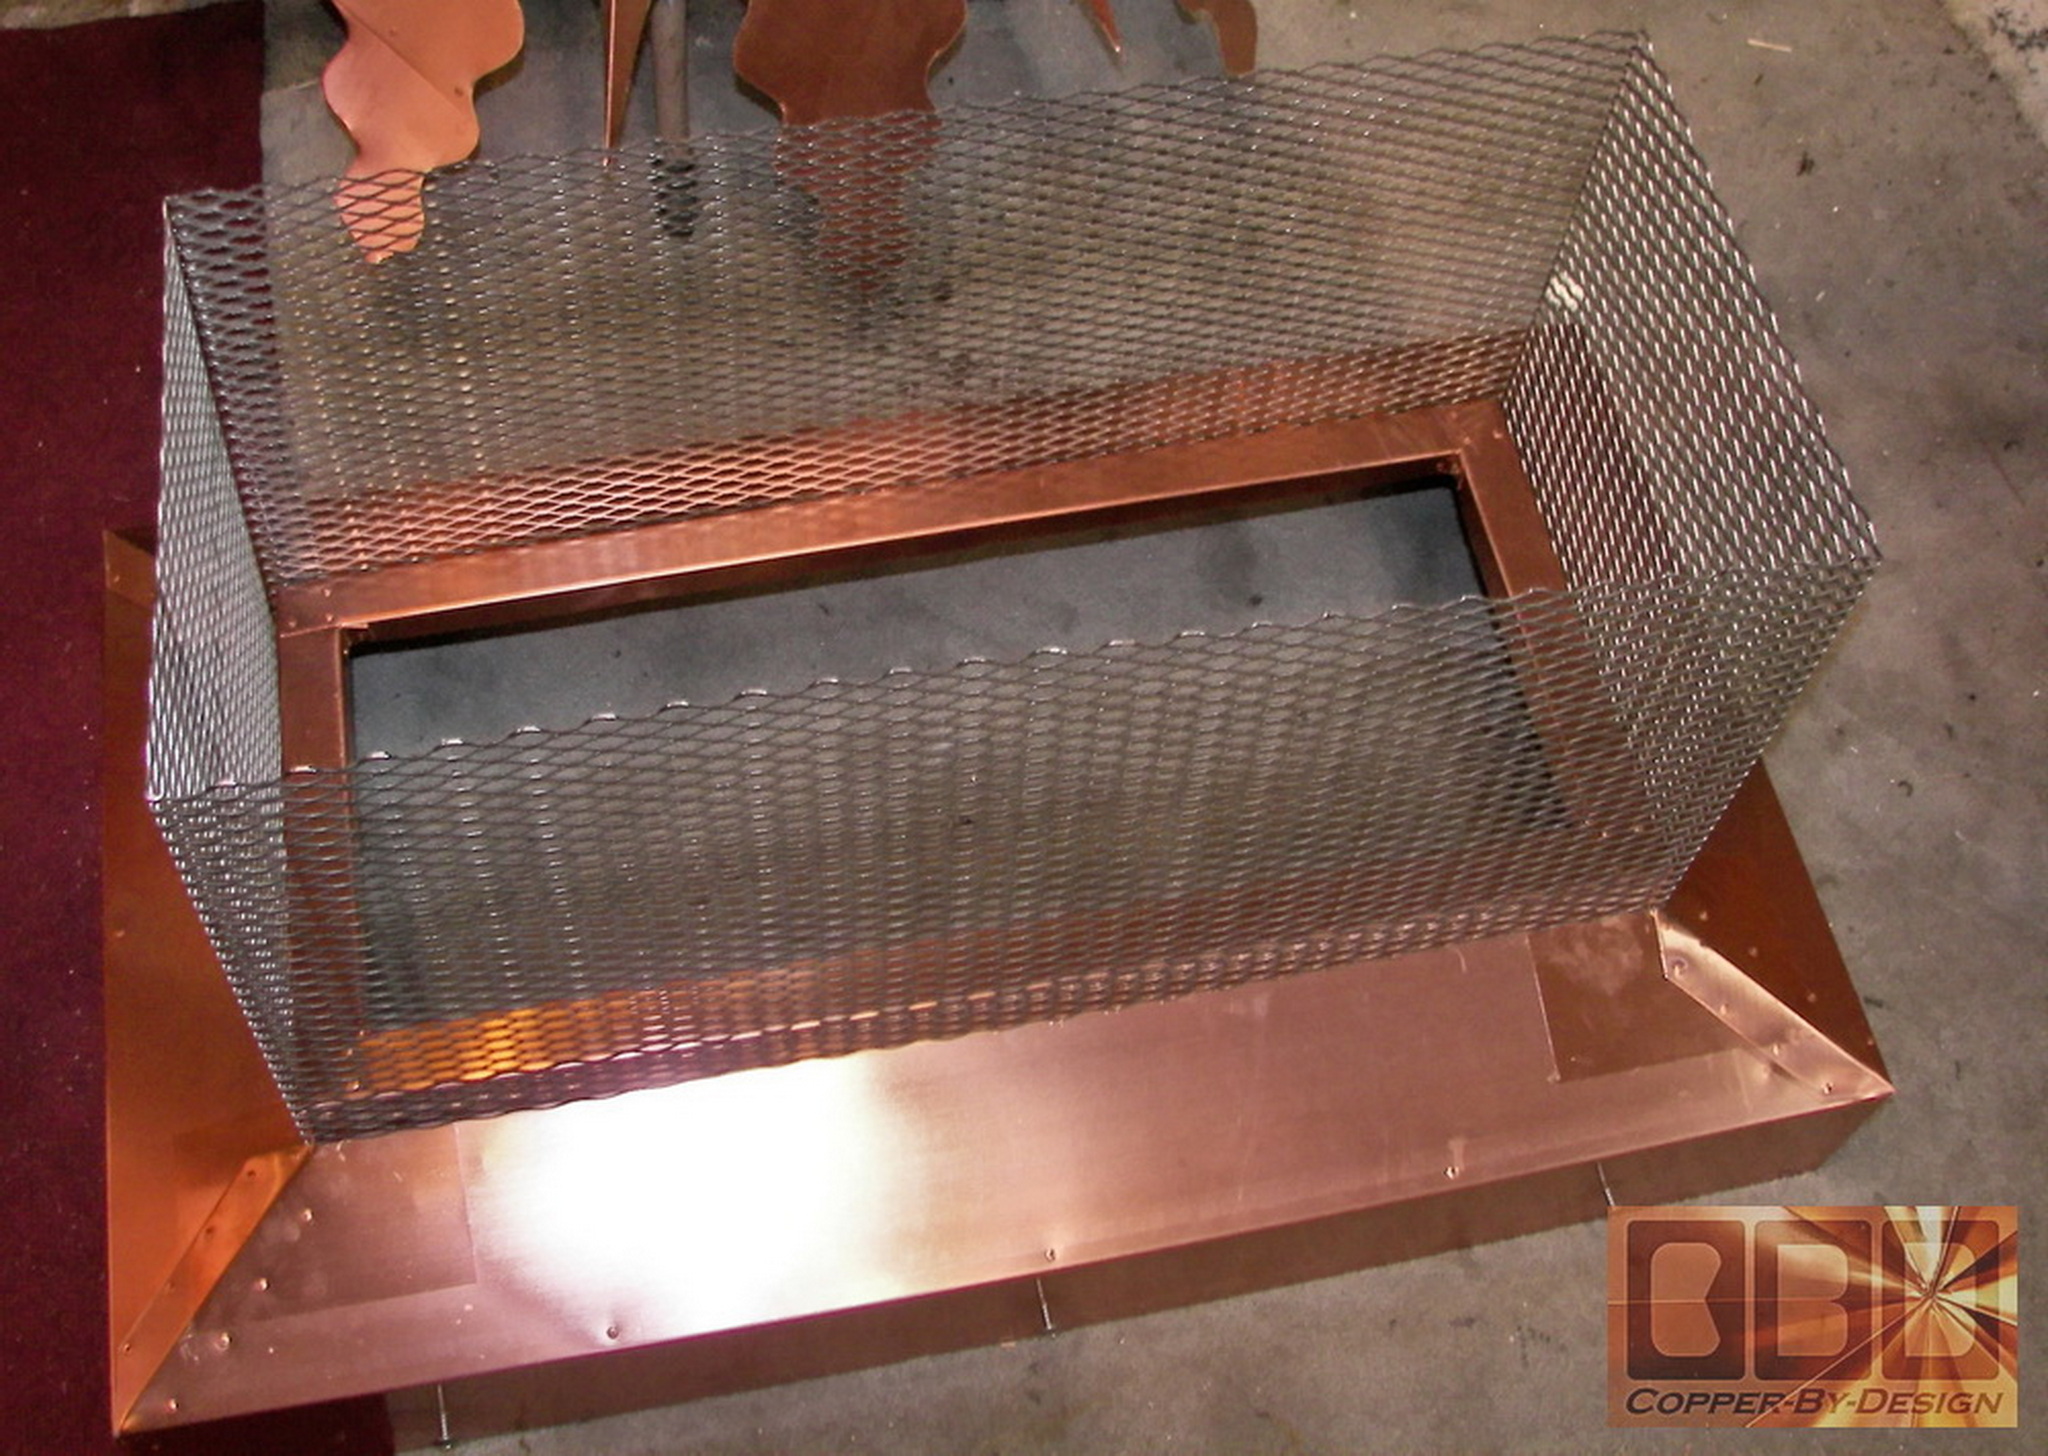
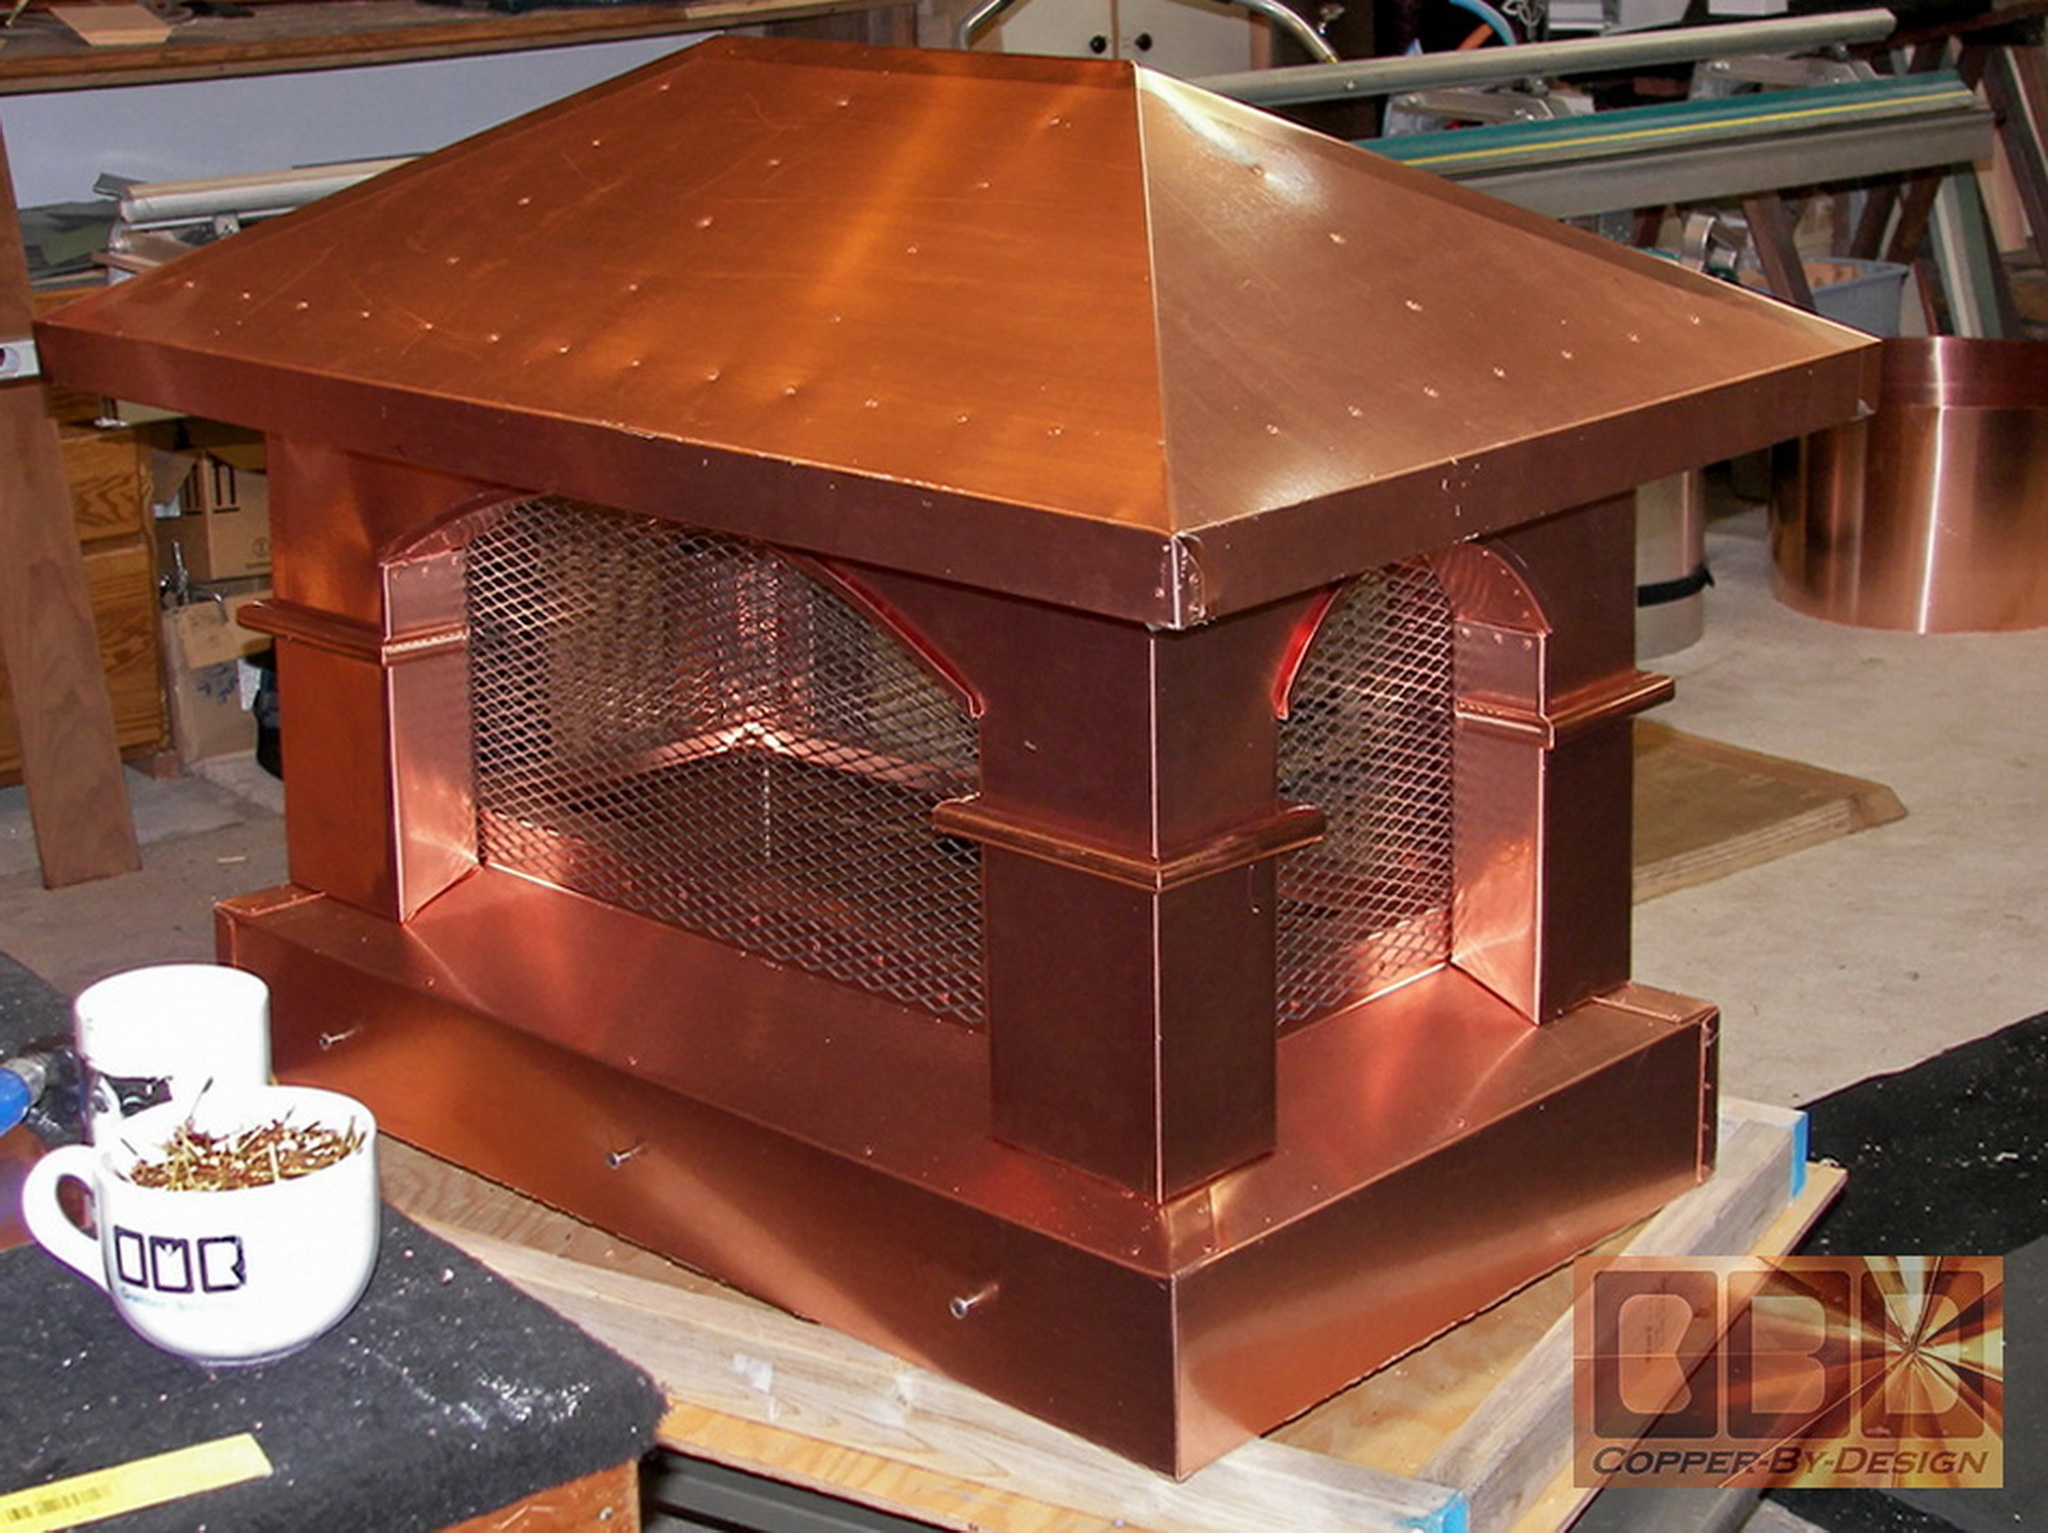
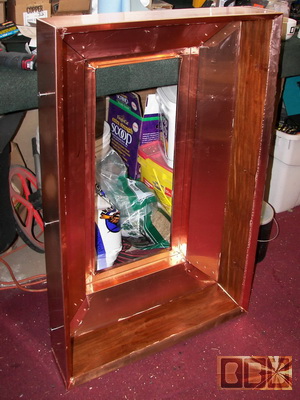
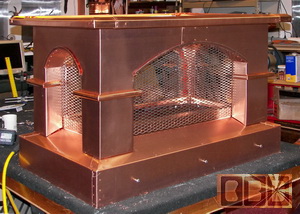
The inside of the base is 22" x 39" to fit over
this small brick chimney. I made this to resemble the Tuscan
arched style I make built to scale with the client's specifications.
This seems to be my most popular design. I show several different examples
here on our web site to show the different sizes for price comparison,
and there are minor differences and improved construction on each one.
I shared about 26 digital photos with the client through e-mail
during the construction process.
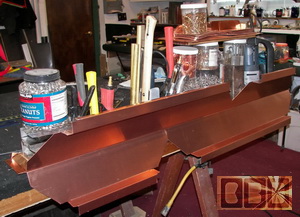 
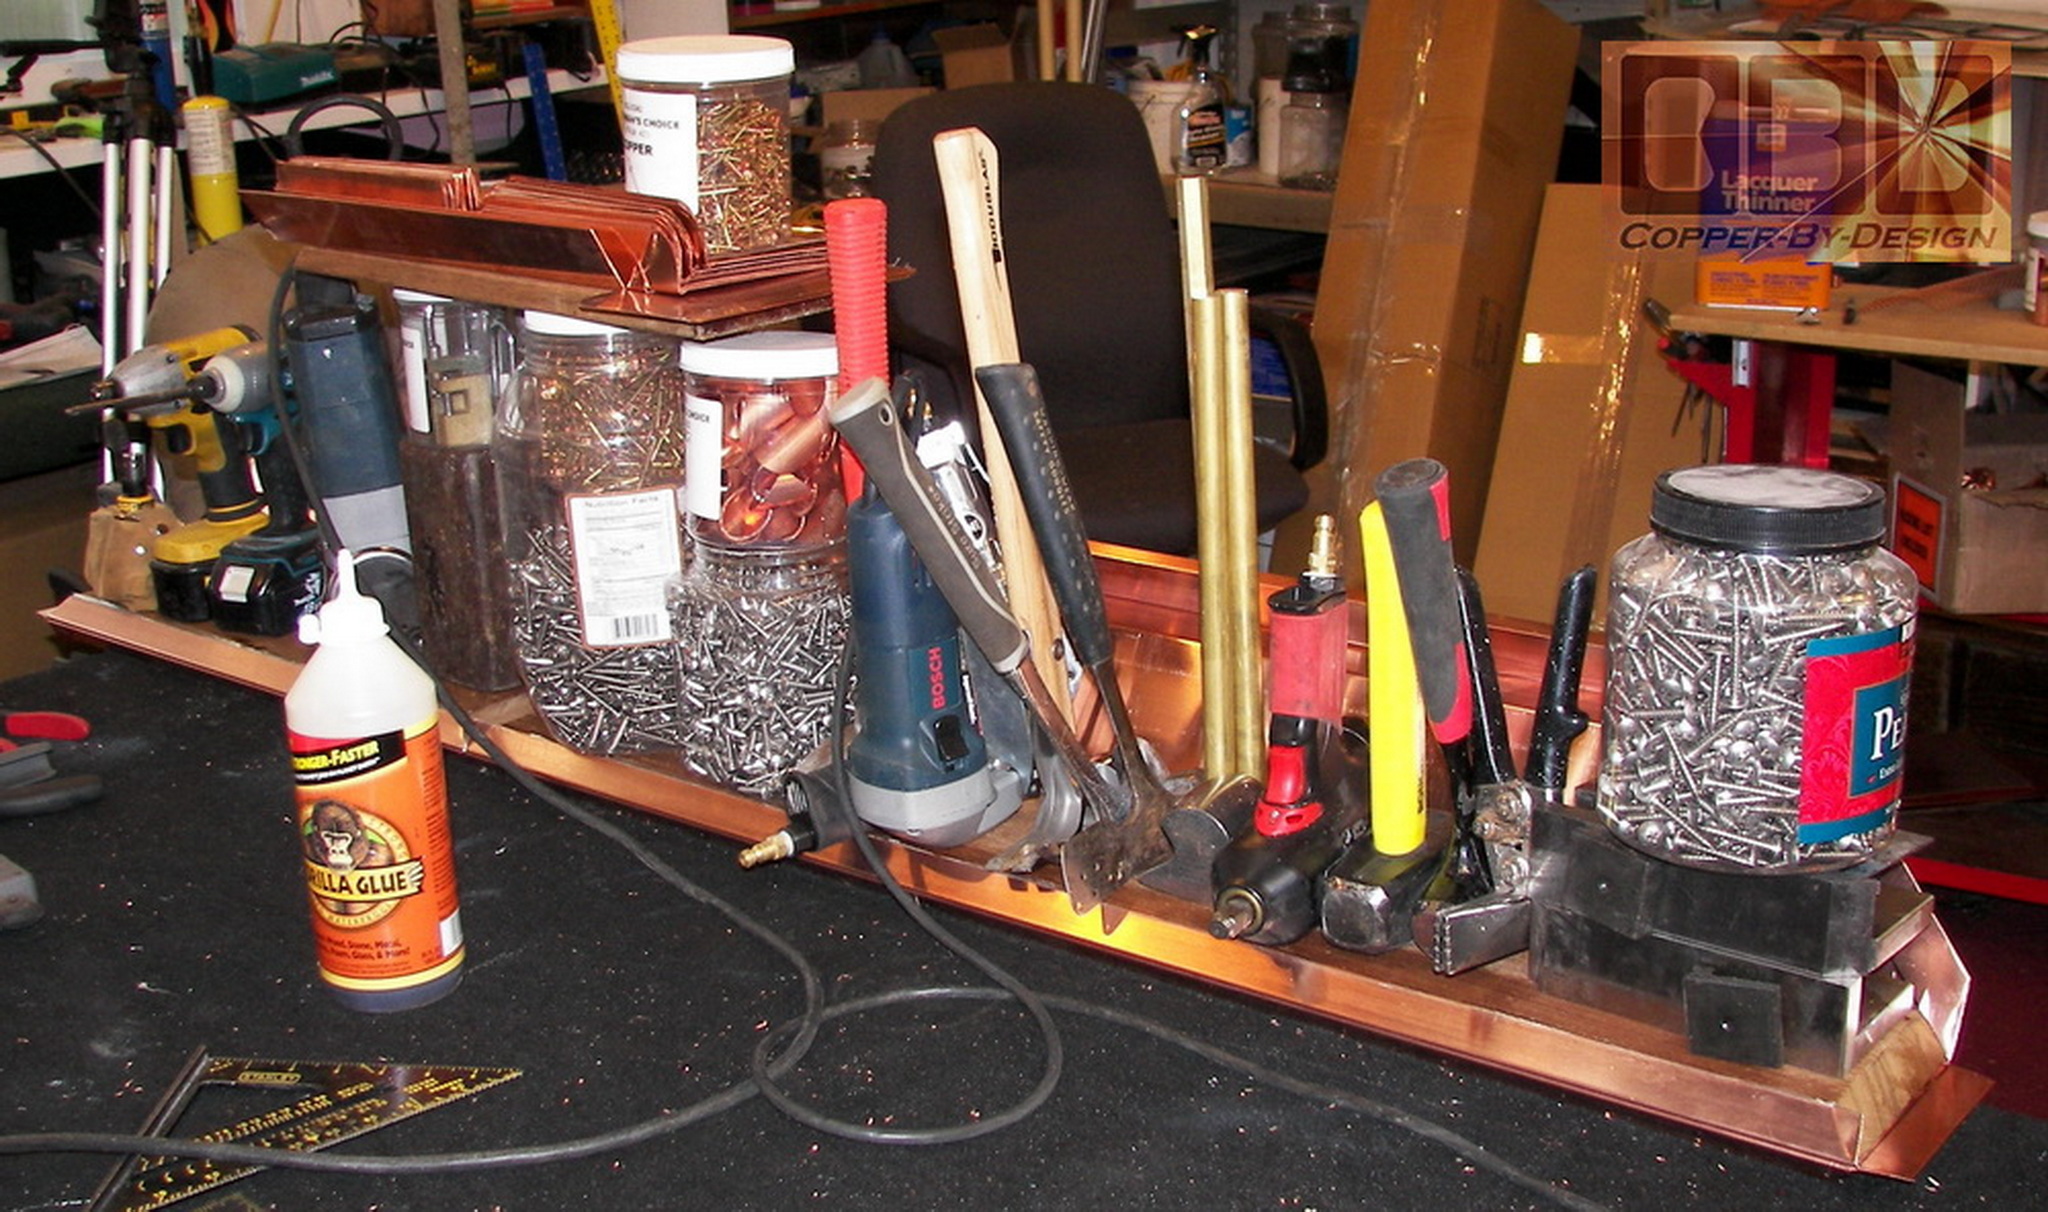
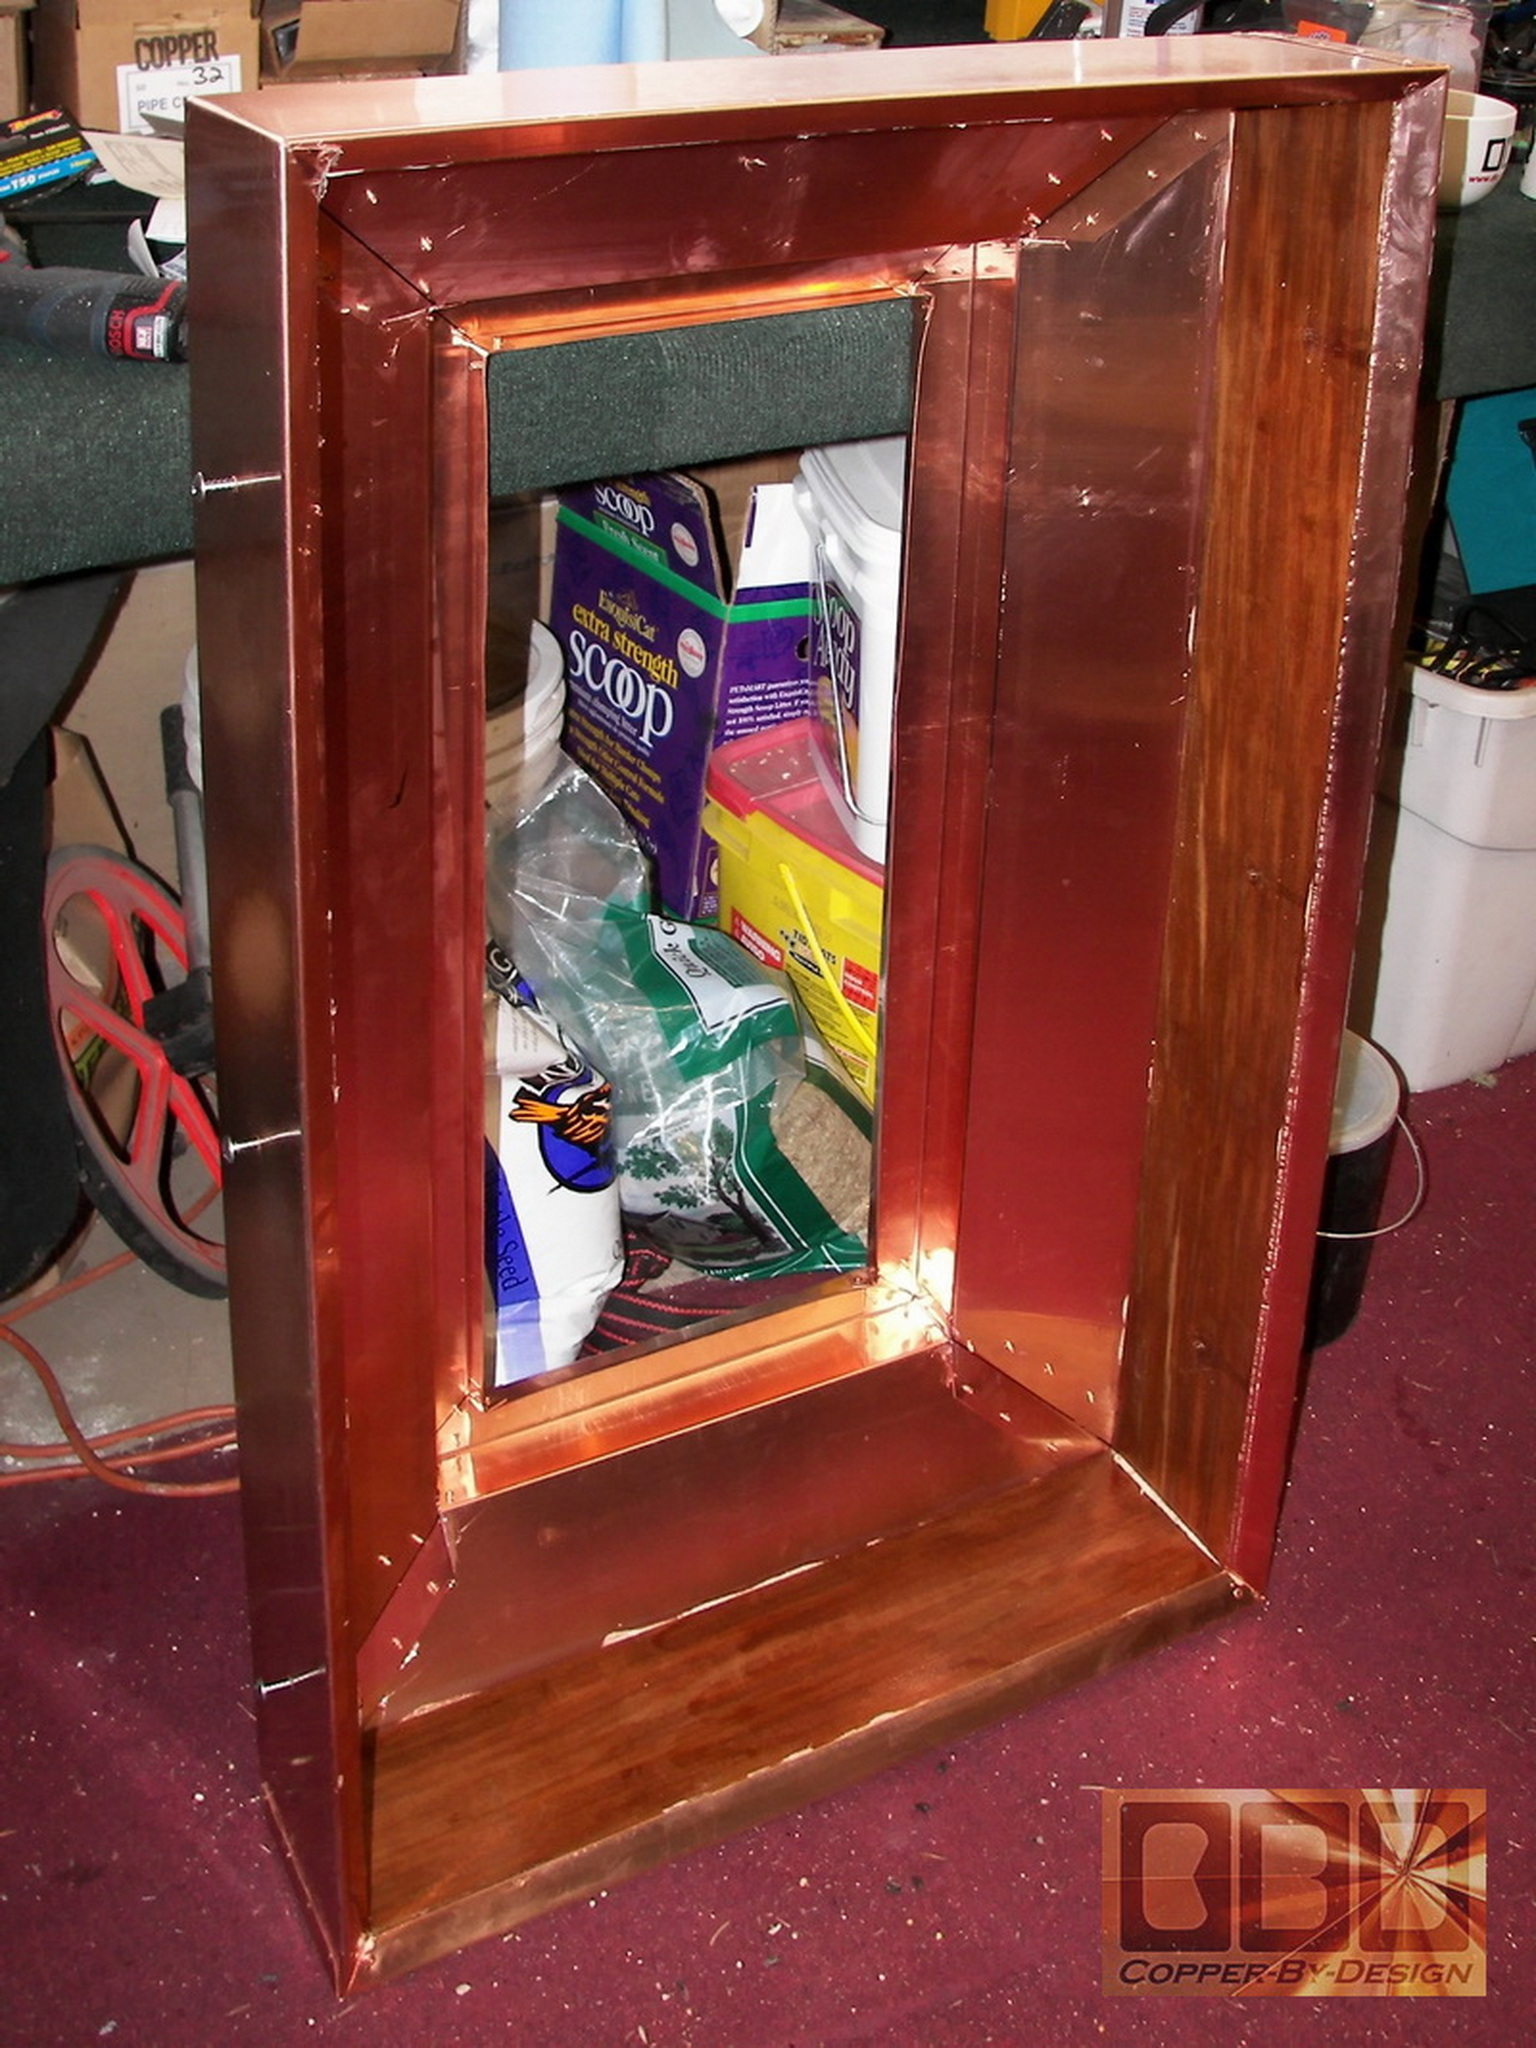
One detail I do that is
different from most any other fabricator is to add these 3/4"
thick solid Ipe hardwood boards inside the copper base for better strength
and to hold the stainless steel screws tight to the sides of the chimney.
It is attached with some expanding gorilla glue and rivets top and bottom.
I piled the sides with heavy weight while the glue sets over night.
Then the inside surface is varnished after the 2 halves are sealed together.
|
|
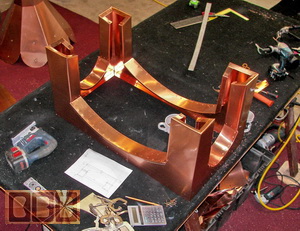 
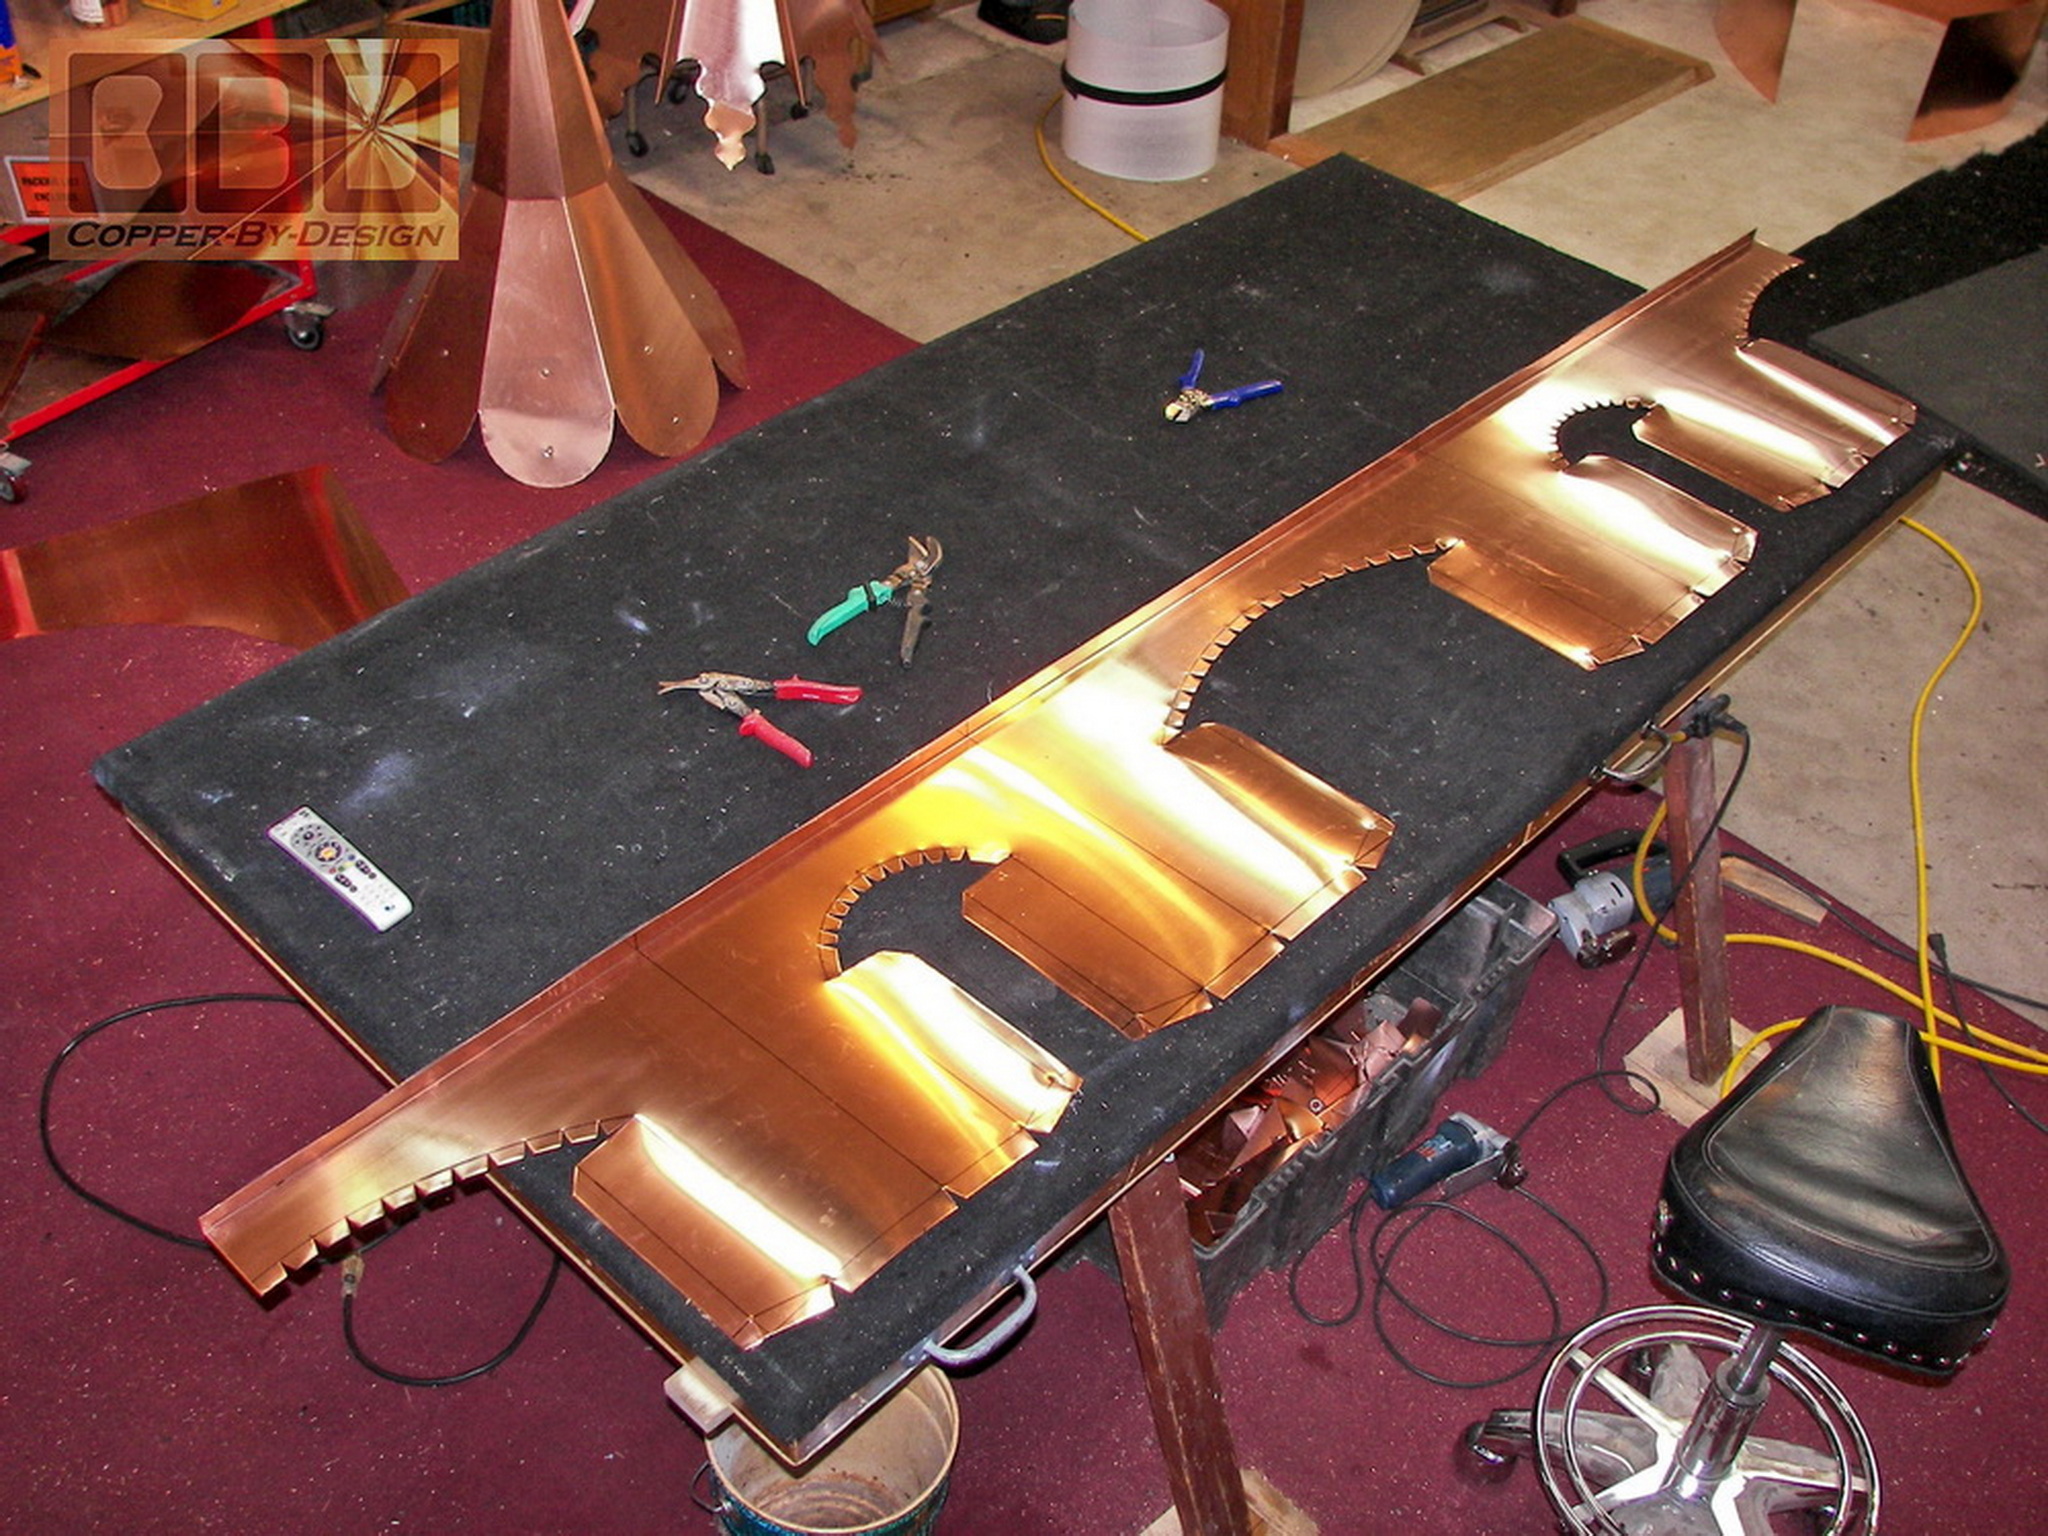
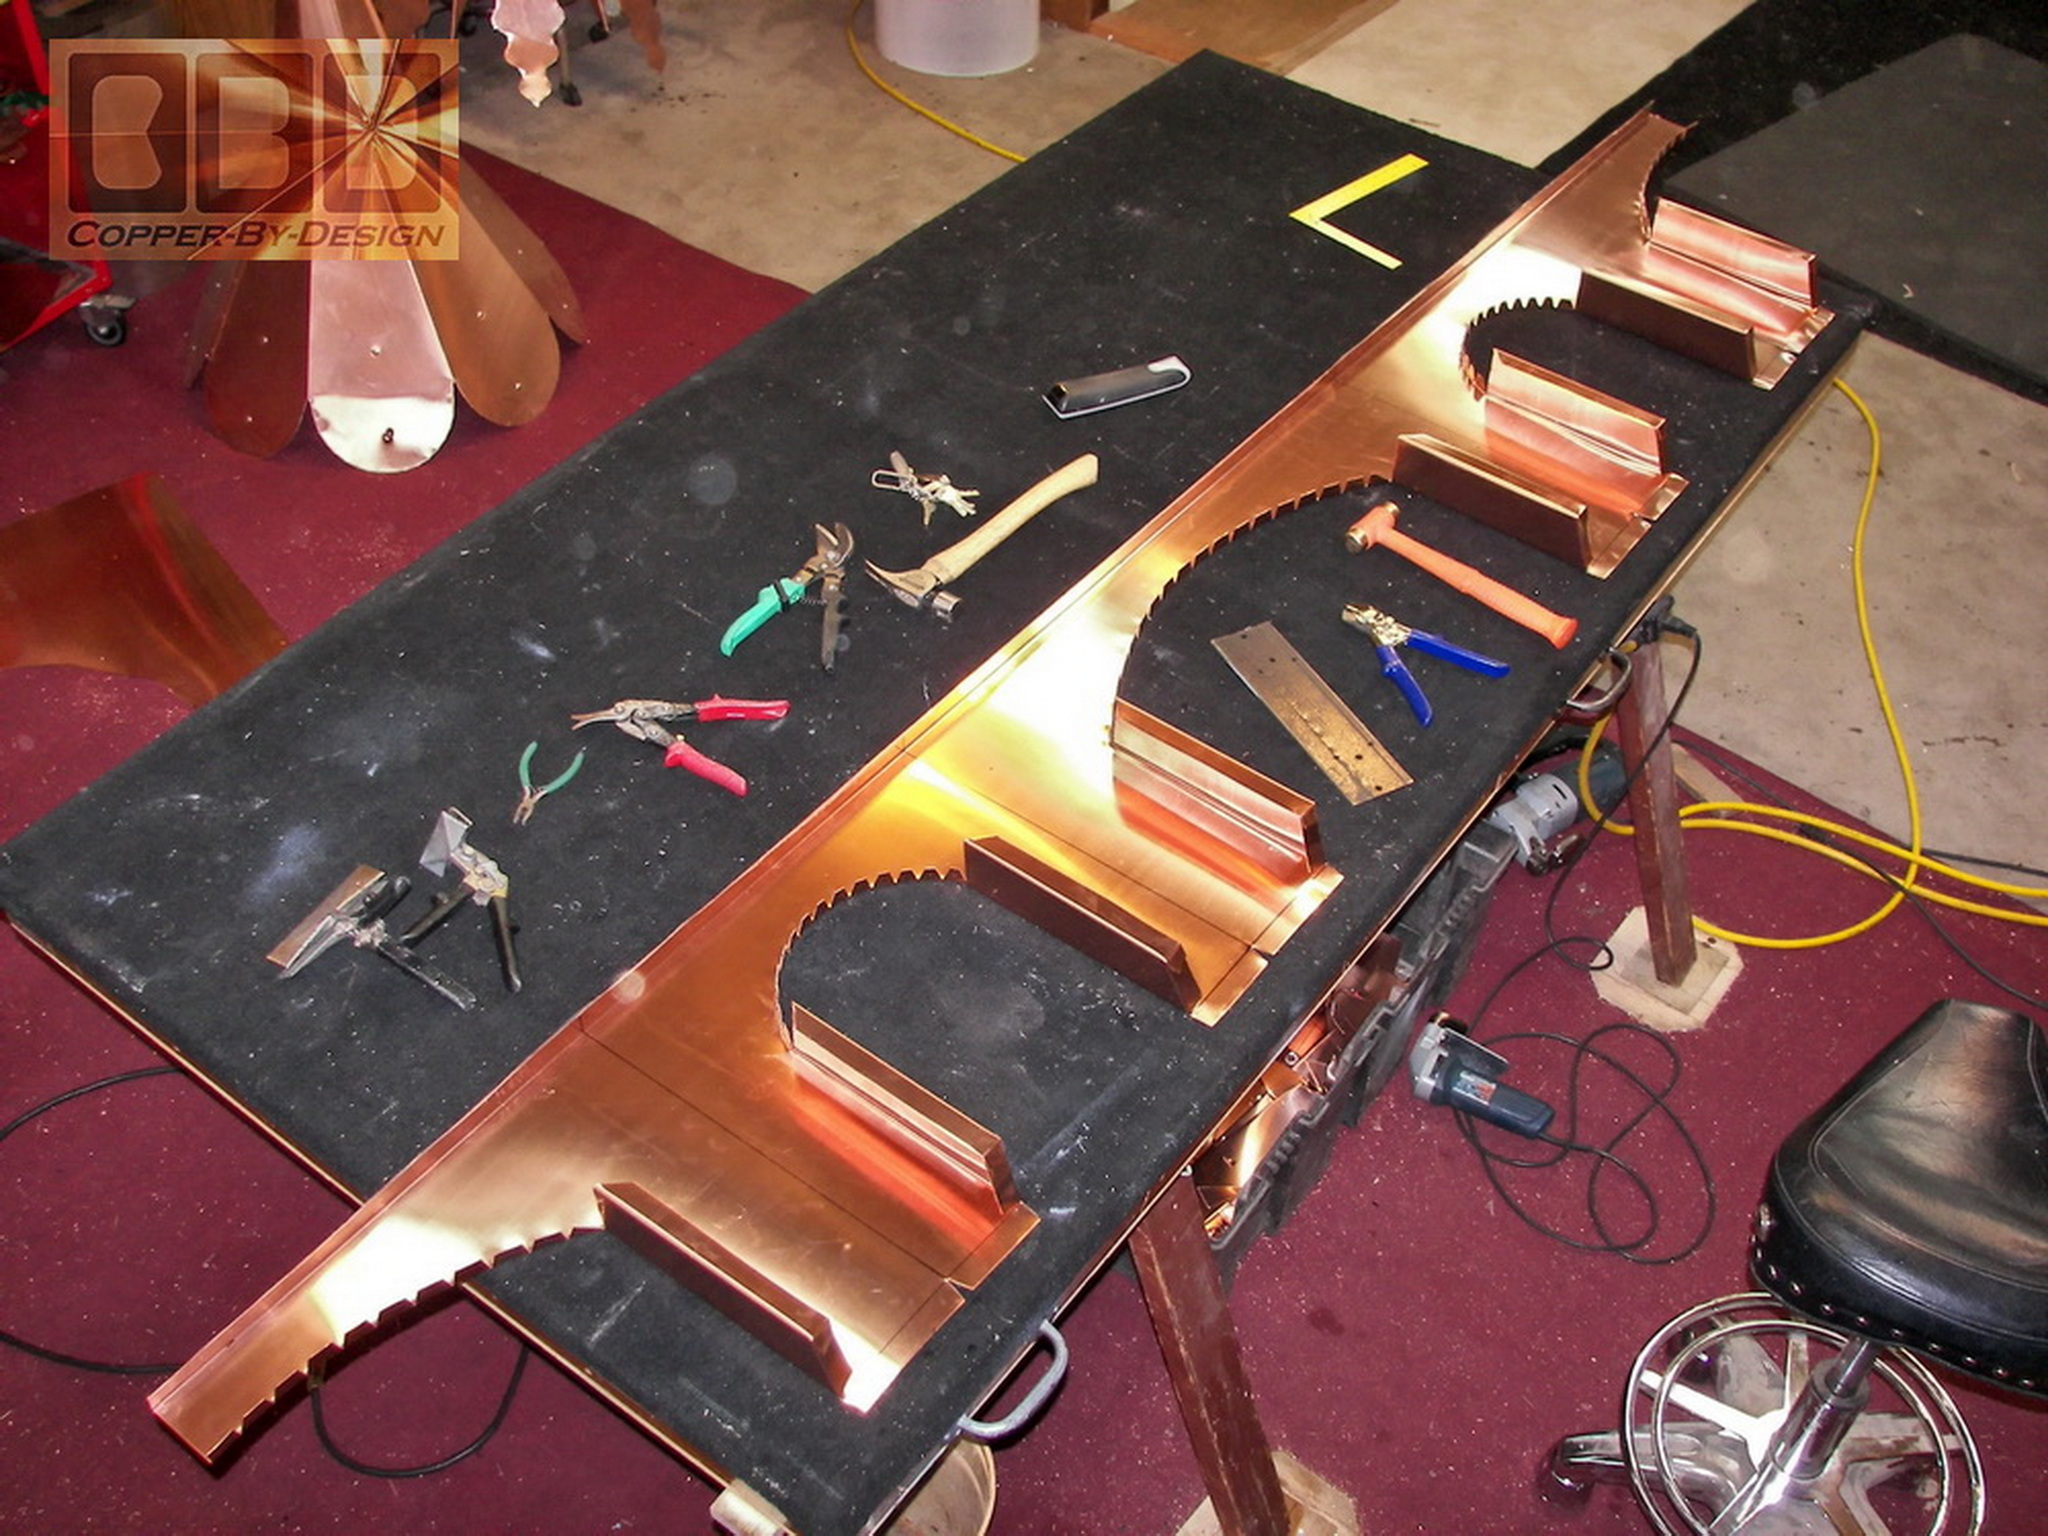
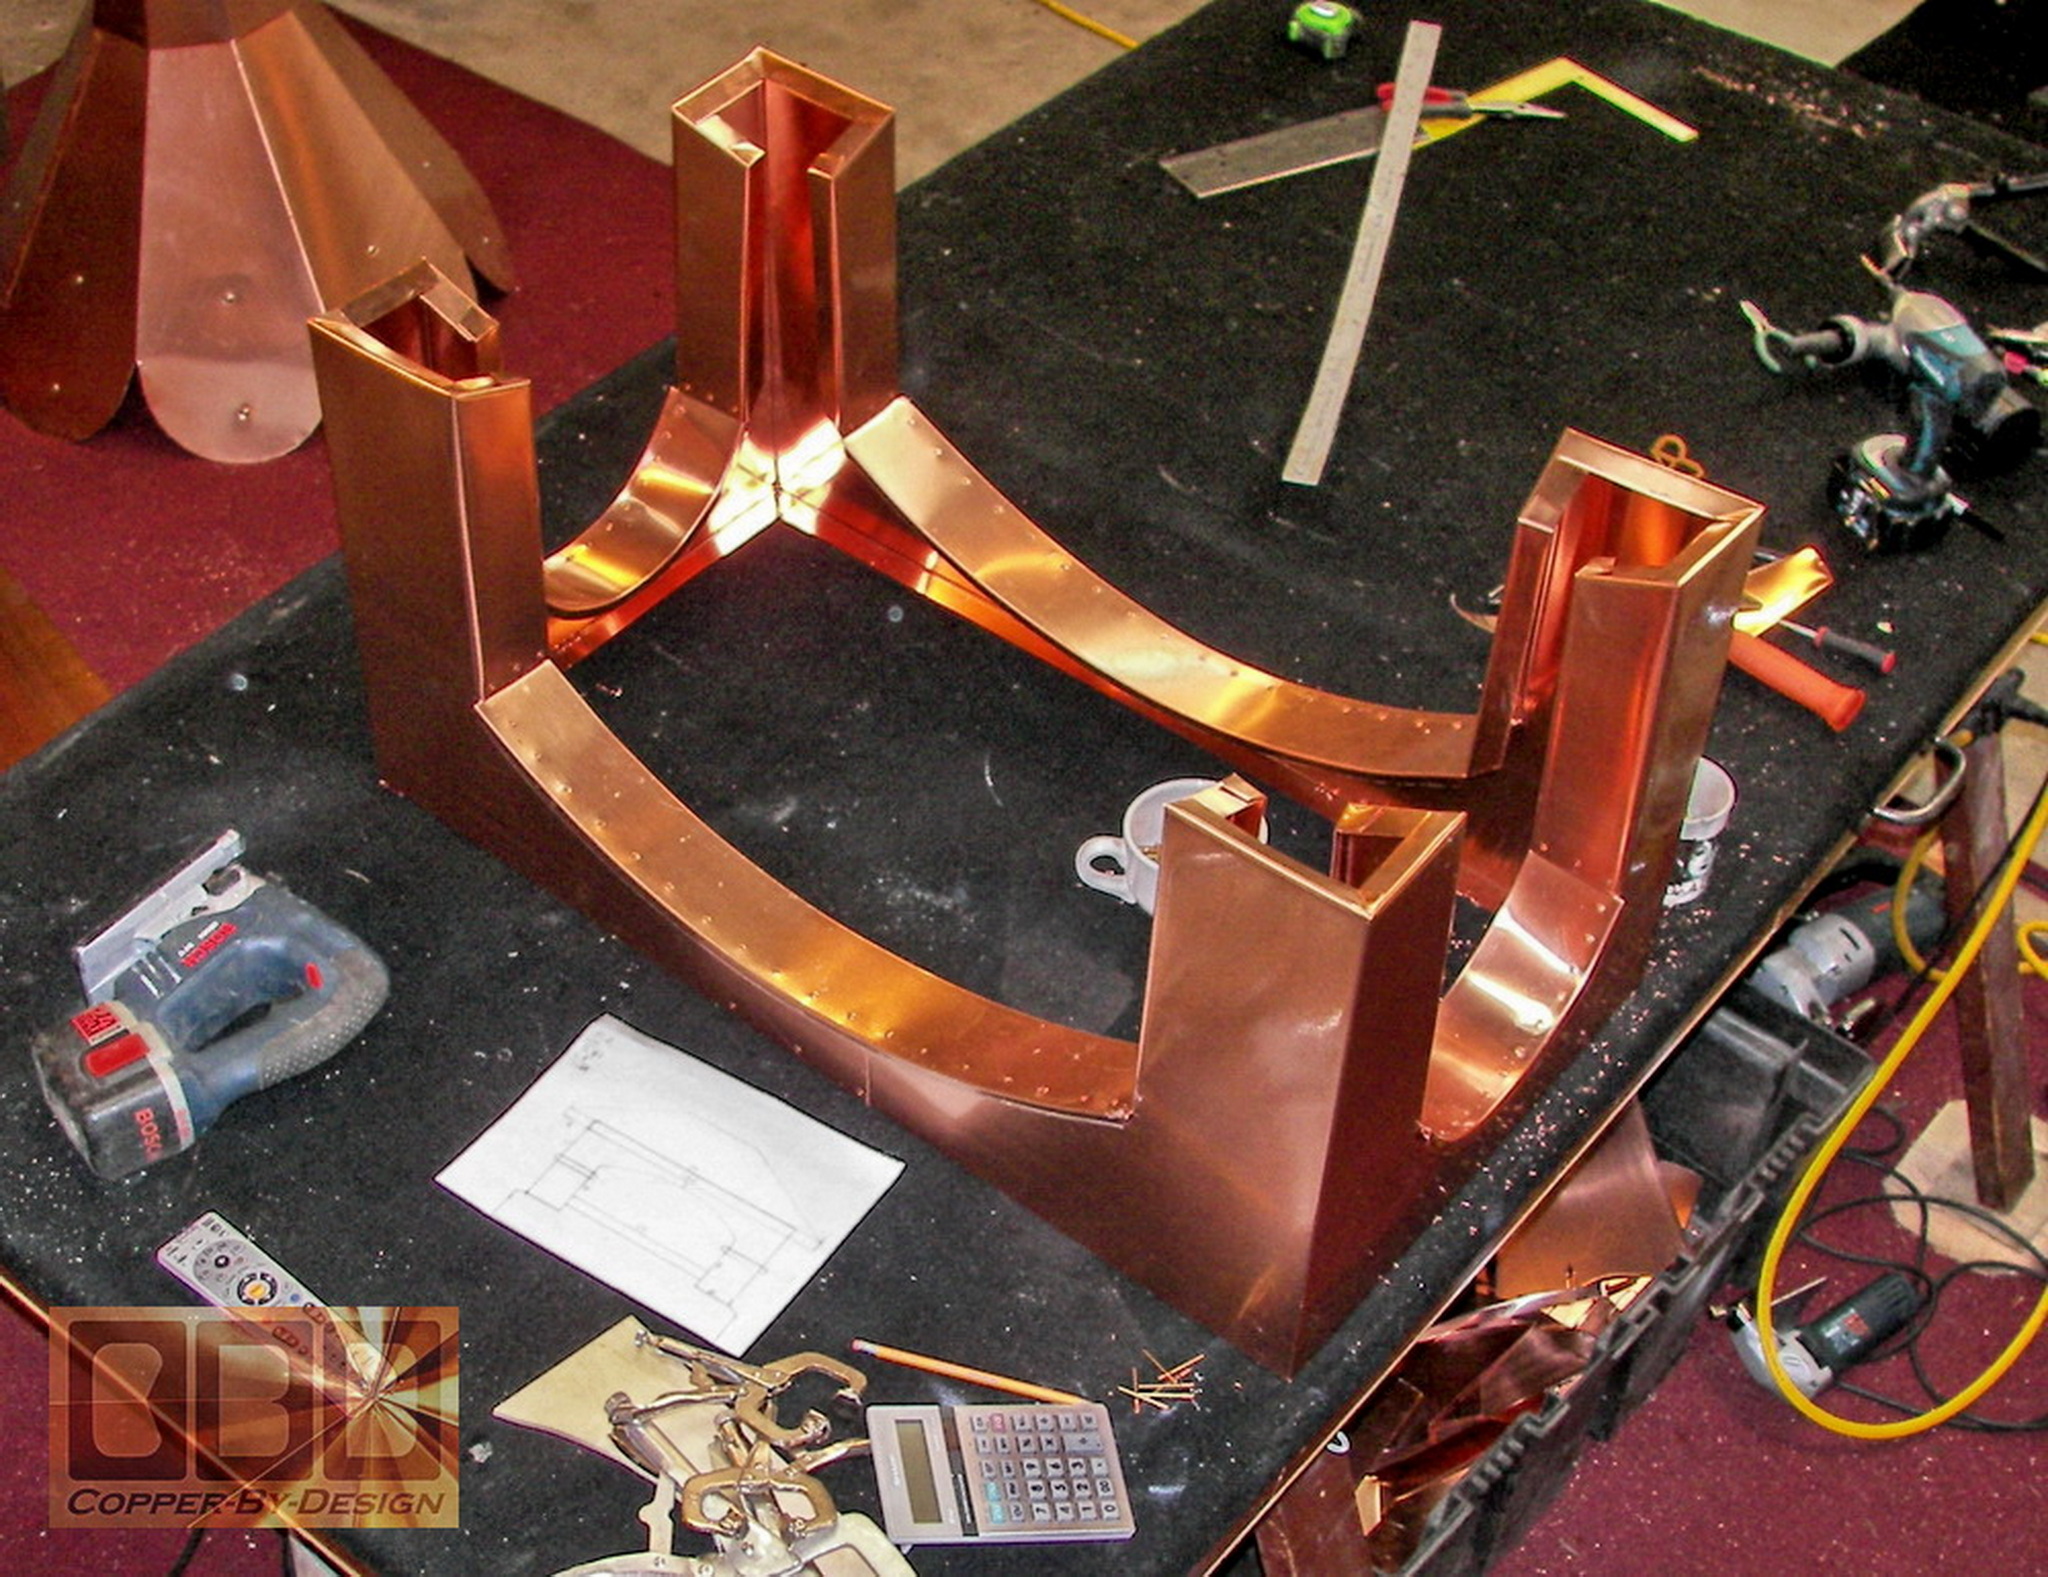
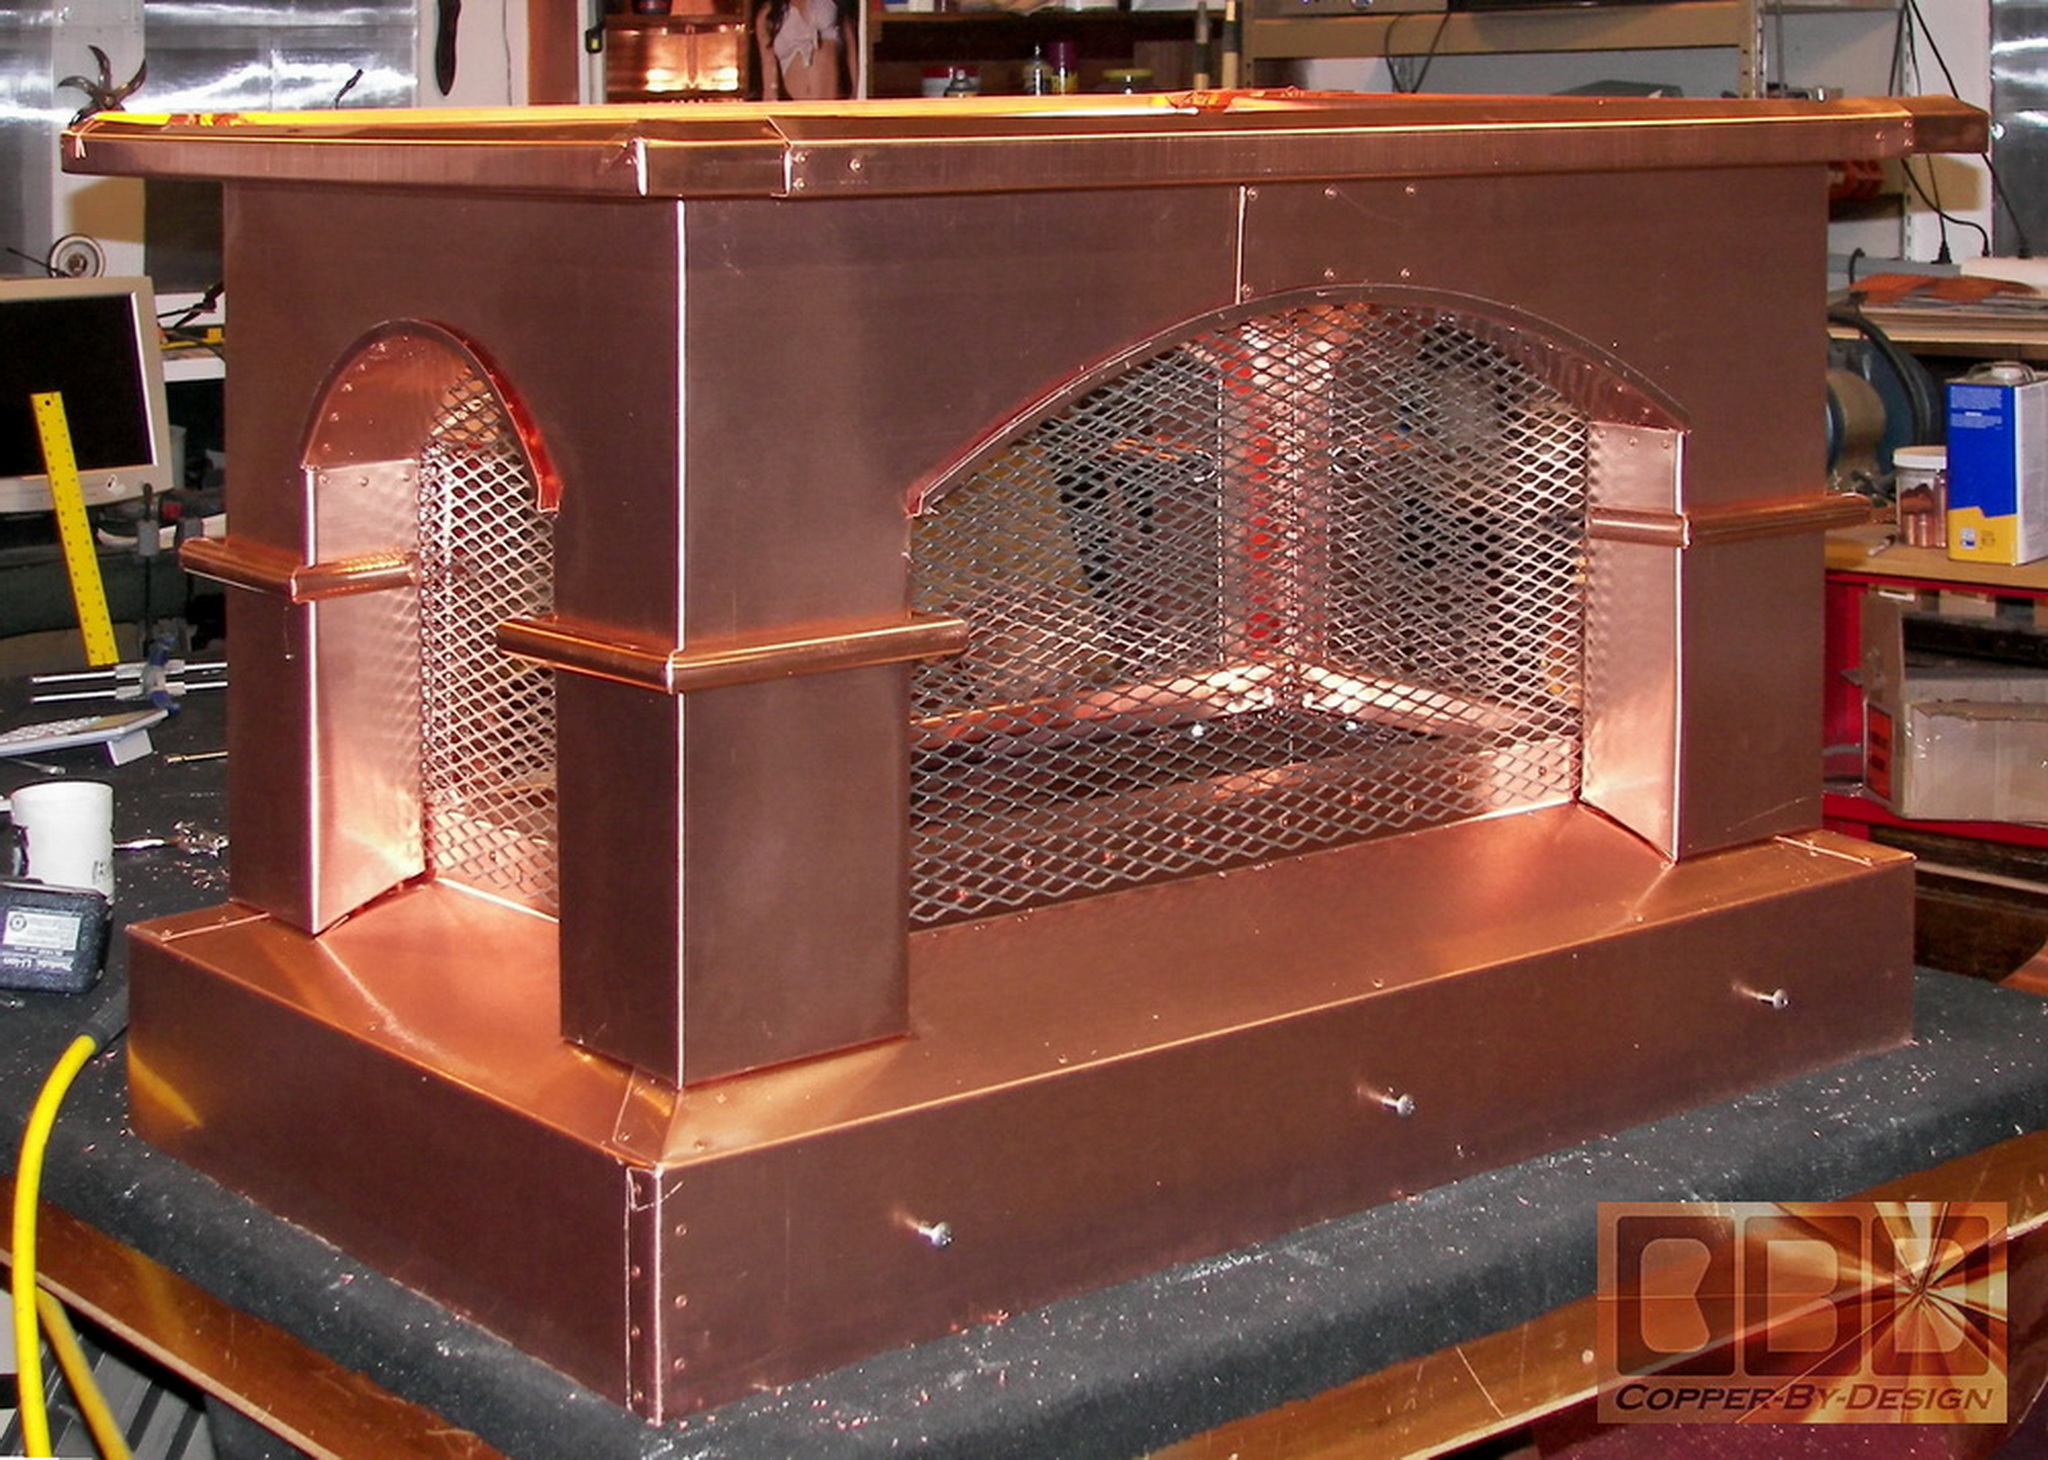
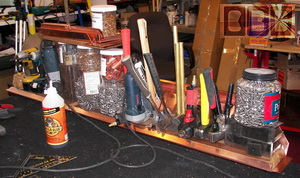
The arch liners get attached.
These pipes shown in the right photo below are pretty much just
decorative, but take me nearly a full days work to measure each of the
16 sides, cut, fold, and attach these pipes in a single piece to each
of the 4 columns with the 14 rivets from inside the columns. Alignment
of the rivet holes are very tricky.
 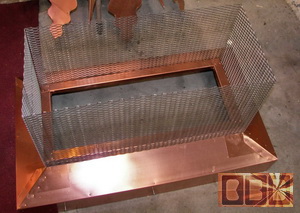
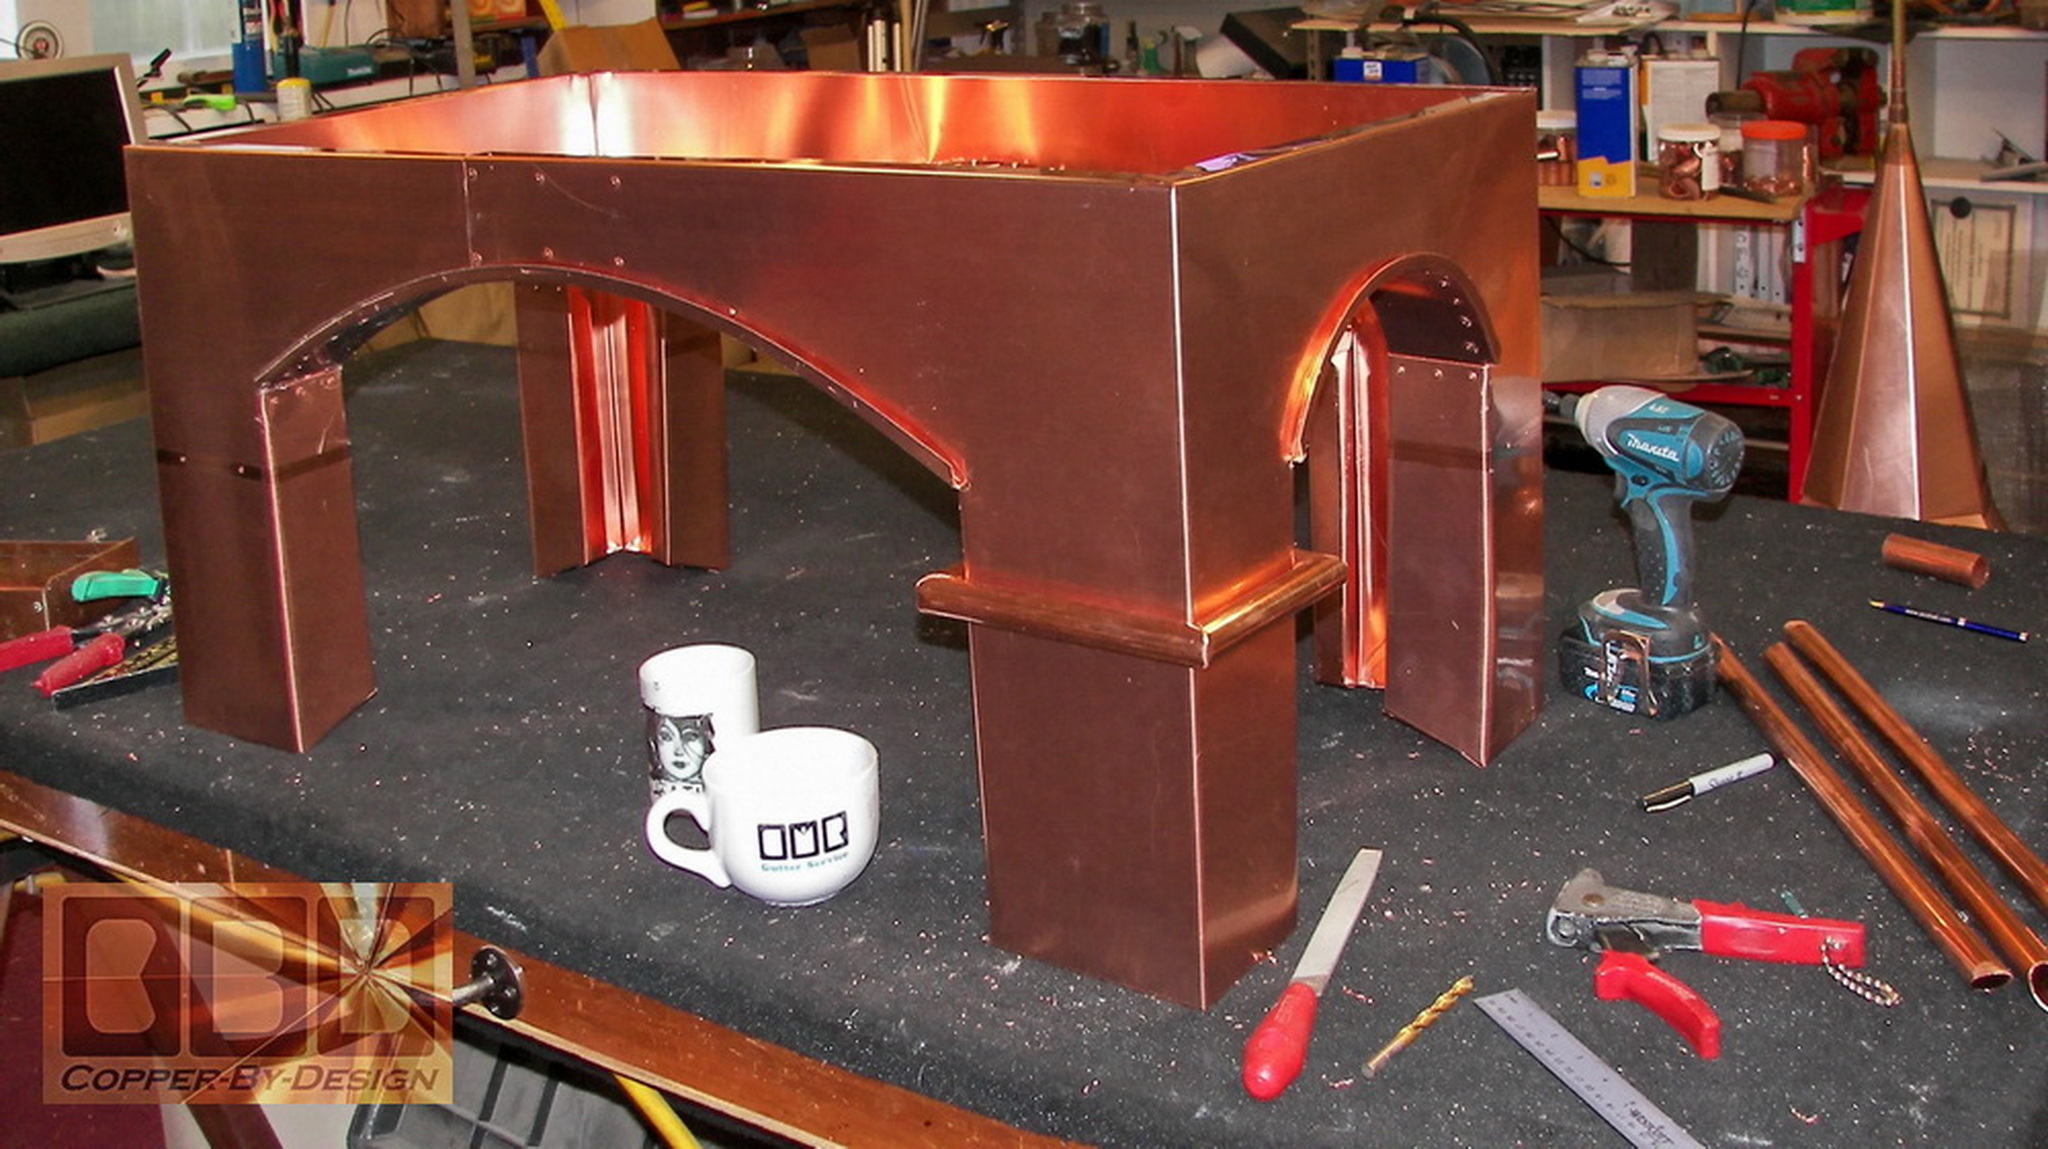
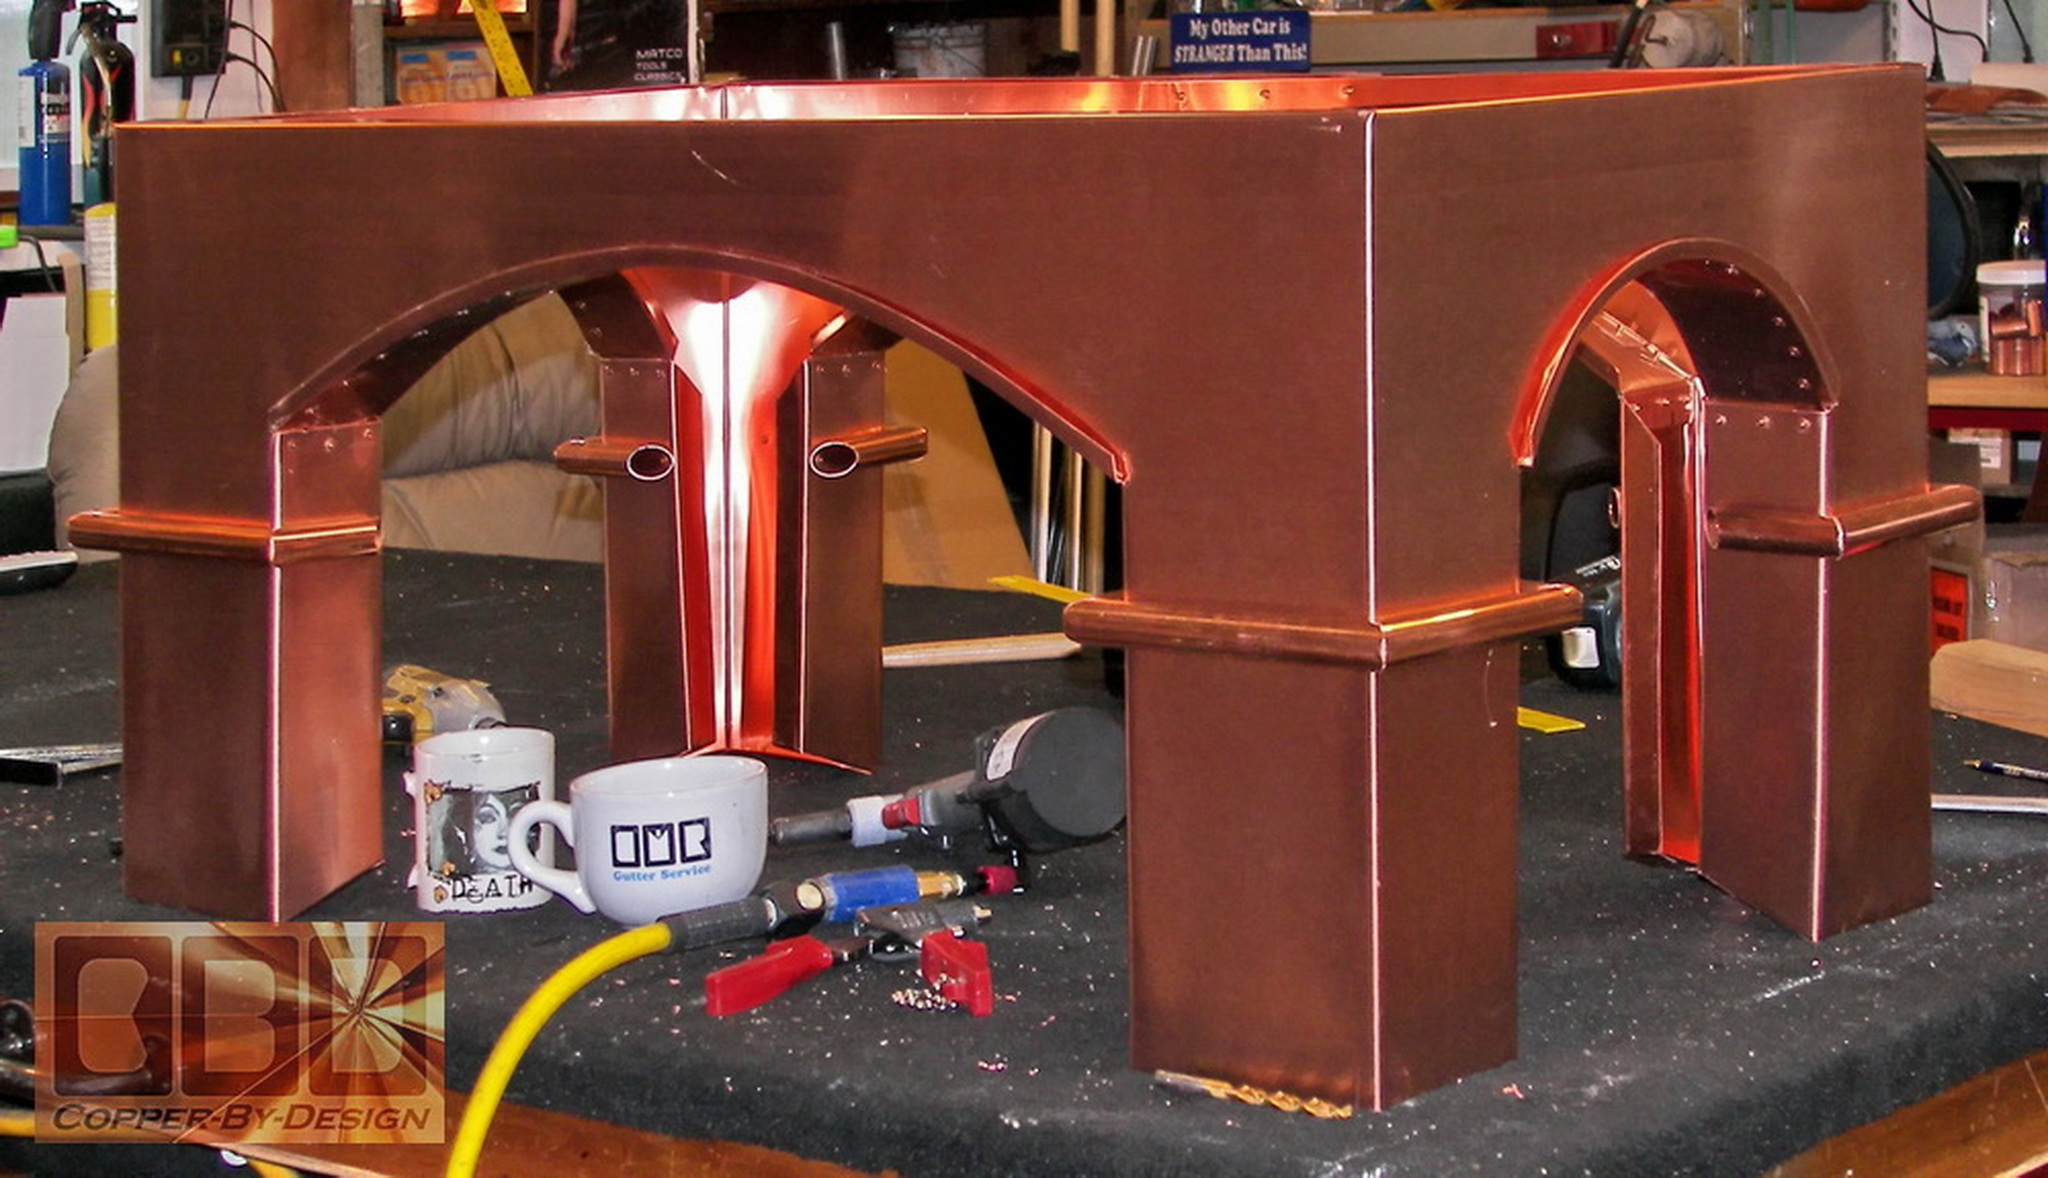
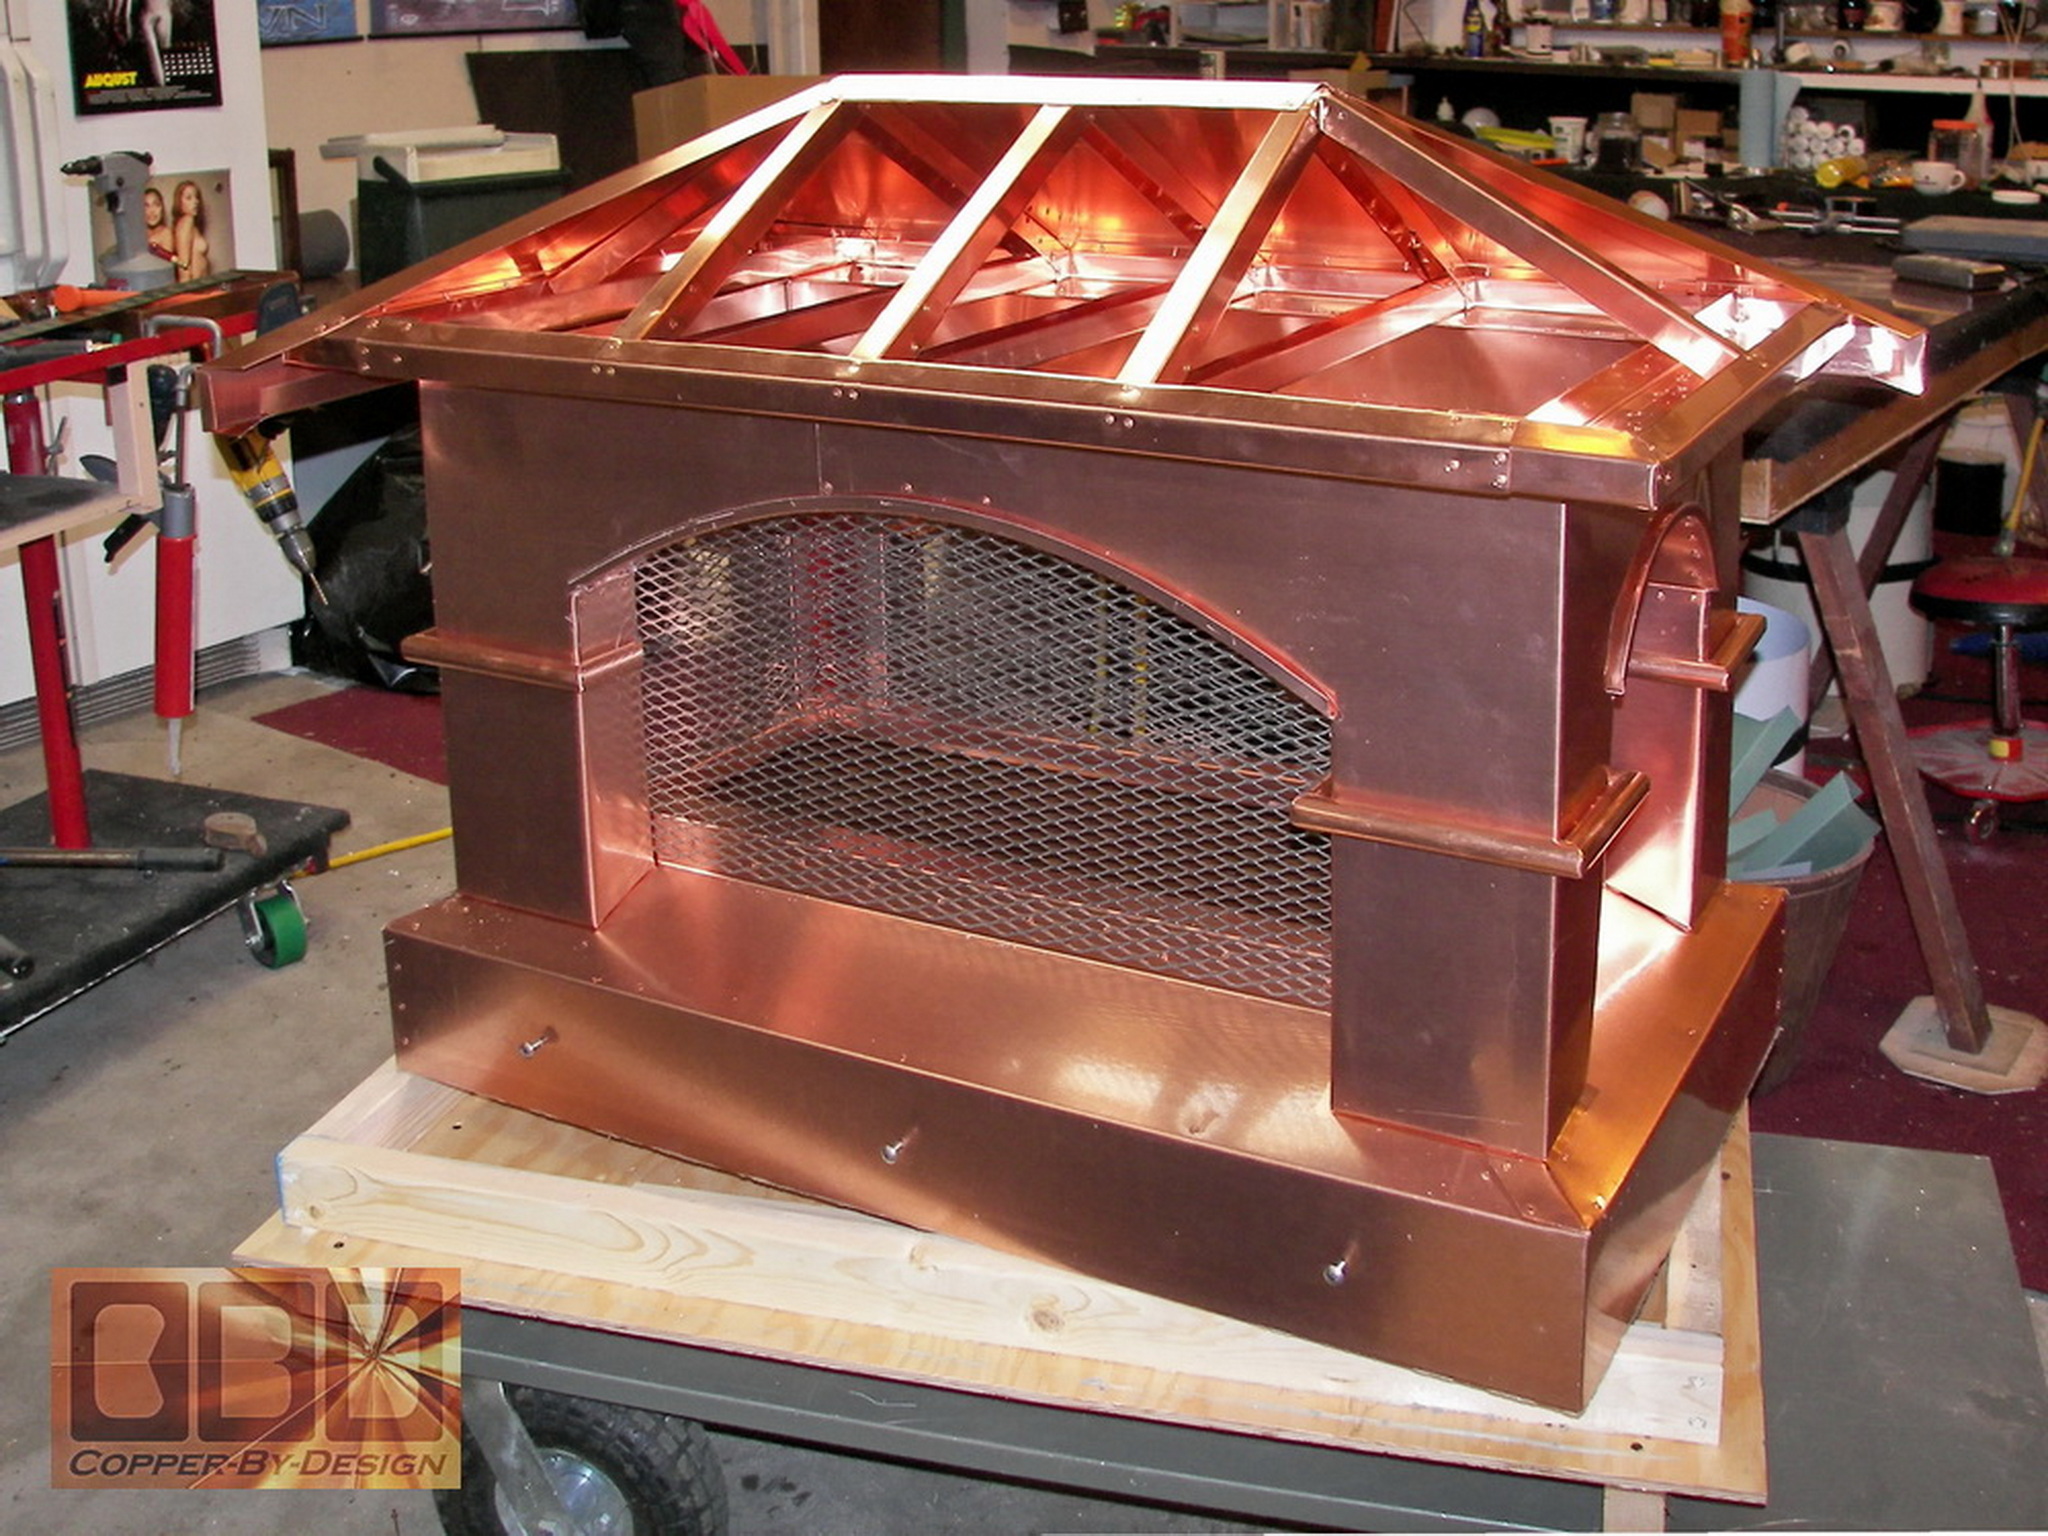
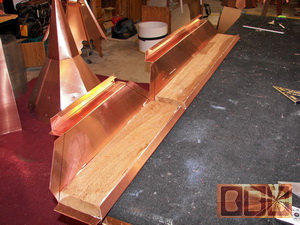
Here is the mid section being attached to the
base with the 16 gauge stainless steel screen inside. I also rivet the
screen to the inside of the mid section to add a good deal of strength
to this chimney cap. The second photo below shows the 5" wide eave attached
to the top of the mid section.
|
|
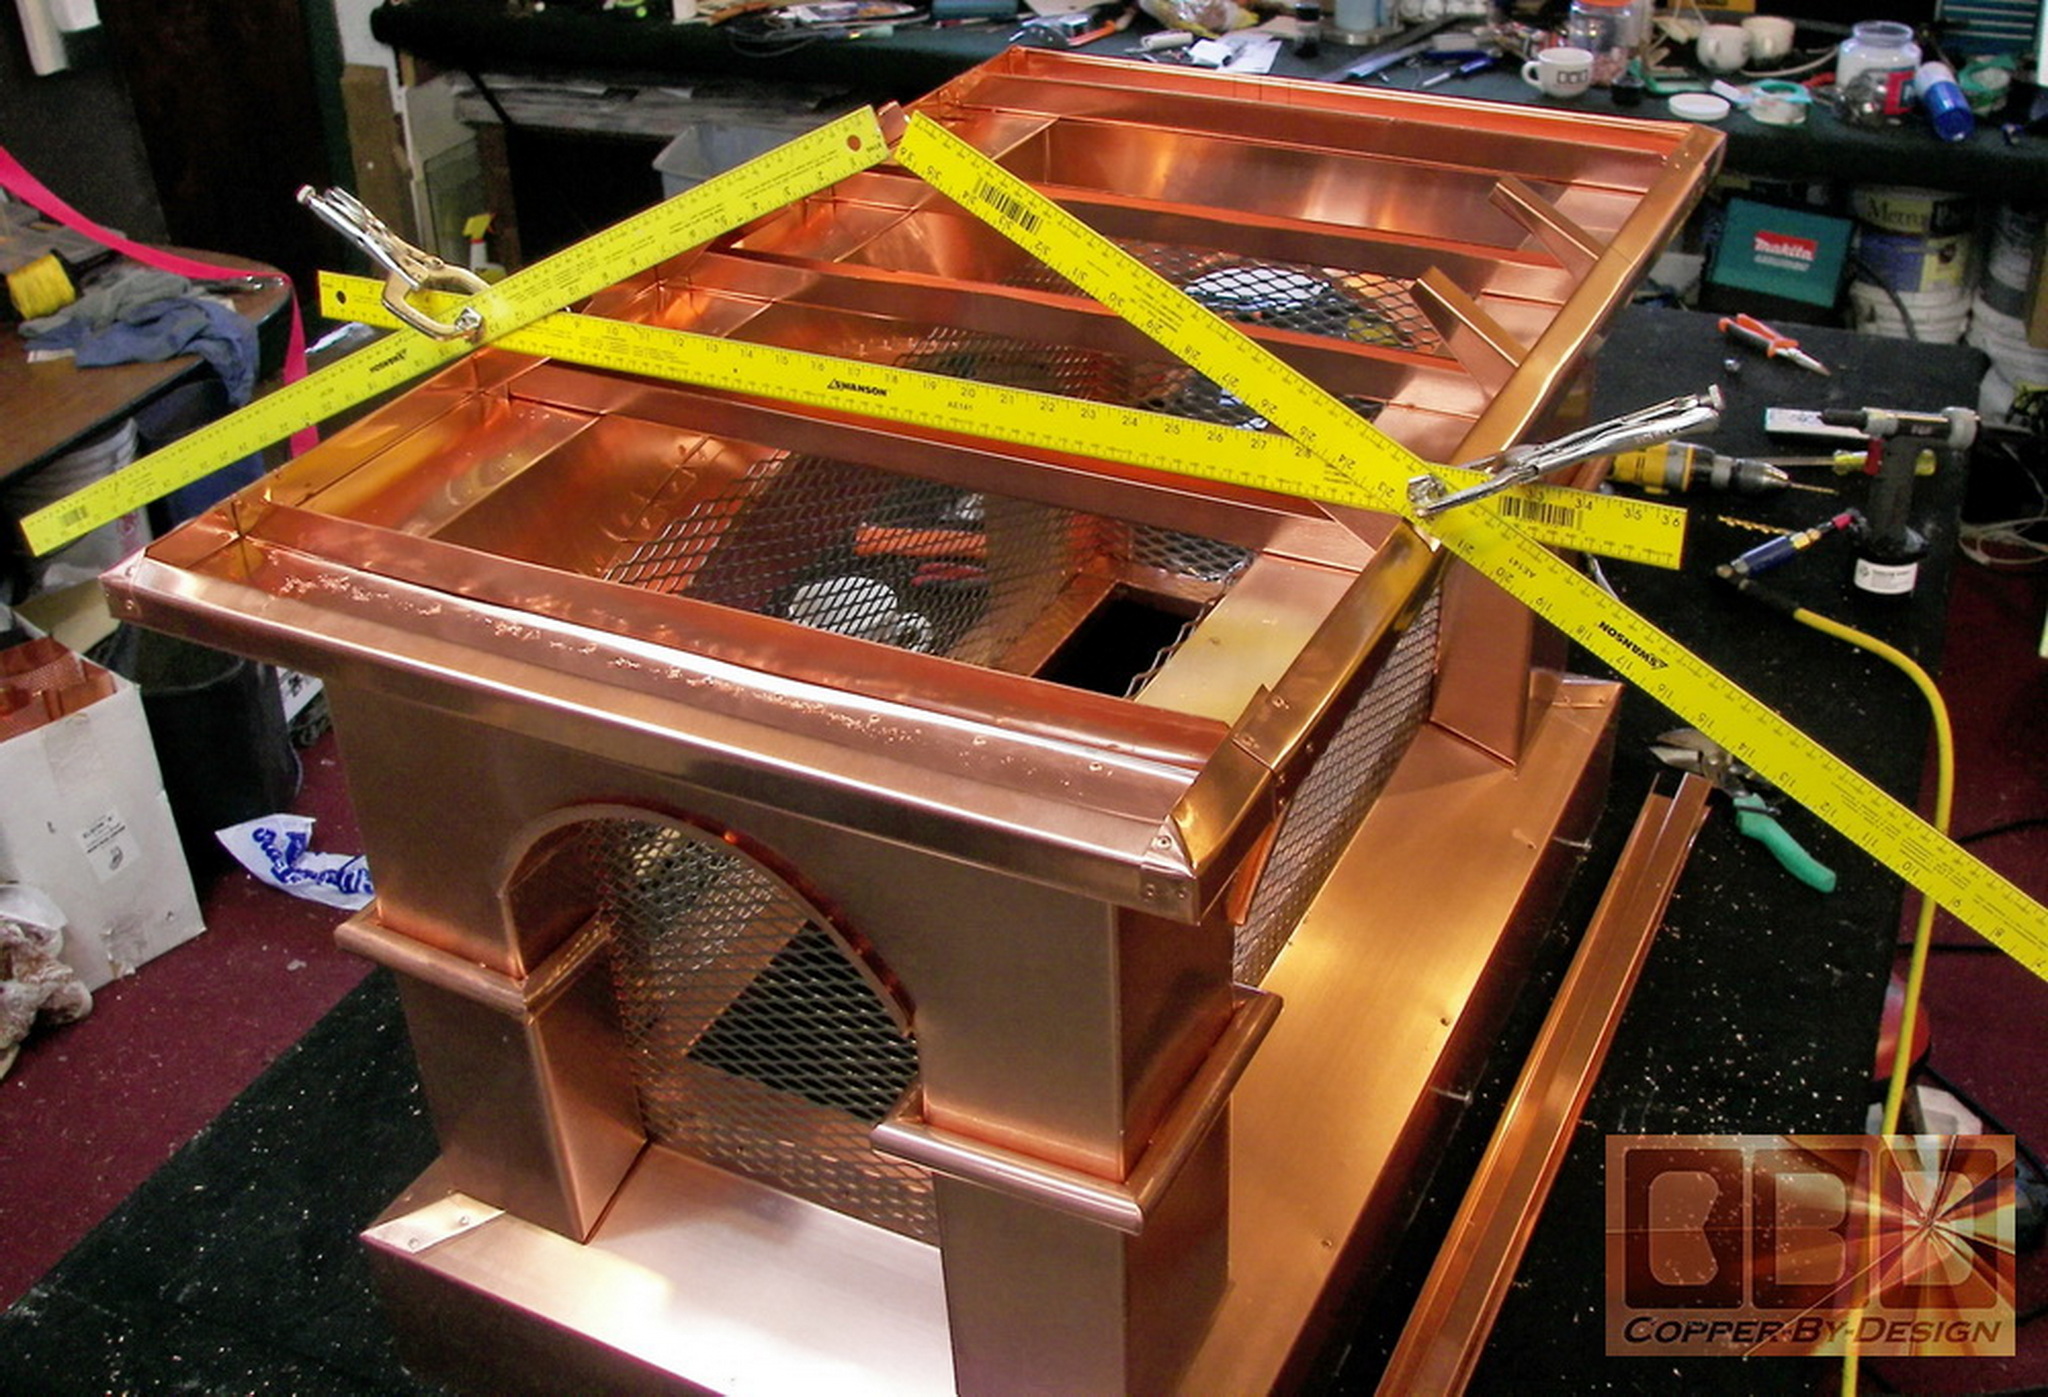
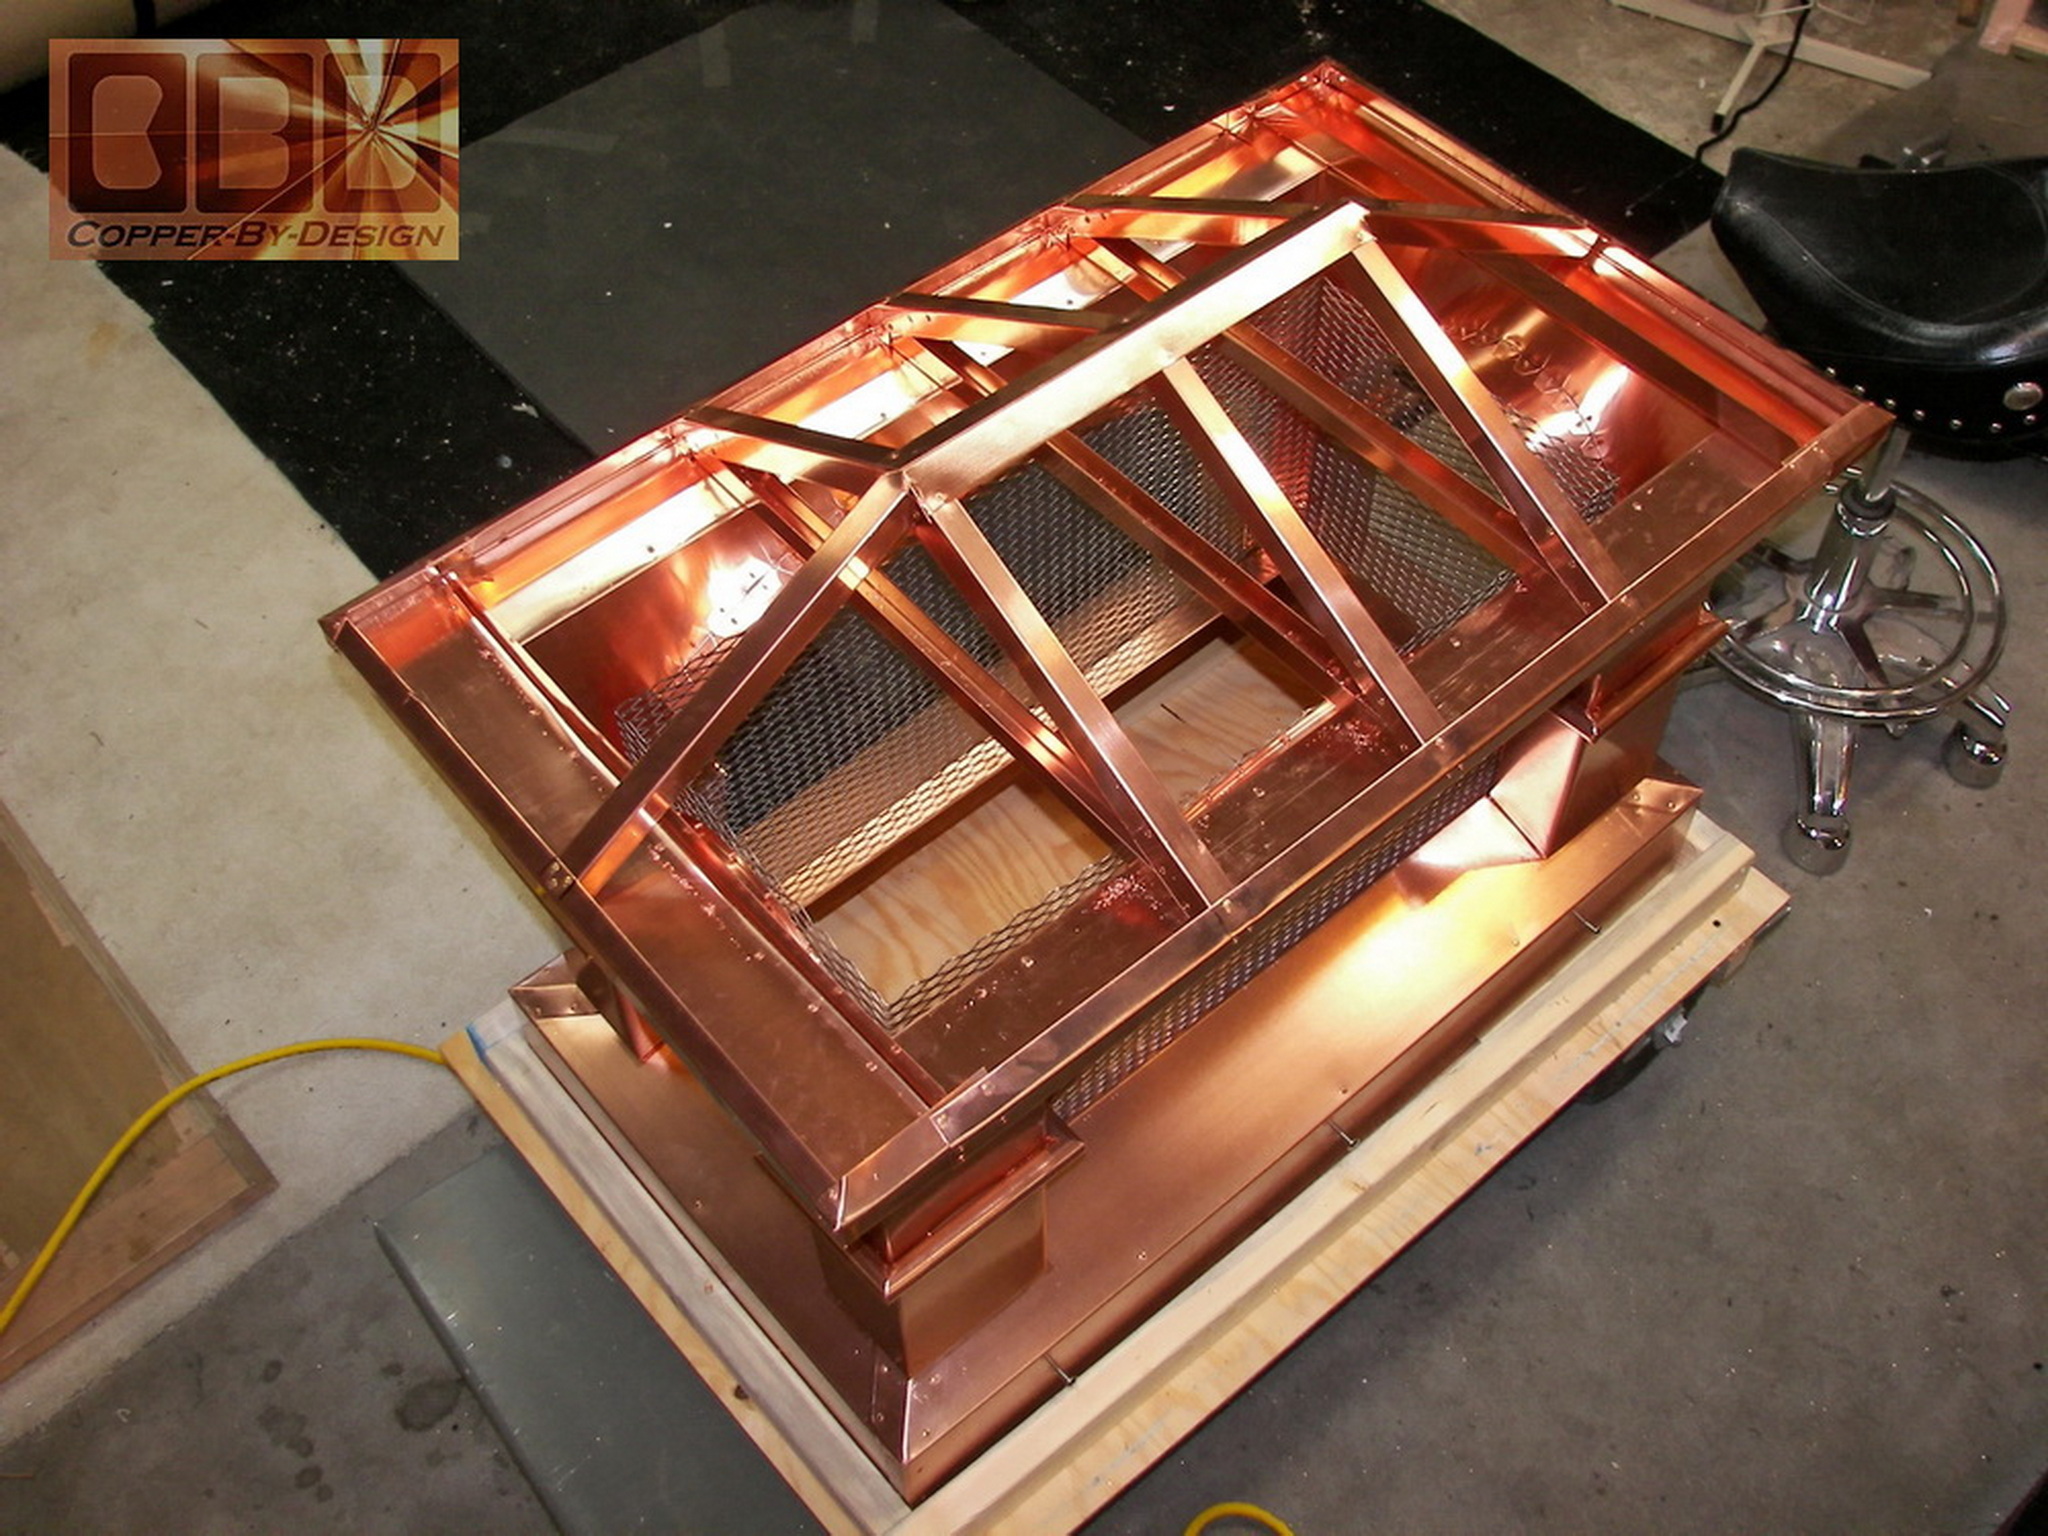
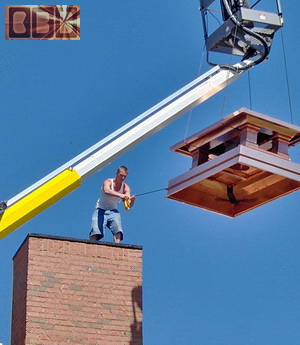
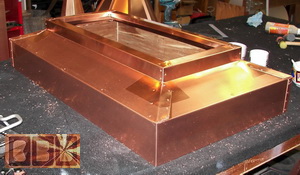
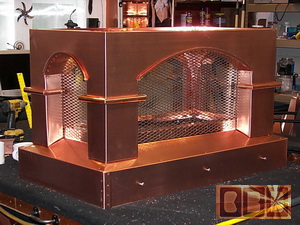
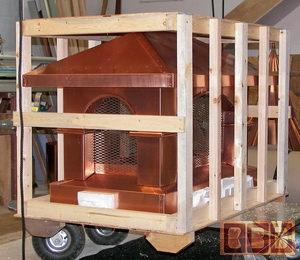
Making the roof skin over
this is easy enough, but the best placement of the internal bracing
is more tricky. Unlike a house roof with 24" centers, I do not
want this to have any more than 12" between braces or hips. These
were only about 9" apart. This will give a very good support to the
copper roof skin over them for snow loads that may build up over the
chimney cap.
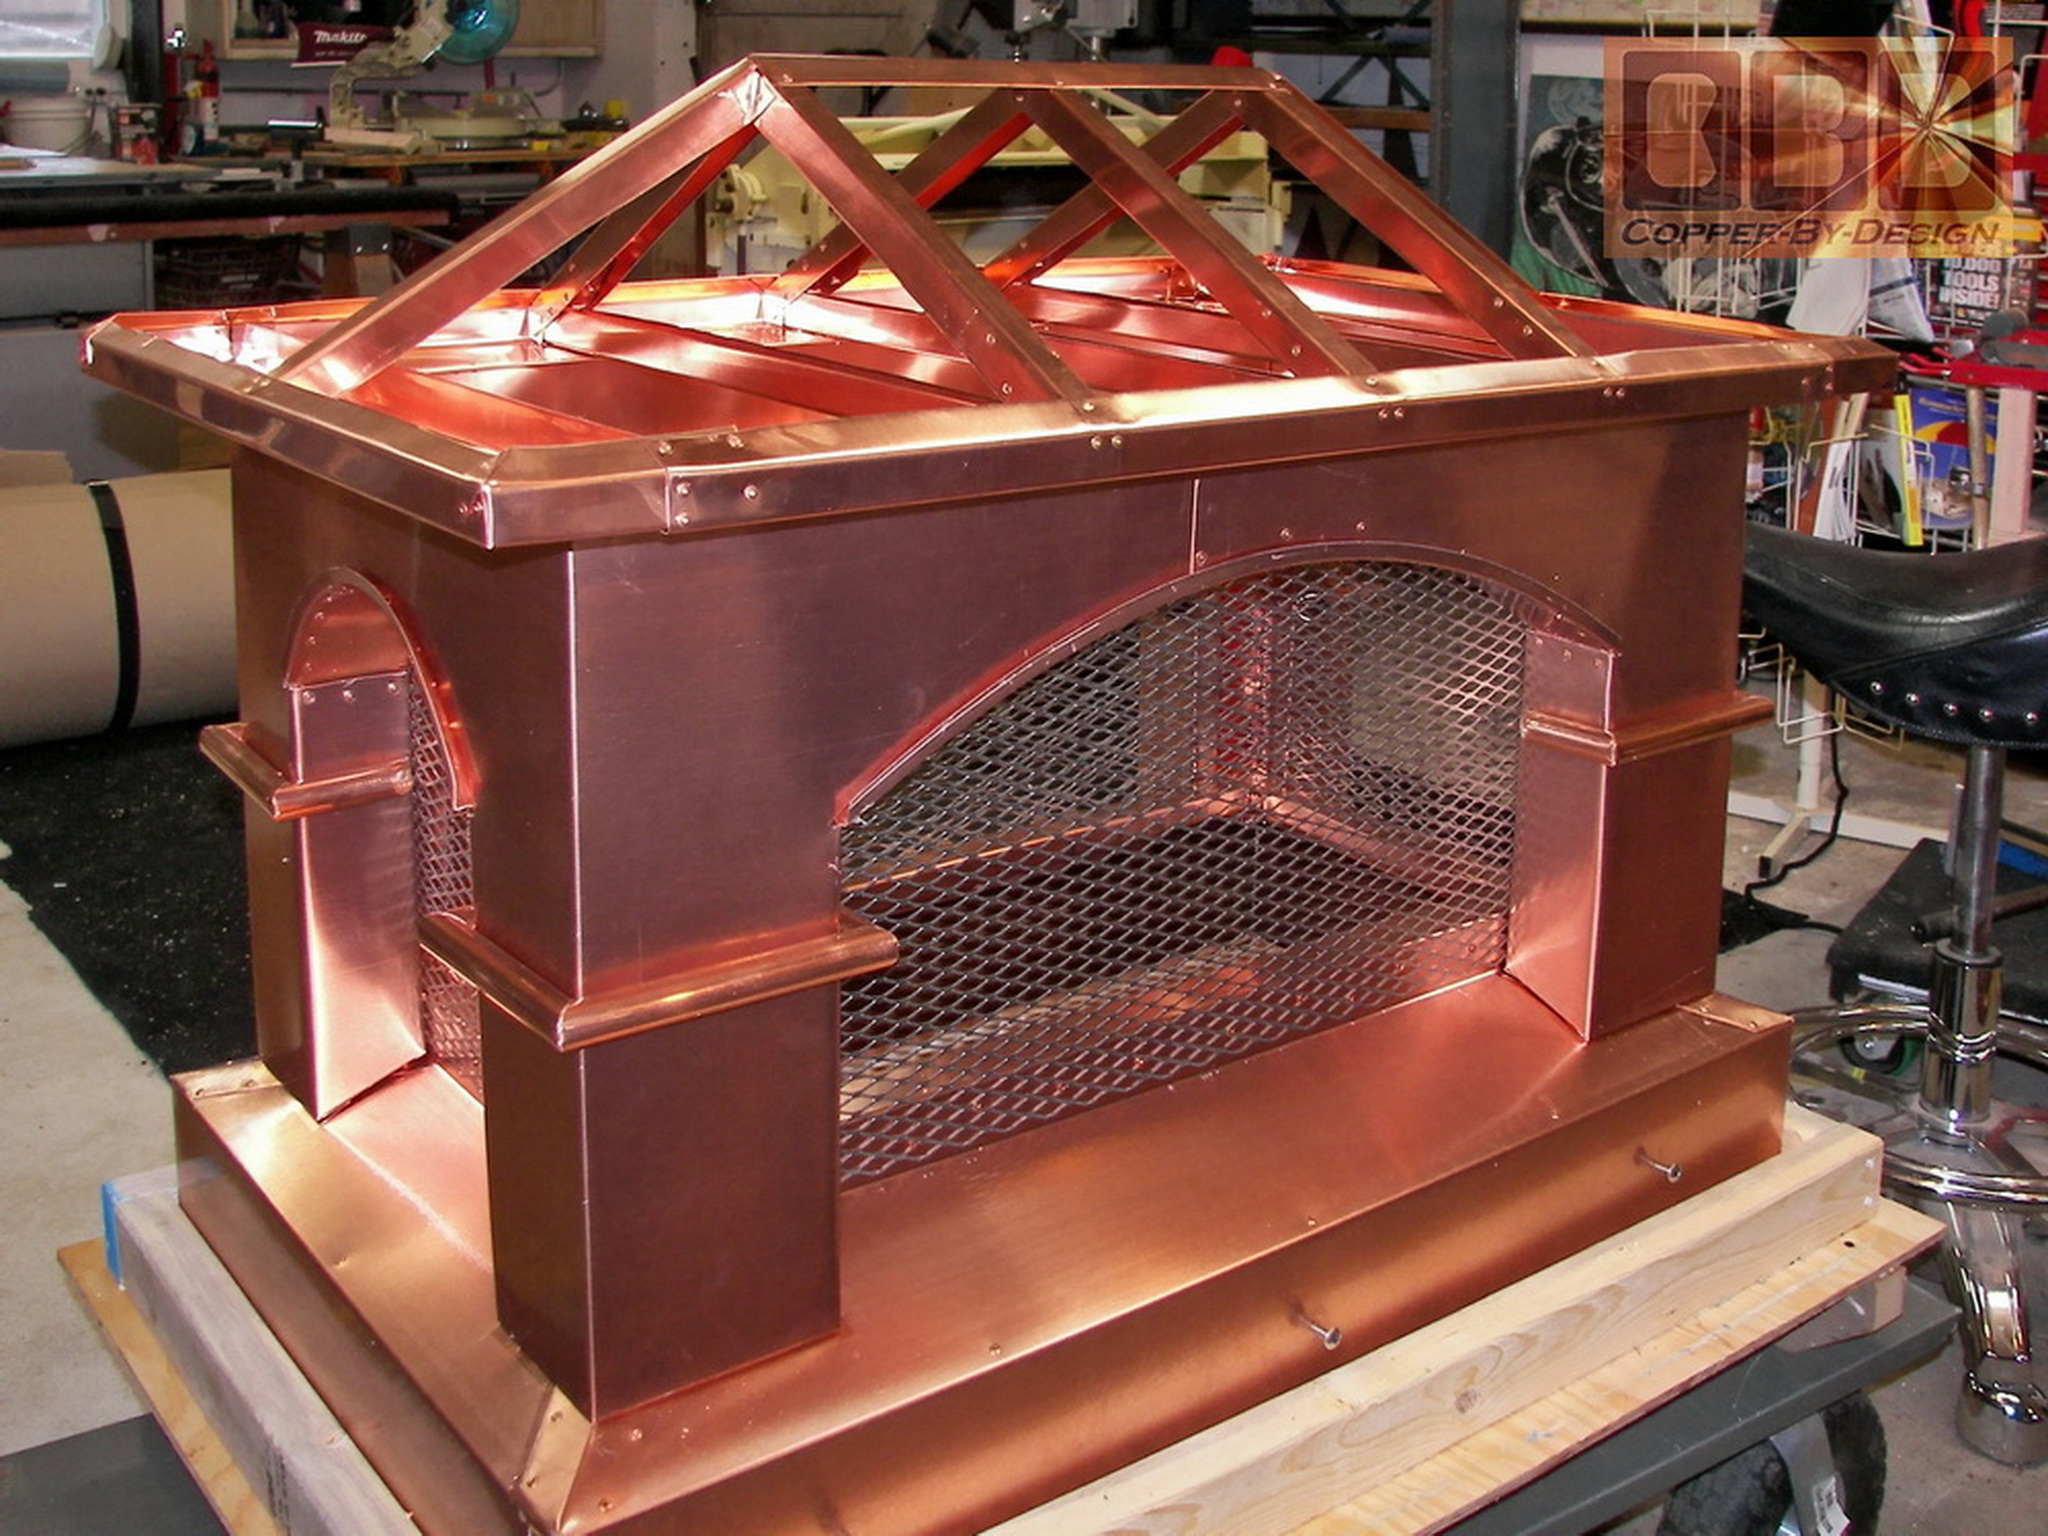
There are nearly 1,000 rivets
that hold this chimney cap together, but very few of them will be seen
from the outside. Just like with auto manufacturers; where they go to
extremes to hid the fasteners for aesthetics, yet still be just as strong.
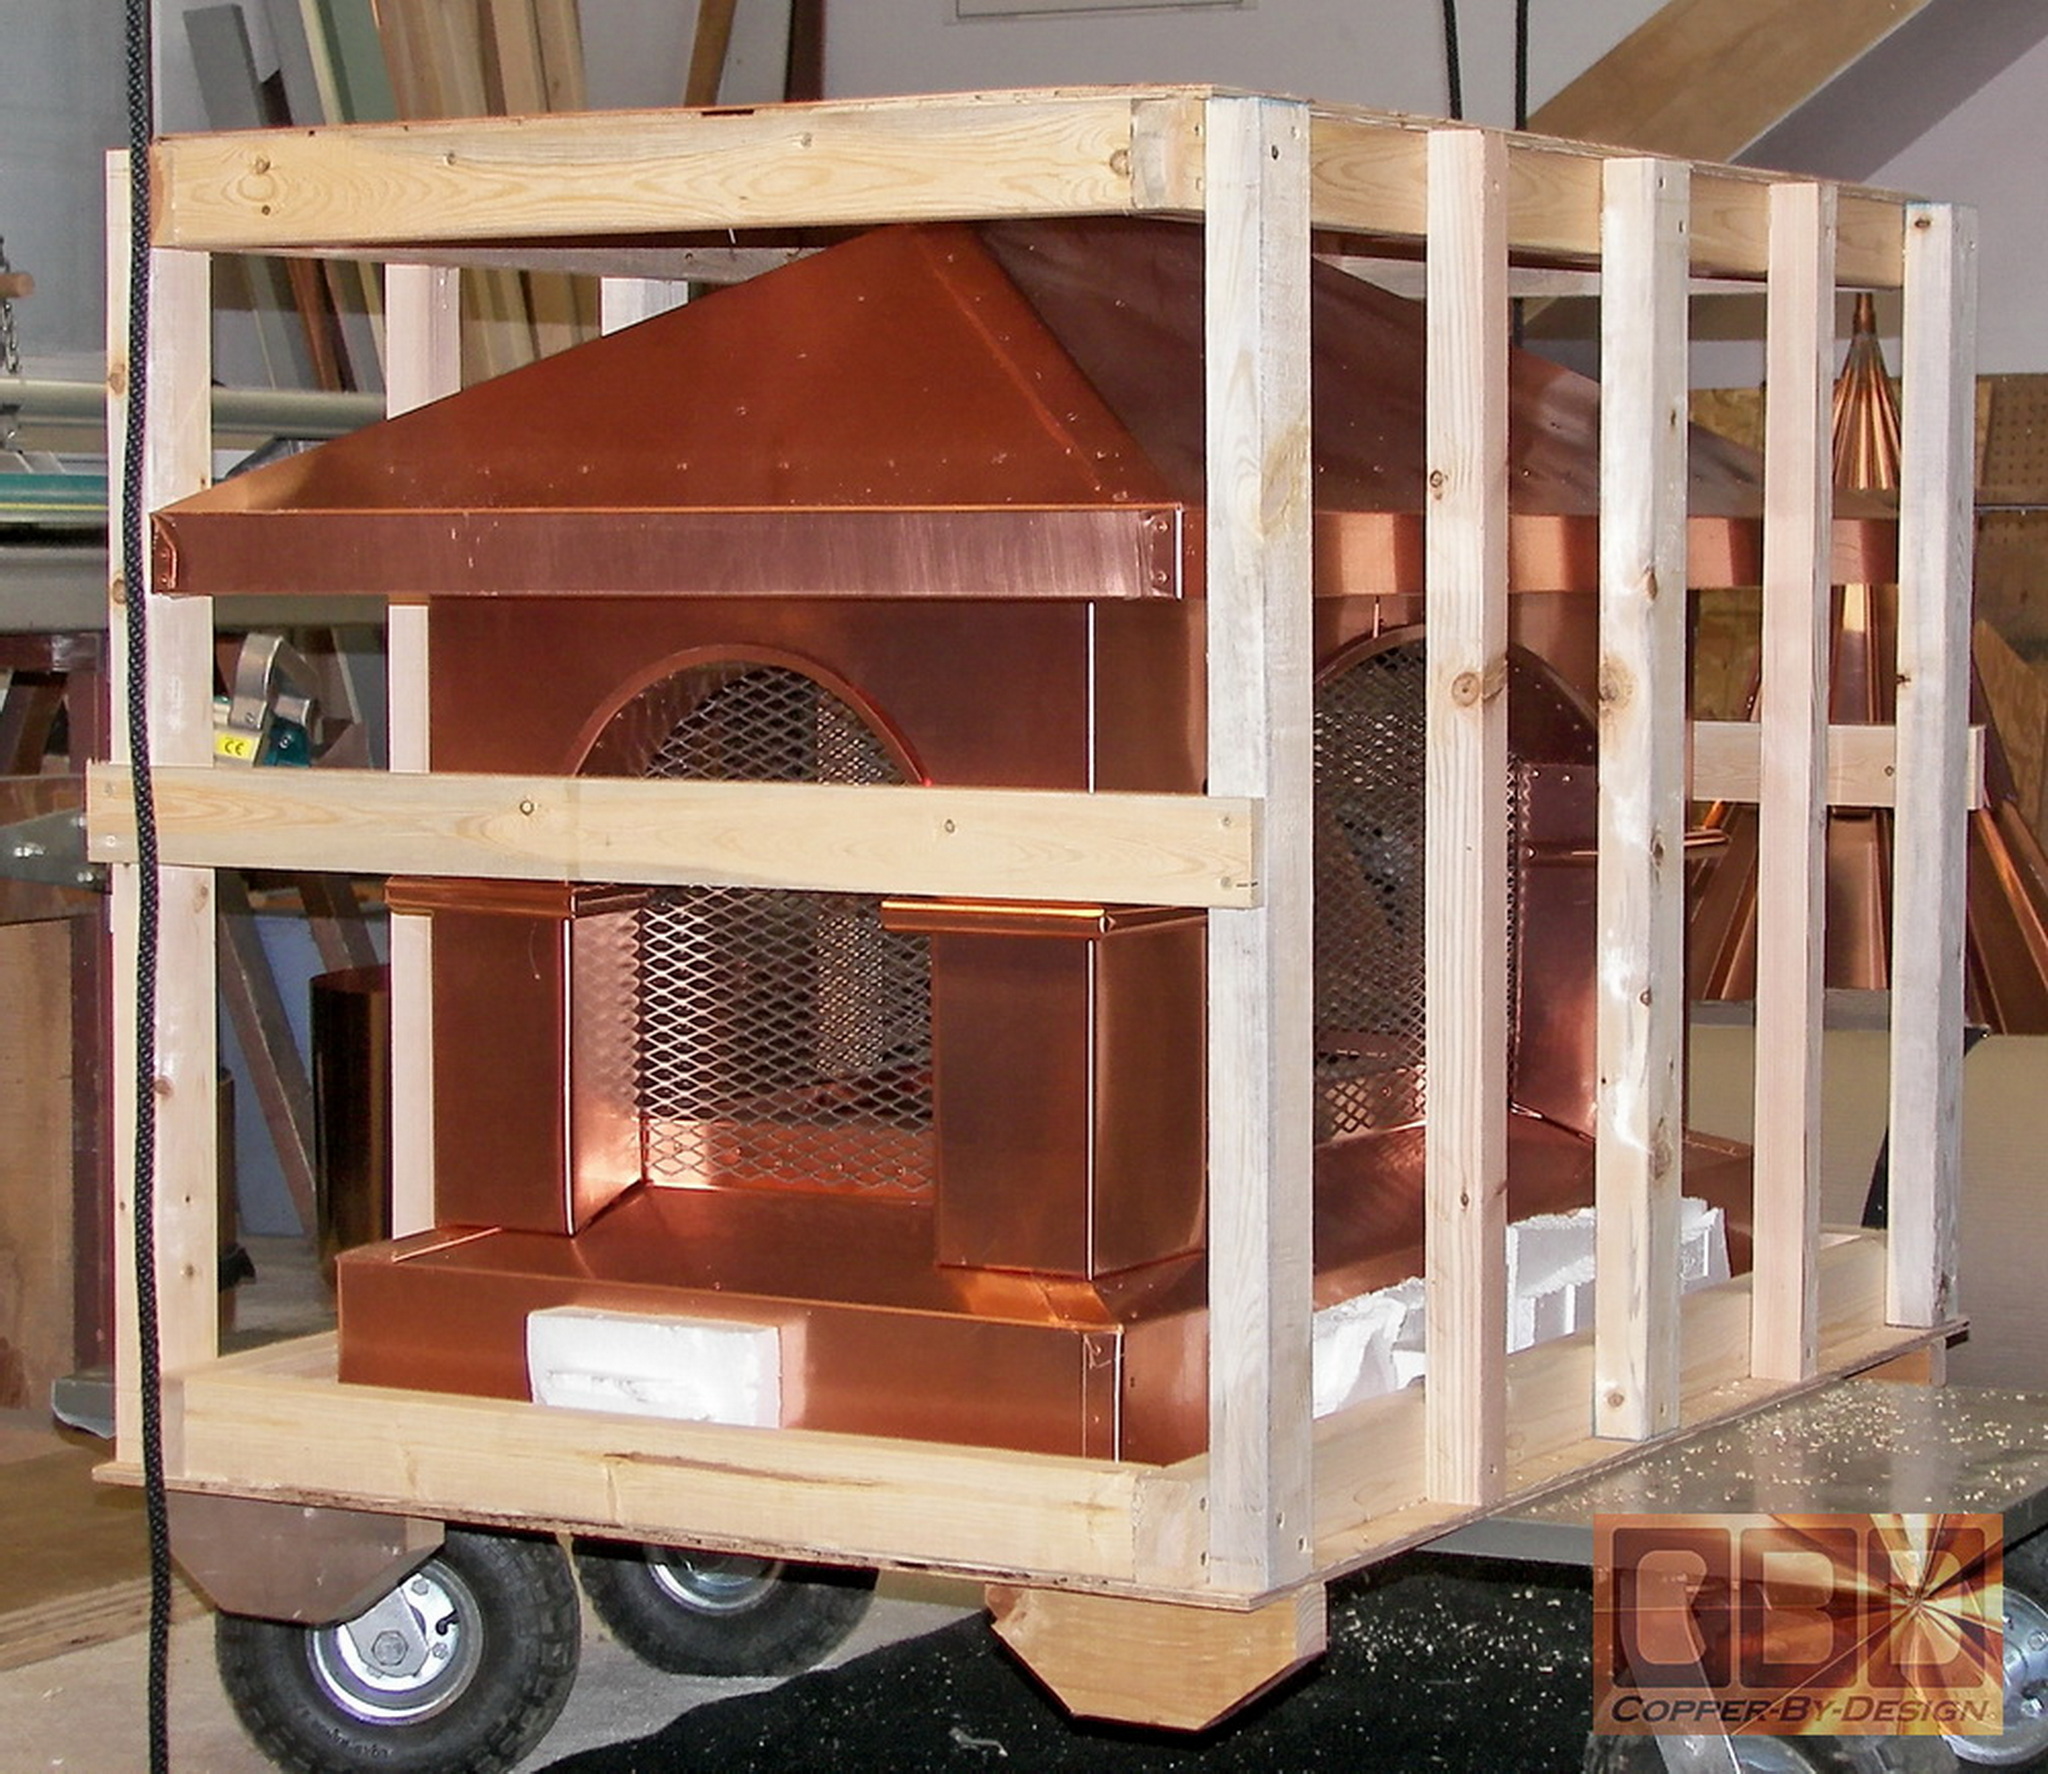
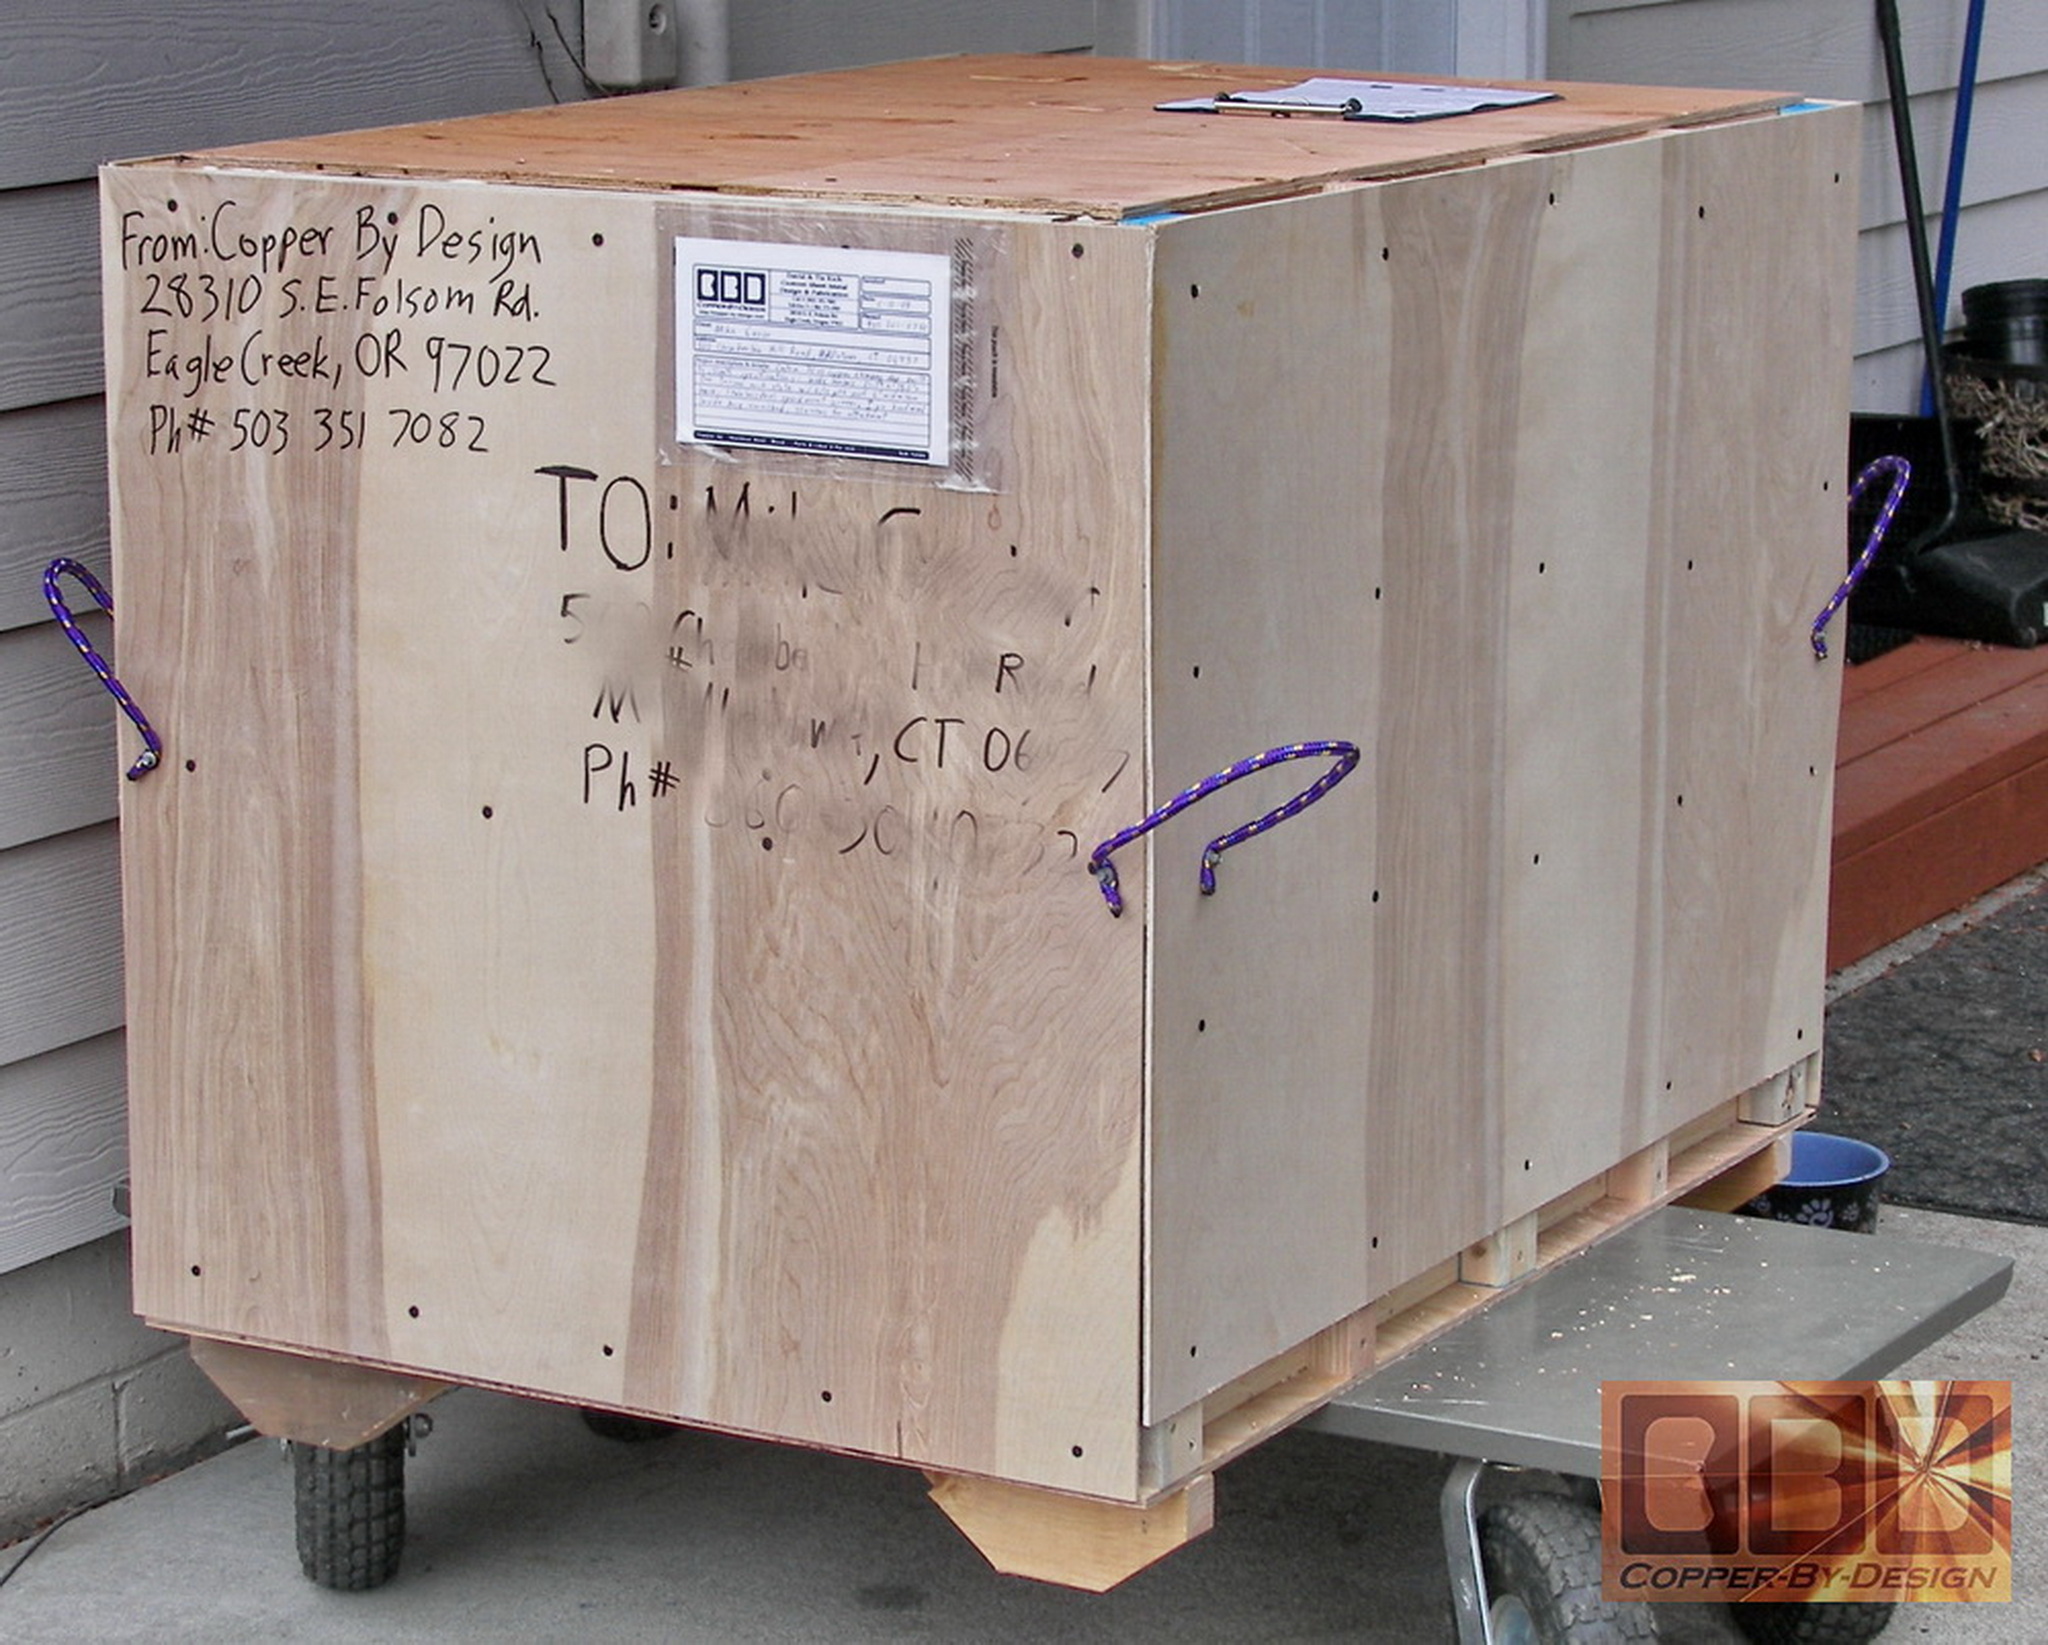
I build the strongest wood crates you are likely to see as well, with
predrilled holes for the deck screws I use to hold this together. I
also glue most of this together for added strength. The hardwood plywood
skin ins also glued and screwed over this wood frame.
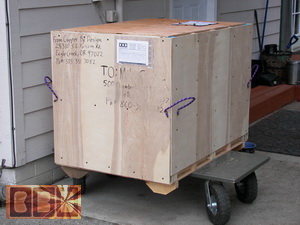
The chimney
cap weight is 99#. The copper weight alone is 74.25# = 59.4 sq'. I used
less of the spark arrest screen, so I refunded him $19.70 after he had
put down the initial deposit of $3k for this 2 unit project, so there
was no delay to get this shipped off to the client's house? They do
prefer a business address, but that is not required.
Here is the final cost breakdown:
$350 - wood crate
$500 - shipping charge
$182.20 - 6# - 16ga stainless steel screen - 9.11 sq'
$106.70 - 13.6# Wood in the base - 10.67'
Copper content:
74.25# of copper X .8 = 59.4 square feet X $31 =
$1,841.40 + $1,138.90 = $2,980.30 grand total.
Cost for this project:
$2,980.30 w/crate & shipping
to a residence with hydraulic lift-gate
service
|